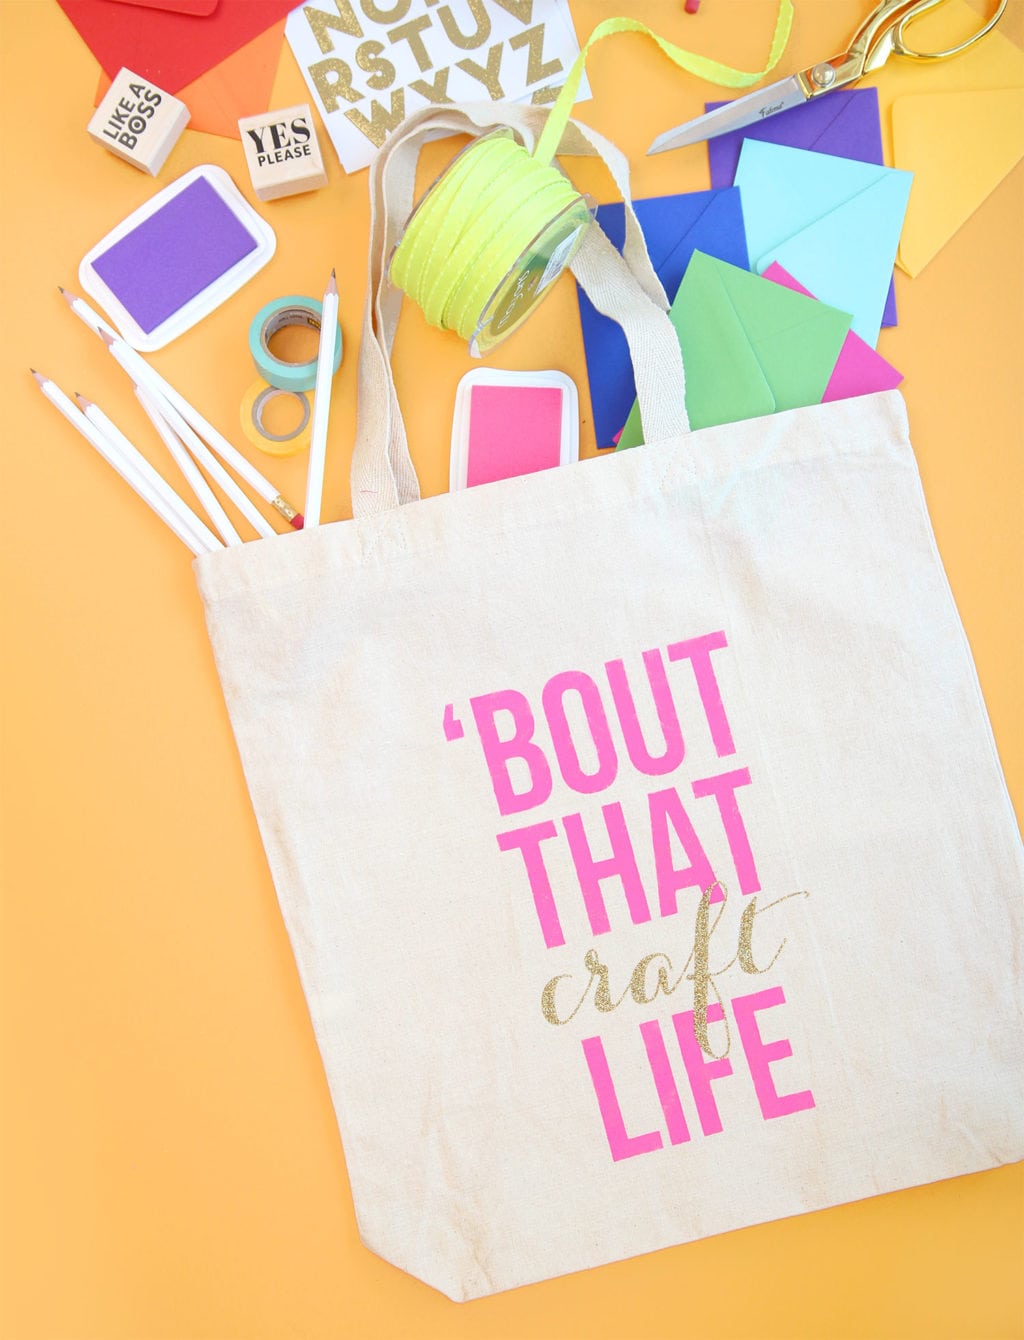
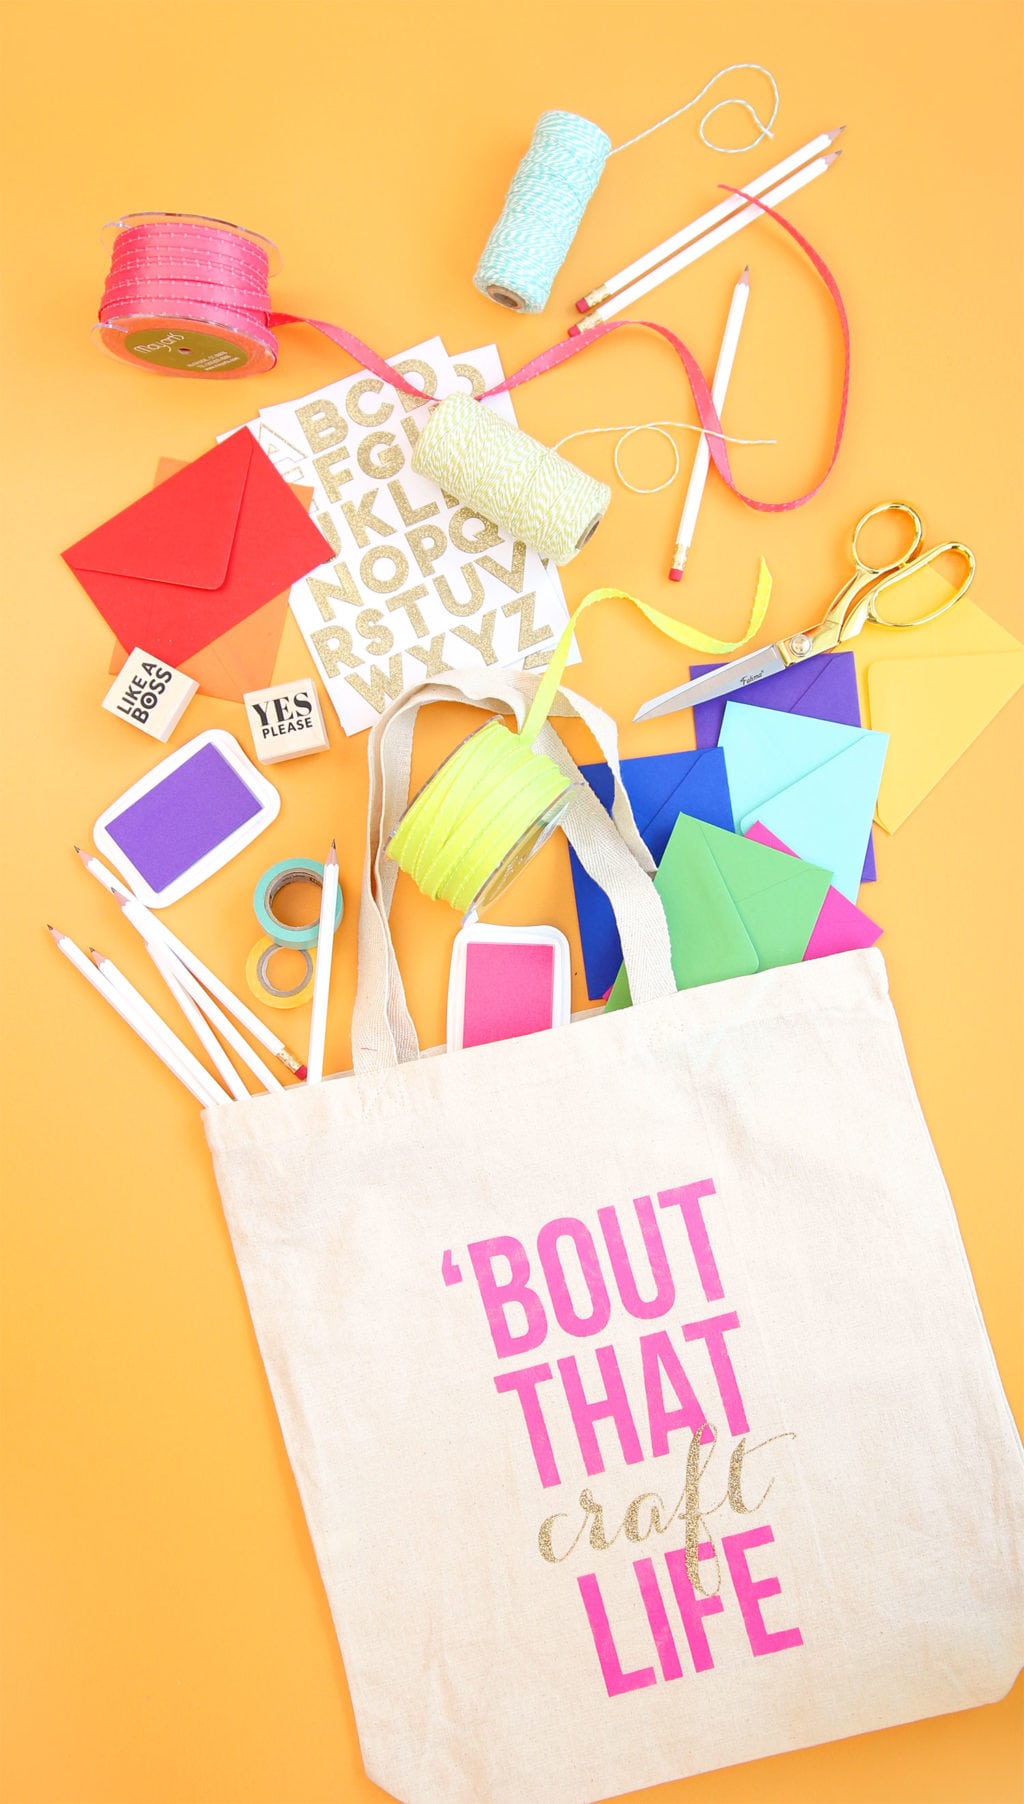
Tote bags are my jammy jam. Proof. Maybe, just maybe, it’s my mission in life to come up with as many tote bag projects as possible. Mission accepted. One of my favorite ways to make a tote is with good ‘ol freezer paper. It’s cheap, it’s accessible and it makes a bangin’ stencil. Today, I’ve got a few fool proof tips on how you can use freezer paper along with a pretty amazing tote bag that I created with it. So here we go!
What is freezer paper?
If parchment paper and wax paper got together to do the horizontal mambo – little baby freezer paper would be the result. Freezer paper is parchment on one side an wax paper on the other.
Where can I buy it?
You’ll find freezer paper in the grocery store or better yet, at most Target stores where you undoubtedly spend all your time anyway. It’s on the same aisle as the aluminum foil, plastic wrap and sandwich bags. It’s in a long container similar to the wax paper.
How does it work?
When you place the freezer paper waxed-side-down onto fabric, you can apply dry heat with an iron and it will temporarily adhere to the fabric, sooooo….if you cut a shape from the freezer paper, then iron it down onto fabric, hallelujah and hot diggity dog – you’ve got yourself a stencil.
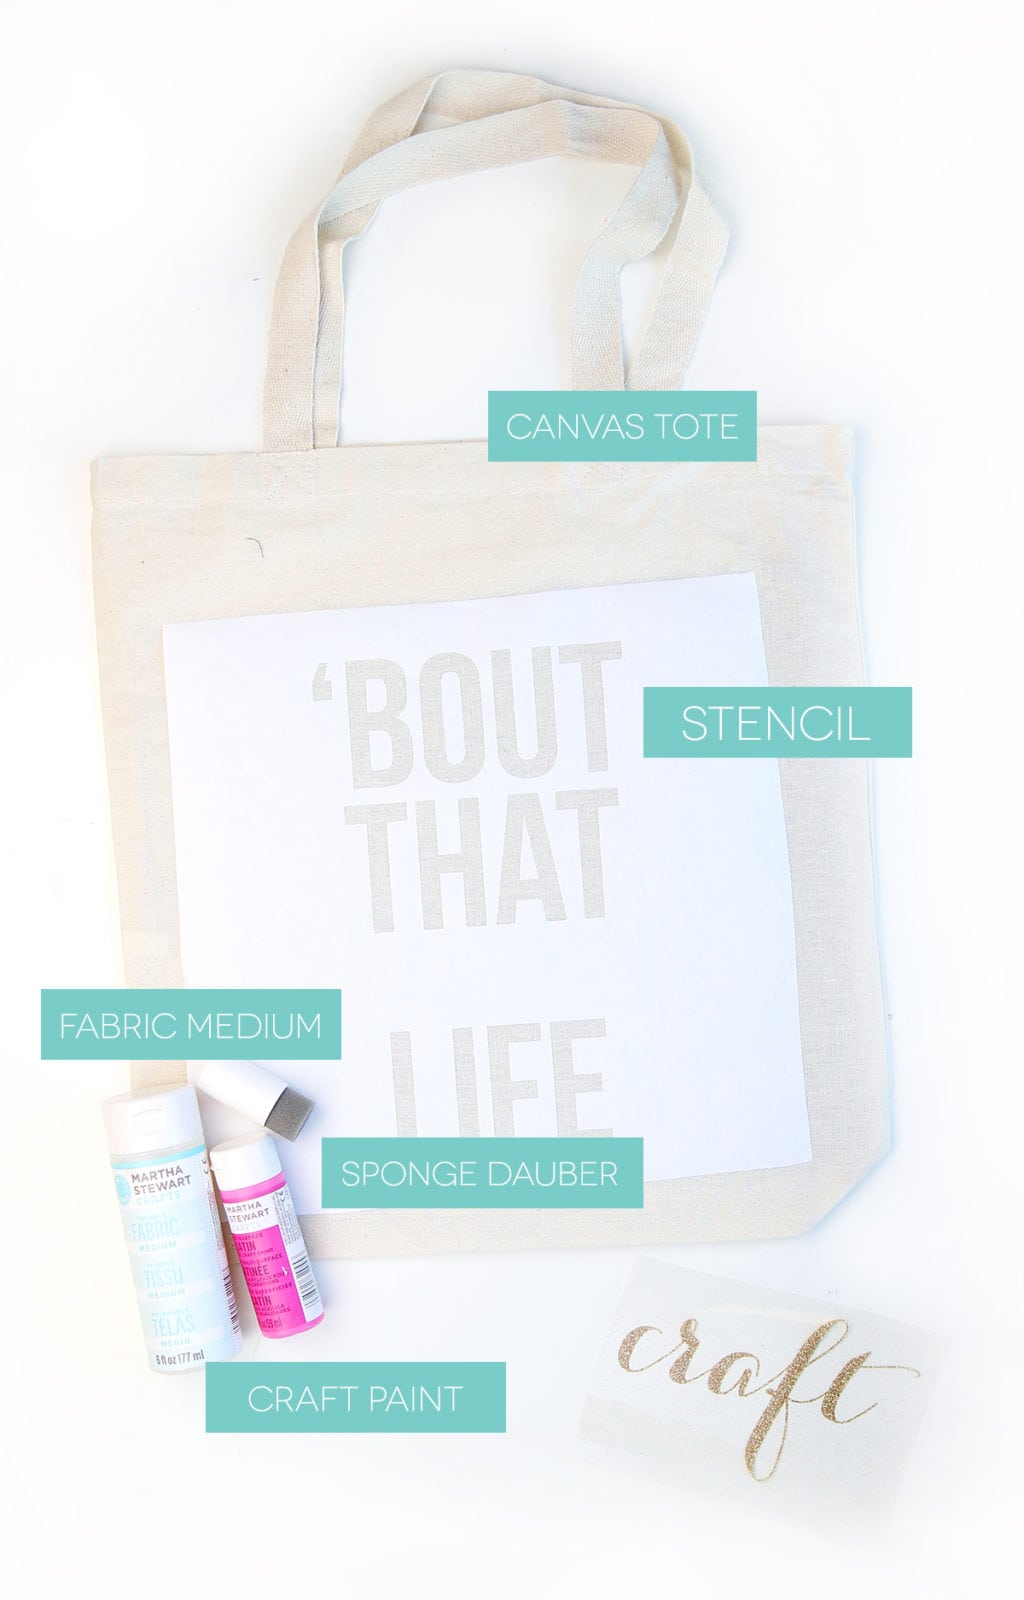
When I work with freezer paper I like to use:
- Craft paint
- Fabric Medium – a thin liquid that helps turn regular craft paint into fabric paint
- Canvas tote bag
- Freezer paper stencil cut using my Cricut Explore – this way I don’t have to fuss with a craft knife to get a perfect cut. If you’ve got a steady hand, you can go the craft knife route and get the exact same result. It will just take a bit longer.
- Foam Pouncer
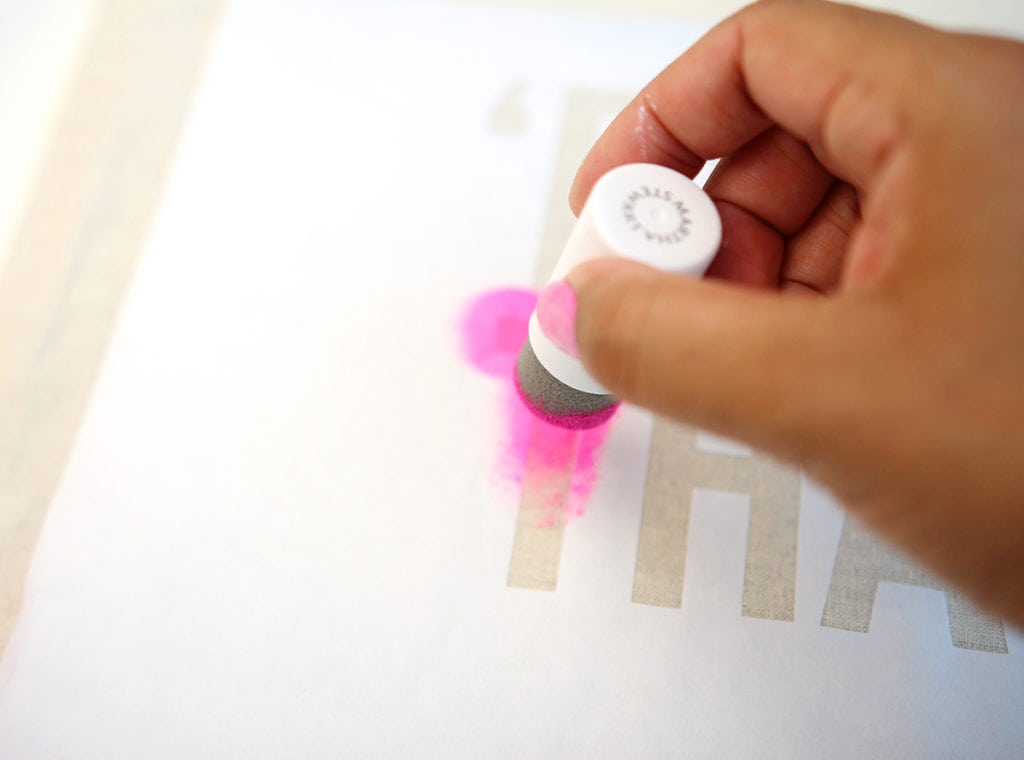
TIP NO.1
Iron on the freezer paper with close attention to detail, making sure all the edges are sealed!
TIP NO.2
When you are done ironing on the freezer paper, slide a piece of cardboard into your tote to make it stiff. This way, when you relocate the tote to your workspace, the bag won’t bend and the freezer paper won’t shift or lift from the fabric
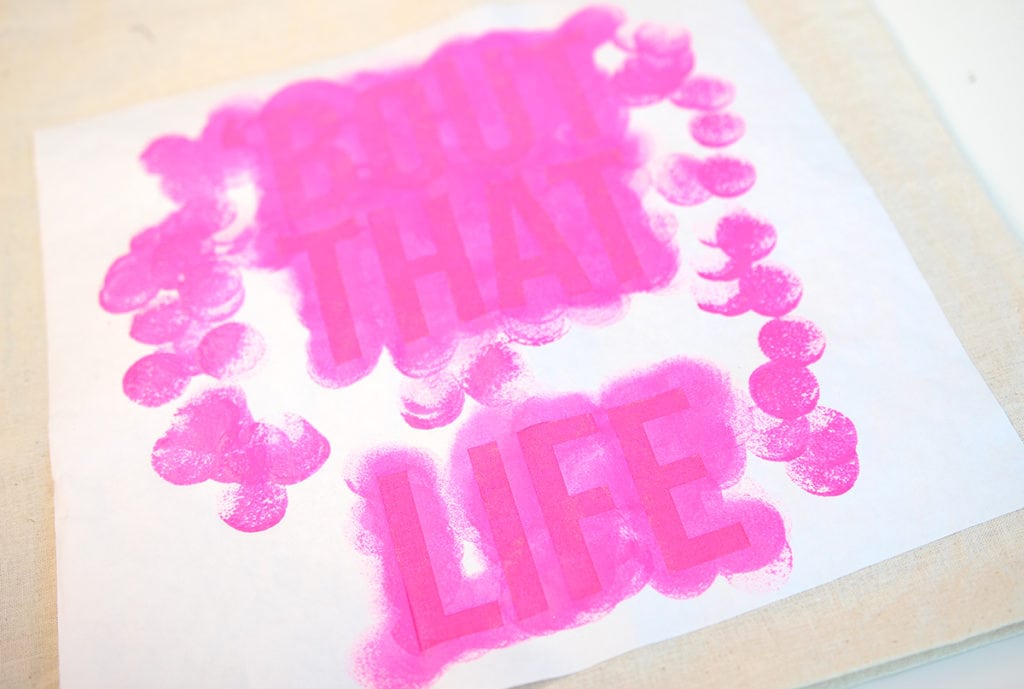
TIP NO.3
Tap off any excess paint from your dauber before filling in the stencil. Too much paint on the dauber will warp the freezer paper and cause it to lift, then you’ll end up with a tote that looks…uh…overly homemade.
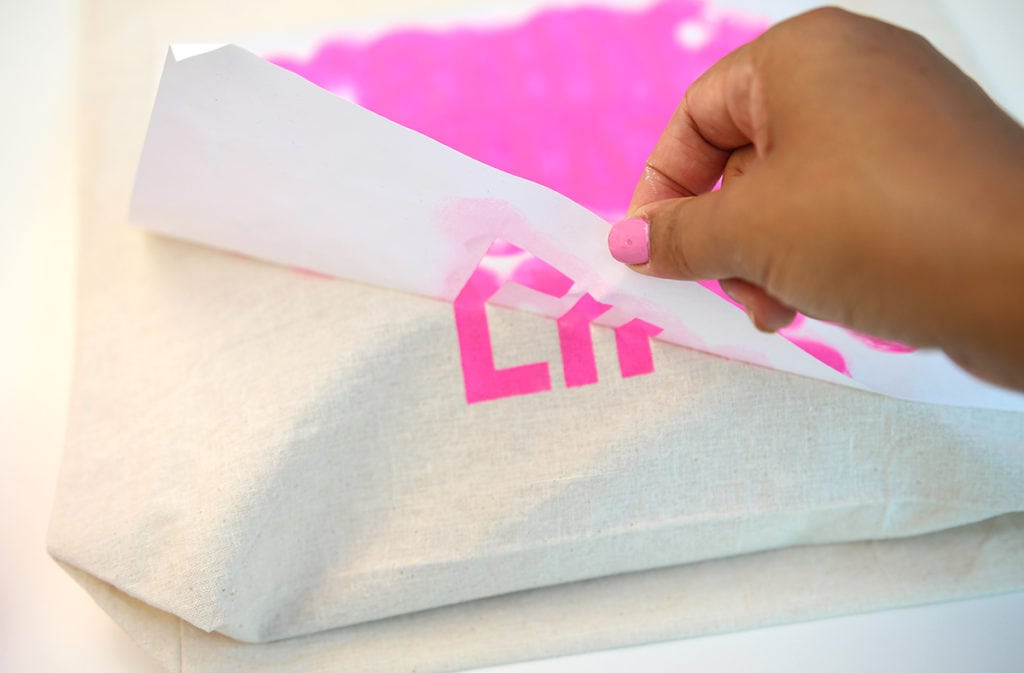
TIP NO.4
When you’re done applying paint, peel back the freezer paper stencil immediately. Don’t wait for the paint to dry.
TIP NO. 5
Heat set your paint once it’s dry! For this project, I added a glitter iron-on so I did my heat setting at the same time that I applied the glitter iron-on.








Kamagra Gel [url=https://kamagrapotenzmittel.com/#]Kamagra kaufen ohne Rezept[/url] kamagra
Kamagra kaufen: Kamagra kaufen – Kamagra Gel
apotek online recept: Apotek hemleverans idag – Apoteket online
https://apotheekmax.shop/# ApotheekMax
https://apotheekmax.com/# online apotheek
Kamagra kaufen: kamagra – Kamagra online bestellen
de online drogist kortingscode: ApotheekMax – Online apotheek Nederland met recept
Kamagra Oral Jelly kaufen [url=https://kamagrapotenzmittel.shop/#]Kamagra kaufen[/url] Kamagra online bestellen
https://apotekonlinerecept.com/# Apotek hemleverans recept
Online apotheek Nederland met recept: Apotheek Max – Online apotheek Nederland met recept
Apotheek online bestellen: Beste online drogist – Apotheek online bestellen
https://apotheekmax.com/# online apotheek