I’ve had lots of Christmases. There was the one when I didn’t water the tree and it was dead by December 5th. There was the one when I decided to create all handmade ornaments. That year, the tree was pretty bare. There was the year when I bought my very first real tree and then there was the year during grad school when I couldn’t really afford one. That was the year when I crafted my own tree out of paper. It was actually pretty cute.
For the next few weeks, I’ll be sharing projects that remind me of the past Christmases I’ve had and I’ll give you a few funny stories along the way. Today’s project is an ode to: “The Broke Years.” The years when I couldn’t afford a real tree or didn’t have space for one. Those were the years when I would head to a friend’s house, home to see my family or I would just make my own. If only I had instructions for this wooden dowel tree back then!
These days, we can splurge on a nice tree but I still love the idea of adding a second, wooden dowel tree to the mix.
I’d love to take credit for this wooden dowel tree but all the accolades go to The Home Depot and Martha Stewart Living for this design. Don’t worry though, I’ve added a few Damask Love additions to this project to make it extra special and perfect for your holiday home. Here’s how you can DIY one of your own:
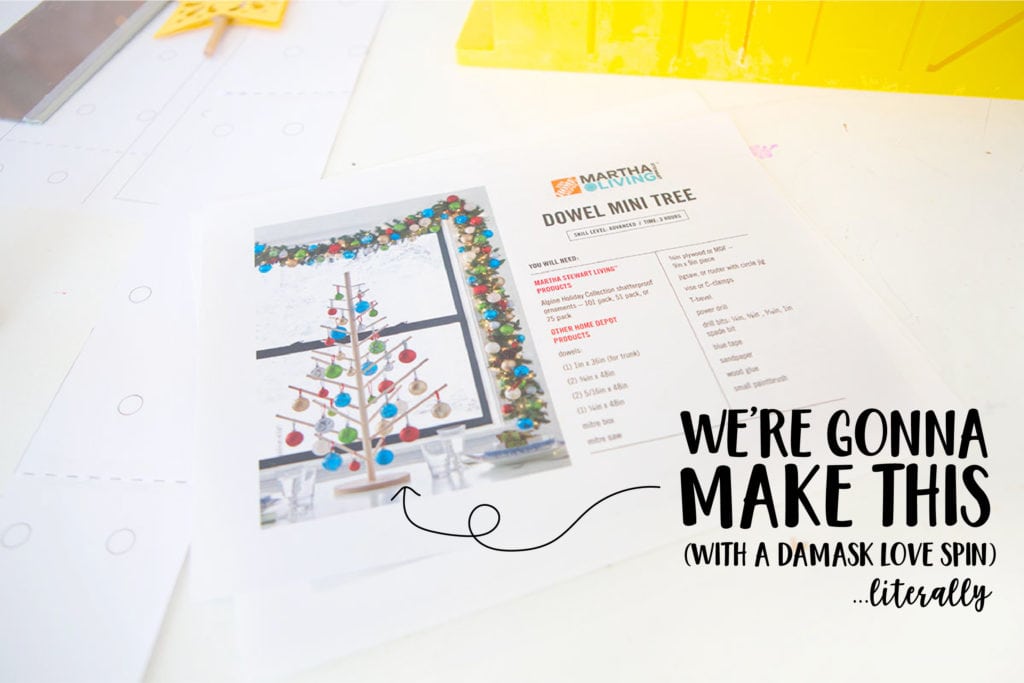
You can scoop up the printable instructions for this project here and at MarthaStewart.com but you’ll want to scroll through this entire post to see how I added some fun additions to this project.

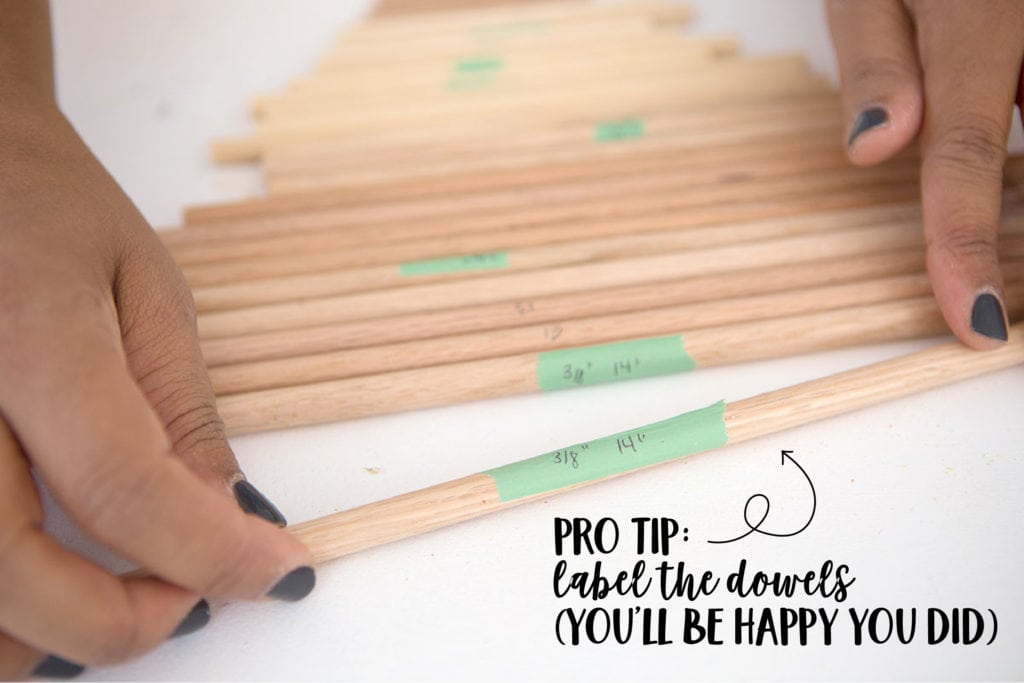
Step 1: Cut your wooden dowels down to size according to the printable instructions. Label them as you go so you can keep track of where you are in the cutting process and easily track down the dowels you need.

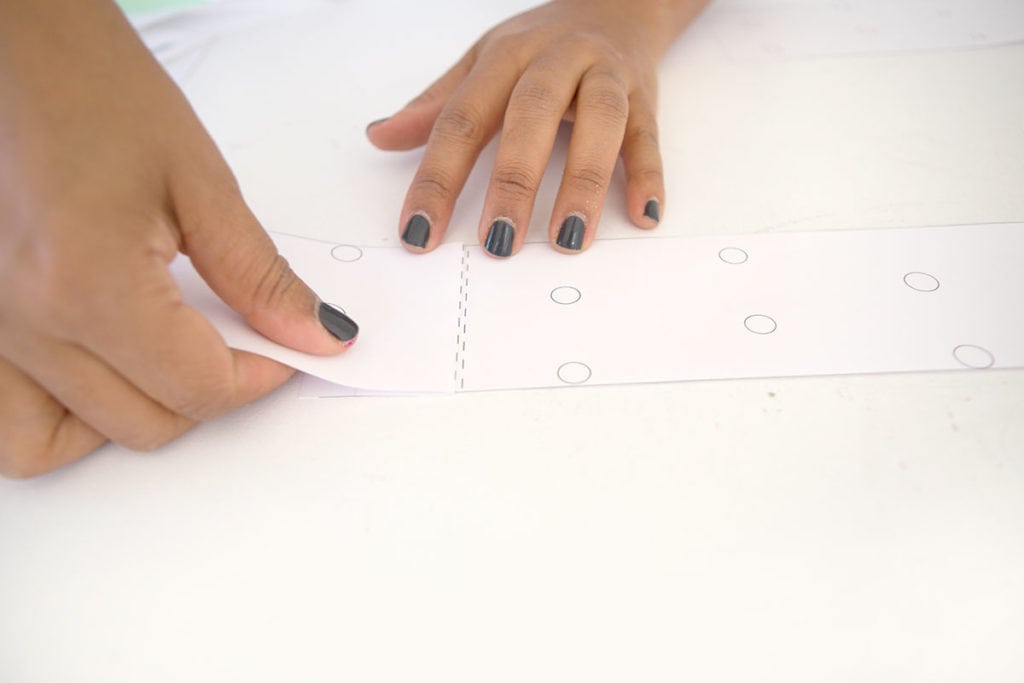

 Step 2: Print THIS template onto 11×17” paper. Cut out the template and assemble by taping it together as shown. Last, roll the paper around your 1” x 36” dowel and secure with painter’s tape.
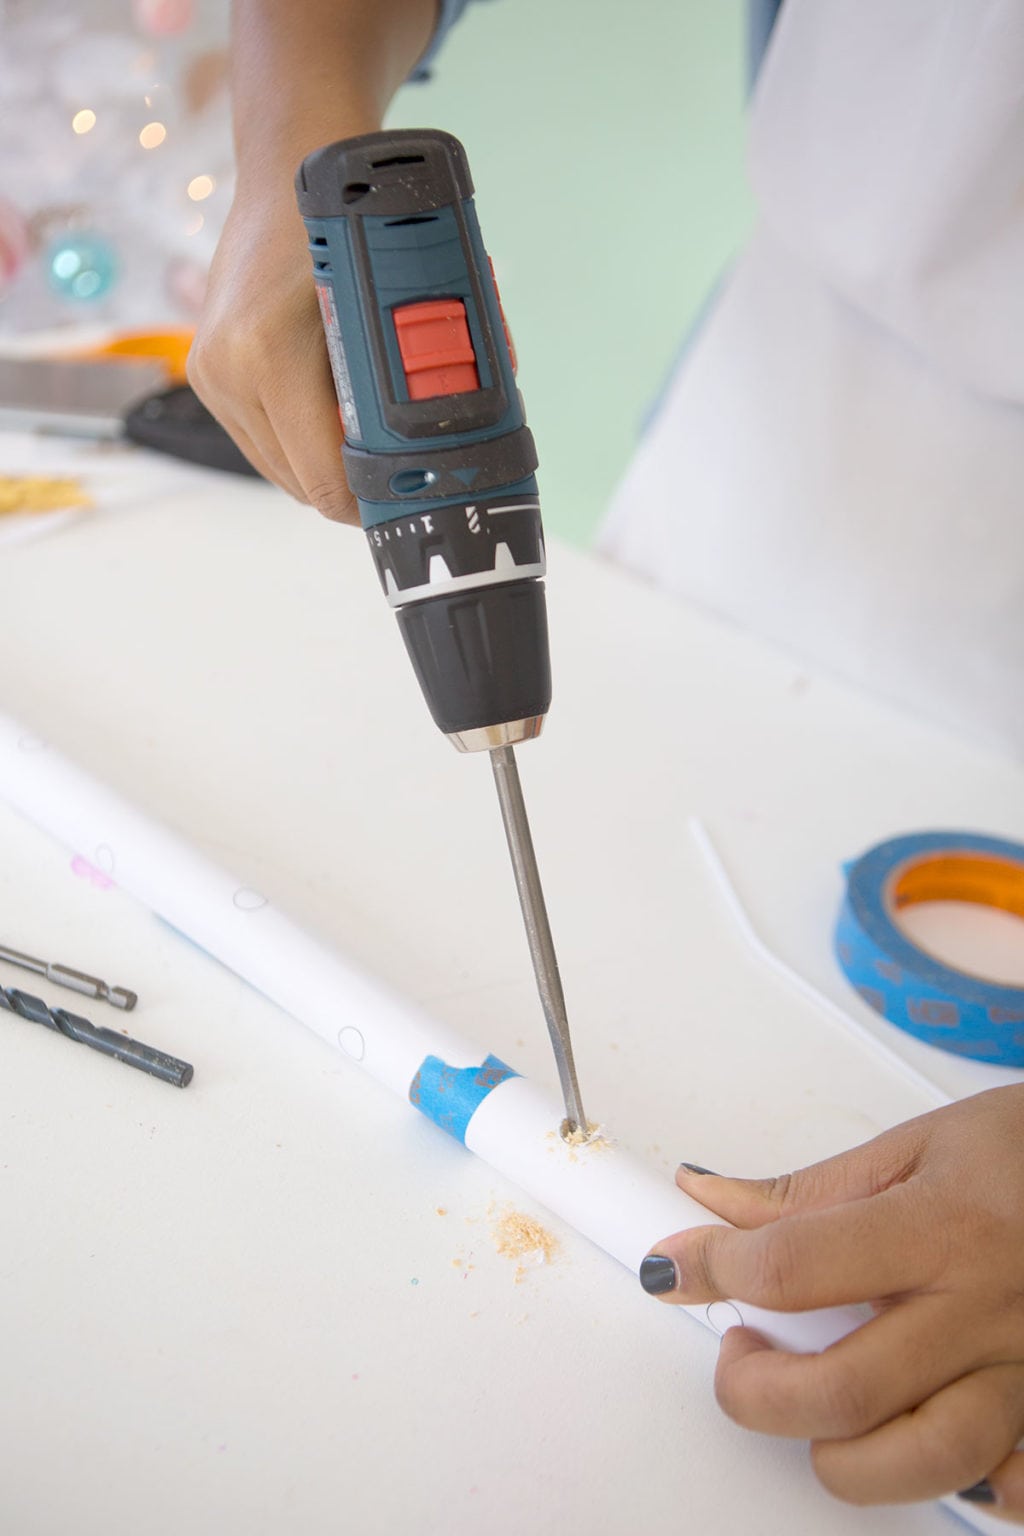
 Step 3: Drill holes along the template. Drill at a 45 degree angle. Drill bit size should coordinate with the dowel size for each hole. (i.e. use a 5/16” drill bit for holes where the 5/16” dowel will be inserted).
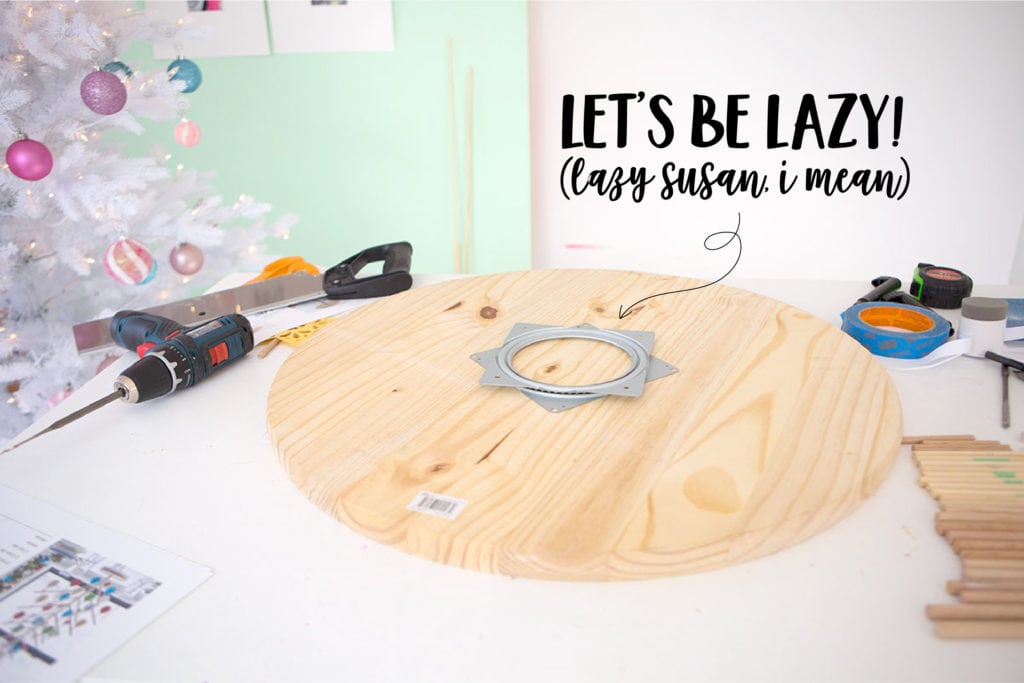
Step 4: Here’s where things get fun!! We’re going to turn this tree into a lazy susan!!! Now, this variation is not part of the original project, but it’s an easy way to put your own “spin” on it! You can grab a Lazy Susan bearing from The Home Depot. I placed the bearing between two large round wood boards (24” diameter for the top and 12” diameter for the base). Follow the package instructions for installing this hardware.
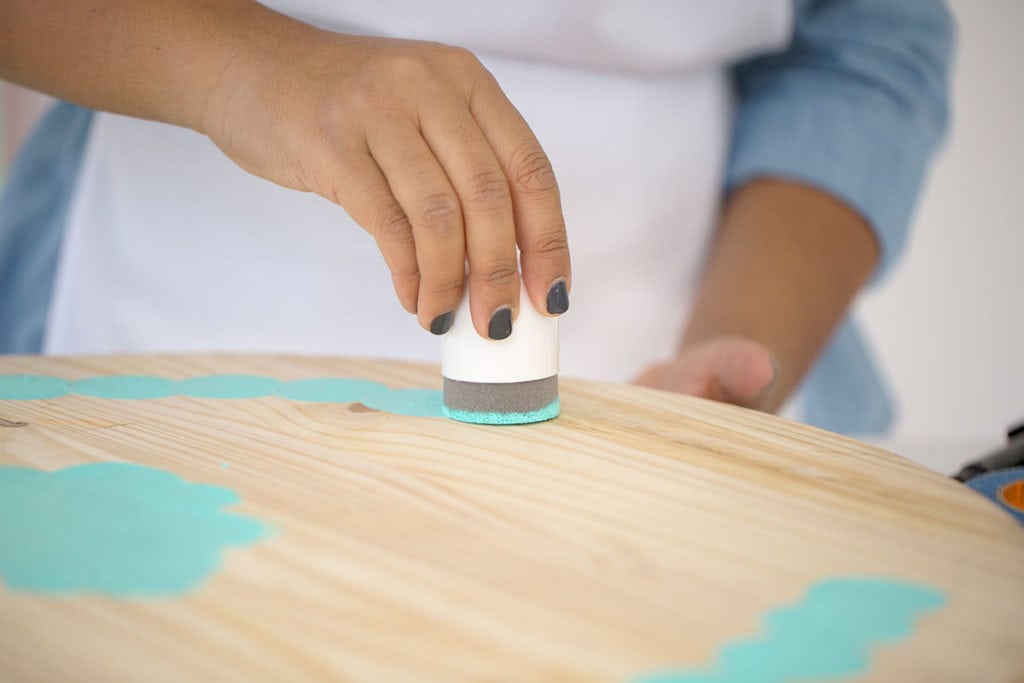
Step 5 (optional): Paint the top of the lazy susan. I went with a scalloped edge pattern.
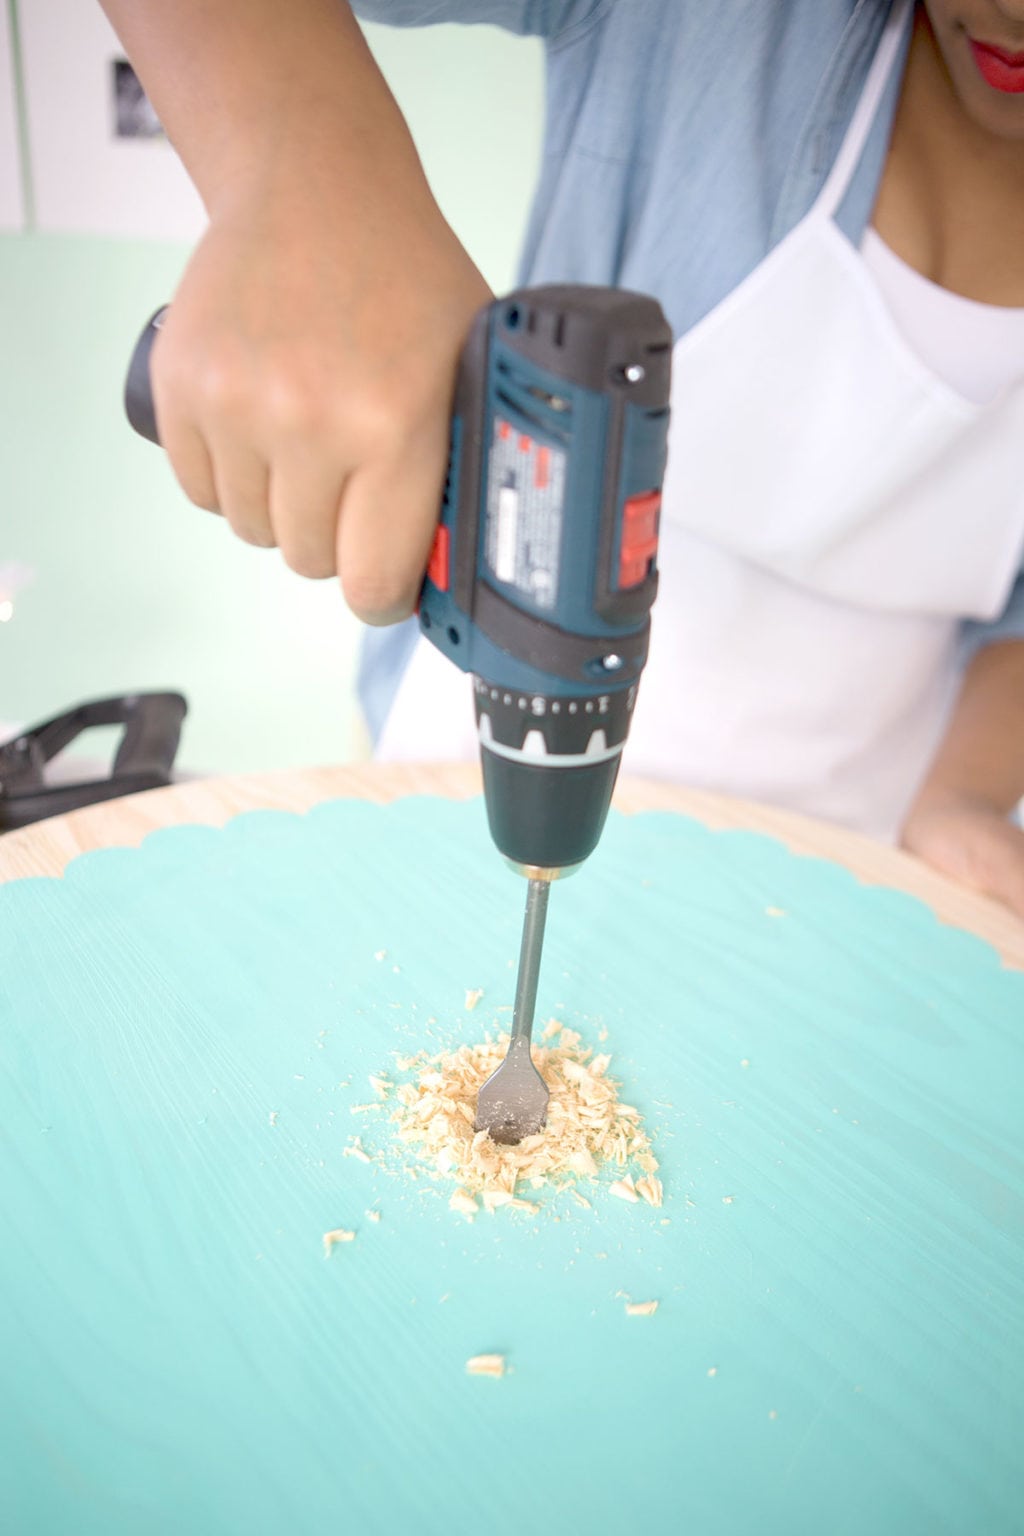
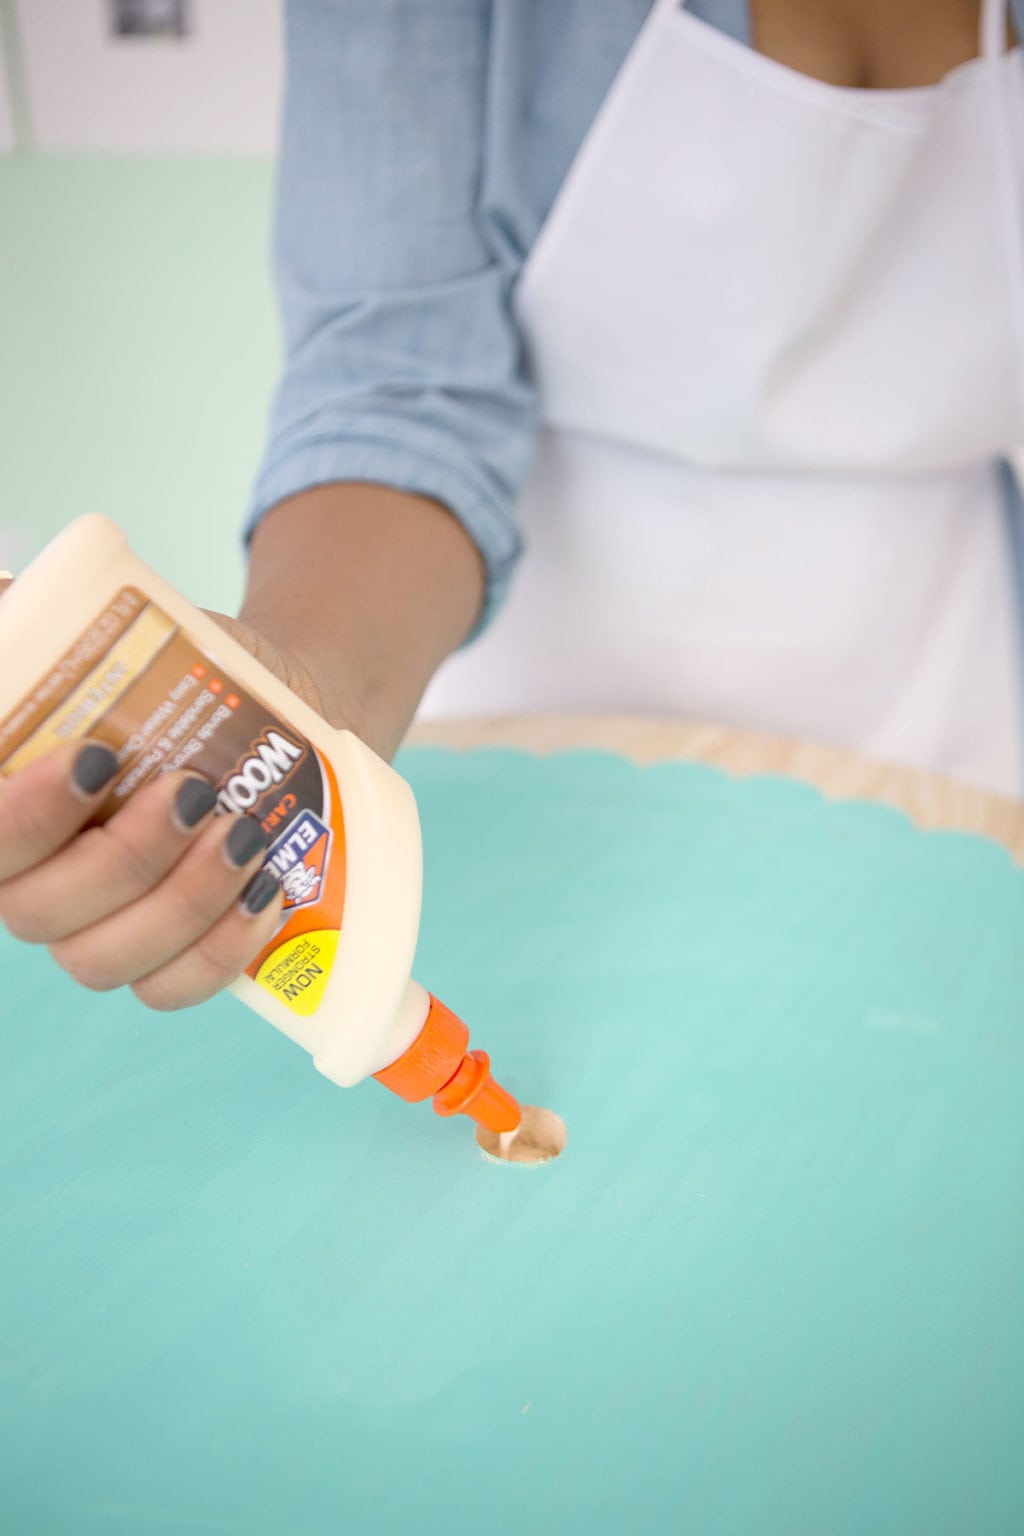

Step 6: Use a 1” spade drill bit to create a 1” wide hole in the middle of your lazy susan. Drill about half way through the base. Don’t go all the way through! Fill the hole with wood glue,then insert the 1” dowel.



Step 7: Insert the dowel branches, starting with the longest and working your way up to the smallest. Use a bead of glue on the base of each dowel before inserting it. This will help it stay in place.

Step 8 (optional): Insert a small dowel to the top of the tree and add a paper star.

 Step 9: Decorate! I used the Martha Stewart Alpine Holiday ornaments. You can get them at The Home Depot. I added twine to each ornament and used a dab of hot glue to adhere the twine to each dowel This way the ornaments won’t slide toward the middle.
And now, you’re done! Time to fill your lazy susan tray with holiday sweets and treats.



If you’re loving this project, you should probably join Martha Stewart in two upcoming Facebook Live sessions! One was held yesterday and you can check it out here. There’s another one next week on November 21st at 4pm. She’ll be talking all about indoor holiday décor with her Home Depot line. I’ll be watching!
Photography: Devlopz
Styling: Amber Kemp-Gerstel
Shout out to Martha Stewart Living and Home Depot for partnering with Damask Love on this crafty content. All opinions and wacky stories are mine all mine. You can check out more Martha Stewart Living Holiday Décor at your local Home Depot Store.






WOW!!! This is really big and really cute!!! I love it so much!!!
Cristina
thehouseoftheblackbirds.blogspot.it
Yeah, She is very skillful with her hands.
Oh my God, this is truly the most amazing thing I’ve ever seen, like Oh my God once again! I’d love to make this, but unfortunately I don’t have money to shop for this project. But your blog is really amazing, I love it!
I love this! The colourful ornaments make it so cheery and bright as well. Pinning 🙂
That is awesome! So cute for Christmas! I’d want to leave it up all year and change out the decorations for the seasons!
Hi there,I log on to your blog named “Lazy Susan Christmas Tree | Damask Love” daily.Your humoristic style is awesome, keep up the good work! And you can look our website about free proxy https://www.proxylistdaily.net/.
Your content is always so informative and well-structured. This post, in particular, was a great read, and I learned a lot from it. Thanks for sharing your knowledge!
In Slope Game, cultivating patience is essential. Take your time navigating the slopes; a thoughtful approach will help you avoid costly mistakes.
For the reason that the admin of this site is working, no uncertainty very quickly it will be renowned, due to its quality contents.
canadian pharmacy meds review
https://expresscanadapharm.com/# certified canadian international pharmacy
canadian compounding pharmacy
The team always ensures that I understand my medication fully.
where can i buy cheap clomid without dr prescription
Their pet medication section is comprehensive.
They have a great selection of wellness products.
how can i get cheap cipro no prescription
A trusted voice in global health matters.
Great read with solid suggestions! I recently discovered Temu.com—they have a ‘Under $50’ section with surprisingly quality products. Highly recommend checking it out.
World-class service at every touchpoint.
buy cheap cipro without dr prescription
A one-stop-shop for all my health needs.
They ensure global standards in every pill.
order fluoxetine
Setting global standards in pharmaceutical care.
Practical advice, always appreciate posts that simplify the process! A free resource on Amazon launch strategies (including sourcing and avoiding common errors) could add value to readers. This may help many people.
Hey Fellas! Looking For Best Ice Makers? This Top 5 Comparison May Help You Make Inform Decision!
Great insight! Managing cloud servers often seems complex, but Cloudways takes the stress out of the equation. Their platform delivers powerful performance without the usual technical headaches. It’s an ideal solution for those who want scalable hosting without getting lost in server configurations. Definitely worth checking out for a smoother hosting journey. Keep up the excellent work! Explore more through the link.
URGENT: Cloudways 30% discount ends May 31st (code: HAPPYWP22). Their cloud infrastructure + WordPress optimization is unmatched. Global CDN, advanced caching, SSD storage – perfect for high-traffic sites. Don’t miss this!
Love this creative idea! The lazy Susan twist makes it so fun and practical for holiday decor. Thanks for sharing the detailed steps!
Located conveniently and offering premium wellness therapies, it’s the finest Spa In Ambamata for travelers and locals.