Glitter is like wildfire. It needs to be controlled or else it will cause irreparable damage. Spill one vial of glitter at your craft desk and you’ll find that same glitter in the produce drawer of your fridge. Glitter manages to get anywhere and everywhere.
I have a few tried and true tricks for making the best of glitter without making a mess with it. You can make glitter tape with double-sided adhesive which really helps keep the glitter corralled. You can also use a sticker maker to keep your glitter under control. Or, you can follow today’s tutorial with a new take on glitter:
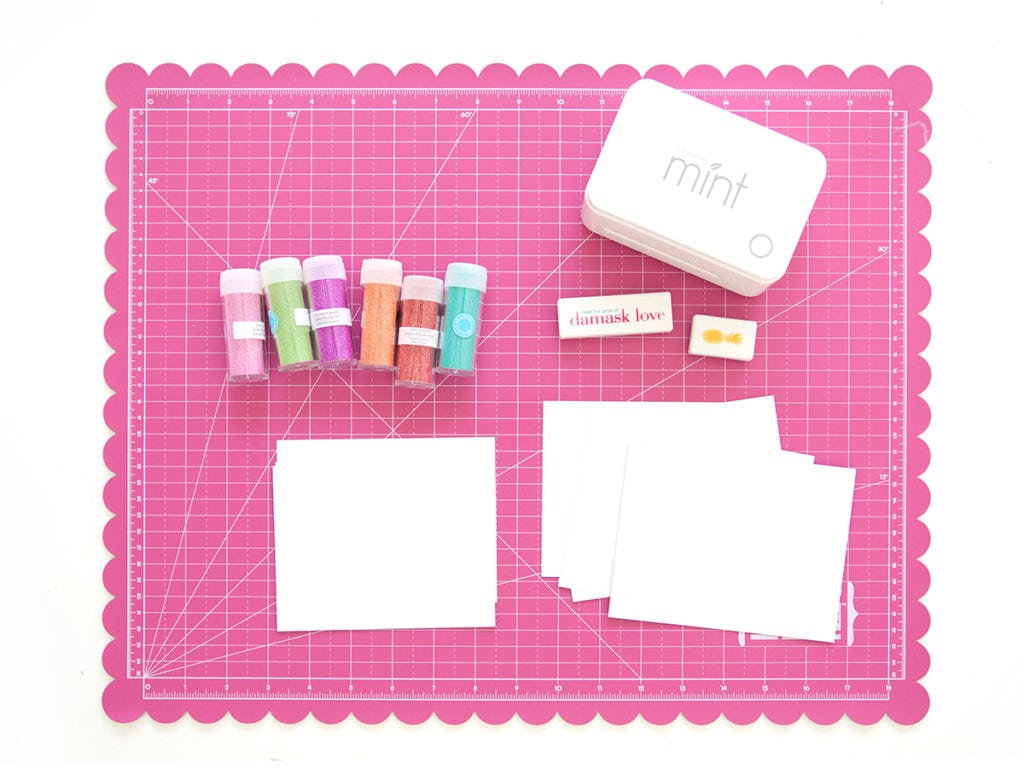
You’ll need:
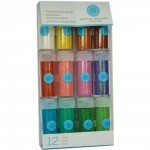
- Glitter
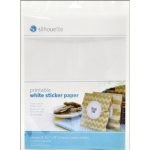
- Sticker Paper cut to 4.25″ x 5.5″
- Plain white cardstock cut to slightly smaller than the sticker paper
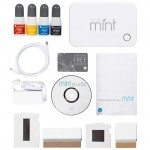
- Custom stamps made with your Silhouette Mint
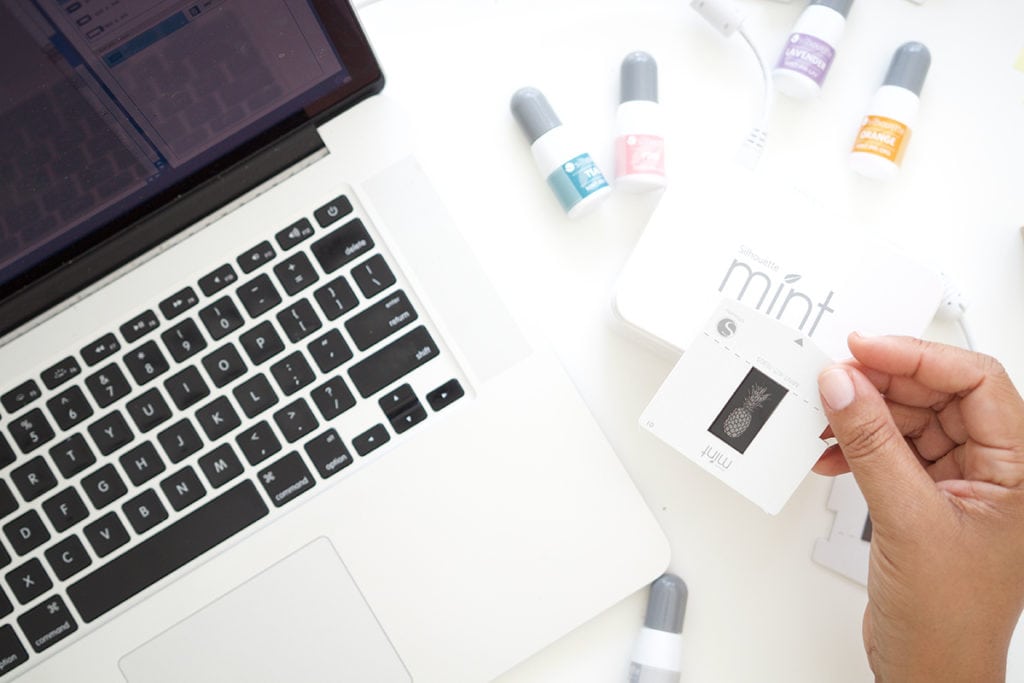
You know I’m a Mint lover and I put it to work on creating custom messages for my notecards. With this little workhorse of a machine, you can make your notecards say whatever you want. Take a closer look here to see exactly how this guy works.
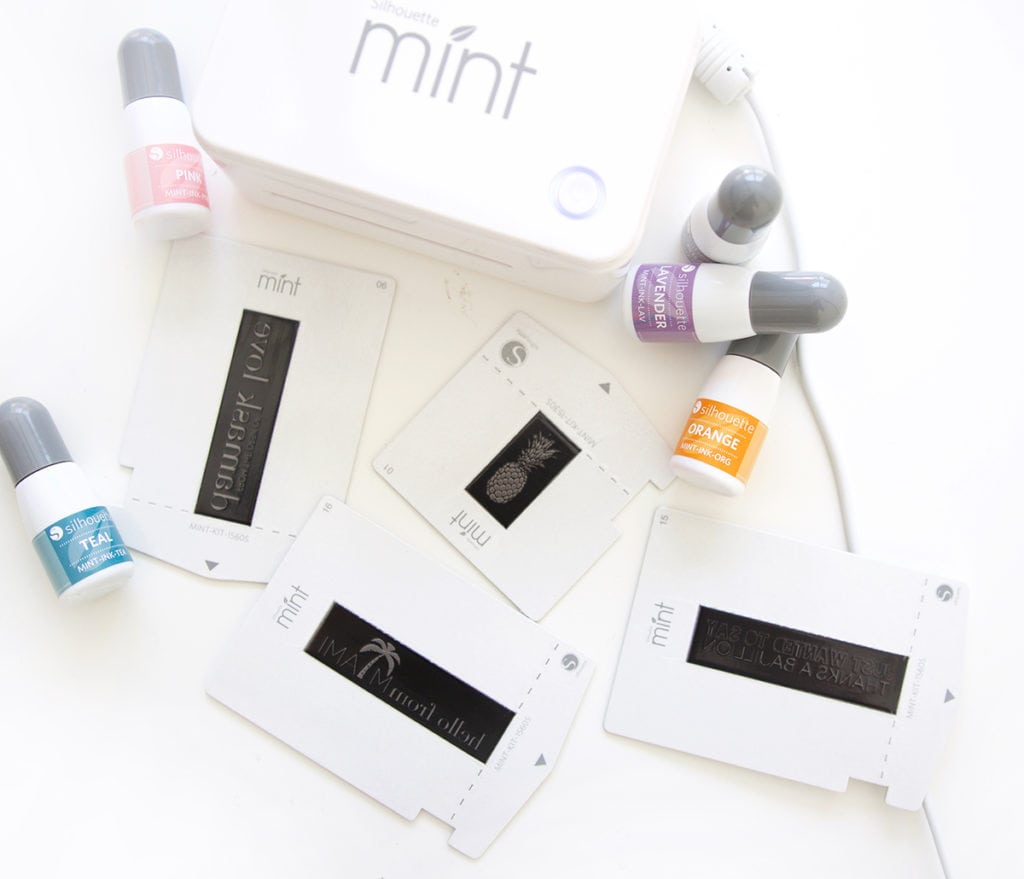
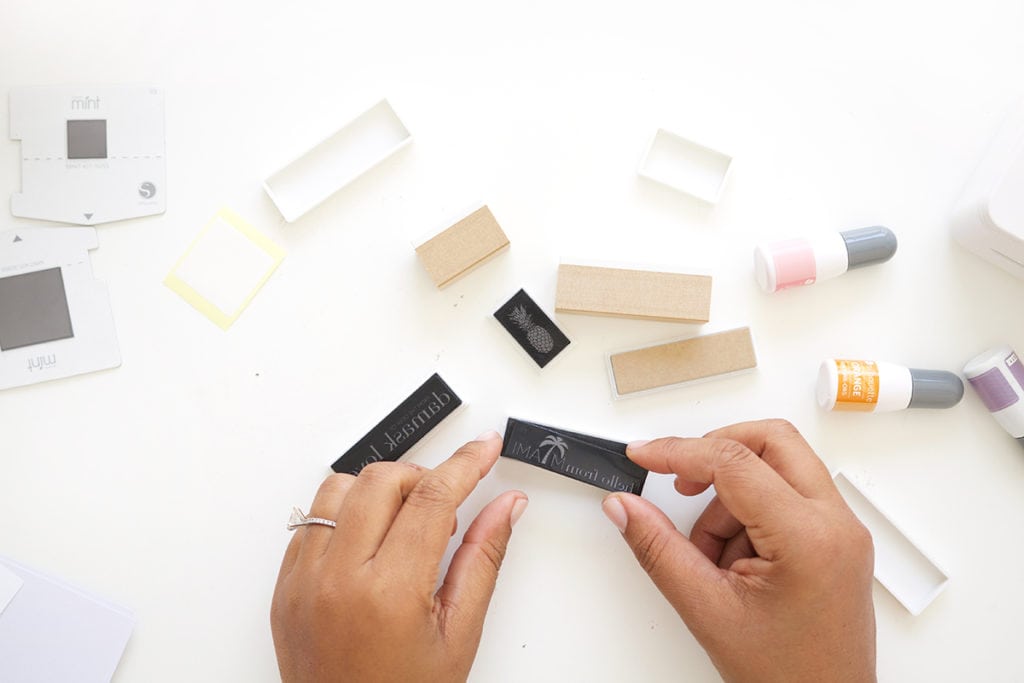
With my stamps made, it was time to create the glittered notecards.
INSTRUCTIONS
Peel off the backing of the sticker paper / place the plain cardstock directly onto the sticker paper, leaving a small border around the edge / sprinkle glitter around the exposed edge / use your finger to rub it in / brush off the excess glitter
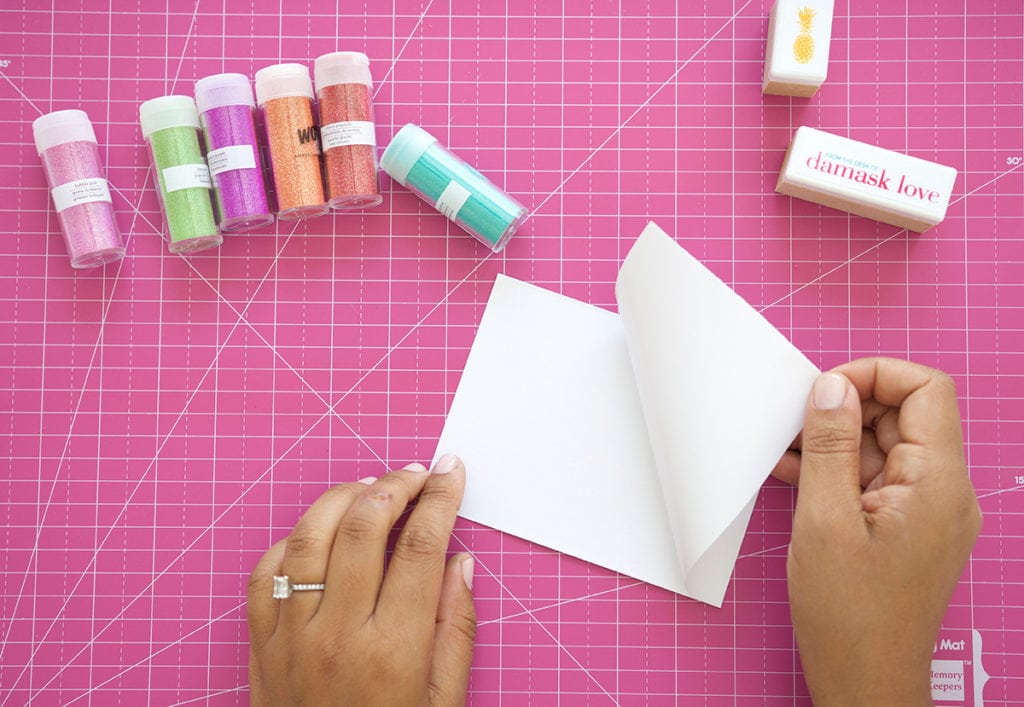
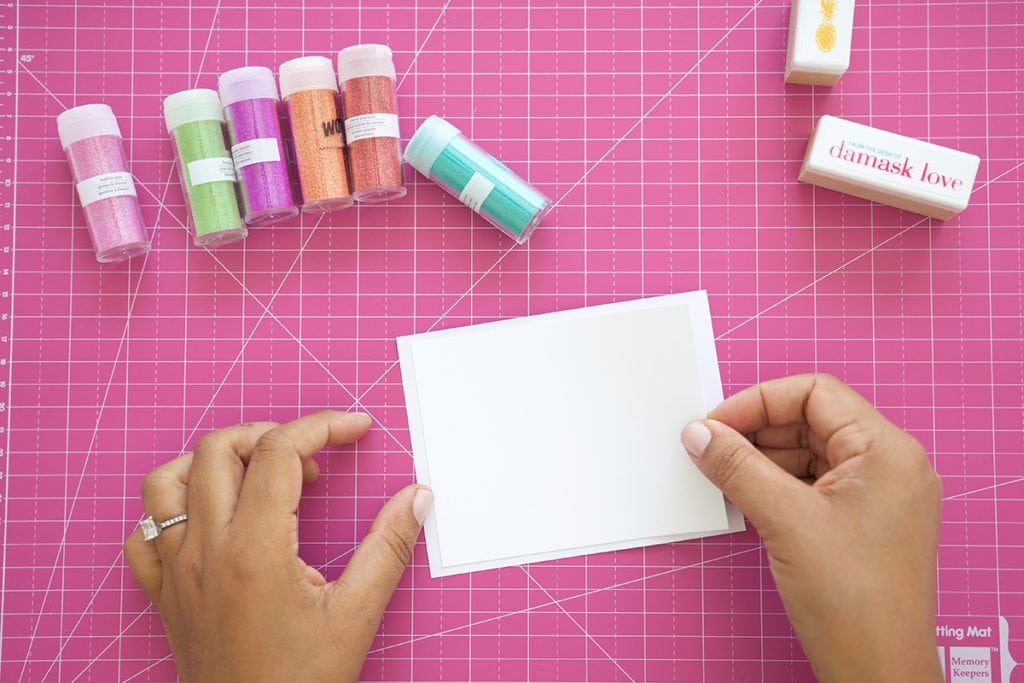

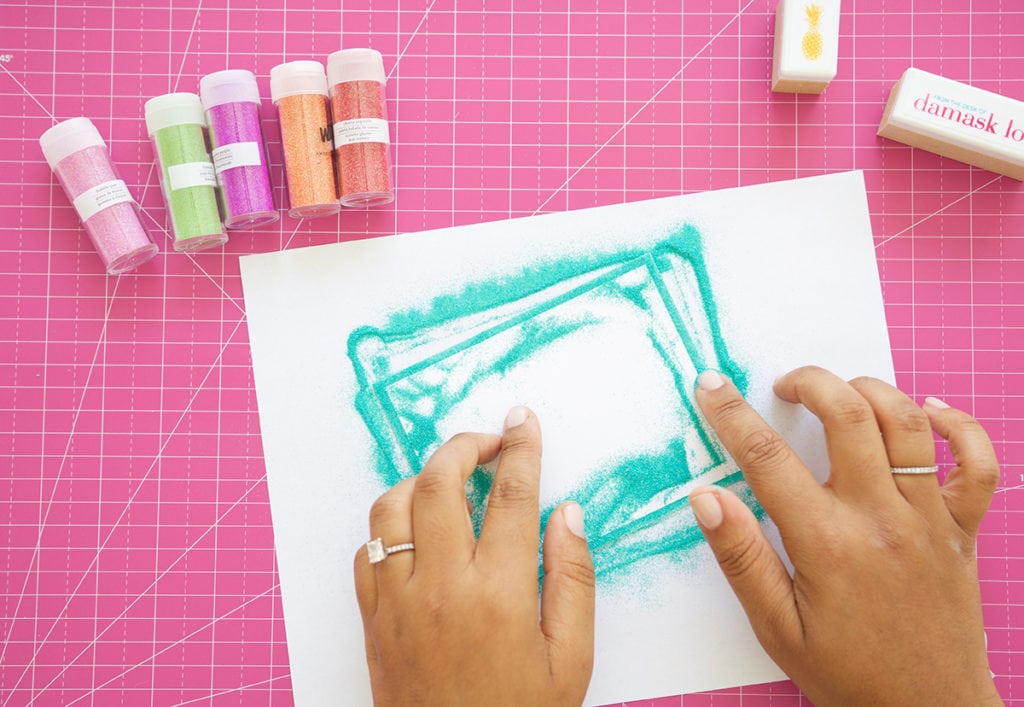
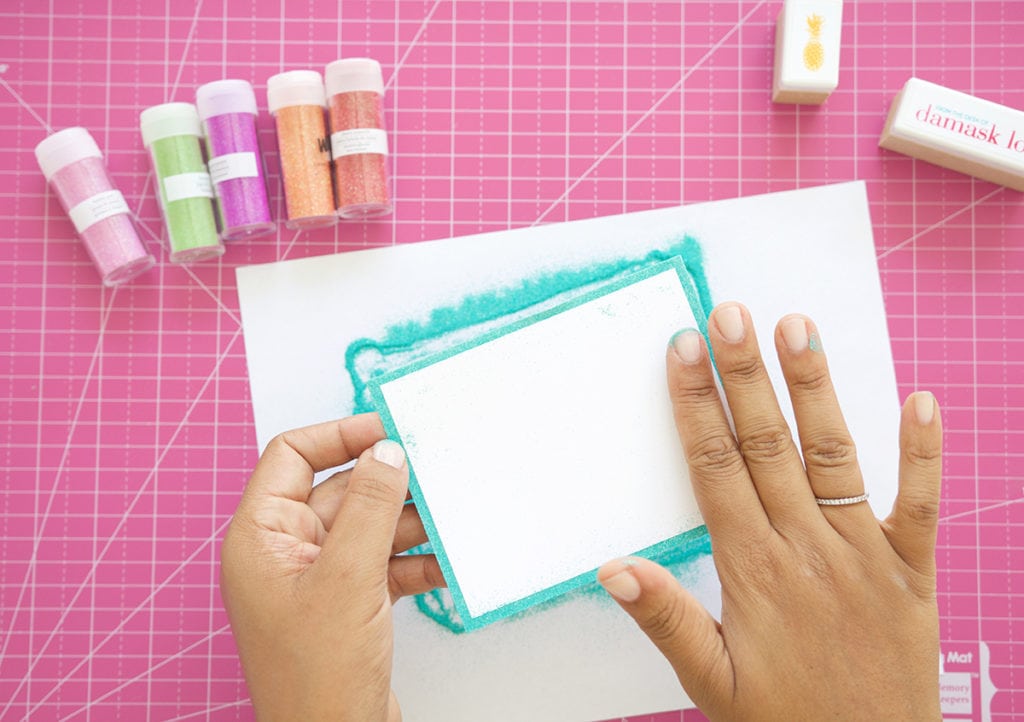
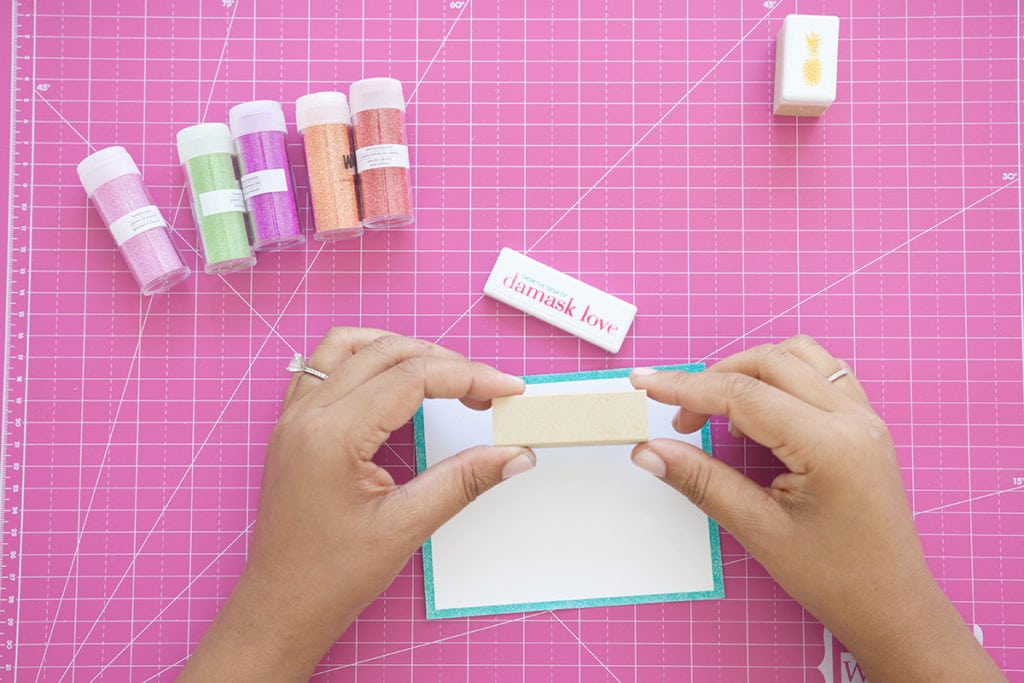
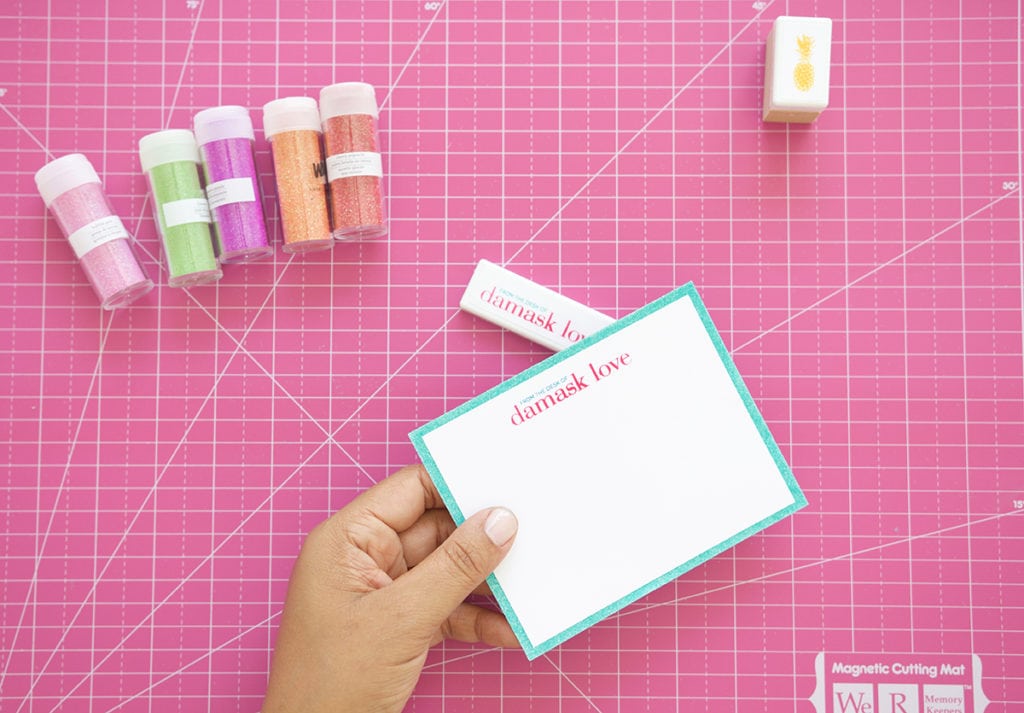
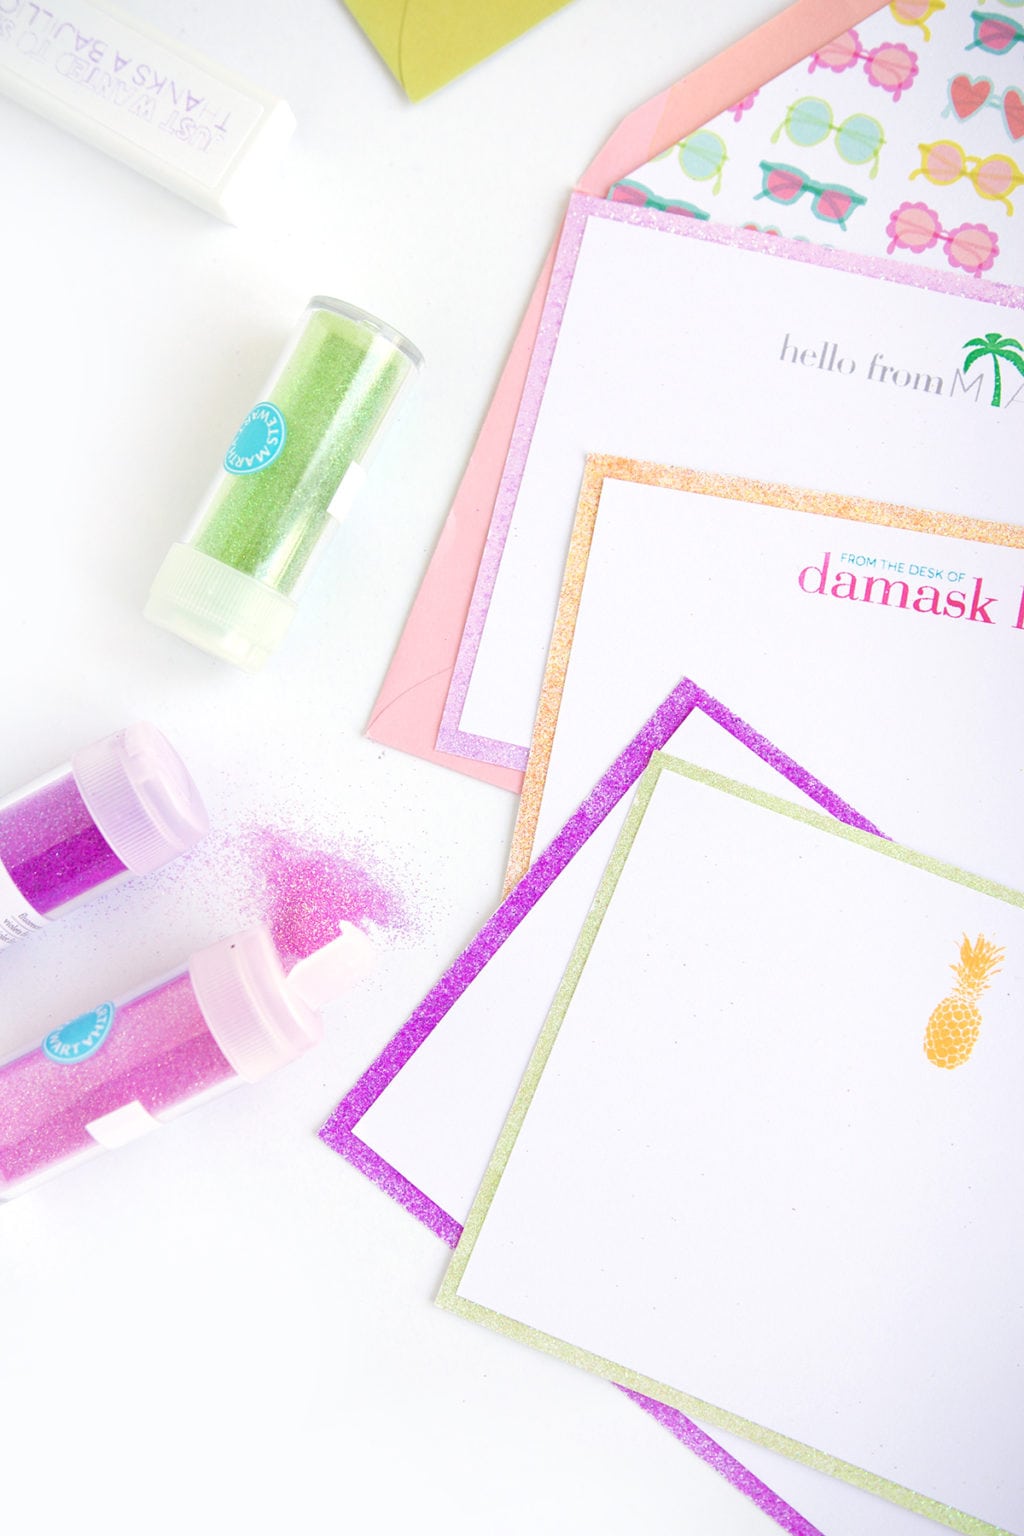

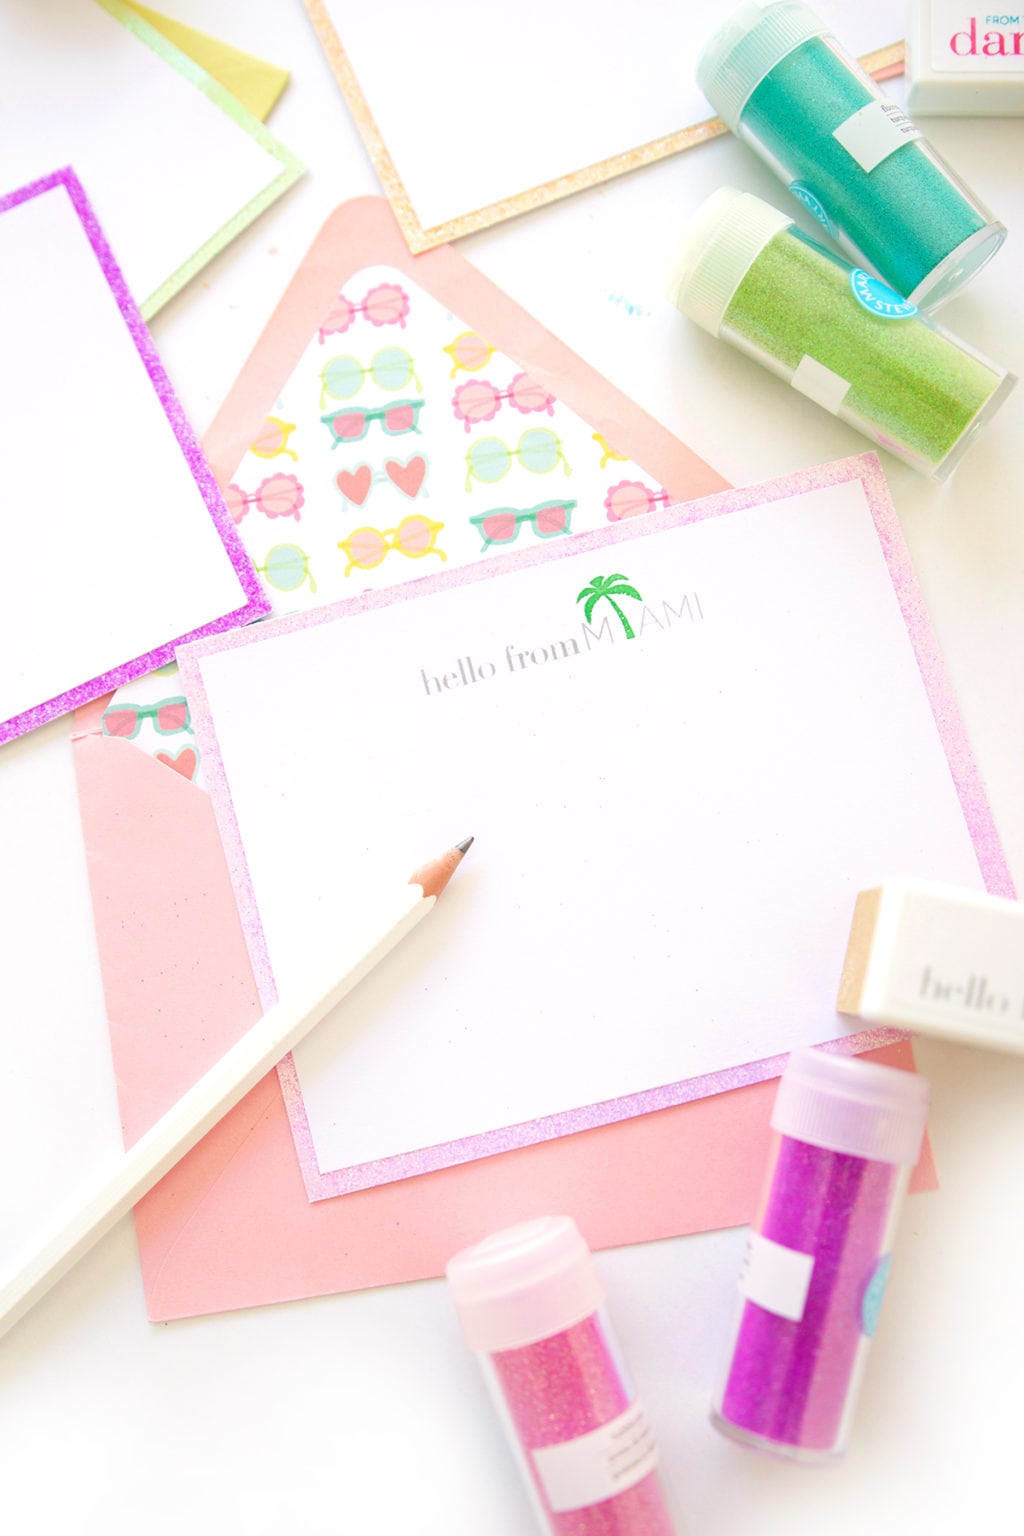
This simple glitter technique paired with custom stamps makes for impressive stationery that you can make in minutes. Just stamp whatever greeting you want and you’re done! Have you checked out the Silhouette Mint yet?






пин ап вход – пин ап казино
cialis without a doctor prescription [url=http://tadalafileasybuy.com/#]TadalafilEasyBuy.com[/url] Tadalafil Easy Buy
пин ап вход – пин ап
Kamagra kaufen ohne Rezept [url=http://kamagrapotenzmittel.com/#]Kamagra Oral Jelly kaufen[/url] Kamagra Gel
Kamagra Gel: Kamagra kaufen ohne Rezept – Kamagra Gel
online apotheek: Online apotheek Nederland met recept – Apotheek Max
Kamagra Oral Jelly kaufen [url=https://kamagrapotenzmittel.com/#]Kamagra Oral Jelly kaufen[/url] kamagra
Betrouwbare online apotheek zonder recept: Online apotheek Nederland met recept – online apotheek
Beste online drogist [url=https://apotheekmax.shop/#]online apotheek[/url] online apotheek
Apoteket online: Apotek hemleverans idag – Apotek hemleverans idag
https://kamagrapotenzmittel.shop/# Kamagra Gel
Apotek hemleverans recept [url=https://apotekonlinerecept.shop/#]Apotek hemleverans idag[/url] Apotek hemleverans idag
ApotheekMax: de online drogist kortingscode – de online drogist kortingscode