Seriously, when will she run out of ways to make a damn notebook?
Not today, people. Not today.
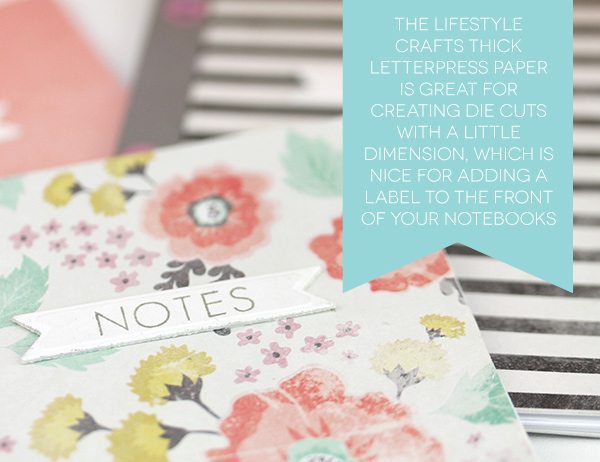
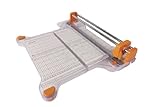
You can stitch em, you can glue em, or you can just staple them. Well today we’re adding eyelets to the party using one of my very favorite tools, the Crop-A-Dile. Now there is a good chance you have no clue what I’m talking about. Here’s the rundown.
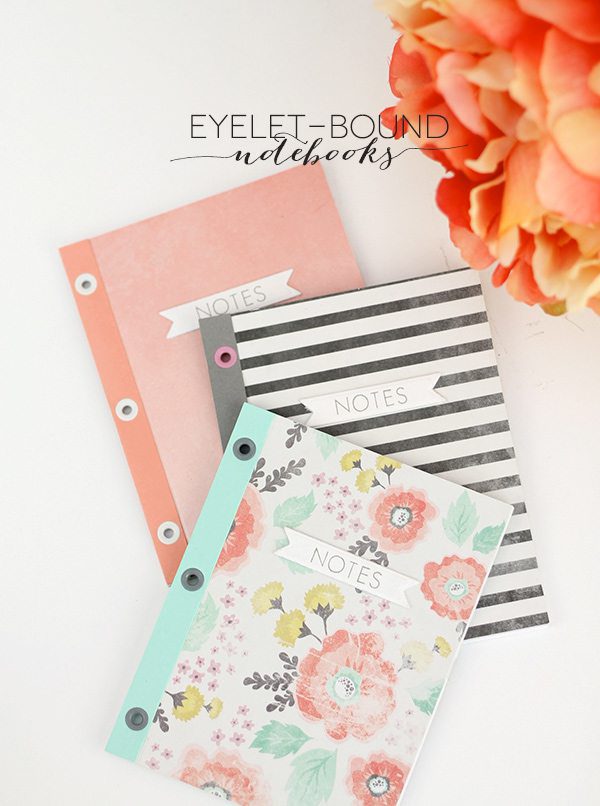

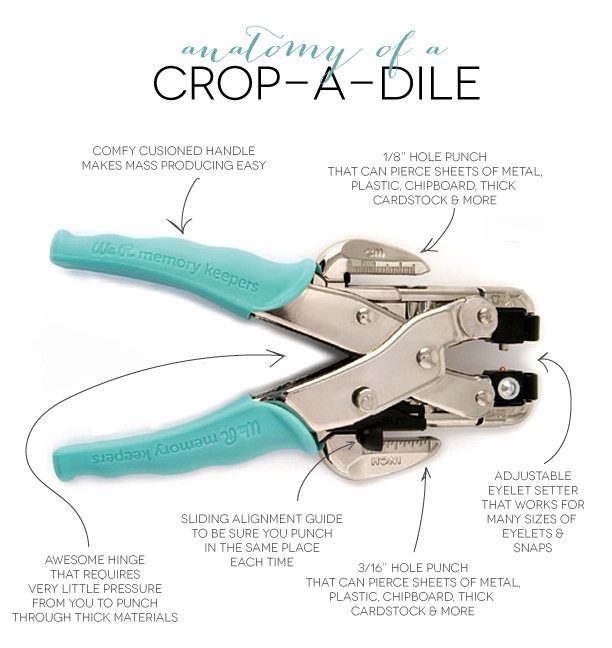
Now that you’ve familiarized yourself with this almighty tool, here’s a look at how I used it to make these little notebooks. Trust me, you’ll be happy that I’m making another notebook…or maybe you can just lie to me and say that you are.
 SUPPLIES:
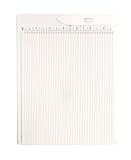
- Martha Stewart Mini Scoring Board
- Embossing Stylus
- 1/2″ strips of colored cardstock
- Eyelets
- 4 1/4″ x 5 1/2″ text weight paper
- 4 1/4″ x 5 1/2″ patterned paper
- Crop a Dile
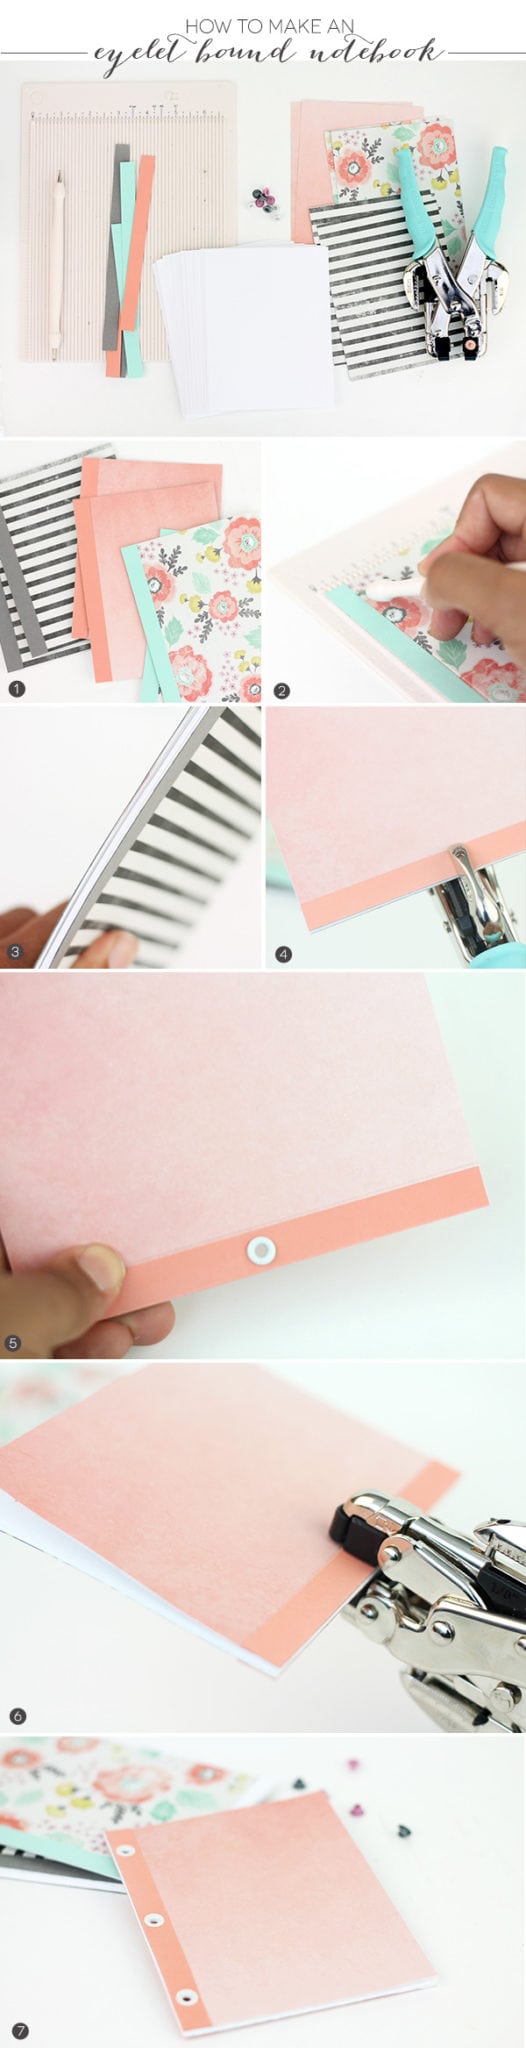
INSTRUCTIONS:
{1} Adhere strips of cardstock to the edge of the patterned paper
{2} Score the patterned paper right next to the solid cardstock edge
{3} Place a small stack of paper between the covers
{4} Use the 3/16″ hole puncher to punch the center of the notebook edge
{5} Place an eyelet inside the punched hole
{6} Use the eyelet setter to clamp this center eyelet close
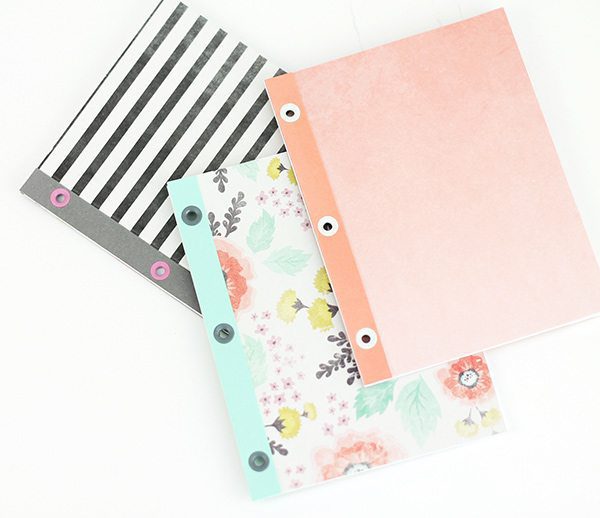
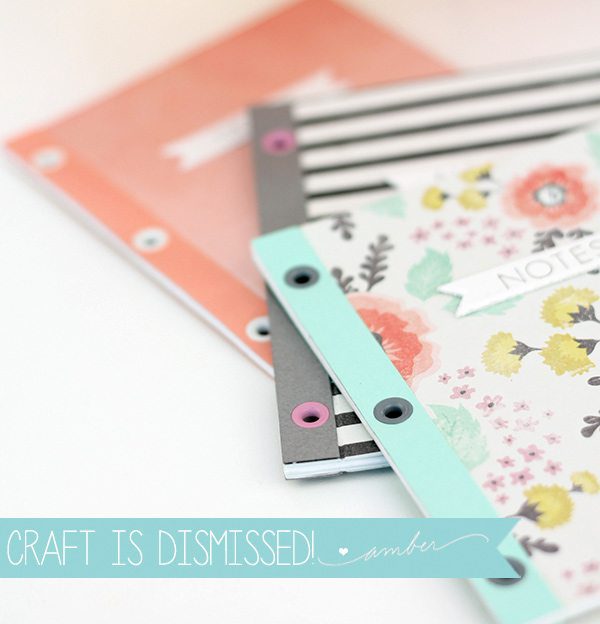
{7} Punch holes on the top and bottom of notebook edge and secure with eyelets
 At this point, you’re pretty much done, and you’re saying to yourself, “thanks, amber for another notebook tutorial!” Right? Humor me.


Not at all, Amber! I’m more like “What creative way will Amber show us how to make another style of notebook?” I love today’s blog post and look forward to using up those pesky eyelets that I have in several bead boxes. You never cease to amaze me with your clear pictures and instructions. Thanks so much for the inspiration!
There is no such thing as too many notebooks, therefore, you can never have enough notebook tutorials 😀
Amber you never cease to amaze me!!! I freaking love notebooks and you have given me a reason to stop buying so many and to just make my own!! Thanks as always for the continued inspiration!! it is truly appreciated.
Love this tutorial. Will give it a try.
Brilliant! Love the eyelet idea to bind the notebooks.
These are seriously adorable!! I wanna make these for my ladies for our next Bible Study!! Pinning!
You just keep showing us different ways to make our notebooks.
I love learning different techniques! No really!
Your tutorials are great!! Can you tell me how much paper I can put inside and are those eyelets really big to hold all of that together!
Thank goodness!!! FINALLY something for me to do with all these eyelets!! LOL!!!
Super cute idea!!!!
I feel like I am in notebook heaven – these are charming!
Love the patterns too – marvelous job, Amber 🙂
Amber, the eyelets give the notebook a nice touch. I bought that beautiful paper awhile ago and still haven’t done anything with it. Now I know how I will be using it:)
I’m not gonna lie – these are the cutest of all of the notebooks you have posted – I really had come to hate and neglect my eyelets, now I can have a reason to appreciate them! I might even attach something through one of the holes! Thanks again for the great post!!!
These are so sweet! Planning ahead and thinking stocking stuffers!
Amber thanks for this tutorial! These will make cute gifts I can make and give to my sisters and sisters-in-law for Mother’s Day!
Awesome tutorial!! I bought my crop-a-dile in the beginning of my crafting journey because it is one of the ‘must have’ tools, but I don’t nearly use it enough! This is my fave finishing techniques of your notebook tutorials so far. Thanks Amber!
You know, this is a great idea. I NEVER use my Crop-a-dile, and it would be a good way to use up some of those old eyelets. Just wish I had some of that gorgeous floral patterned paper you used. WIll have to check out my stash and see what I can find!
These are adorable! Time to resurrect my unused Crop-a-Dile and all those old eyelets. How many sheets of paper were you able to put into your notebooks?
I love your notebooks. It’s one of those things that you just can’t have too many of. And they make great gifts. Now I must run out and buy a new tool to make these with. Thanks for sharing.
Great use of scrapbooking materials! 🙂
Completely charming notebooks. I can see a pretty pen or pencil on a string, tied through one of the eyelets.
Hi! Just found your blog on Pinterest and I’m soooo happy to know that there are other young people out there who also love stationary, bookbinding and just making beautiful things in general… But I’m sad cause I was looking for this amazing tool you described and I found out that here in Brazil it’s about $150,00… So I’ll have to live without the awesome Crop-a-dile a while…
Amber, do you know how to remove an eyelet? I need to change the elastic band I put around a notebook, but can’t figure out how to remove the darn thing!
These are adorable!! Now I need to find cute paper like yours!
you are so amazing.
I made two of these in 4”x6” size using printed paper for the front and chipboard for the back, then I tied ribbons through the eyelets. They can be used vertically or horizontally (or both!).