Functional.
Accessible.
Inexpensive.
Pretty.
Those are my four criteria when it comes to craft room organization. I’d be lying if I told you that my current organizational systems meet each of these criteria, but I’m hoping to get there slowly but surely.
Once, I organized my excess spools of ribbon into neat containers on a shelf in my closet. Every time I reached for a container, the rest fell on me, nearly causing the dramatic demise of a craft blogger. “Here lies AmberKG. Found lifeless under a stack of grosgrain and baker’s twine.” This system was not accesible.
Or my current system of organizing patterned paper pads in a huge plastic tub in the middle of the floor. Not pretty.
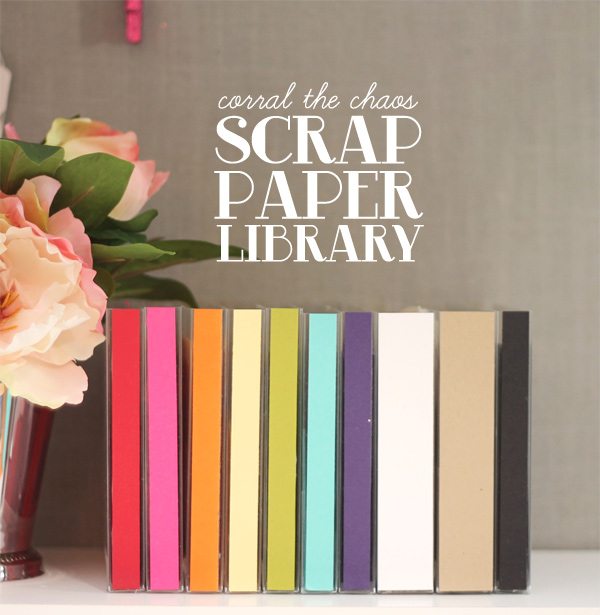
Today, I have another Corral the Chaos idea for you that gets a checkmark for all four categories. It’s a super simple solution…so simple that I’m almost embarrassed to show you. Truth is though – this is how I organize my scrap paper.
In my Craft Room Tour post, I showed you a picture of my main cardstock storage…
This White Mesh File Cart from the Container Store serves as my primary storage for full sheets of cardstock as well as large scrap pieces of cardstock. I bought it during a 40% sale, which made it affordable and since it’s on wheels and stores neatly beneath my desk, it’s very accessible too.
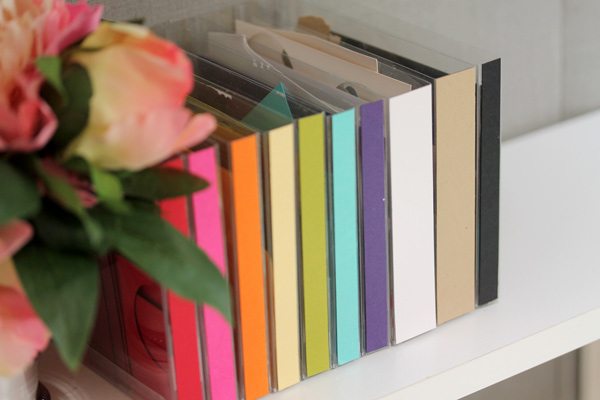
Eventually, though – my scrap pieces of cardstock get too small for this system and I have to move them to the “Scrap Library” – where little pieces of scrap paper go for their one last shot at paper crafting fame!
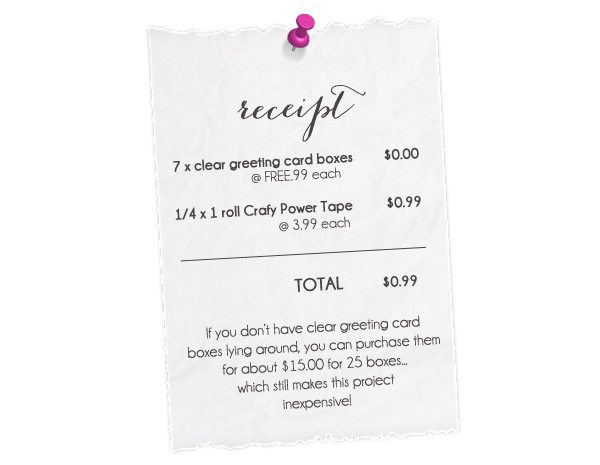
 {1} Clear greeting card boxes: I have a crazy big stash of these simply because they packaged all of my Papertrey Ink stamp sets! I was never quite sure what I’d do with them, but I’m happy I kept them around because they came in handy for this easy peasy storage solution. If you don’t have a stash of clear greeting card boxes, you can purchase them in a variety of sizes from HERE. My boxes measure 5.5″ x 5.5″ and work perfectly for my “not-so-big” scrap paper leftovers. If you have a ton more scraps, you can use bigger greeting card boxes.
{2} Double-sided adhesive. I used Crafty Power Tape because it’s extra sticky!
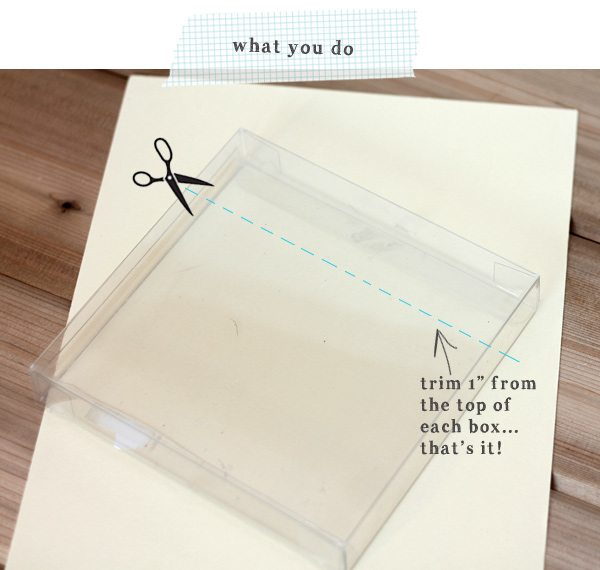
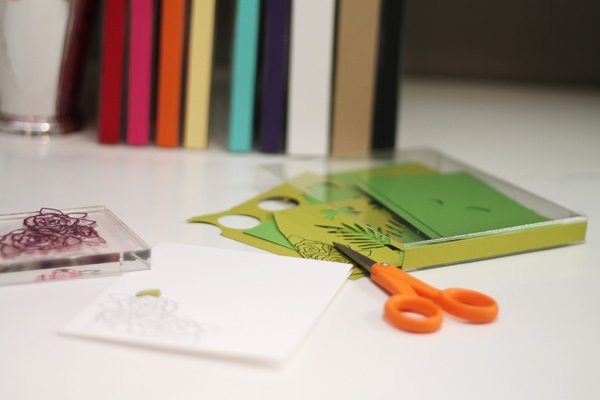
To make your own library, flatten the clear box and trim one inch off the top.
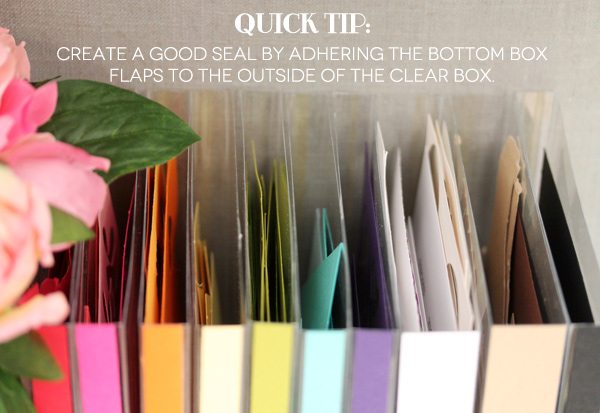
Securing the bottom flaps to the OUTSIDE will ensure that slips of paper don’t get stuck in the flap of the box or slip through and fall out.
These plastic containers offer a easy and durable way to organize your scraps. I can reach for these again and again and not worry about too much wear and tear. They also fit on the shelf just above my crafting desk, which means I can reach for them easily and make good use of my itty-bitty scraps of paper.
- Have you joined the Spread the Love Campaign being hosted by Clear & Simple Stamps? All the information you need is HERE in the original post along with a link to the entries where you’ll find lots of blog crushes revealed. And if you need some Spread the Love inspiration, visit the Clear & Simple Stamps Blog for projects from the design team.
- Tomorrow is the last installment of the “How to Take Blog Photos” series where I’ll be talking about editing and saving for web. What should we talk about next? Contact me to send in your questions for the Office Hours feature on Damask Love.






Oh, if only my scrap stash was that small!
LOL! Yeah – Since I typically work with white cardstock, my scrap stash is not huge! Hopefully this idea will give you some inspiration for making it work in your own craft space though!
You are a GENIUS!!! Love this and I am going off to make this library right after I post this comment to you 🙂
LOVE your site by the way!!! <3
I LOVVE this idea! I knew I was saving all those Papertrey boxes for something!
Genius!!
So inspired Amber! Wouldn’t you know that I’ve thrown out those larger boxes that I received from PTI? I have a few of their smaller sized ones that have come with their newer sized stamps. I may give it a go and see how that works out. Thanks for the great idea!
Linda
I used to stash them too! Just a few months ago I threw them out because it had been so long and I didn’t use them for anything!!! Now I wish I hadn’t. Thanks for the great idea! I can’t wait for the next installment of How To Take Blog Photos. 🙂
I’m going to have to get one of those rolling carts from the container store. Perfect! Thanks for the ideas Amber.
How perfectly functional, thanks for sharing! Love the idea for the Papertery boxes (which I couldn’t throw out either!)
LOVE this! I wish my craft area was large enough to have a rolling paper cart like yours, it’s gorgeous! Where did you get your super colorful hanging file folders? Or did you create your own for that?
OMGosh, Amber…this is PERFECT…GENIUS!!! Thank you so much for this idea! I bought a pack of clear boxes from PTI a while ago, and now they have a “purpose” in life 🙂
Off to get organized…thanks again!!!
OMG! What a fantastic idea Amber. I have just been putting the smaller scraps into a sandwich baggie right in the file folders with my bigger pieces. That works pretty well, but I think I’d be more inclined to tidy up my scraps more regularly (as I make them) if they were out in the open like this. I hate wasting time on organizing my stuff when I could be using it, but this is a pretty quick fix, and will make things more efficient in the long run, so is a good time investment. Might have to revamp my scrap system this weekend!
Wow, thanks so much for this. Unfortunately, being in the UK I don’t have an Papertrey products as the shipping cost is ridiculous but I’m sure I can find something similar to get me organised, hate not having a proper home for the teeny weenies 🙂
Aha – AHA!!!!! Fantastic idea, thank you! Looks great too 🙂
wow~ this is so smart! i really love how neat your storage solution is. thanks for sharing
Now this is brilliant. Love this terrific idea cuz I struggle with my myriad mess of scraps.
I’ve been storing my scraps like this for ages. I attached mine together and decorated the outsides as a group and they act as decor as well. Once full, it’s easy to see which colour is what so the colour coded spines aren’t necessary. Good post though for people who might not have heard of the idea. I wish is trimmed mine a bit shorter though as the bottom is a bit hard to access since they are stick together.
Yay! Thank you for this idea! Finally, something useful to use those PTI boxes for!
Great idea Amber! I started a container where I keep all my little scraps – now I have about 3 of them!!
What a great idea! When I saw this pic on Instagram I wondered if those were PTI boxes. My first thought after reading your post – doable! 🙂 can’t wait to try this. Currently my scraps are in a big envelope. I do use it all the time, but it’s a mess.
genius! Must do this sooooon!
I am forever inspired Amber. This post was excellent, I got some awesome tips I will implement immediately. Thank you so much for sharing.
I am so glad I kept all of these boxes now. I know what I’ll be doing tomorrow. Thank you so much for sharing this with us.
Hi Amber, is your file cart letter or legal size? I am going to order one. Thanks for sharing such great ideas! 🙂
I have the letter sized cart. Hope you enjoy yours!!
Great, thanks for responding quickly! I appreciate it.
Oops–need one more dimension on those clear boxes. It *seems* on quick perusal that they come in 1/2 inch and 1 inch widths. Got the height and width already, thanks.
I actually used both widths. the 1″ came in handy for white, kraft and black paper scraps which I have much more of. HTH!
Thanks much!
Great idea. My scraps currently reside in plastic shopping bags!! Not easily findable. Might try and set up a scrap library like this. Thanks for the tips
This paragraph gives clear idea for the new people of
blogging, that genuinely how to do blogging
and site-building.
Great idea. https://www.haipak.com/