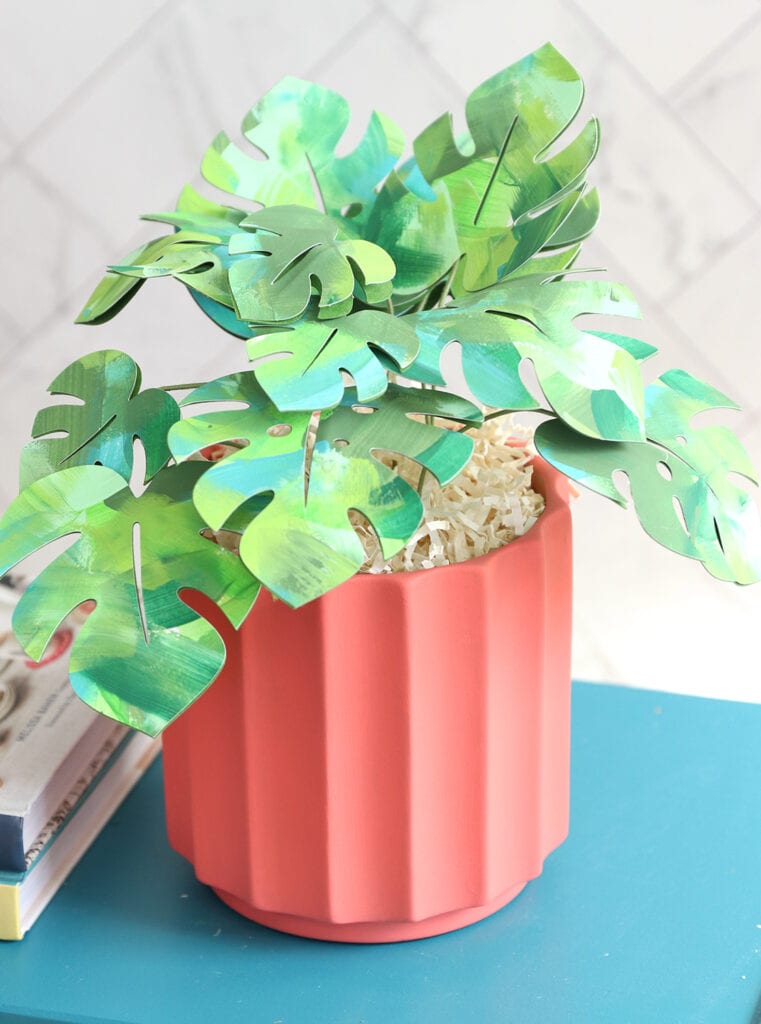
The other day I wandered the aisles of JOANN to see what would inspire me. I ended up in the paint section and picked up a few basics. I had an idea in my head but I wasn’t completely sure if it would work out. I wanted to make a super easy paper plant with fun painted textures. You guys, it came out INCREDIBLY!
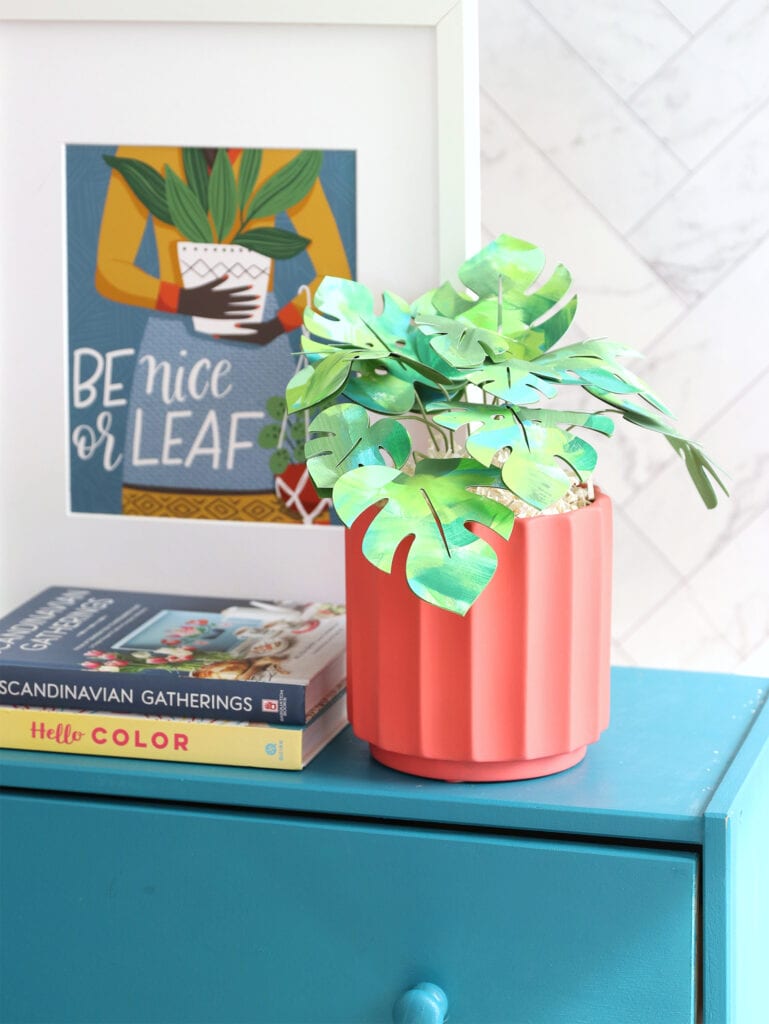
This paper monstera plant project is super easy to create with the help of your Cricut Joy. I love how easy it was to paint the leaves and that grooved planter from JOANN is a showstopper. This totally looks like something that belongs in the office of a fashionista, right?!
Take a look at this video to see exactly how it’s done.
Here’s what you’ll need to create this project. Everything you need is from JOANN!
- Grooved Planter
- Assorted Green Acrylic Paints
- Paint Brush
- Floral Wire
- Styrofoam Discs
- Sketch Book
- Cricut Joy
- Green Cardstock
- Paint the grooved planter and set aside to dry
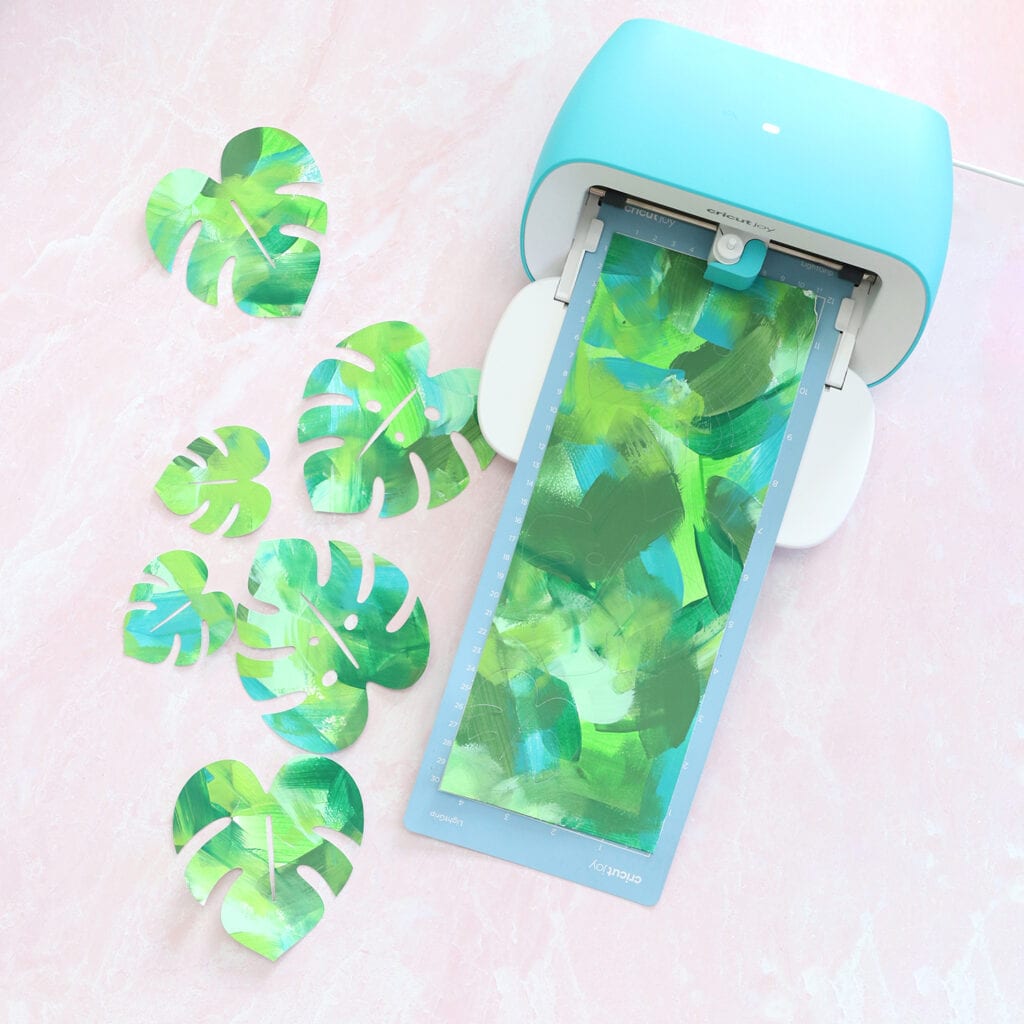
- Use a wide paint brush and green paints to cover a page of the sketch book. Allow to dry completely.
- Cut out monstera leaves from the painted paper and the green cardstoock using the Cricut Joy. Grab this exact project in Cricut Design Space by clicking HERE.
- Use hot glue to adhere the floral wire between the paper leaves
- Place styrofoam discs into the planter and cover with paper shred.
- Stick the floral wire into the foam and continue adding leaves until your plant is complete!
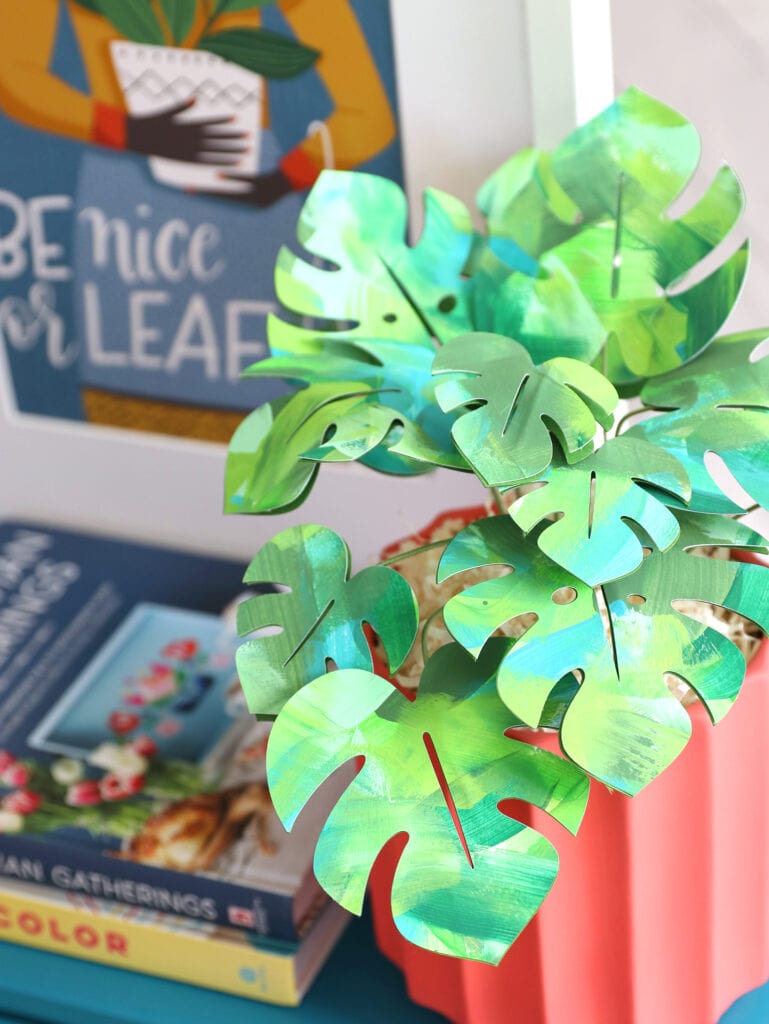




Creating a lifelike paper Monstera plant is easier than you think! Follow these step-by-step instructions for a stunning DIY project.
This tutorial is fantastic! The instructions are clear, and the end result is a beautiful paper Monstera plant. Love it!
Your post resonates with me. I can relate to some of the challenges you’ve mentioned, and it’s reassuring to know I’m not alone. Keep sharing valuable insights!
Your post resonates with me. I can relate to some of the challenges you’ve mentioned, and it’s reassuring to know I’m not alone. Keep sharing valuable insights!
nice,that’s really unexpected information I’m looking forward to the next one
Cut a brown paper strip the same length as the bottle cap. Leave some room between each leaf as you stick the leaves along it. Roll the brown strip, gluing it together as you go. To make the plant bushier, wrap more leaves around the brown foundation.
best crypto site https://iziswap.org/
WOOFi Finance: A Comprehensive Guide to One of the Leading DeFi Platforms in 2025, https://paragraph.xyz/@vanillacrypto/woofi-finance-staking-how-to-earn-passive-income-in-2025
https://x.com/AltcoinAshley/status/1890117569379786979, WOOFi Finance Leading DEX 2025
WOOFi Finance Trading Guide: How to Trade Crypto in 2025
https://sos-ch-dk-2.exo.io/surgical-4/surgical-oncology-for-pancreatic-cancer.html
Need fast, secure, and low-fee cross-chain transfers? Stargate Bridge is the solution you’ve been waiting for!
Enjoy the benefits of instant blockchain transfers with Stargate Bridge. Say goodbye to delays!
That sounds like such a fun and creative project! It’s amazing how a simple stroll through JOANN can spark such inspiration. The idea of making a paper monstera plant with painted textures sounds fantastic, especially with the ease of using a Cricut Joy.
Fast, secure, and trust-oriented – that’s what Stargate Bridge offers. A must-have tool in the DeFi world!
mitolyn
The dedication to high quality content shows. It’s like you actually care or something.
Learned a lot from this post, and here I was thinking I knew it all. Thanks for the humble pie.
The Writing is like a favorite coffee shop where the drinks are always warm and the atmosphere is inviting.
This article is a perfect blend of informative and entertaining. Well done!
We have simplified as much as possible the process of getting a driving permit, going through CA DMV practice test and finally getting ready for California CA DMV written test. Our goal is to ensure that our customers are served efficiently, reliably and conveniently.
The writing style is captivating. Finally, something that can keep my attention longer than a TikTok video.
canadian pharmacy ratings
https://expresscanadapharm.com/# canadian drug prices
canadian pharmacy in canada
canadian pharmacy online store
https://expresscanadapharm.com/# best canadian pharmacy
canadian valley pharmacy
The Division of Motor Vehicles has put in place an easy-to-use appointment mechanism that enables residents to plan their visits to the department for purposes of acquiring or renewing driver’s licenses and registration of vehicles. NJ State DMV
best instant tether casinos 2025
A place where customer health is the top priority.
how much is lisinopril 10mg without insurance
Their commitment to global excellence is unwavering.
Ethereum Foundation confirm $1.25M to Tornado Cash defense
Rocket Pool’s Ethereum staking service reaches $1B in TVL
Analysts : Bitcoin experiencing ‘shakeout,’ not end of 4-year cycle
Arbitrum whales transfer $18.5M in tokens following $2.3B unlock
online gambling site
The calm I feel at Charlotte Dog Park while my pup plays is the best kind of therapy for me.
Trusted by patients from all corners of the world.
how to get generic cytotec prices
The staff always goes the extra mile for their customers.
Always delivering international quality.
where can i get cipro
Their global network ensures the best medication prices.
Elon Musk’s X eyeing capital raise at $44B valuation: Report
Phantom takes second spot in Apple’s US App Store utilities category
Their loyalty points system offers great savings.
where buy generic lisinopril
All trends of medicament.
US Bitcoin reserve prompts $370 million in ETF outflows: Farside
Charlotte Dog Park is my pup’s paradise—he’s never been so free or happy anywhere else.
alo 789: dang nh?p alo789 – alo789 chinh th?c
Trump Opens 300x Leverage Trade After Call with Putin – Is This the Trade of the Century?
Trading Bitcoin’s halving: 3 traders share their thoughts
alo789in: alo 789 dang nh?p – alo789 dang nh?p
US Bitcoin reserve prompts $370 million in ETF outflows: Farside
Analysts : Bitcoin experiencing ‘shakeout,’ not end of 4-year cycle
My dog’s tail wags like crazy at Charlotte Dog Park—it’s his ultimate happy place.
Charlotte Dog Park’s friendly dogs and owners make it a highlight of our weekly routine.
Charlotte Dog Park’s grassy hills are my dog’s playground—he loves every second there.
Arbitrum whales transfer $18.5M in tokens following $2.3B unlock