As promised in my previous post, I am excited to share all of the behind-the-scenes craziness that has been going on at Damask Love!
This weekend was unbelievably jam-packed with craftiness.
This weekend, I participated in my first bazaar, where lots of talented vendors set up shop to sell their handcrafted wares.
I set up a table of my own, where I showcased a bunch of handcrafted Damask Love products.
I gotta be honest, the traffic at this bazaar was slow and sales were few and far between…but there is a silver lining to this cloud.
In my downtime, I made sure to take tons of photographs – I even had some time to edit my pics in Photoshop while I sat at my booth. Also, I now have some surplus inventory that I can add to my Etsy shop.
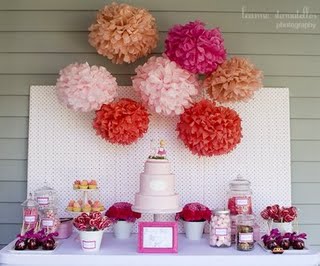
In the spirit of Damask Love cuteness, I wanted to set up my booth with bright colors and unique displays. In my search for inspiration, I came upon this image of a wedding dessert table.
image: Wedding Style Guide Blog |
I love the cake as a focal image, flanked with other fun goodies.
Now, I was not planning on baking a cake for my table but I do love the shape.
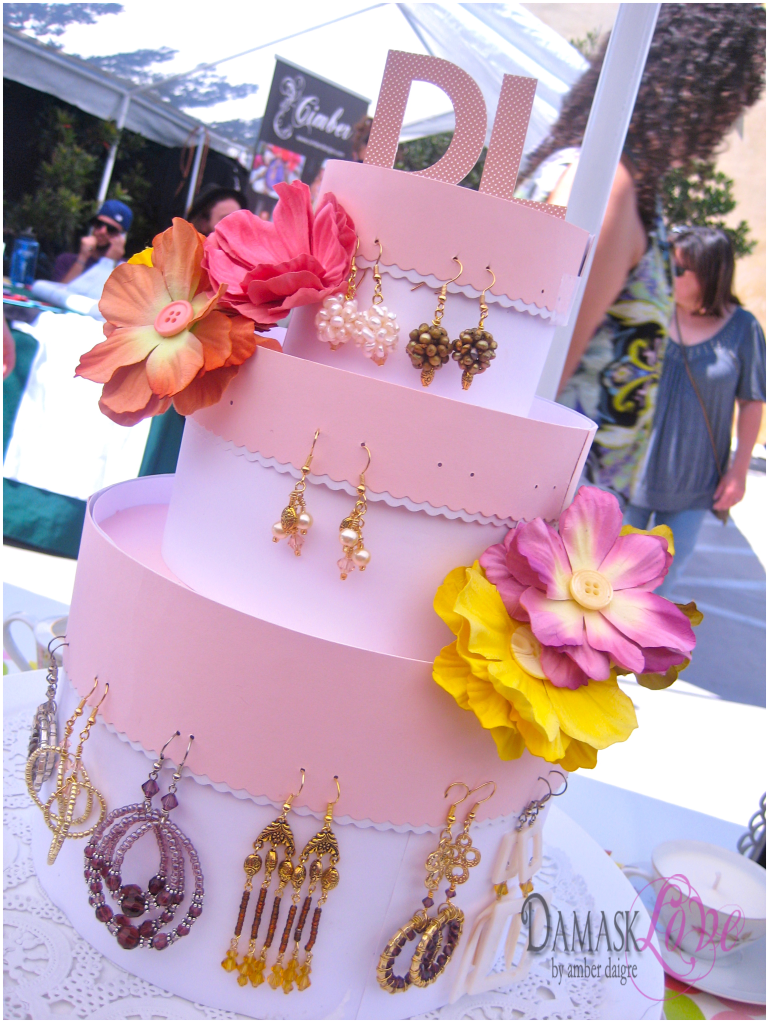
So I got to thinking…and thinking..and thinking and finally was struck with the idea of using Styrofoam cake layers to construct my own “wedding cake” and then using it to showcase my handmade jewelry!! Typically, these foam cylinders are used to create faux layers on wedding cakes – but I loved using them in a totally new way.
Now, be honest – you love that idea!
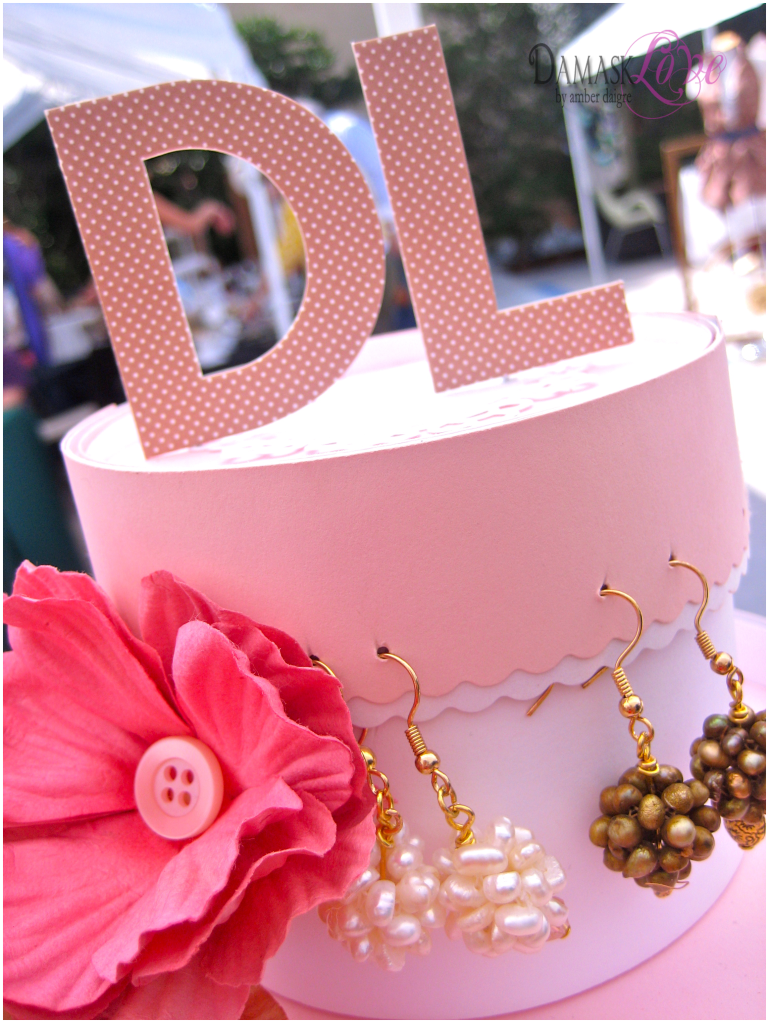
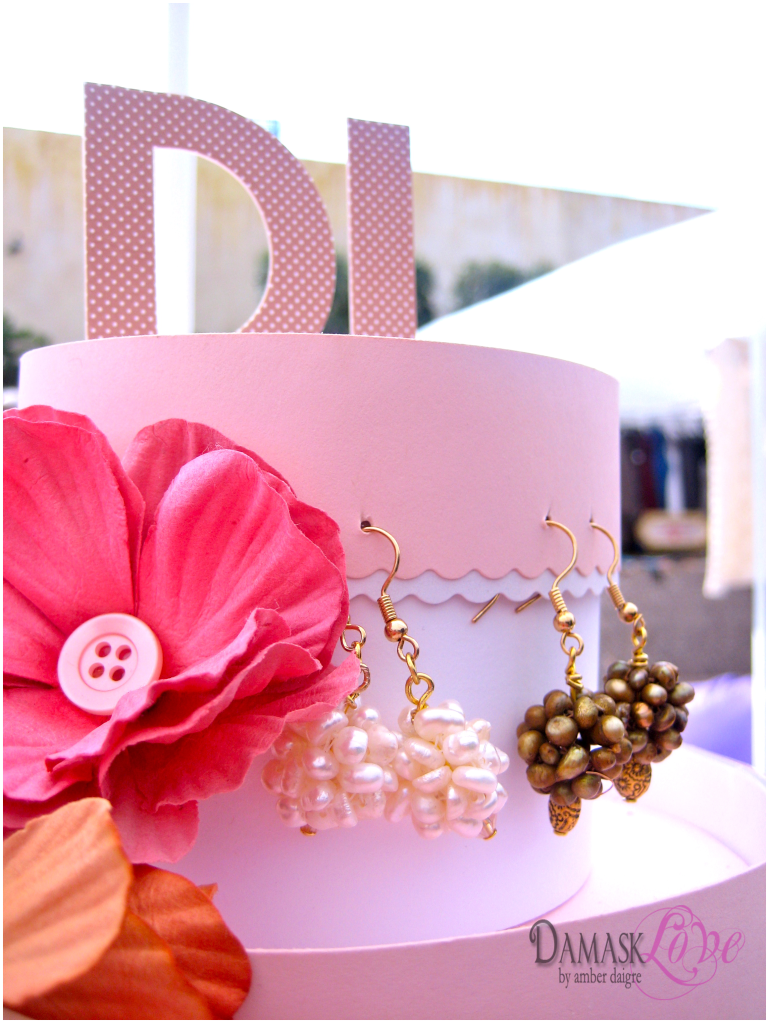
I put my papercrafting skills to use and covered the foam layers with cardstock and creating a scalloped edge were I could hang the earrings.
With the help of my friend Tanya, we decorated the “cake” – even topped it with a Damask Love monogram, made from chipboard letters!
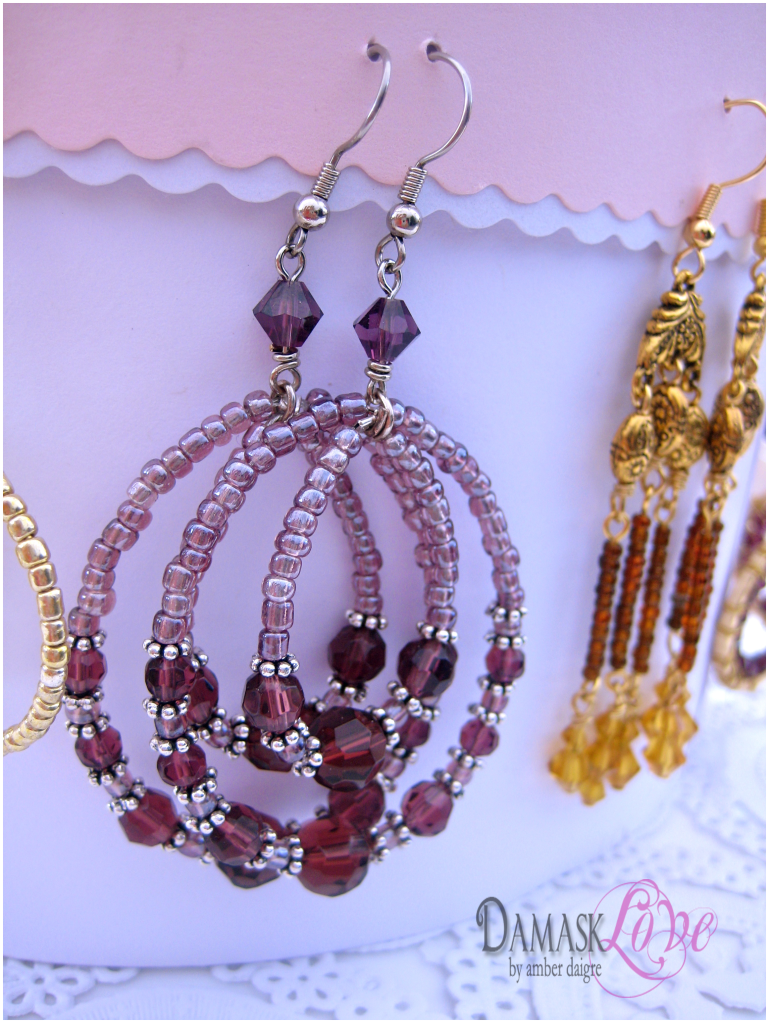
Here’s a close-up of one of my favorite earrings – I made those!!!
In addition to handmade jewelry, I also included handmade stationery at my booth – of course!
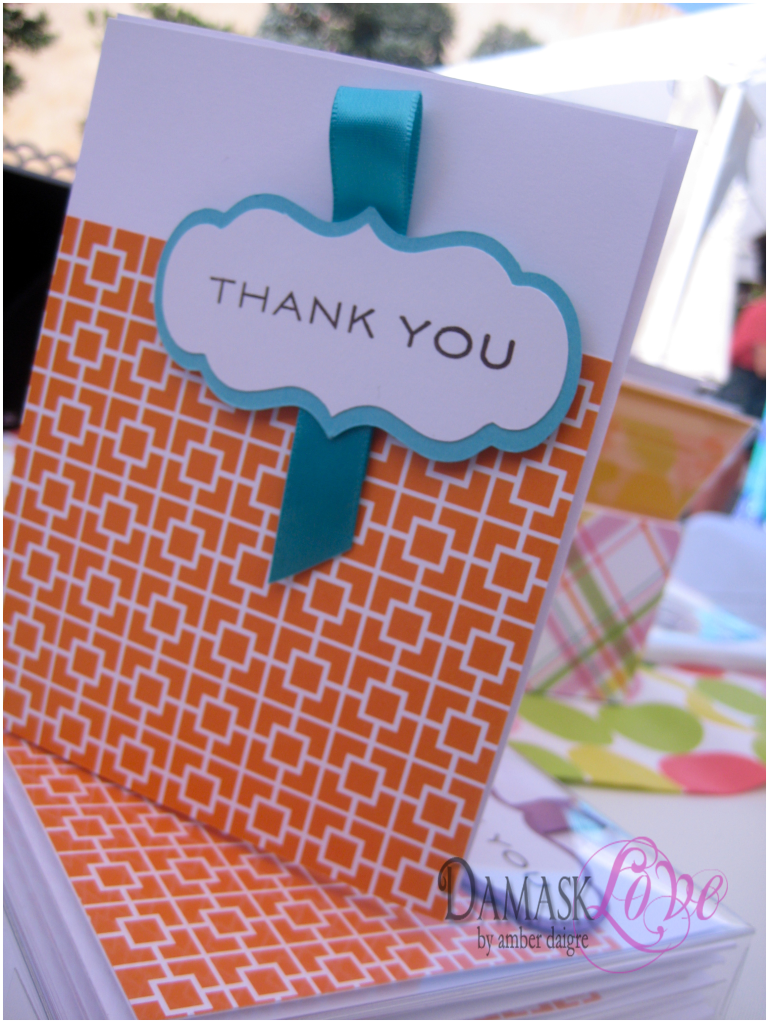
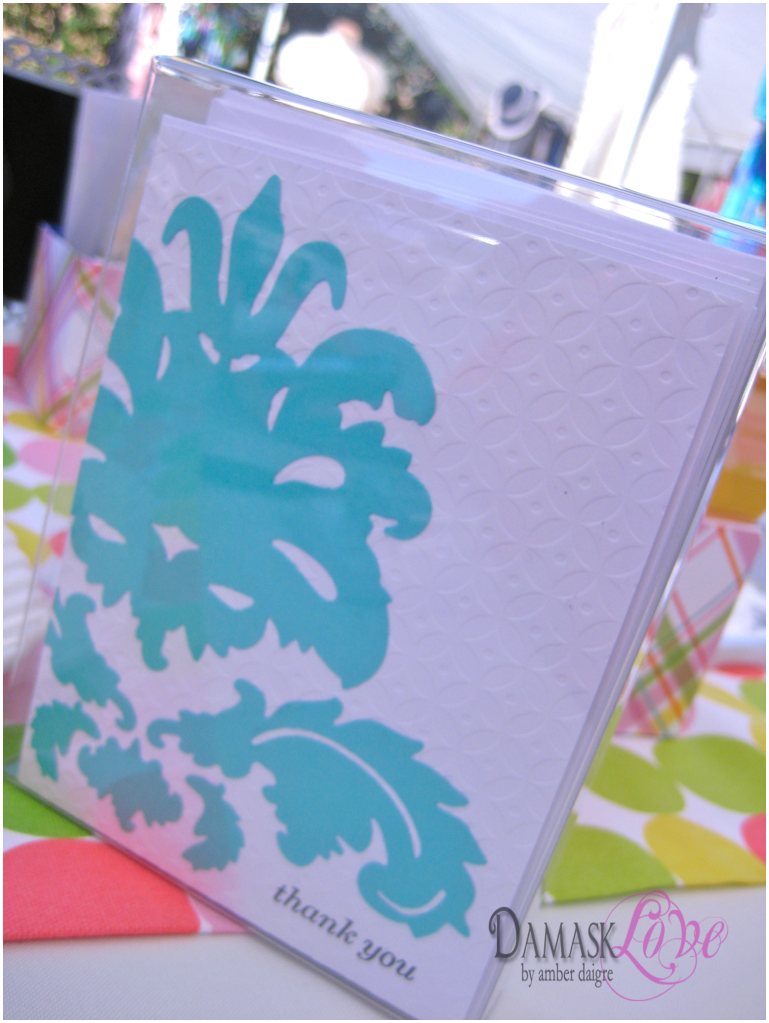
Here are some of my favorite card sets.
I absolutely LOVE the modern orange pattern on this card. There are five cards in the set each with a different color border around the “Thank You” sentiment.
I put my QuickKutz damask die to work for these simple thank you cards. Each card features the flourish in a different shade of teal.
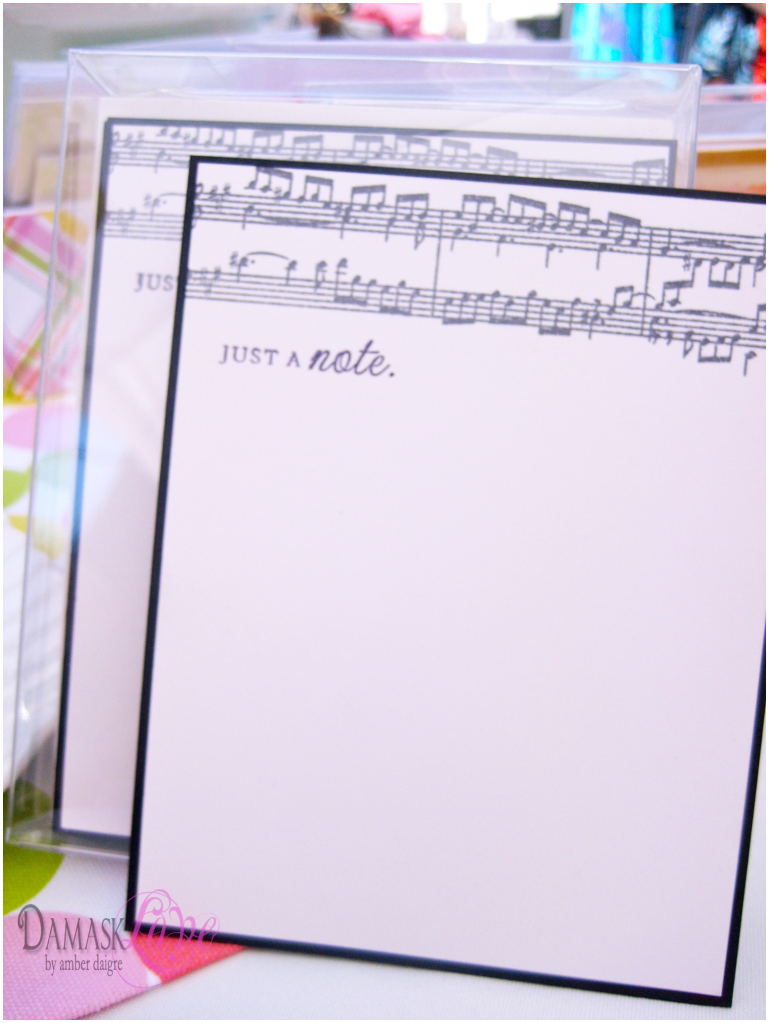
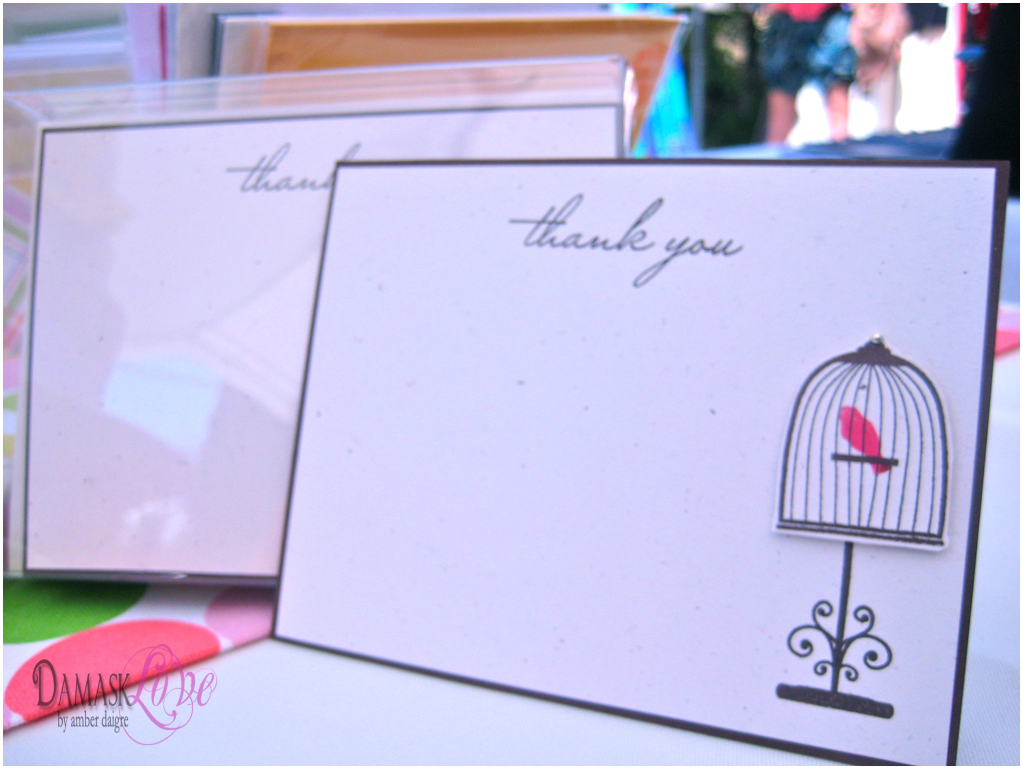
The next two sets are a slight departure from the typical folded cards that I made.
I am currently loving stationery note cards that have just one side and blank space for writing.
I think it’s such a simple way to handcraft your own stationery, without using a lot of materials or time.
For this simple thank you note card, I added dimension by adhering the birdcage with Pop Dots.
I was very happy with how these products came out and I hope you’ve enjoyed seeing them.
Please check out my Etsy shop to see all the items for sale from the bazaar.
Thanks for stopping by for some Damask Love!
Supplies (All PTI unless otherwise noted):
Modern Thank You:
Stamps: Inside & Out Thank You
Paper: Stamper’s Select white, Hawaiian Shores
Ink: True Black
Other: Cricut Potpourri cartridge, Cricut Design Studio
Damask Thank You:
Stamps: Inside & Out Thank You
Paper: Stamper’s Select white, Bazzill Artesian Pool
Ink: True Black
Other: Diamonds Impression Plate
Just a Note:
Stamps: Autumn Abundance, Background Basics: Sheet Music
Paper: Rustic Cream, True Black
Ink: Stampin’ Up Elegant Eggplant, Stampin’ Up Basic Grey
Other: none
Birdcage Thank You:
Stamps: Inside & Out Thank You, Love Birds
Paper: Rustic Cream, Dark Chocolate
Ink: Staz-On Timber Brown, Stampin’ Up Ruby Red
Other: gold embellishment (for top of birdcage)
Very nice Amber. You did an excellent job. The display looked wonderful.
Cute earring cake!
Amber…WOW! This is gorgeous! I so love that cake! All of your card sets are amazing! Awesome job on these!!
The card sets are fabulous! The “Just a Note” one really caught my eye.
Wow!! Your cake looks super! I love how you used it to hang your jewelry from (which is fabulous too I might add)! And your cards are super…love the orange and blue one!!