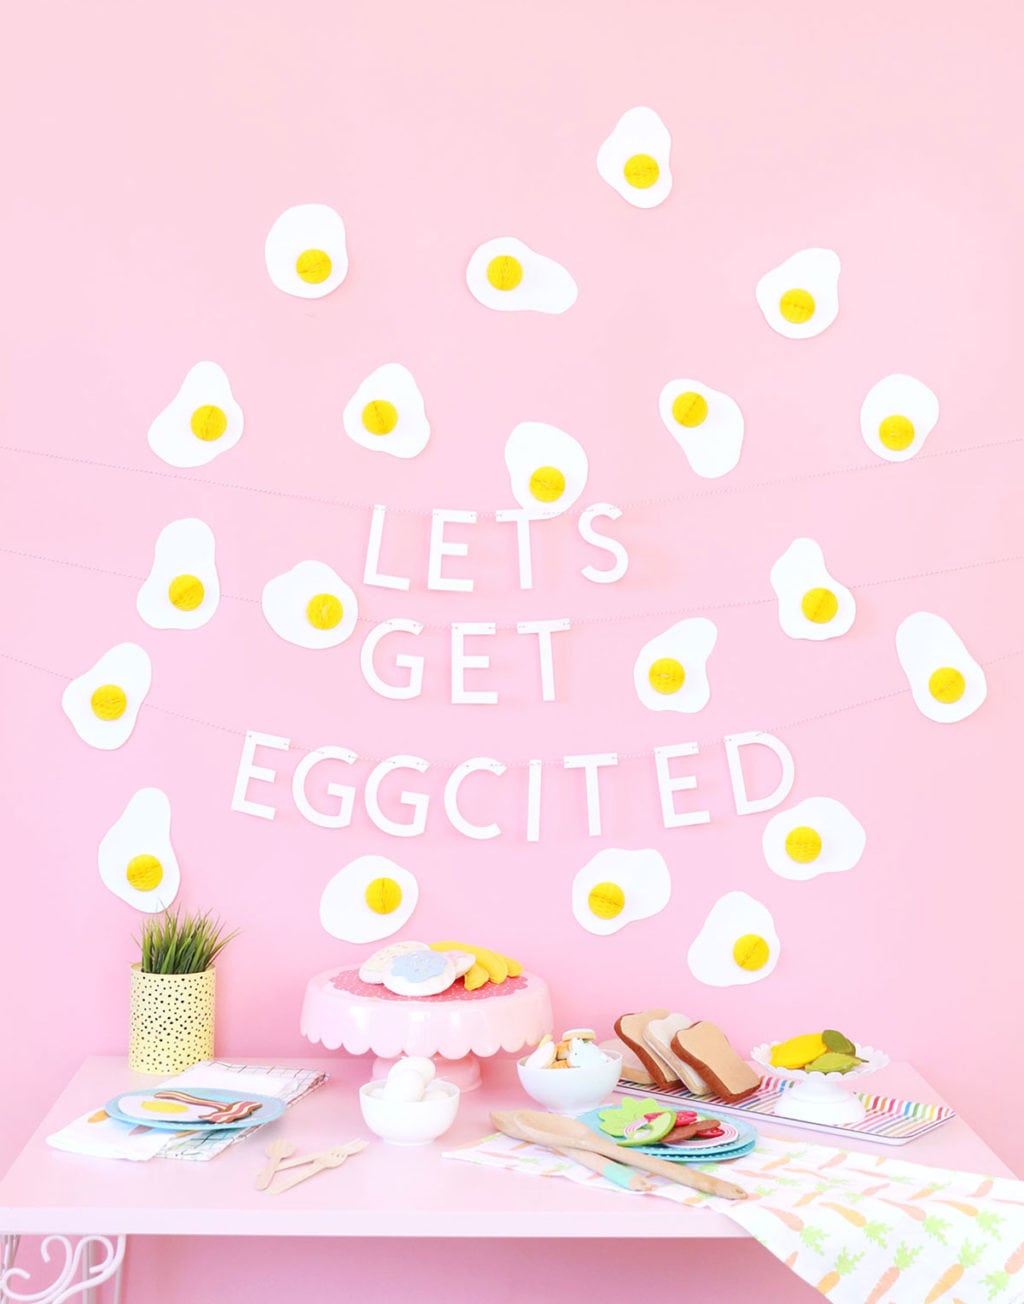
It’s that time of year when the interweb is full of beautiful Easter egg tutorials. Paint ’em. Dye ’em…or in the case of this tutorial, make them out of paper and smash them against the wall! Today I am deconstructing the traditional notion of Easter eggs and creating an incredibly easy to make fried egg Easter brunch backdrop. You can create this project in less than an hour, which gives you more than enough time to whip up you delicious brunch menu.
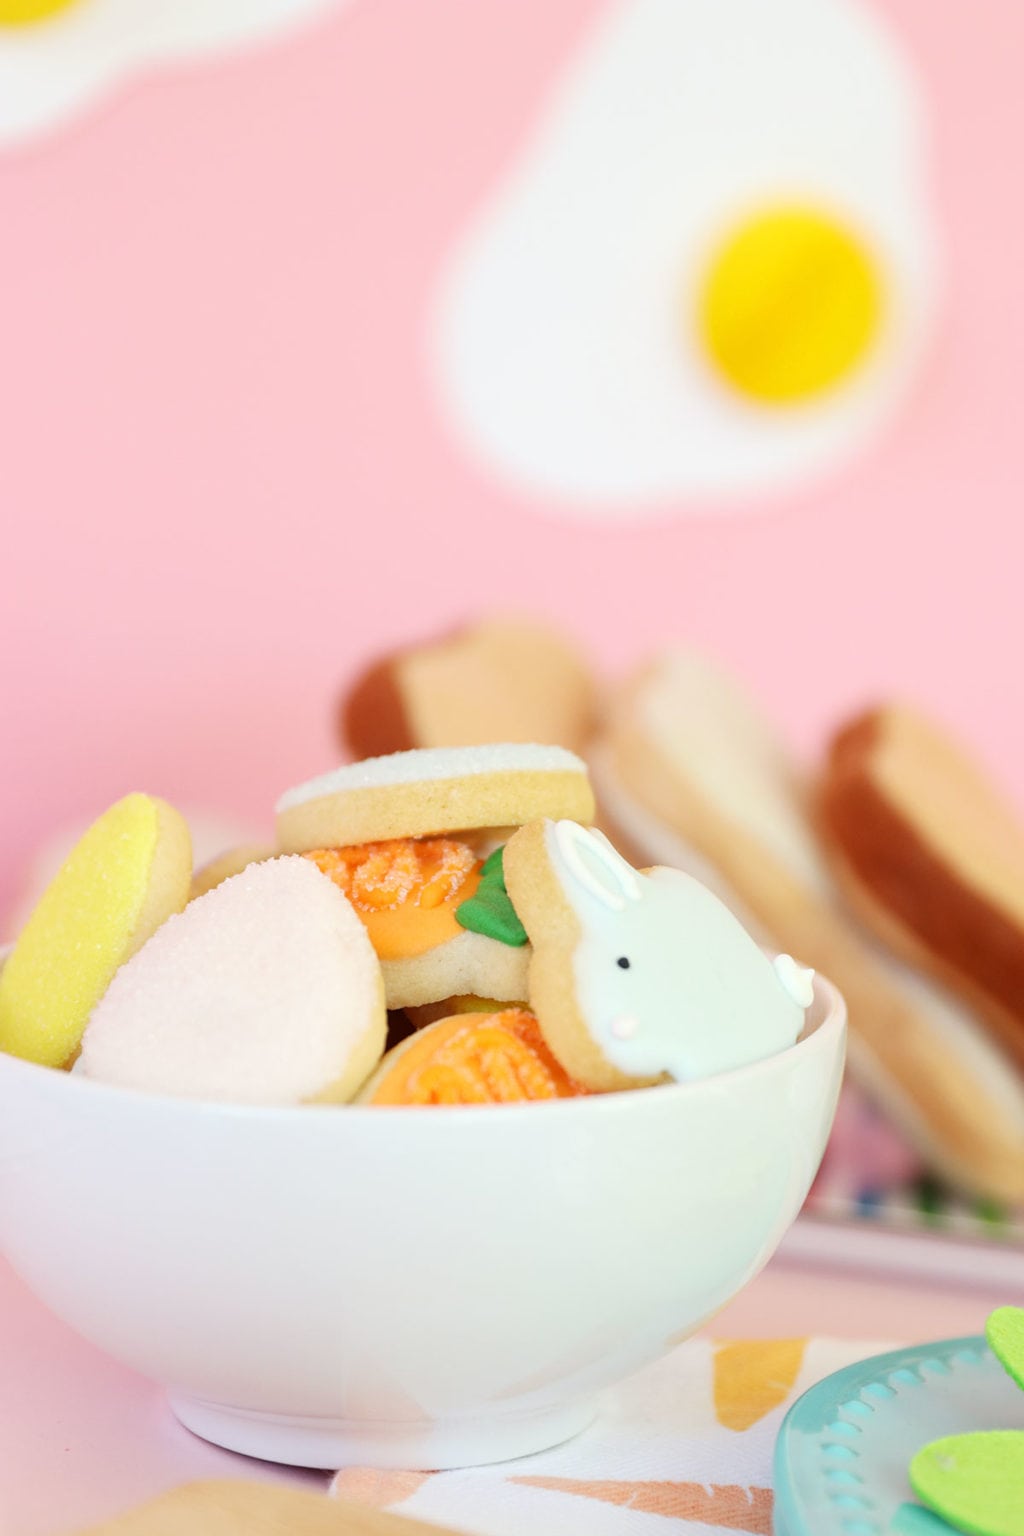
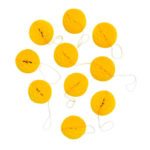
The real stars of this fried egg Easter brunch backdrop project are the mini honeycomb balls! Adding them to each “egg” gives you the perfect “yolk” as well as the perfect bit of dimension. Here’s a look at how easy these are to make for yourself!
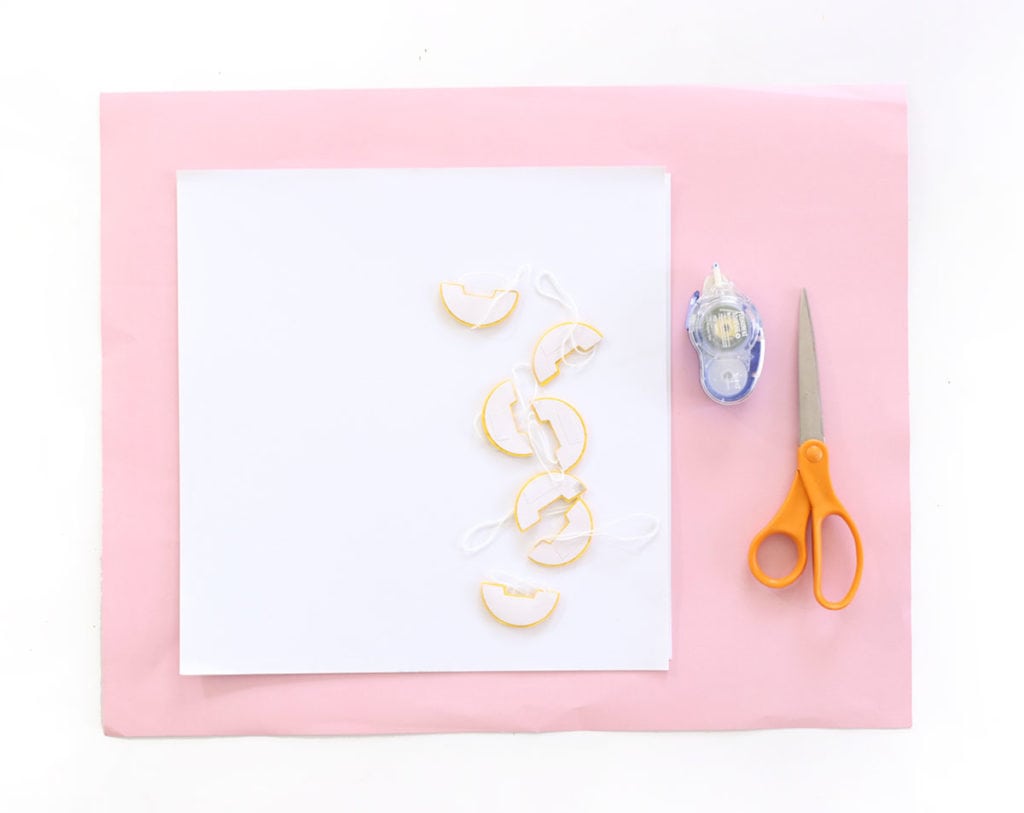
You’ll need:

STEP ONE:
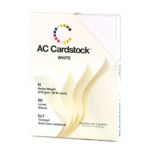
Cut a wavy oval shape from the white cardstock. Have fun with this. Each “egg white” should be slightly different. There’s no wrong way to do it!
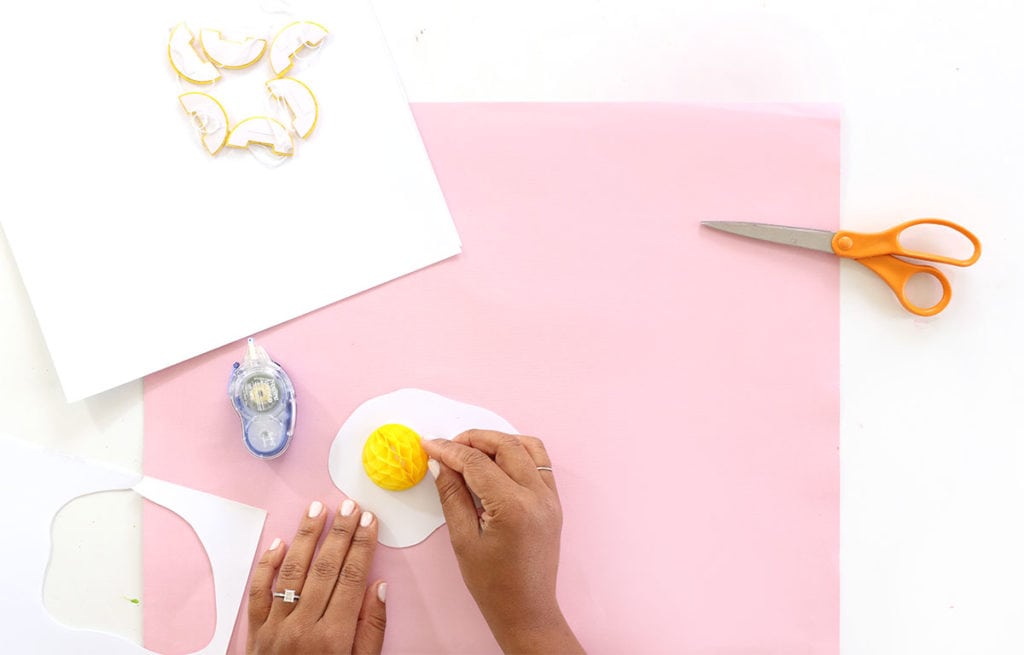
STEP TWO
Add the honeycomb ball to the white cardstock. One side of the honeycomb ball has an adhesive strip on it. Use this adhesive strip to adhere half of the ball to the cardstock. Then use your tape runner to adhere the other half of the ball to the cardstock.
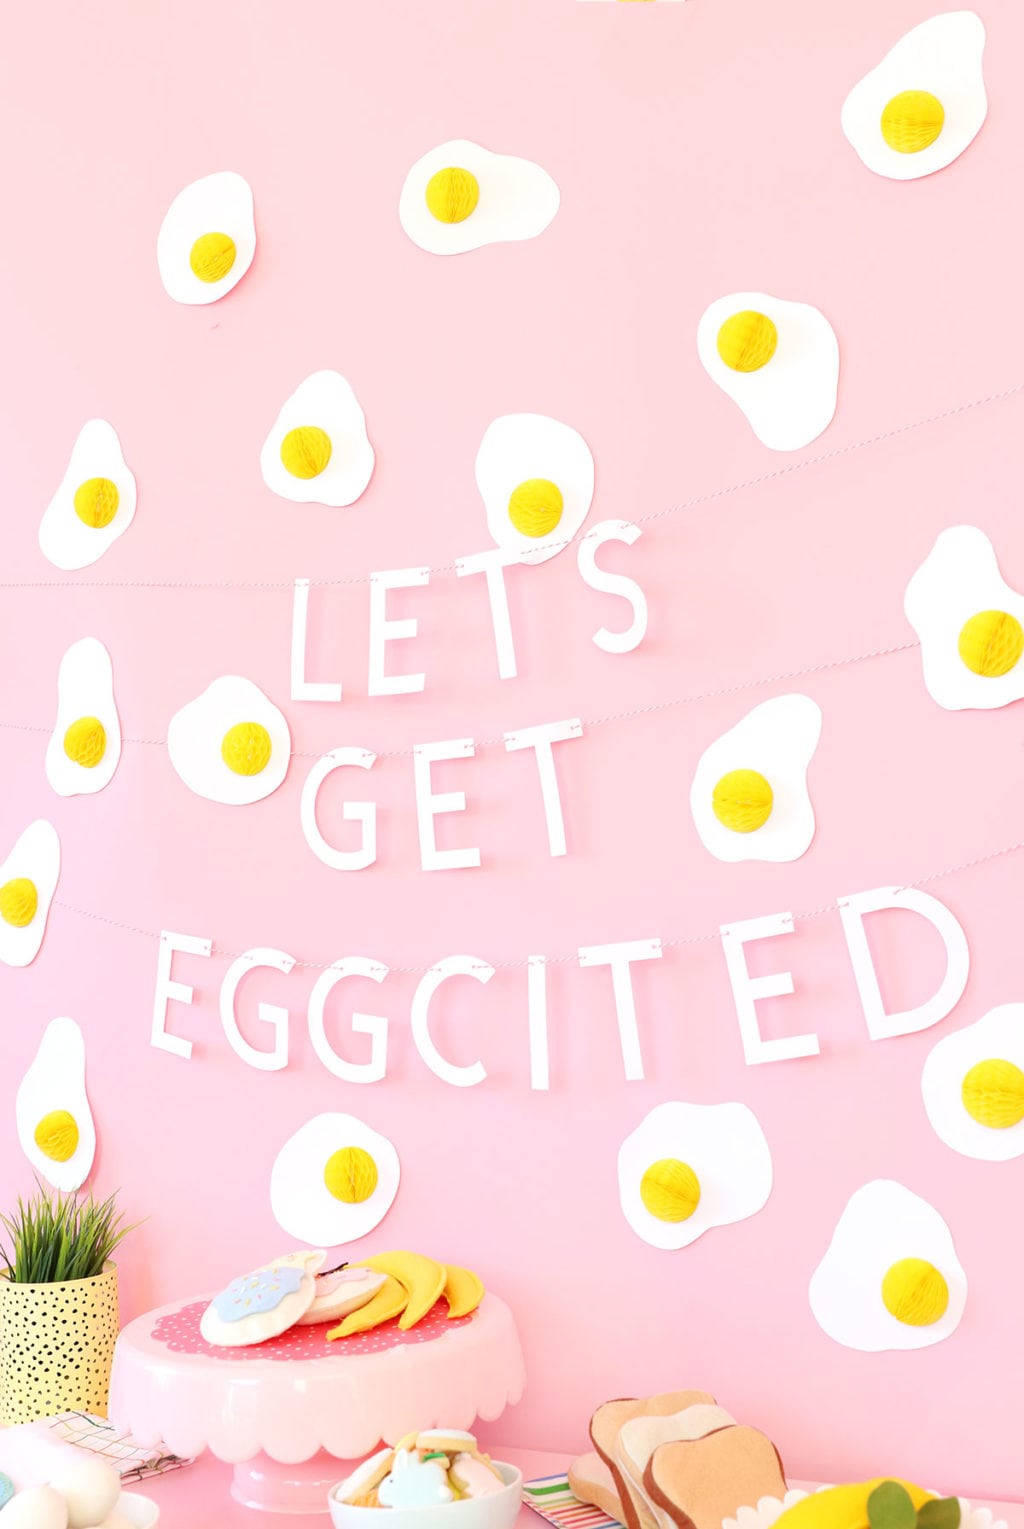
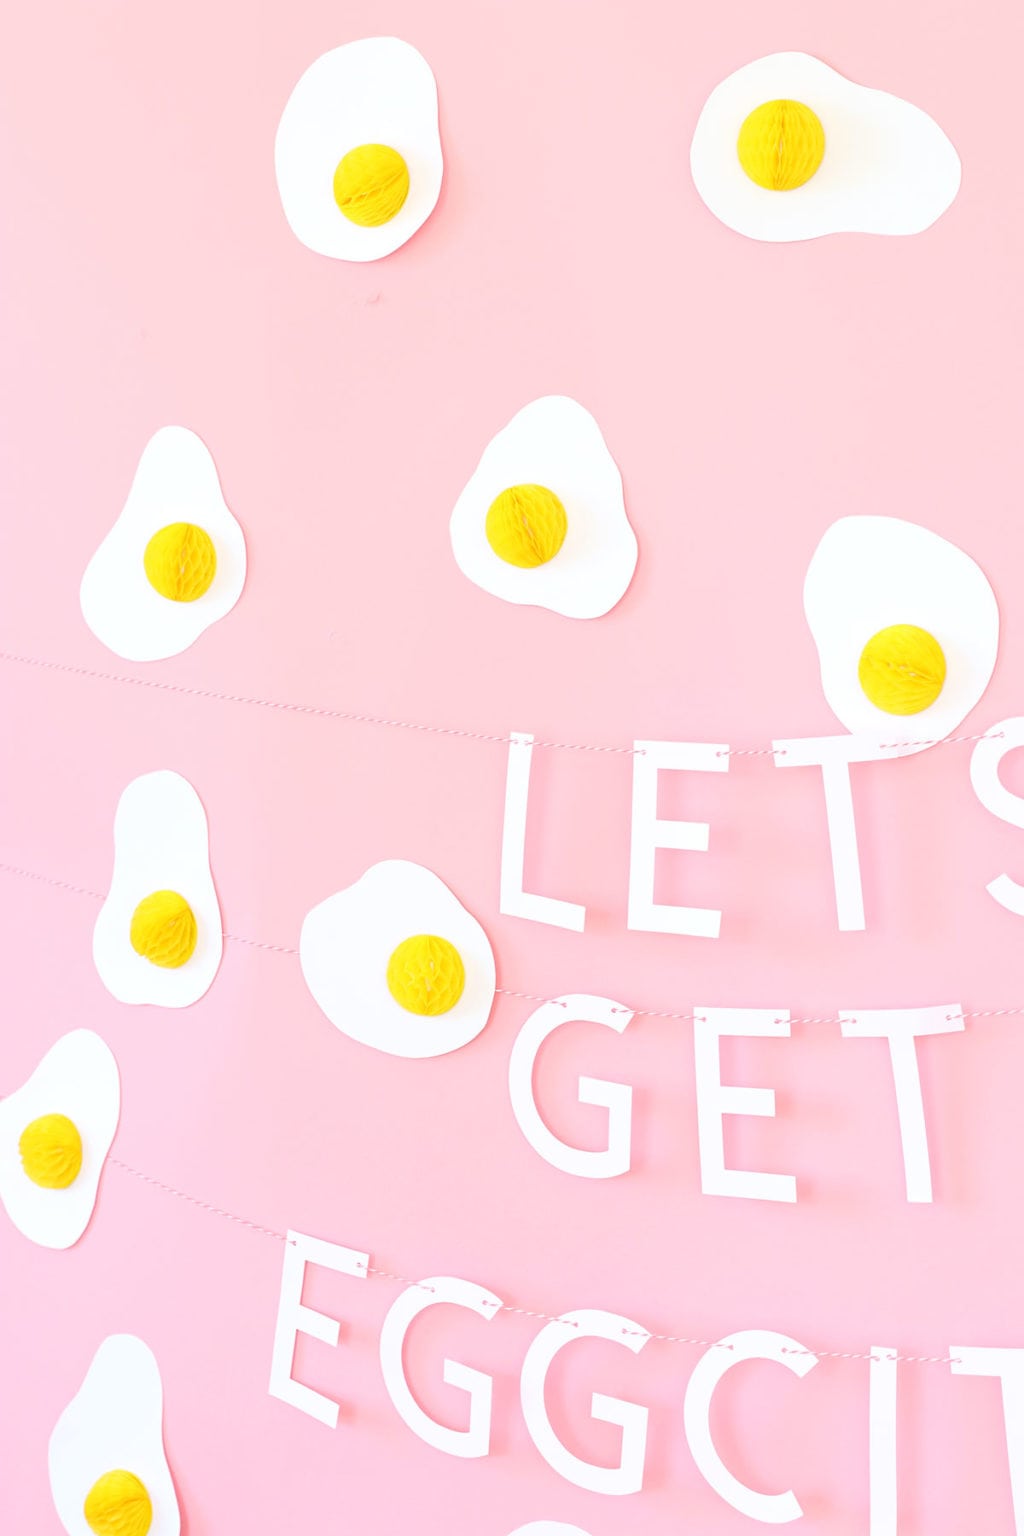
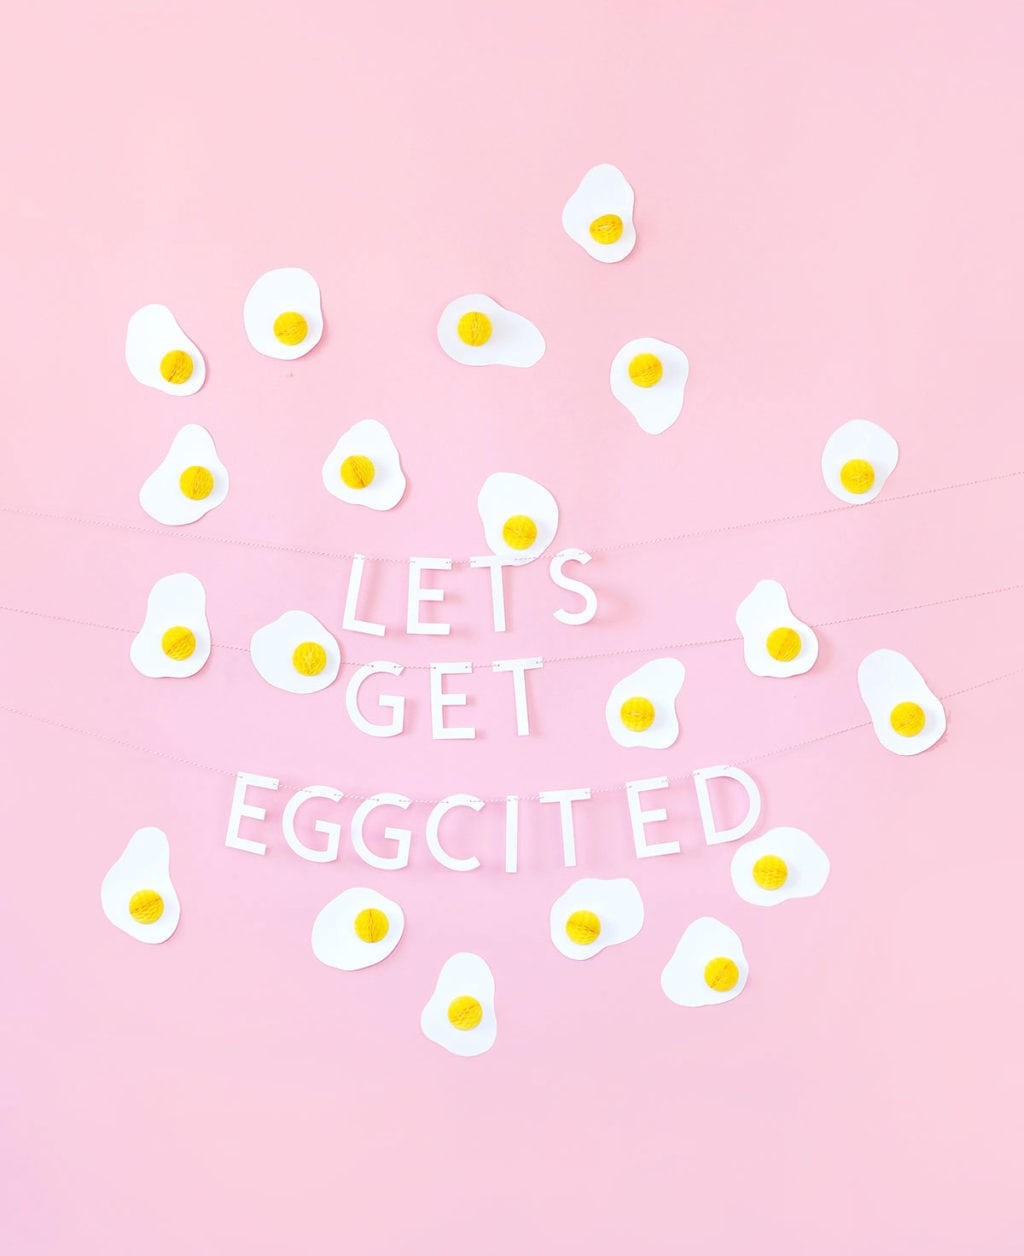
Your Easter brunch is going to be a SMASH, friends. Get it. And now, I suppose there’s really only one way to end this post:
That’s All Yolks!


http://apotekonlinerecept.com/# Apotek hemleverans idag
online apotheek [url=https://apotheekmax.shop/#]ApotheekMax[/url] Apotheek online bestellen
http://kamagrapotenzmittel.com/# Kamagra Gel
http://apotheekmax.com/# Betrouwbare online apotheek zonder recept
http://apotekonlinerecept.com/# Apotek hemleverans idag
https://kamagrapotenzmittel.shop/# Kamagra kaufen ohne Rezept
Apoteket online: Apotek hemleverans recept – Apotek hemleverans recept
ApotheekMax [url=https://apotheekmax.shop/#]ApotheekMax[/url] de online drogist kortingscode