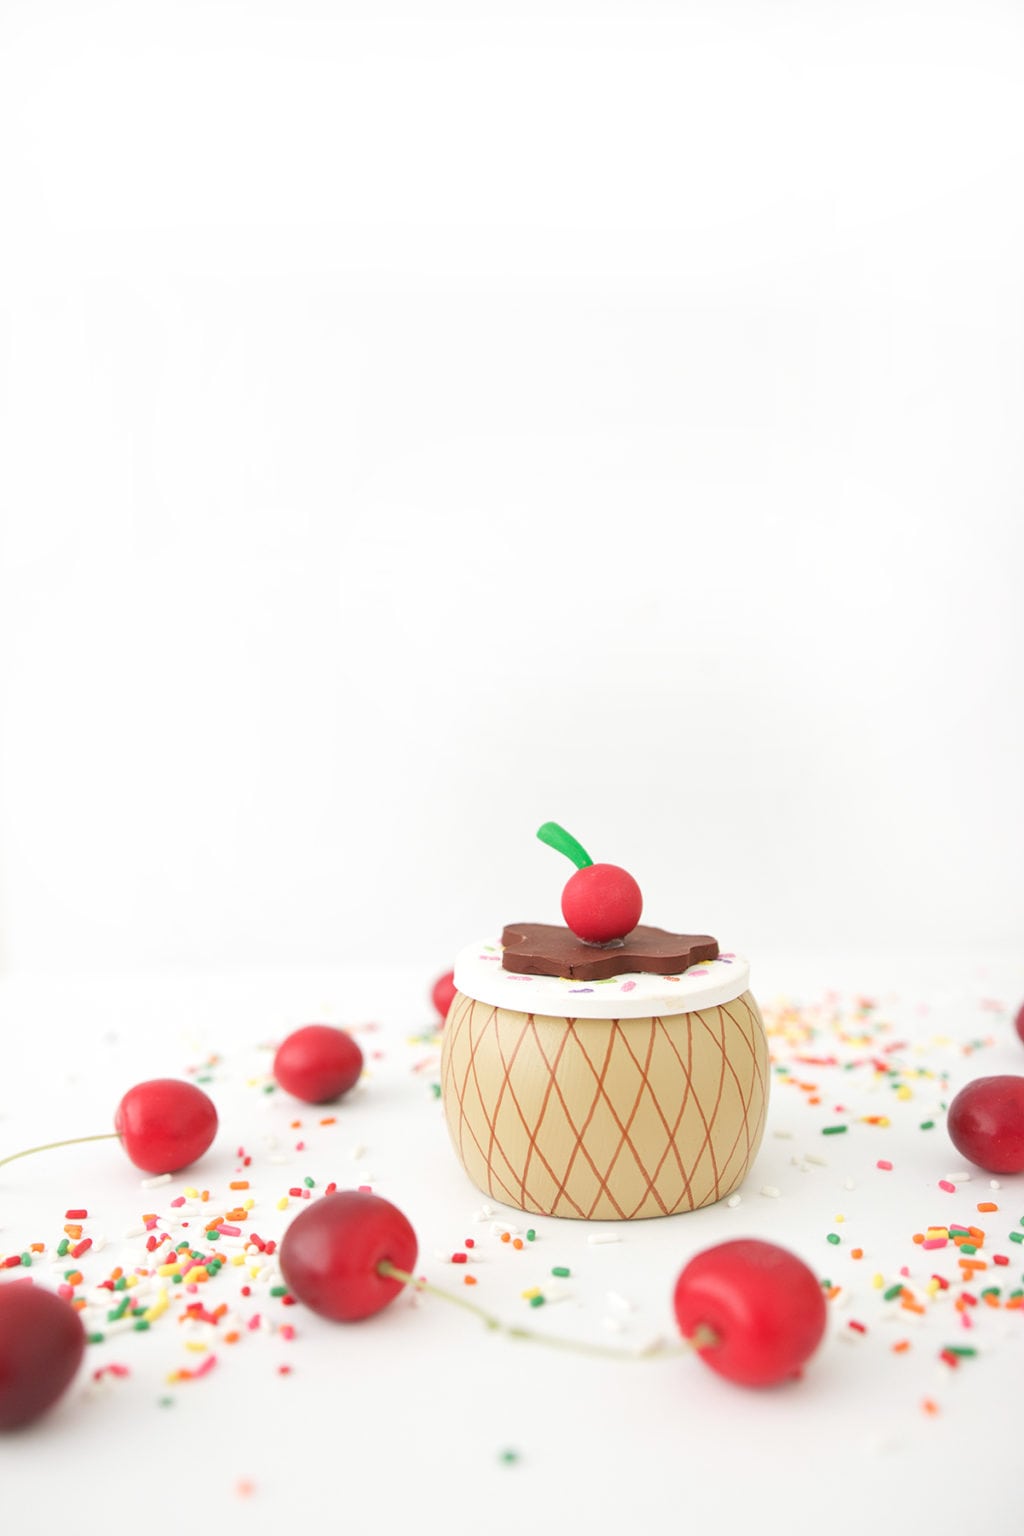
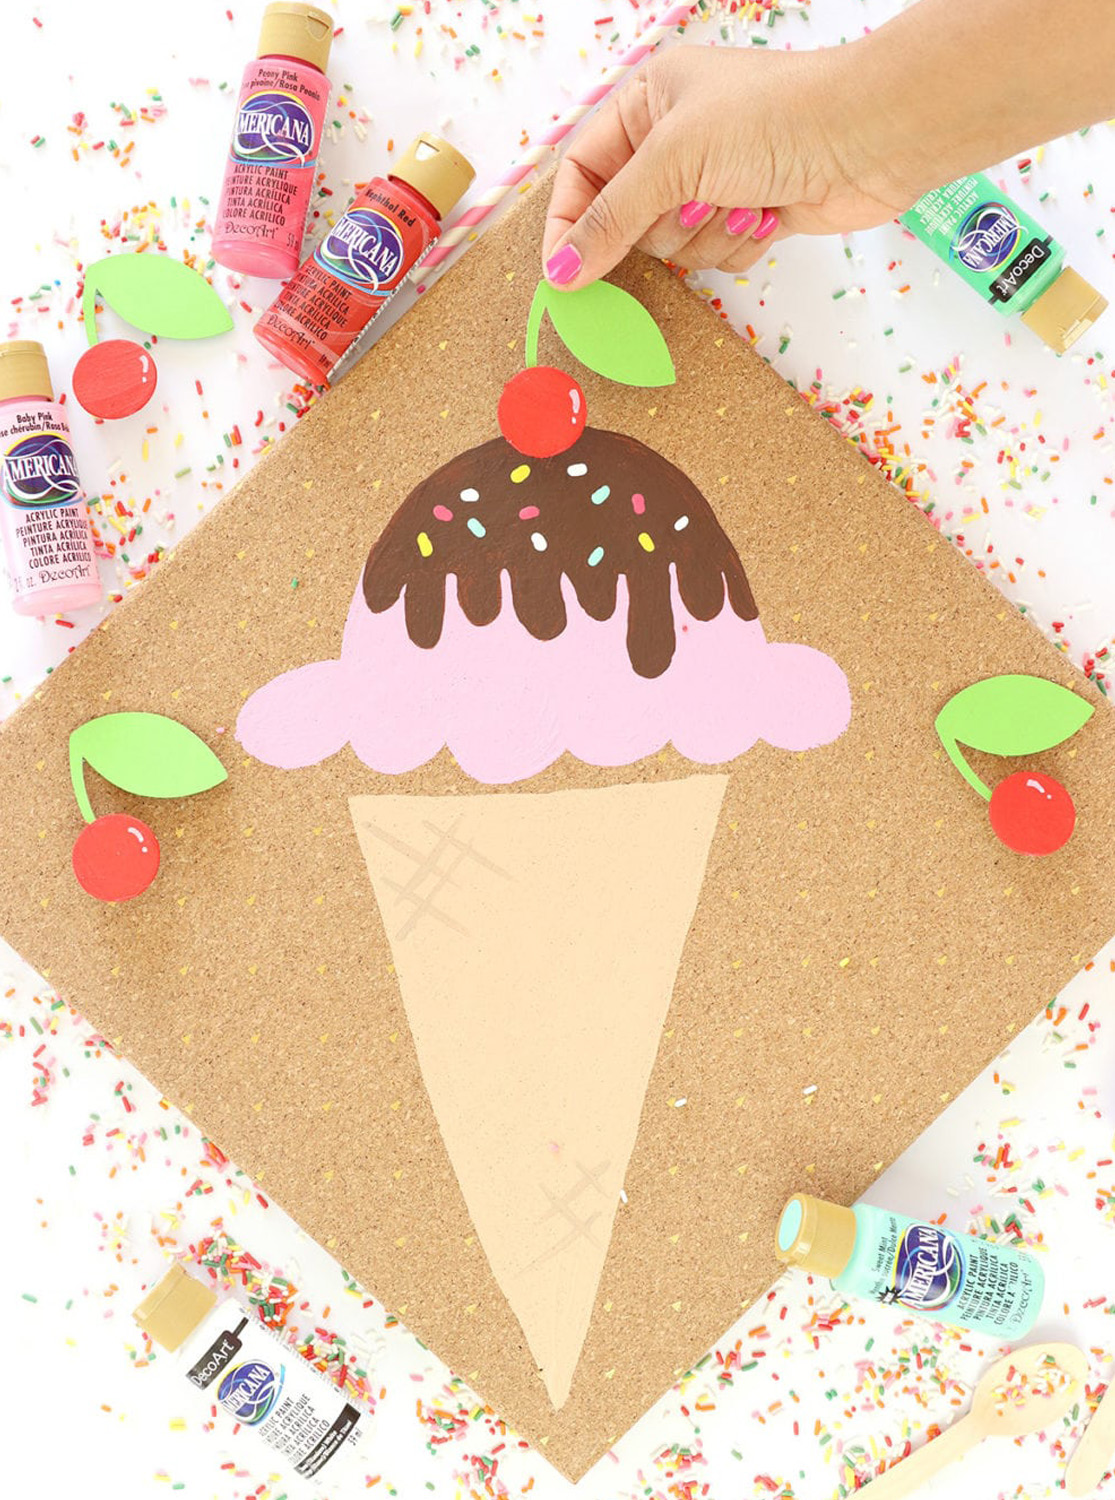
You can be anything you want to be. If you’re a bad dresser, you can read a fashion blogs and step up your wardrobe. If you’re a bag cook, you can tune into the Food Network and learn to whip up something delish. If you’re a wooden bracelet, you can slap on a few coats of paint and become an adorable Ice Cream Cone Trinket Box…and isn’t that the ultimate goal of every wooden bracelet?
This project will have you doing a double take! You’ve never seen a wooden bracelet make such an incredible transformation with some a few basic craft supplies. Read carefully through these instructions and you’ll be on your way to creating the world’s cutest trinket box ever!
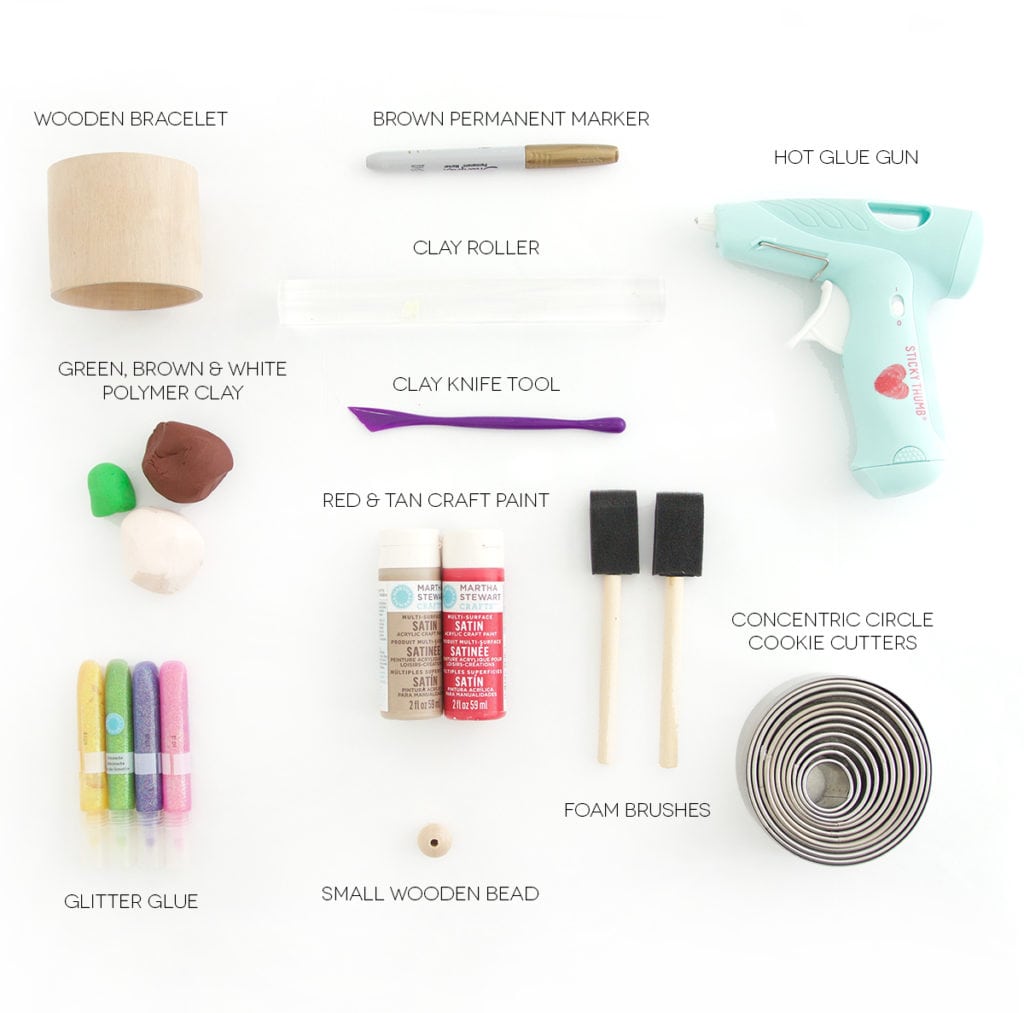
Supply Links:
- a wooden bracelet. For this project I used THIS bracelet (but for the tutorial photos you’ll notice that I use THIS bracelet. Either design will work great for this project).
- brown permanent marker
- hot glue gun
- clay tools
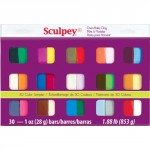
- Sculpey polymer clay
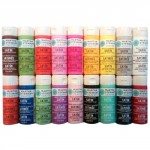
- craft paint
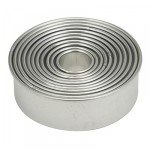
- concentric circle cookie cutters
- foam brushes
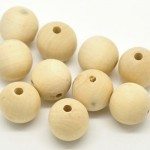
- small wooden bead
- glitter glue
HOW TO MAKE TRINKET BOX BOTTOM
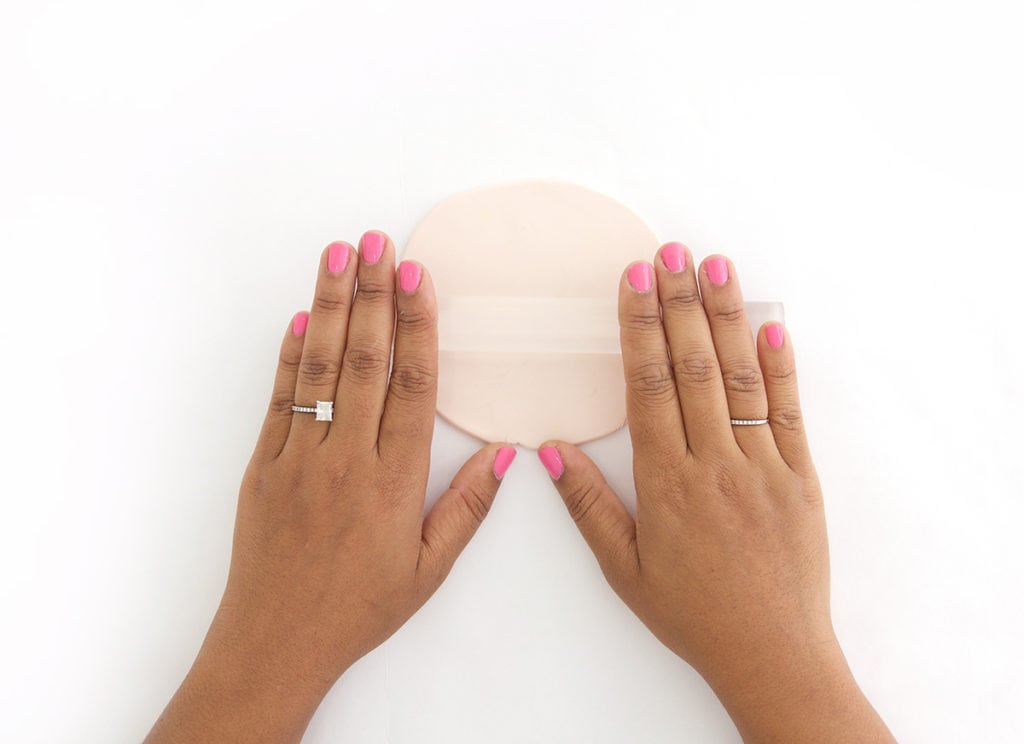
Roll out the white clay using a clay roller tool
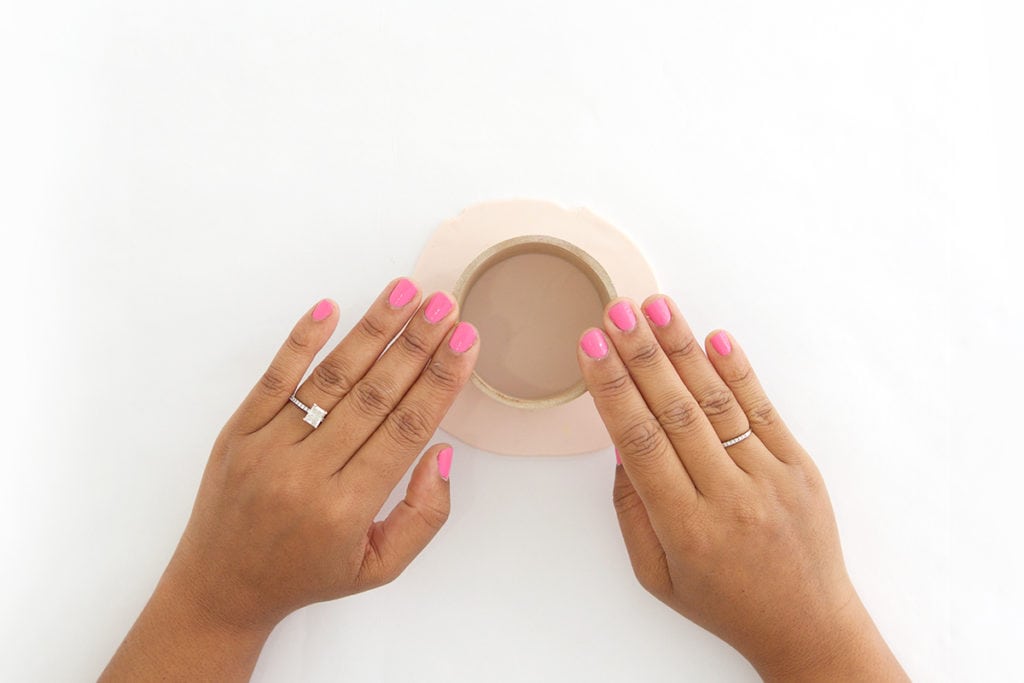
Use the wooden bracelet as a cookie cutter to cut the white clay. This will give you a circle of clay that perfectly fits the inside of the wooden bracelet. Back this piece of clay according to package instructions.
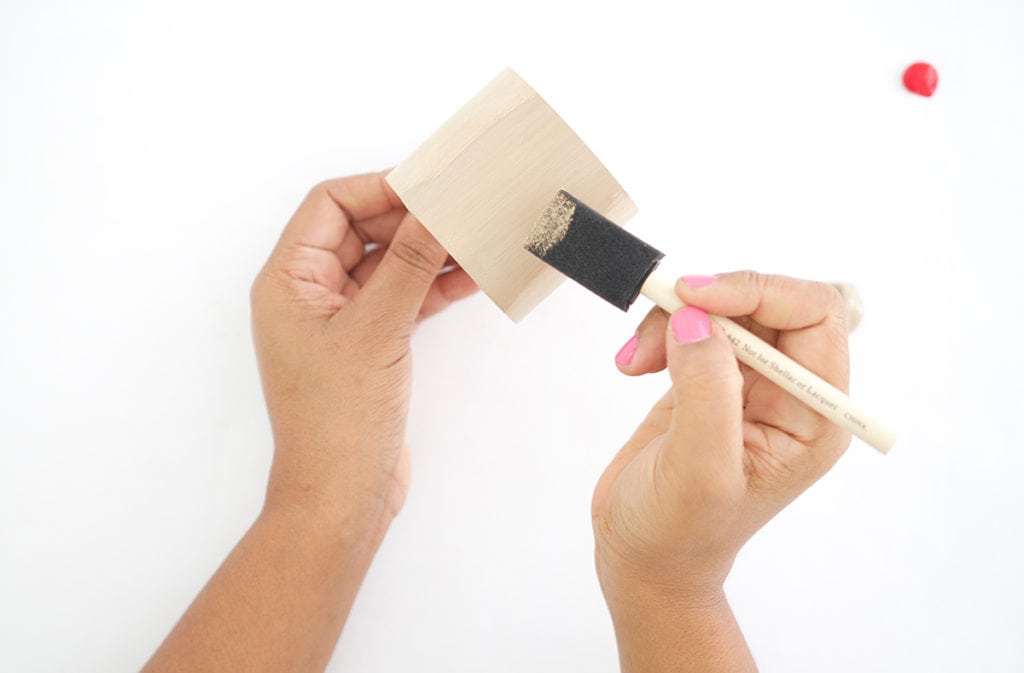
Paint the wooden bracelet with tan colored craft paint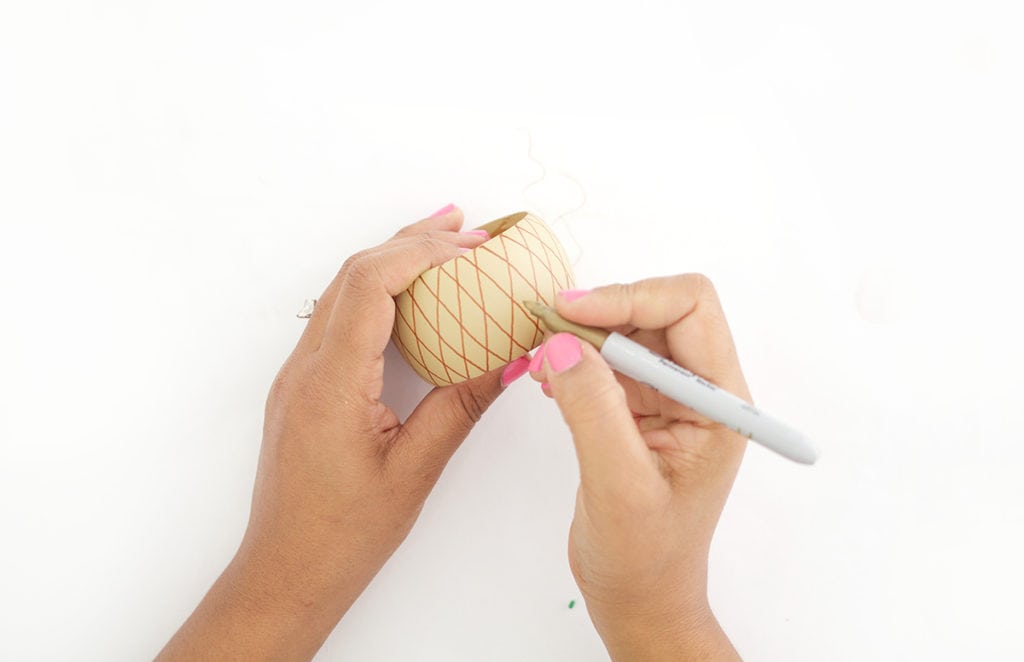
Use a brown permanent marker to draw a cross hatch pattern on the outside of the painted bracelet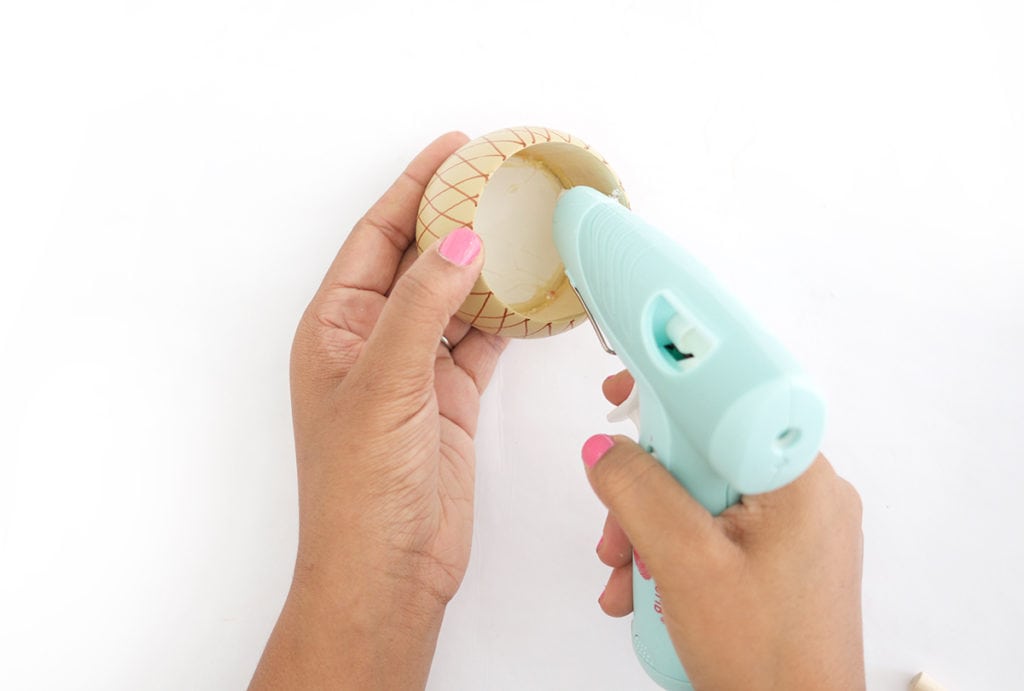
Place the baked white clay circle inside the bottom of the bracelet and use a hot glue gun to adhere it to the inside of the bracelet.
HOW TO MAKE TRINKET BOX LID
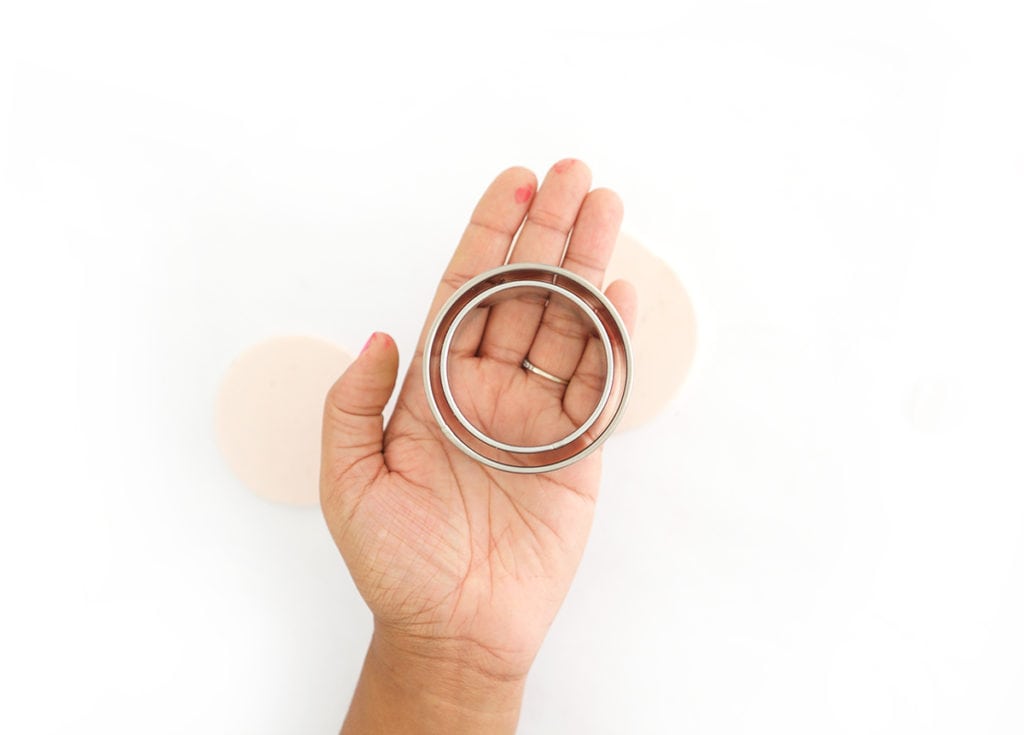
Grab two cookie cutters. The larger circle cookie cutter should be roughly the same size as the outer diameter of the wooden bracelet. The smaller circle cookie cutter should be the inner diameter of the wooden bracelet.
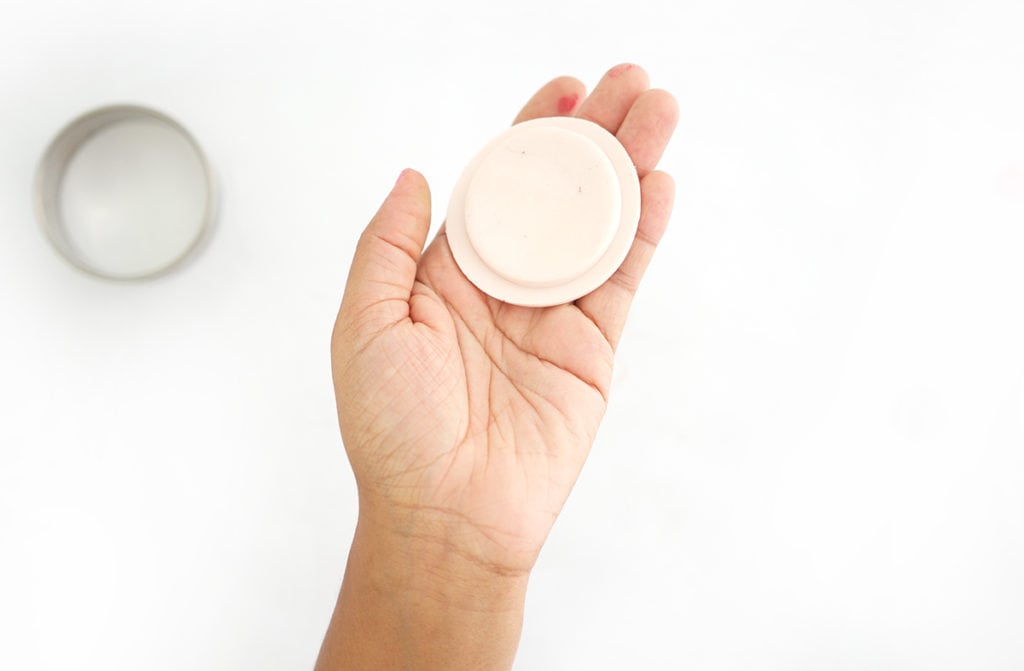
Cut these shapes from white clay then bake according to package instructions. Once baked and cooled, use a hot glue gun to glue the pieces together as shown.
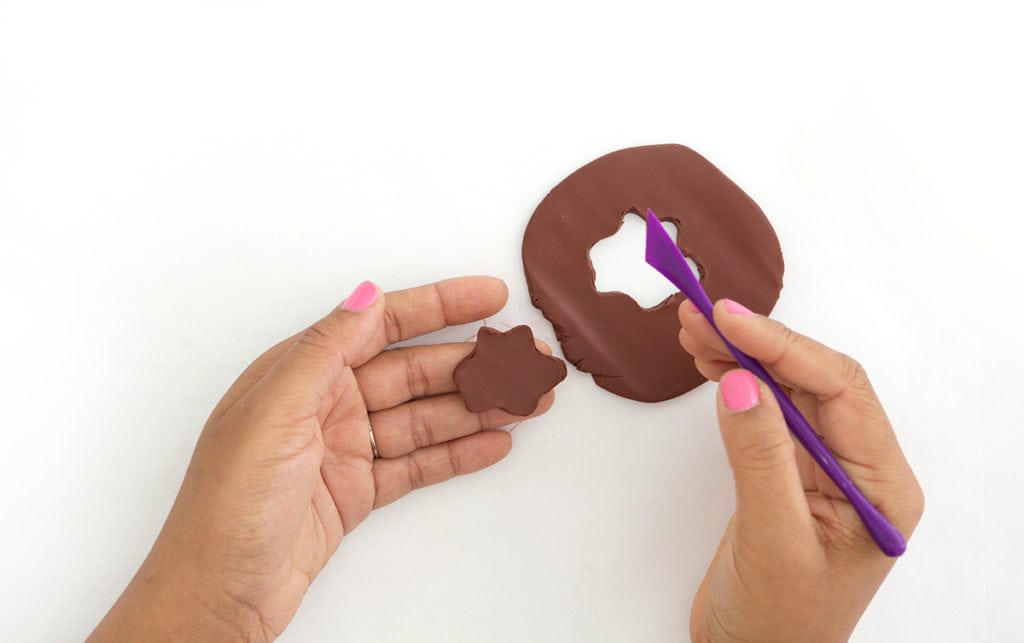
Roll out the brown clay and use the clay knife to cut out a “puddle” shape.
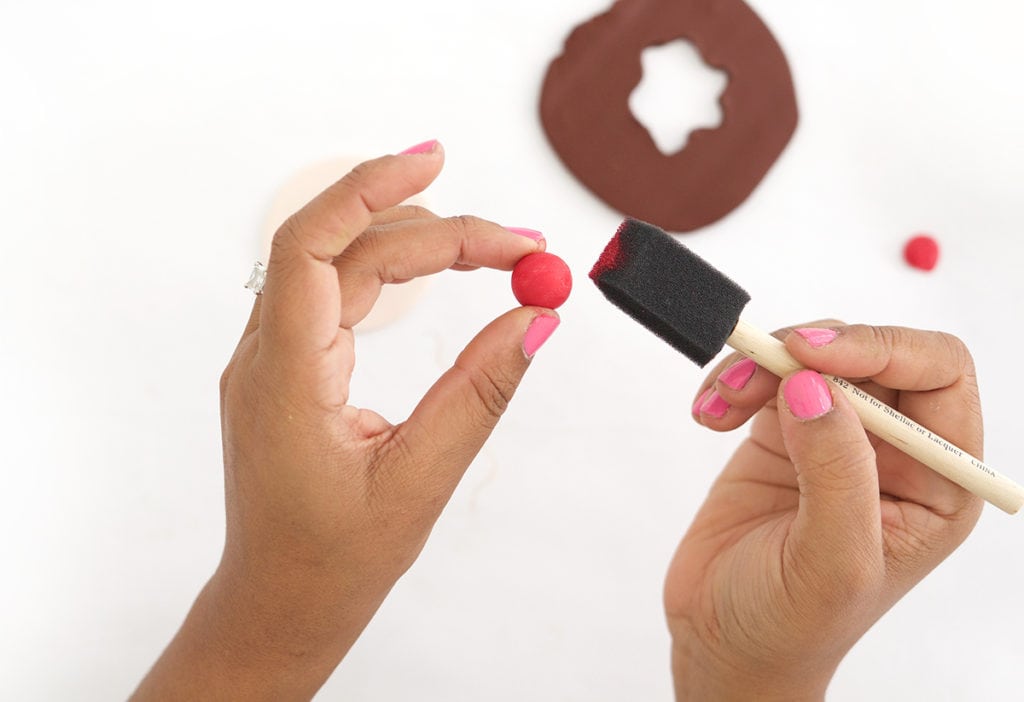
Paint the wooden bead with red paint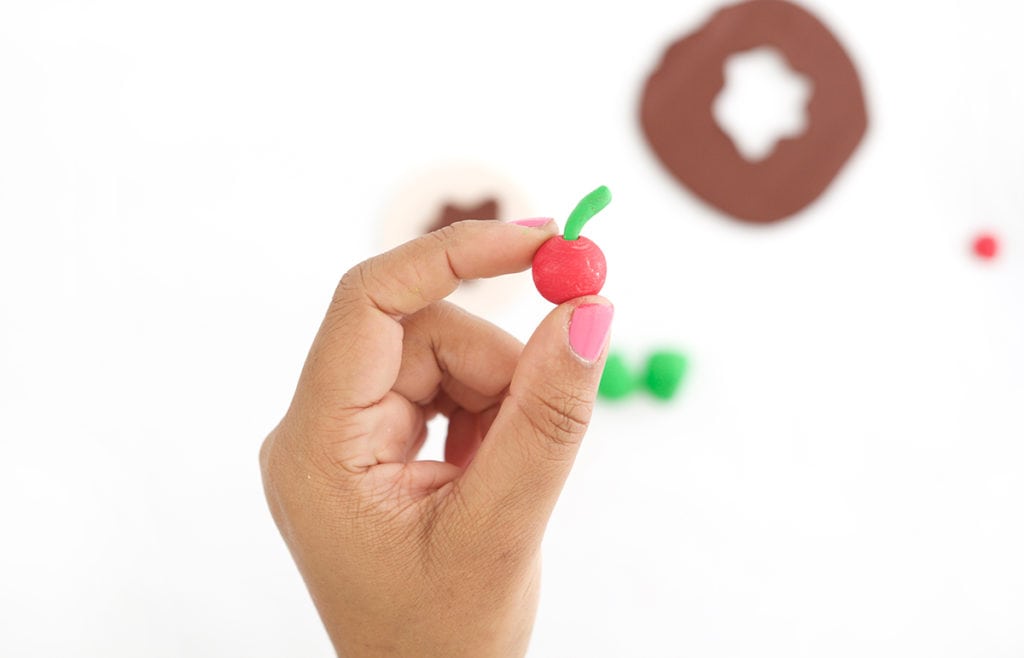
Roll the green clay into a stem shape and bake it according to package instructions. Insert the stem into the bead and adhere with hot glue.
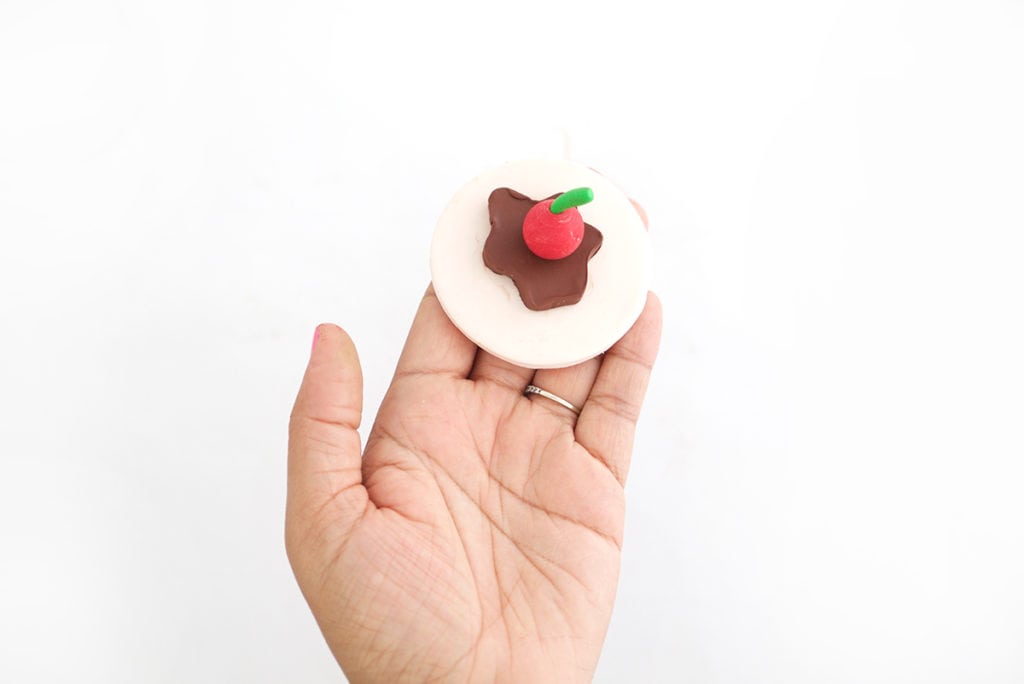
Stack all the elements of the lid and glue everything together with hot glue.
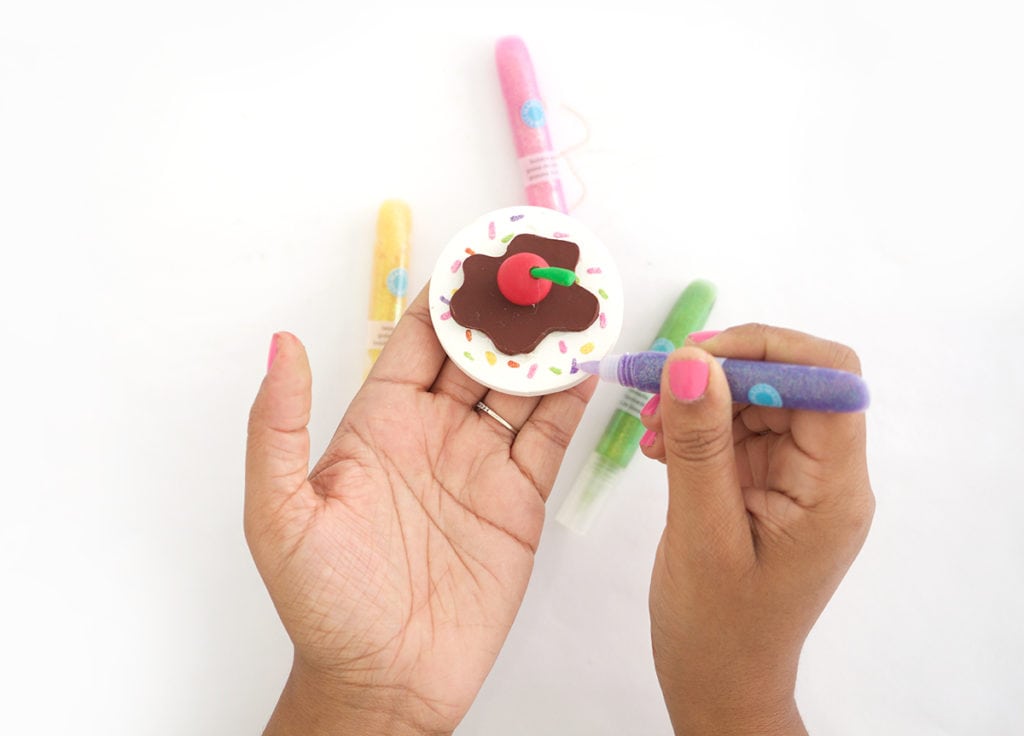
Add sprinkles to the lid with glitter glue and allow it to dry completely.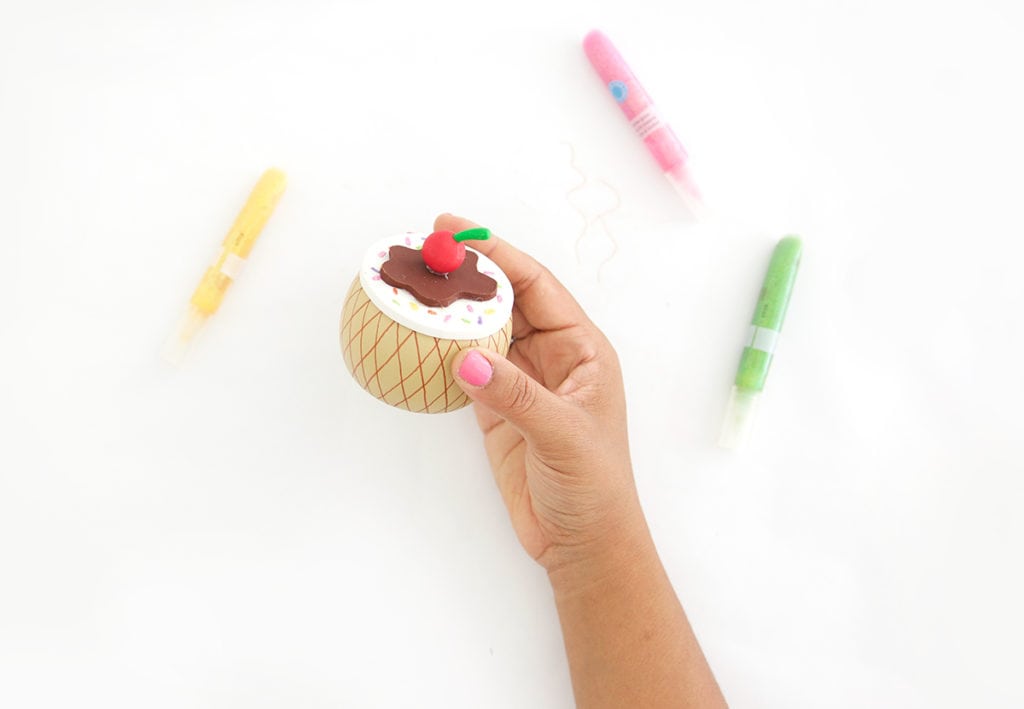
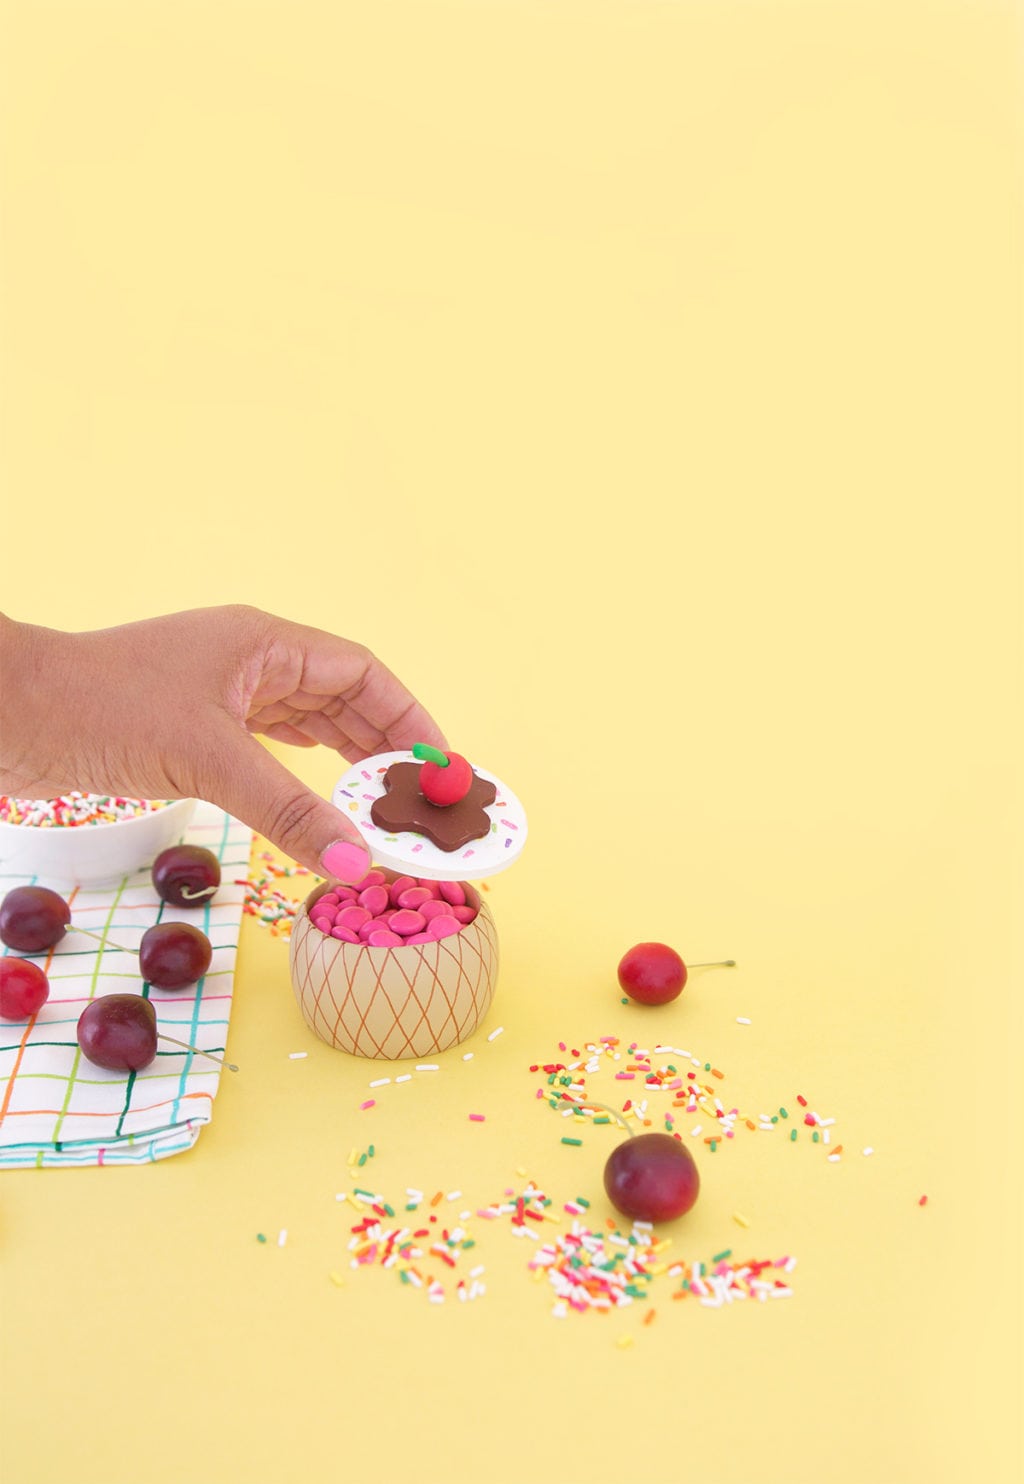
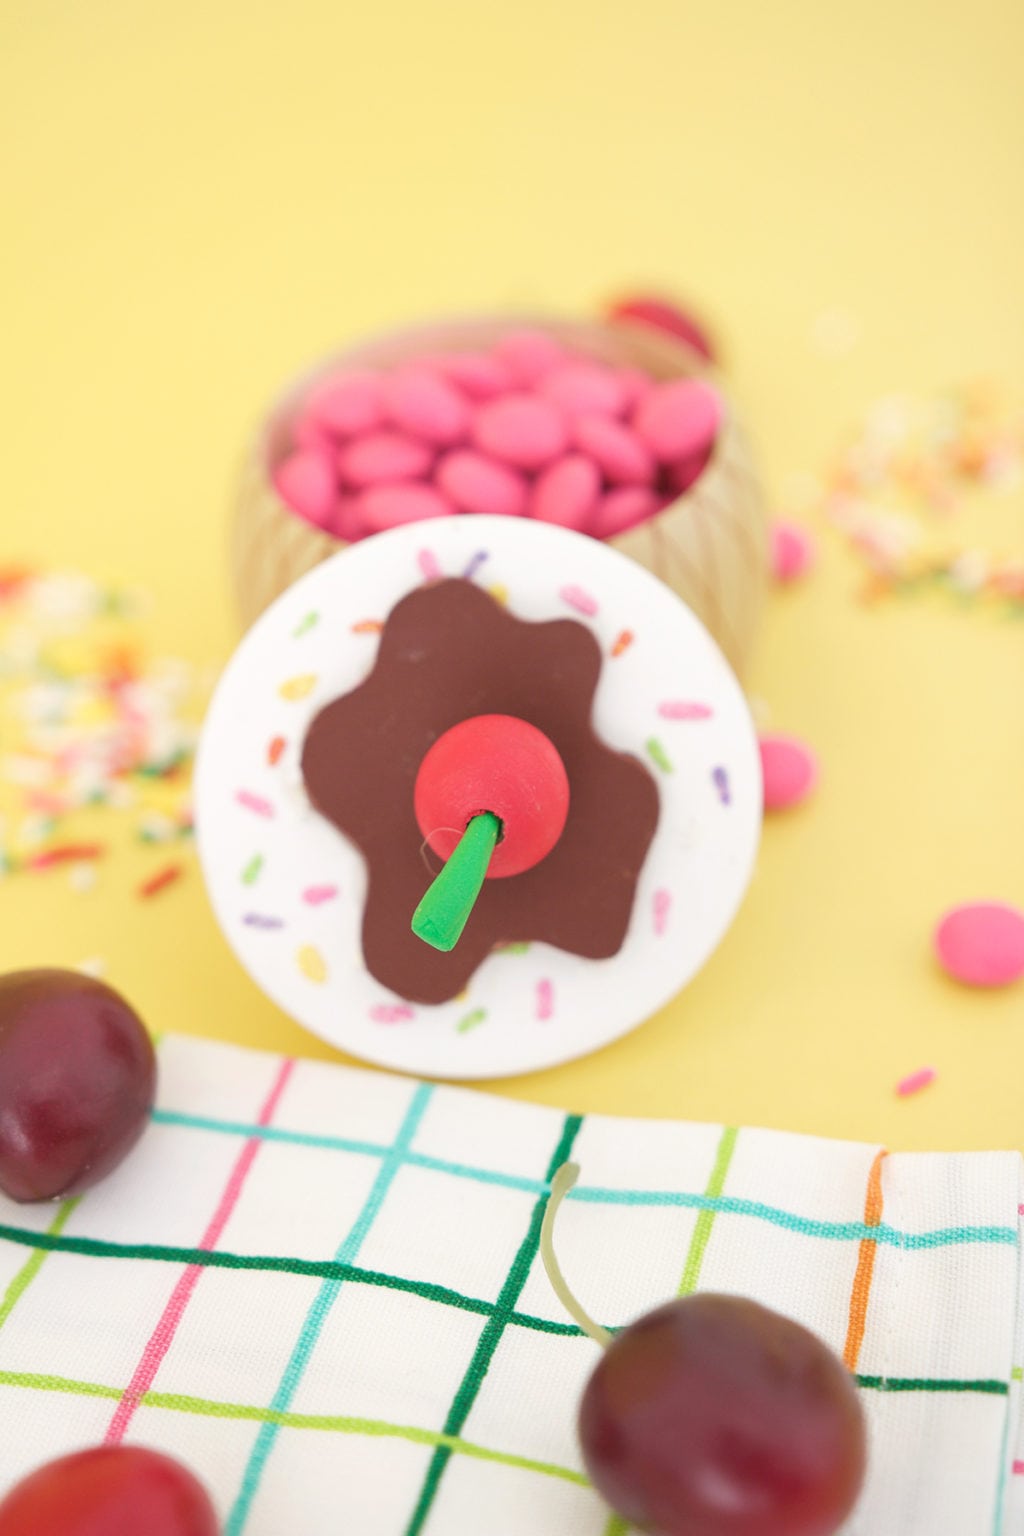
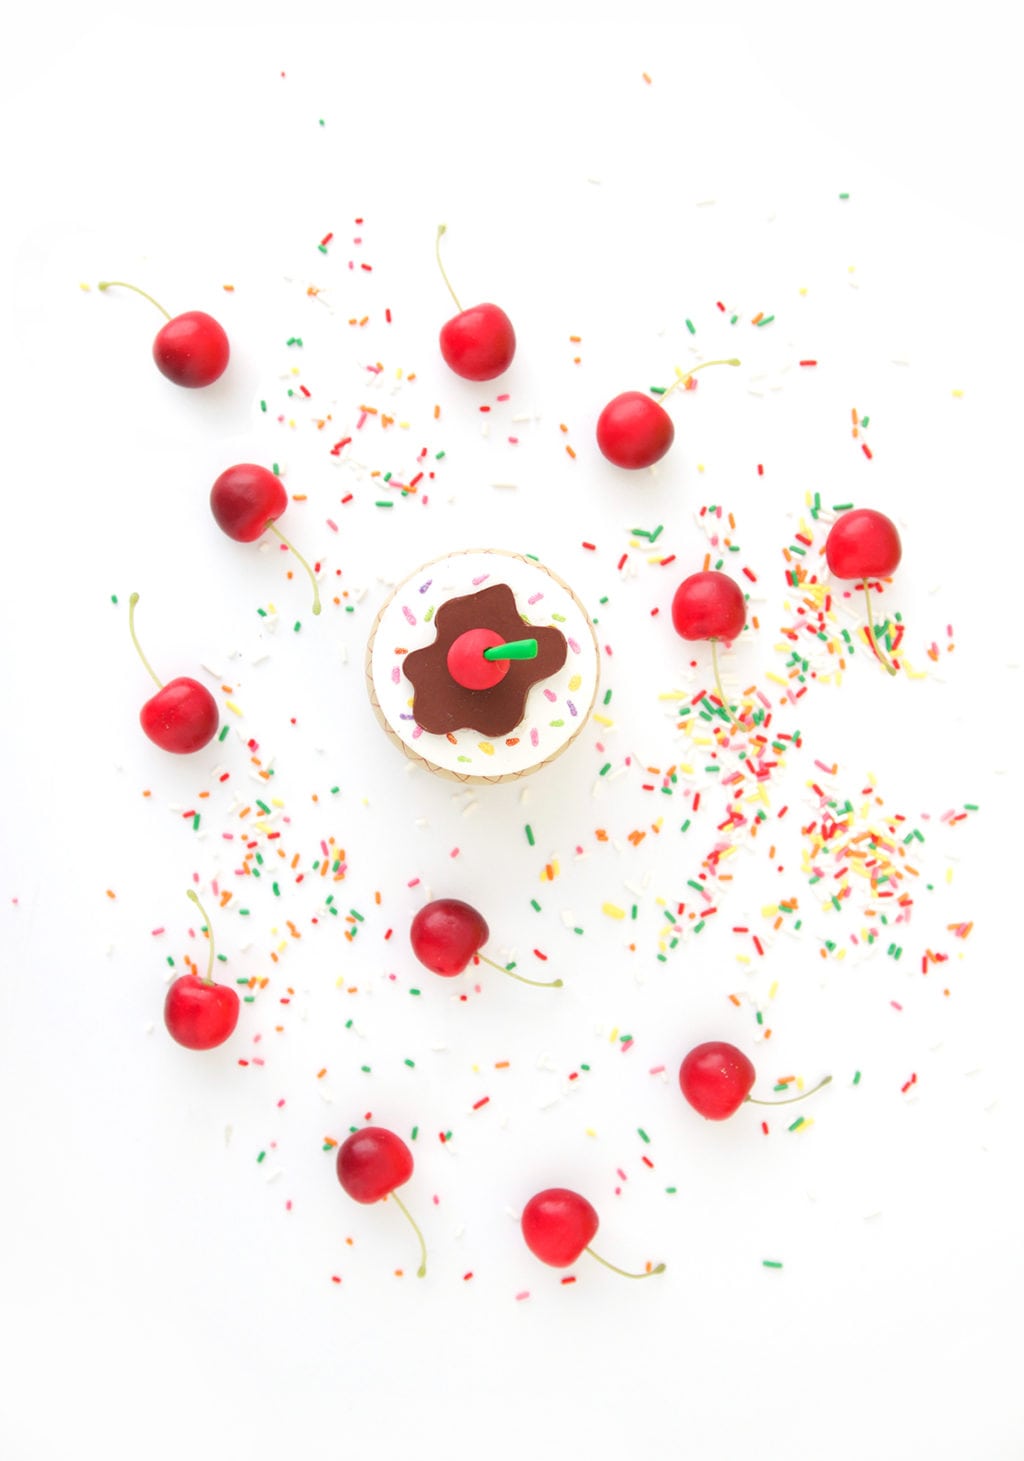
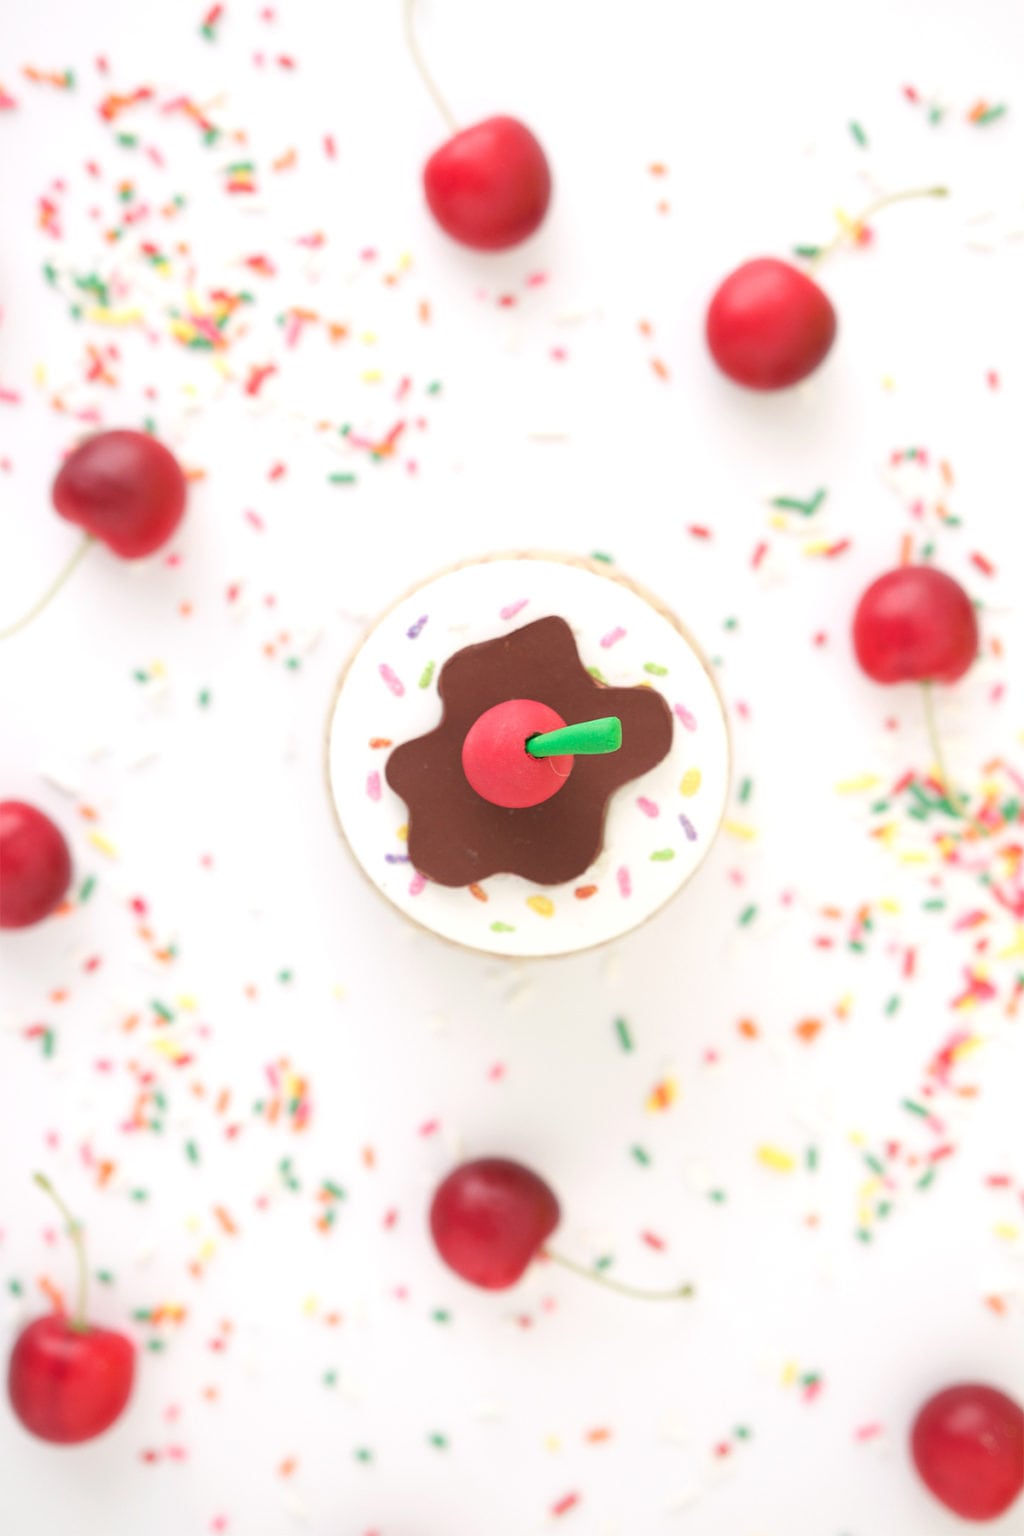
I know, I know…it’s a bunch of steps but it’s not tough. You can roll out and cut all your clay pieces first which will make assembly a bit easier. In the end you’ll have an adorable ice cream cone trinket box that is totally unique and perfect to fill with paper clips, candies or even bobby pins!
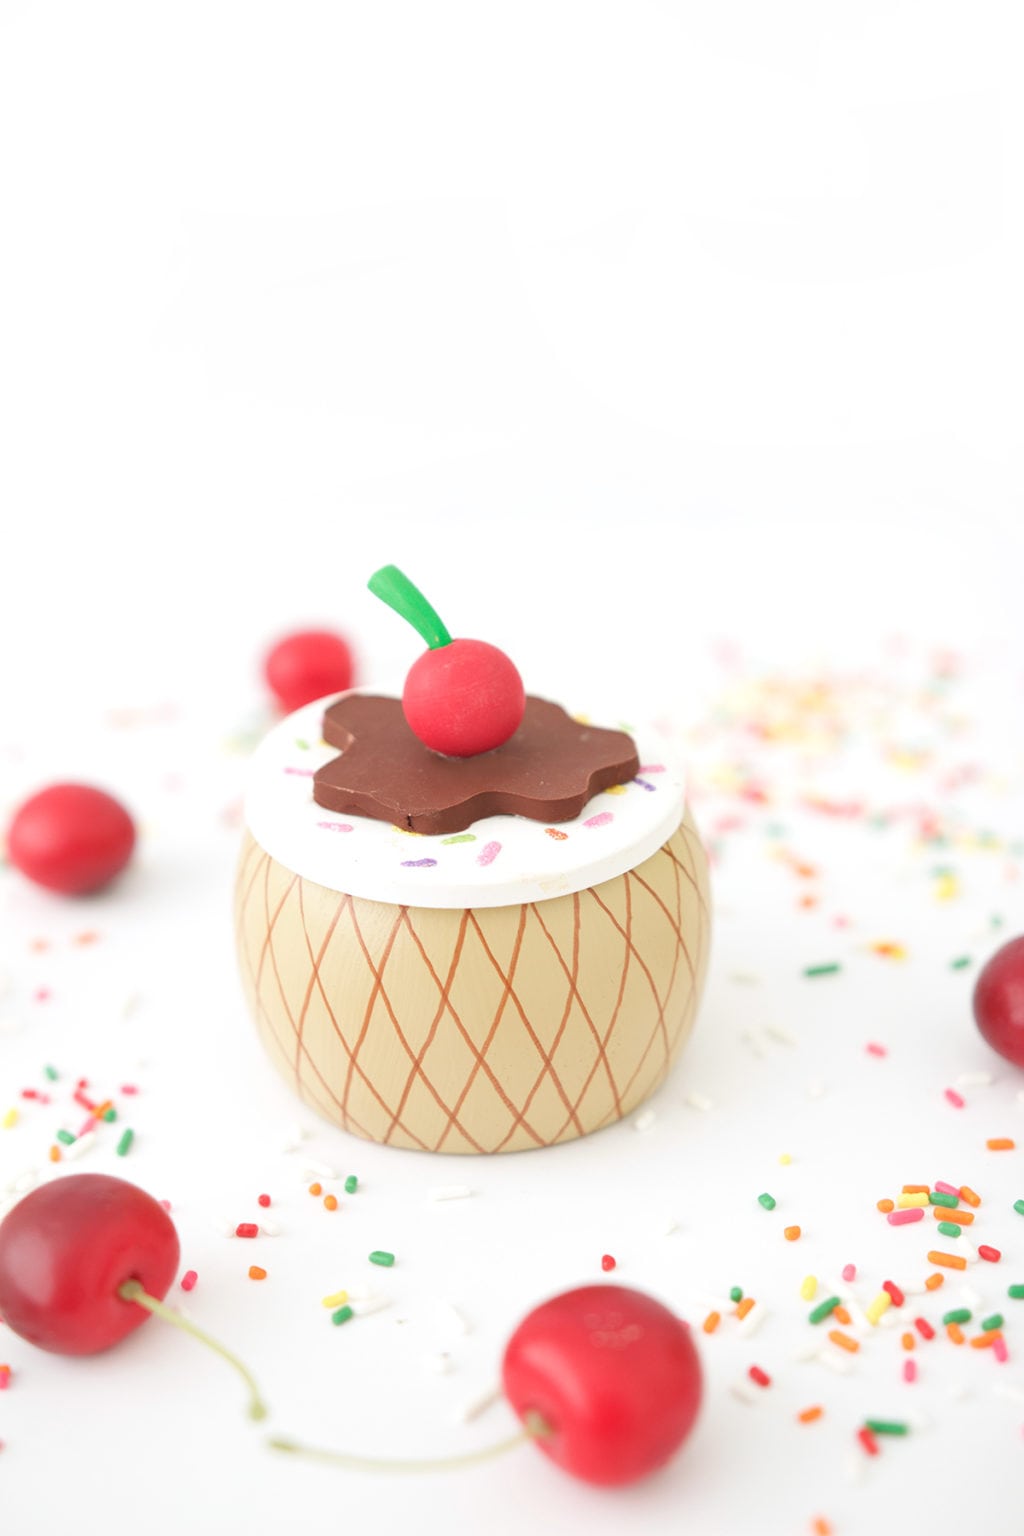


Check out THIS post and THIS post for more wooden bracelet ideas!






I have just LOVED all your recent dessert boxes. It’s inspiring me to think up a new take on this idea… but really I just want to make yours because they are so freaking adorable!!
Oh my goodness! How cute is this?!? I have a nearly-11 year old daughter who would probably love it! Or party favor idea? And again with the full-on manicured nails? 😉 Had me laughing!
This is sooo adorable!! How did you ever come up with this idea using a wooden bracelet!?
is it edible?
I seriously don’t know how you think this stuff up! That is super cute!!! I would enjoy seeing it filled with paper clips on my desk… but then I might want ice cream more often… 🙂
Really fantastic and a great general idea for using bangles to make boxes!
Adorable! You are so so creative!
Cristina
thehouseoftheblackbirds.blogspot.it
Hi, thanks for sharing those creative ideas with us. My brother birthday party is coming near and I want to decorate my home for his birthday. I was only struggling with managing my time but after getting help from uk.bestessays.com, I completed all of them and now I am searching for the suggestions online to decorate my home for birthday party.
I was skeptical yon CBD at first, but after trying them like [url=https://joyorganics.com/products/1000mg-cbd-cream ]1000mg cbd cream[/url], I’m unqualifiedly impressed. They submit a convenient and enjoyable technique to pick CBD without any hassle. I’ve noticed a calming force, remarkably in the evenings, which has helped with both weight and sleep. The finery some is the pre-measured dosage, so there’s no guessing involved. If you’re looking as a remedy for an uncomplicated and tasty way to acquaintance CBD, gummies are obviously advantage in view of—nothing but cut unwavering to secure from a honourable name brand!
Bayar4d link alternatif login dan daftar agen slot online resmi dan percaya
BAYAR4D | BAYAR4D LOGIN | BAYAR4D DAFTAR | BAYAR4D LINK | BAYAR4D LINK ALTERNATIF | BAYAR4D SITUS | BAYAR4D AGEN | BAYAR4D RTP SLOT | LOGIN BAYAR4D | DAFTAR BAYAR4D | LINK BAYAR4D | LINK ALTERNATIF BAYAR4D | SITUS BAYAR4D | AGEN BAYAR4D | RTP SLOT BAYAR4D