Right this second, I’m sitting here binge watching Empire. This show is so bad that it’s good. Lucious doesn’t strike me as the crafty type, but if he were, he would certainly own a Cricut Explore and he would absolutely love today’s tutorial. It’s the perfect addition to his gaudy desk.
My new favorite thing to do with my Explore is layering sheets of chipboard to mimic the look of laser cut wood. Just use your machine to cut multiple layers of the same design. It’s easy and packs a bang. Here’s how I made today’s #boss desk accessory.
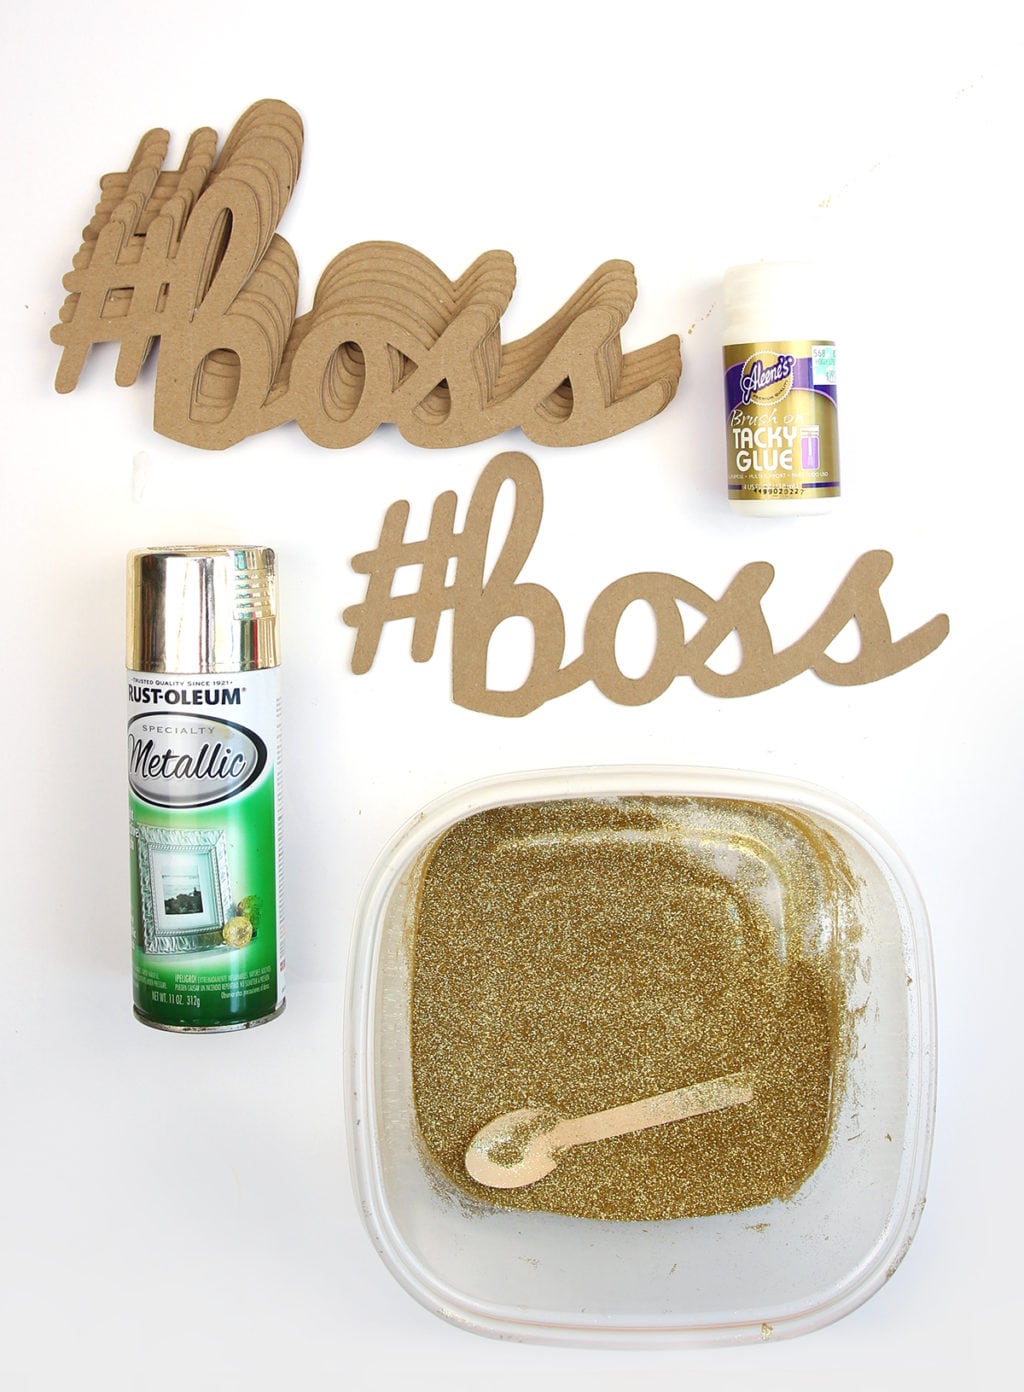
You will need:
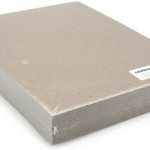
- ten chipboard “#boss” images cut from THIS Make-It-Now project available in the Cricut Design Space.
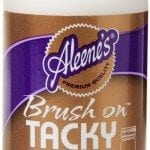
- Brushable glue
- Metallic gold spray paint
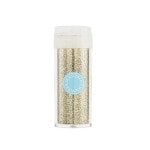
- Gold glitter – lots of it!
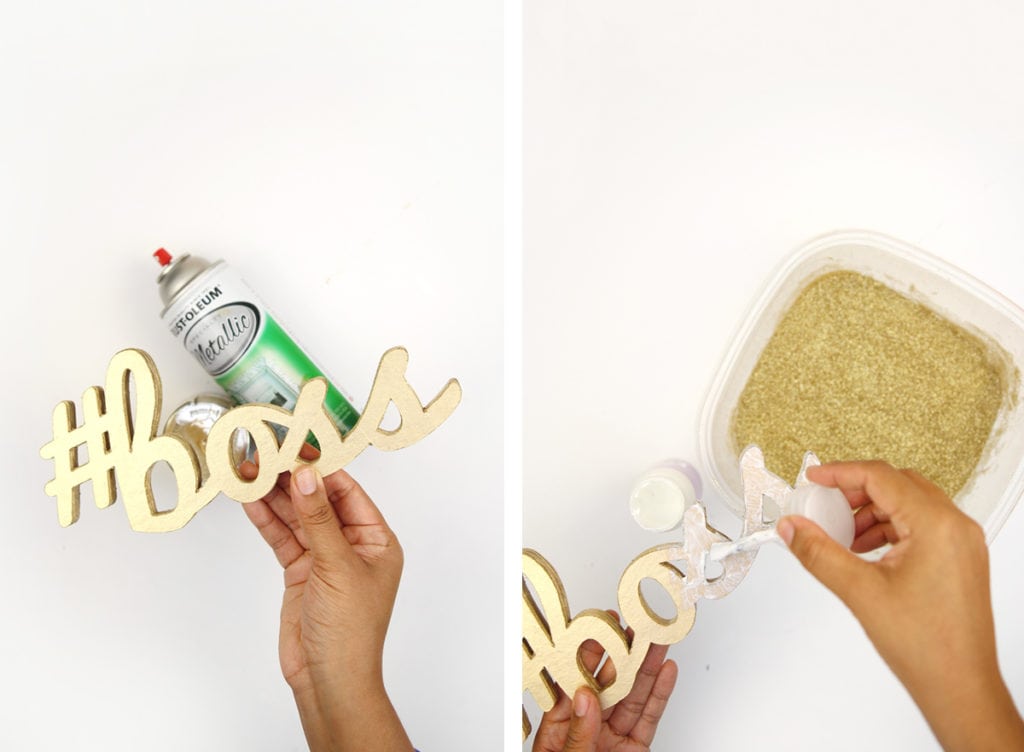
 Brush glue on to the chipboard image then glue each piece together
- Continue doing this until all are adhered together and you’ve got a big ‘ol #boss slab
- Spray paint the entire chipboard piece with gold spray paint.
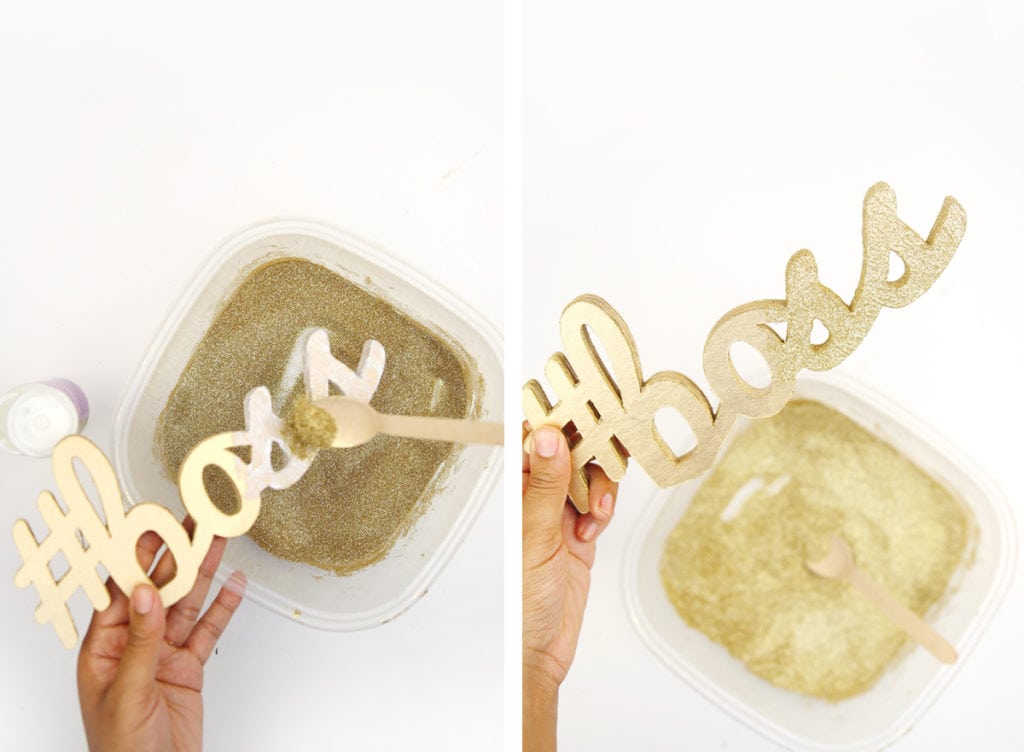
- One the spray paint has dried (which won’t take long) brush more glue all over the piece
- Sprinkle glitter over the brushed glue and continue doing this until the entire piece is covered in gold glitter.
How cool would this be sitting on your desk! It’s a huge glittery reminder to be a boss and win the day! Gotta love it.









пин ап зеркало: https://pinupkz.life/
пин ап казино зеркало – пин ап зеркало
Tadalafil Easy Buy [url=http://tadalafileasybuy.com/#]cialis without a doctor prescription[/url] Tadalafil Easy Buy
Kamagra online bestellen: Kamagra Oral Jelly kaufen – Kamagra Oral Jelly
https://apotekonlinerecept.shop/# Apoteket online
ApotheekMax [url=http://apotheekmax.com/#]Betrouwbare online apotheek zonder recept[/url] de online drogist kortingscode
https://kamagrapotenzmittel.com/# Kamagra kaufen ohne Rezept
Betrouwbare online apotheek zonder recept: de online drogist kortingscode – Apotheek online bestellen
https://apotekonlinerecept.shop/# apotek online
https://apotheekmax.com/# Online apotheek Nederland zonder recept
Kamagra Original: Kamagra kaufen ohne Rezept – Kamagra Gel
online apotheek [url=https://apotheekmax.com/#]Online apotheek Nederland met recept[/url] Apotheek online bestellen
https://apotheekmax.com/# ApotheekMax
https://apotekonlinerecept.com/# Apoteket online
apotek online: Apotek hemleverans recept – Apotek hemleverans idag
https://apotheekmax.shop/# Online apotheek Nederland zonder recept
kamagra [url=https://kamagrapotenzmittel.com/#]Kamagra kaufen[/url] Kamagra Original
http://kamagrapotenzmittel.com/# Kamagra Gel
Kamagra Oral Jelly: Kamagra kaufen ohne Rezept – Kamagra Original
https://kamagrapotenzmittel.shop/# Kamagra Original
http://apotekonlinerecept.com/# Apotek hemleverans recept