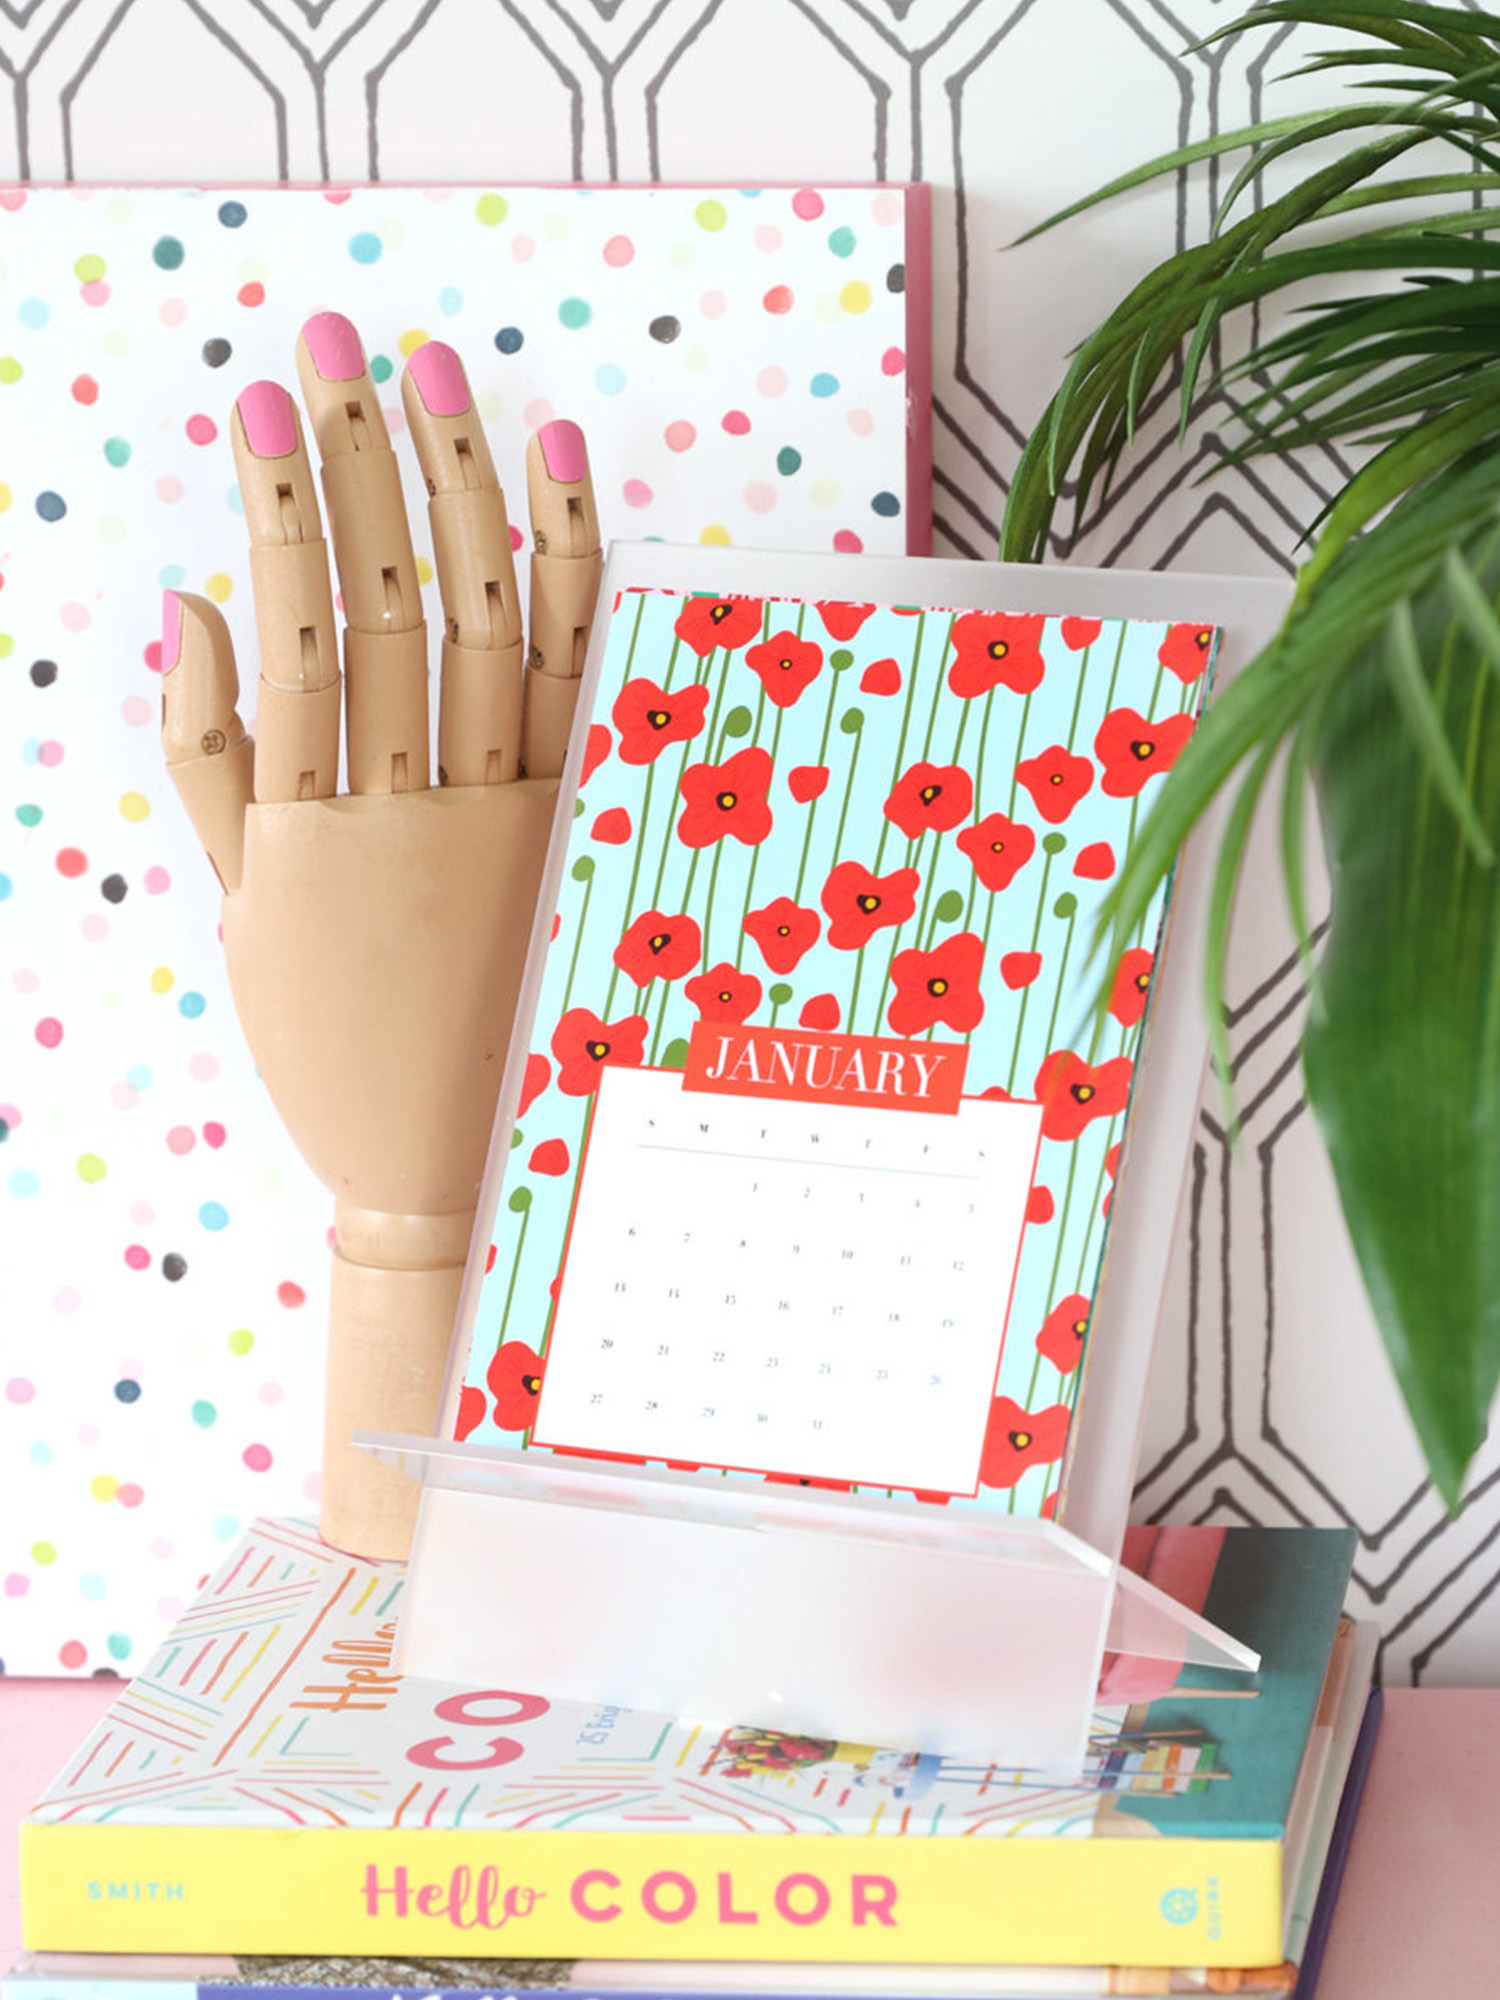
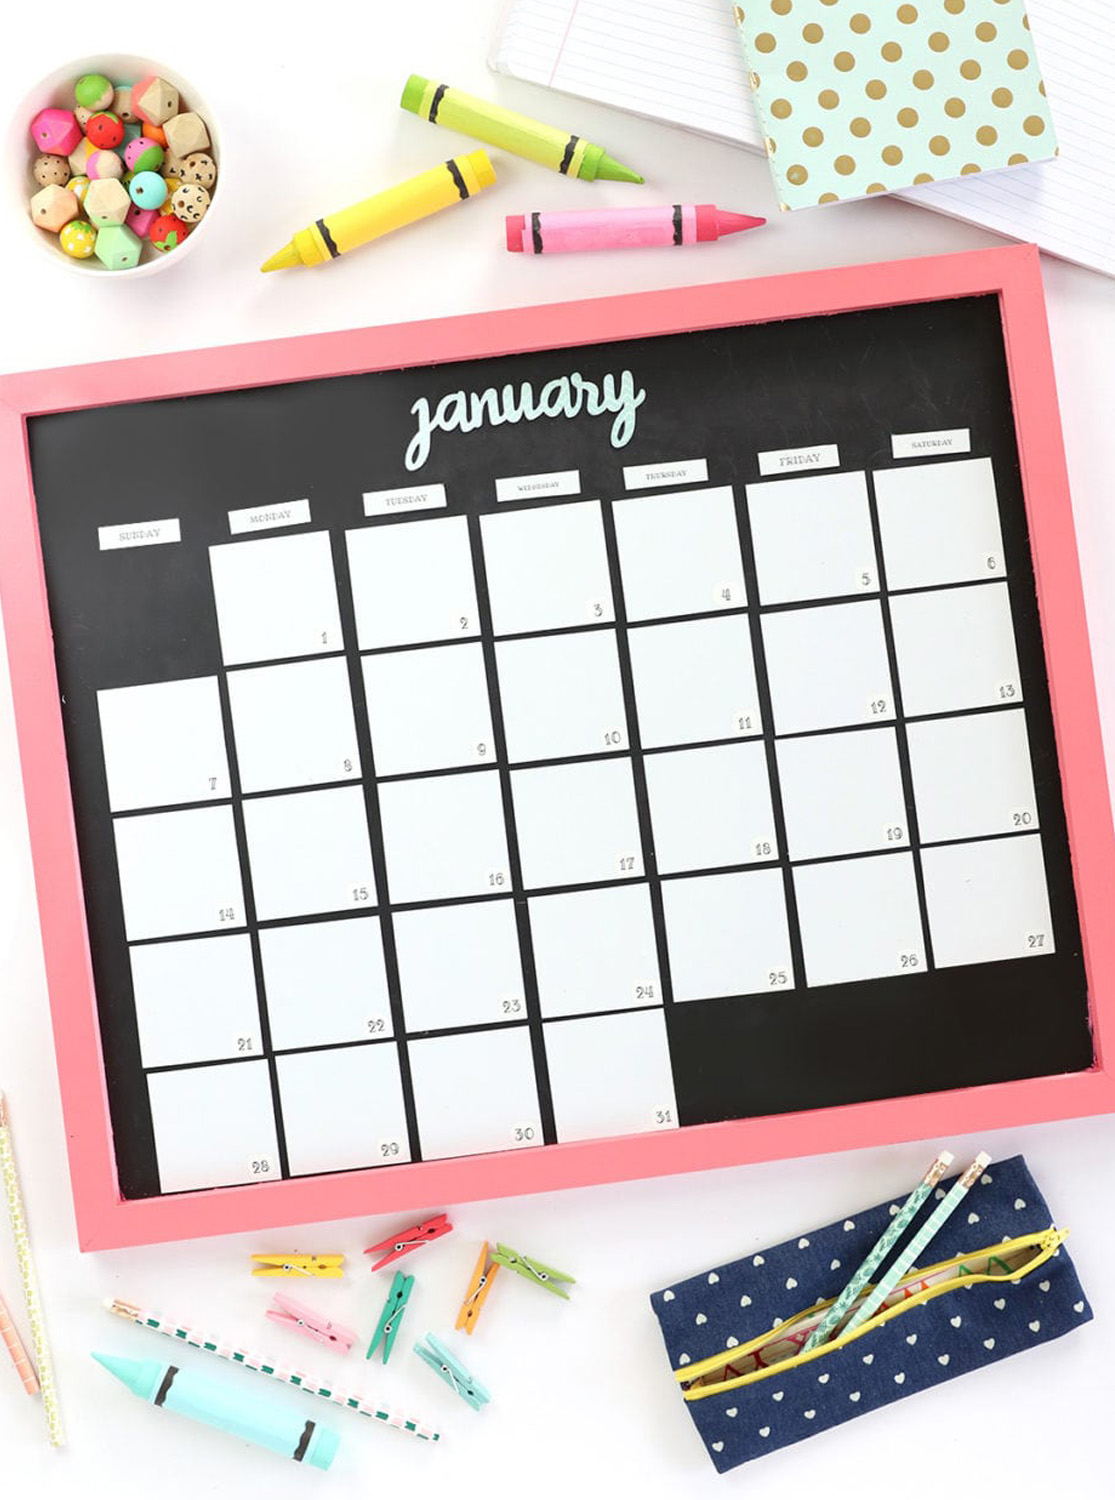
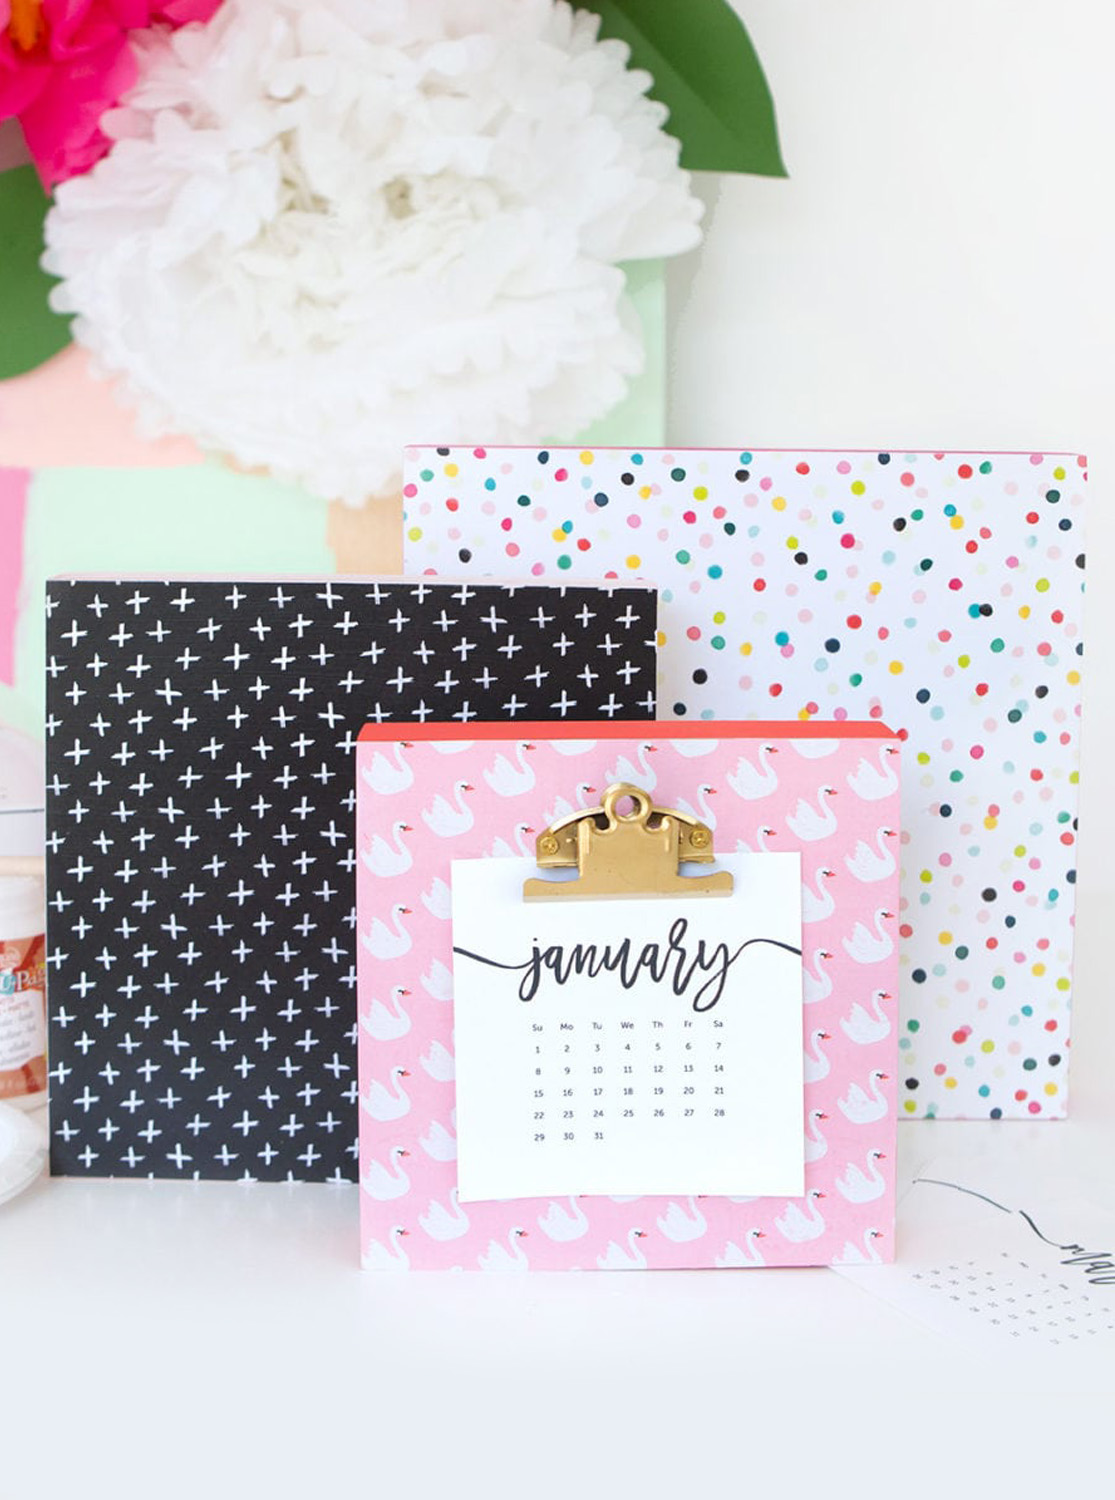
It’s no secret that I love calendars. Strike that. I love making calendars. I’ve been doing it for years on the blog and there is no reason to stop the tradition now! Take a look HERE to see all the pretty calendars from the Damask Love archives.
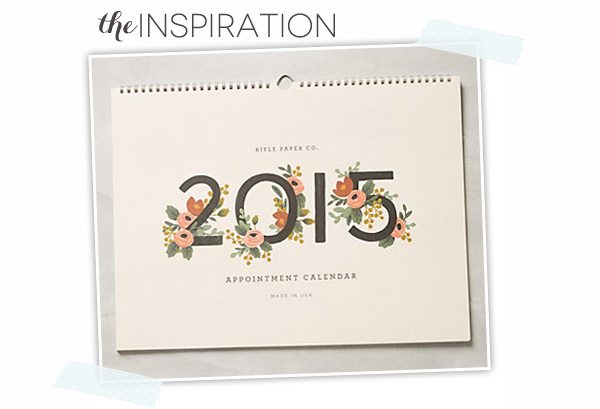
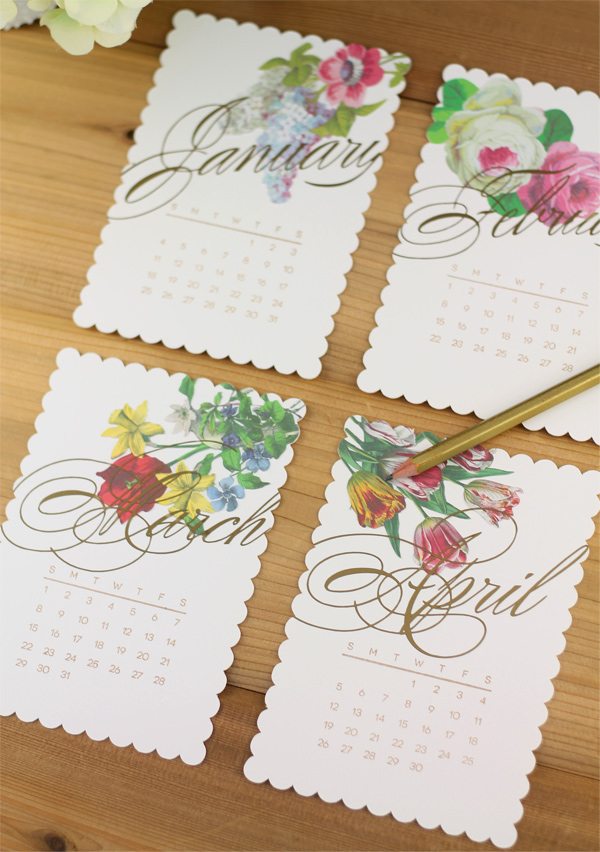
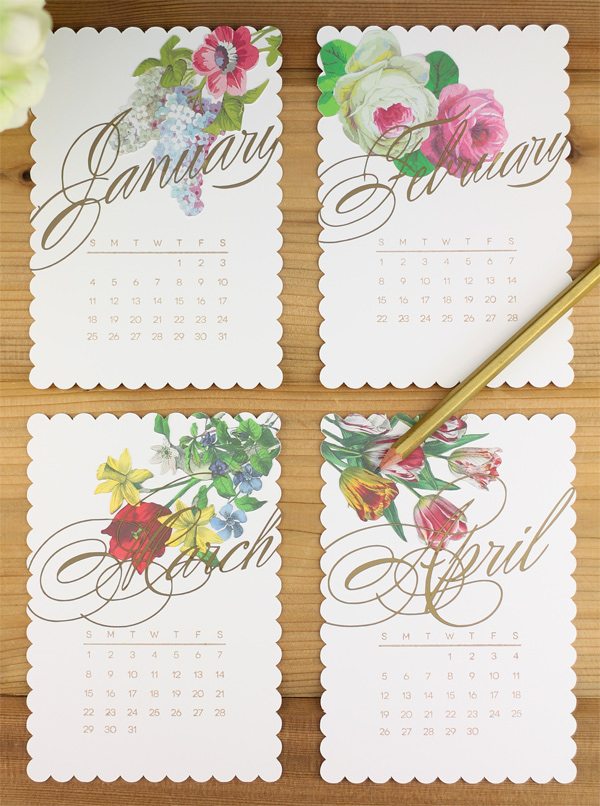
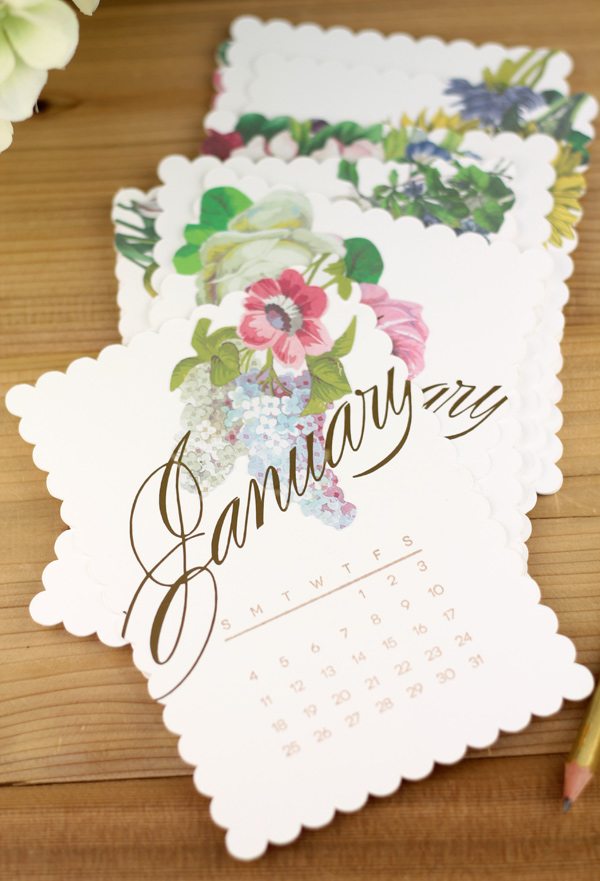
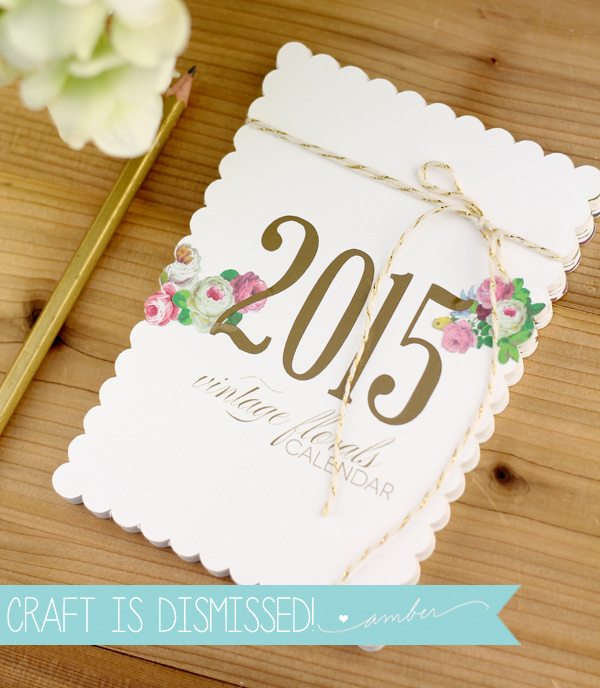
During one of my late night Pinterest sessions, I came across this pretty calendar by Rifle Paper Co. I knew I could create something similar and that’s when I hopped to it. Sometimes, I create crafts like I’m a superhero being summoned to the job. Like some sort of siren just went off and there’s a craft emergency to be solved. I drop everything I’m doing and start with the making.
This time around, I called on my beloved Cricut Explore. Y’all know I love that thing with a passion. If this house goes up in flames, I’m grabbing the baby…and the Explore. The folks at Cricut advertise the Explore as a machine that allows you to “Go from Inspiration to Creation in just a few clicks.” Well, truth be told – when I first heard this tagline, I was feeling pretty cynical about the whole thing…but dammit…it turns out those people were right. From the time I saw the inspiration calendar, it took me all of fifteen minutes to come up with something similar in Cricut Design Space. It’s incredibly satisfying to make something in such short order…without having to order special dies or stamps for the project. So, let me take you on a little tour of how this pretty calendar came together:
 Here’s a rundown of details on supplies. You’ll wanna read this to make sure you understand how all the elements were created:
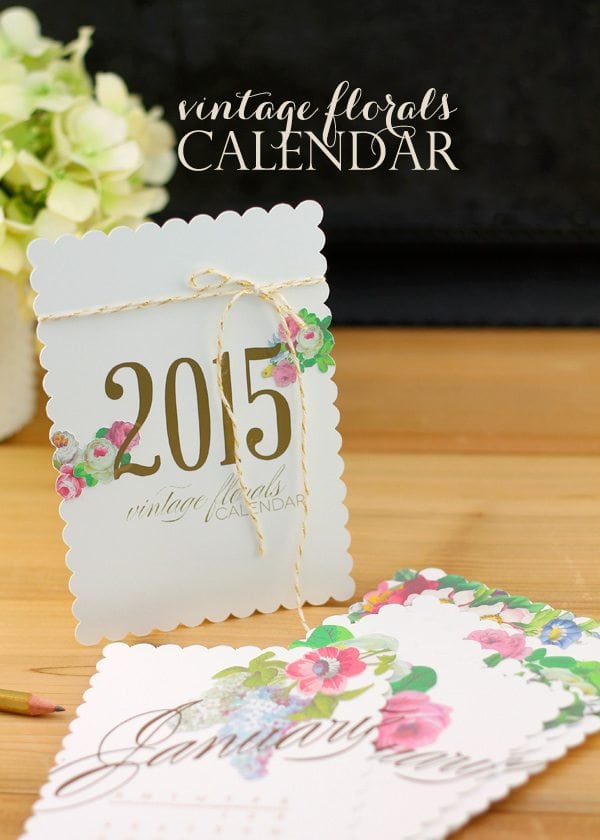
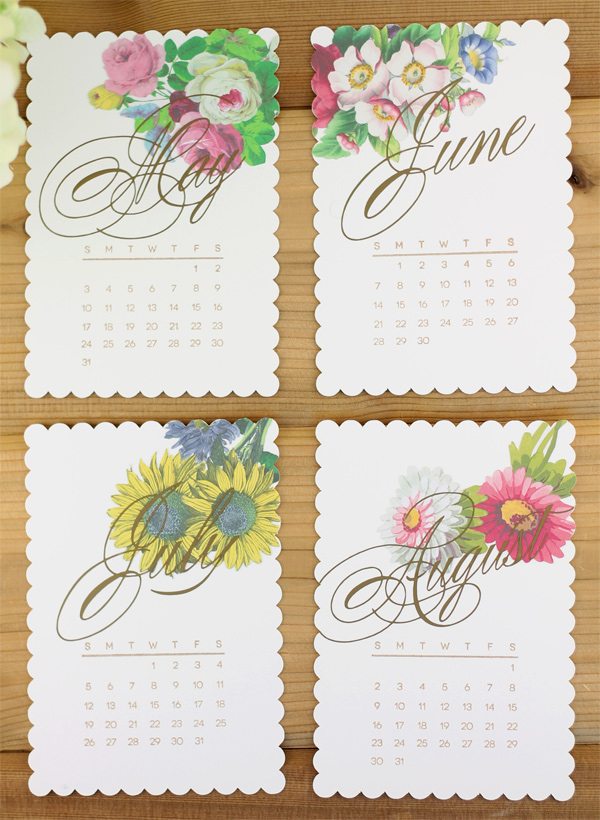
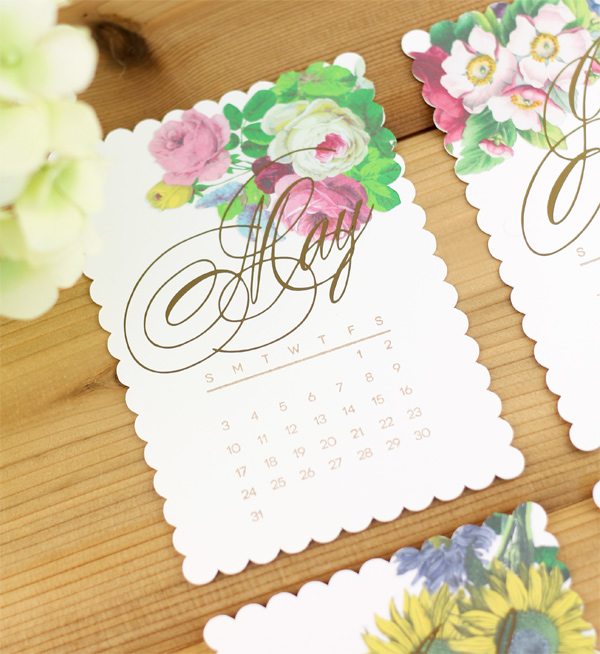
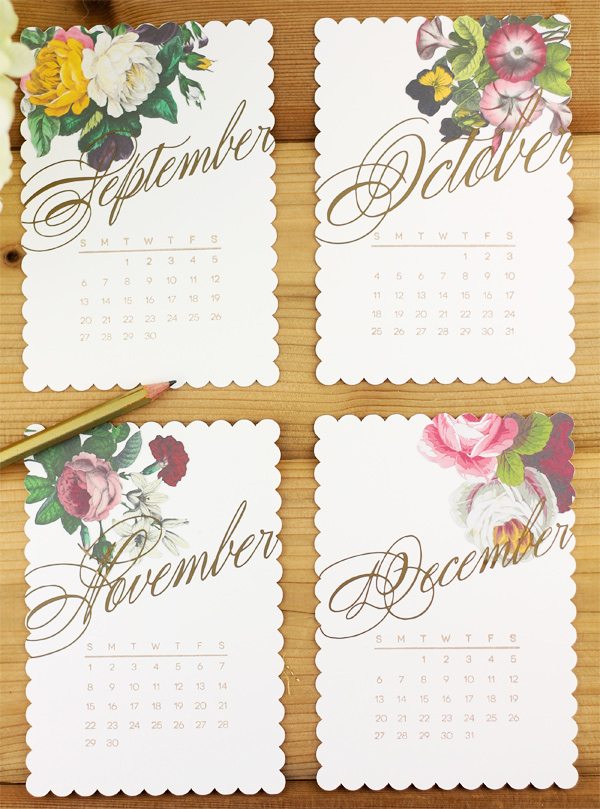
{1} Twelve 4 x 4.5″ scalloped rectangles cut from white cardstock. These were cut using a design I created and imported into Design Space. You certainly don’t have to use a scalloped-edged rectangle. You could whatever shape you want, but I have a little love affair with scalloped edges. We’ve been serious for quite some time.
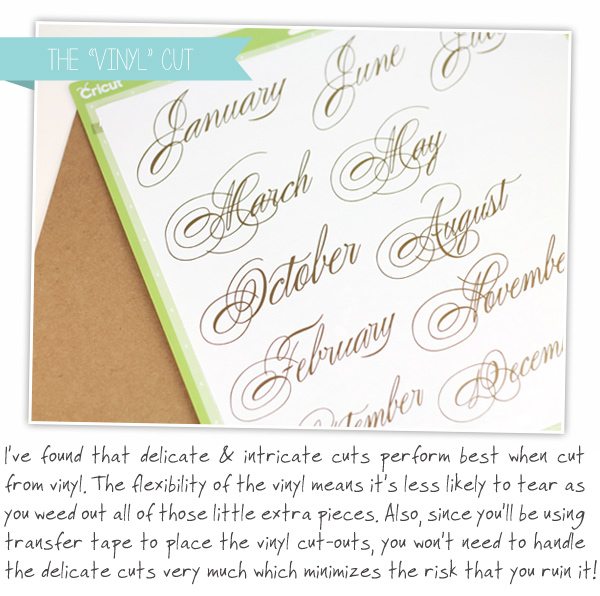
{2} Month words cut from gold vinyl. This is the most labor intensive part of the project. Cricut Design Space allows you to use whatever fonts you already own on your computer, so I used one of my favorite script fonts to spell out the months of the year. I cut them from gold vinyl, which is a great medium for cutouts that are delicate and might otherwise rip or tear if cut from paper.
{3} The vintage floral images are also available through Cricut Design Space. Stationery designer, Anna Griffin has several Print Then Cut designs available through Design Space and these florals are part of her Vintage Florals image set. Just select the ones you want, resize them, and you’re ready to print them out and cut them. I printed twelve floral images onto the Cricut Printable Sticker Paper so that they’d be super easy to adhere to my calendar design.
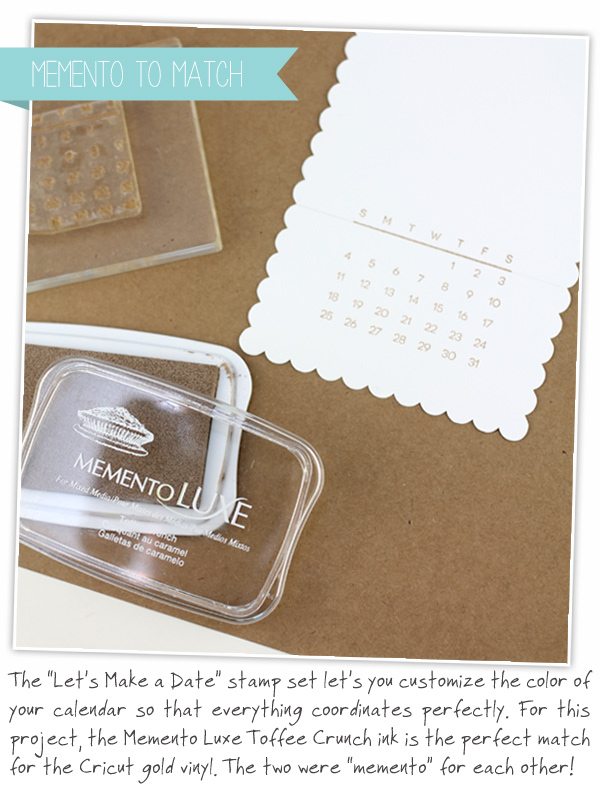
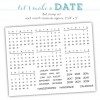
{4} To add the months of the year to each calendar page, I used the Damask Love Let’s Make a Date stamp set that was released last year! If you’re chomping at the bit to have this stamp set, it’s back and available for purchase in very limited quantity. Visit the SHOP to grab yours. For more deets on this awesome stamp set, visit THIS post and if you’d like to order be sure you do it now!
{5} Select your favorite ink for stamping the months of the year. I went for Memento Luxe because it’s my current fave.
{6} NOT PICTURED: Since you’re working with vinyl, you’ll also need some vinyl transfer tape.
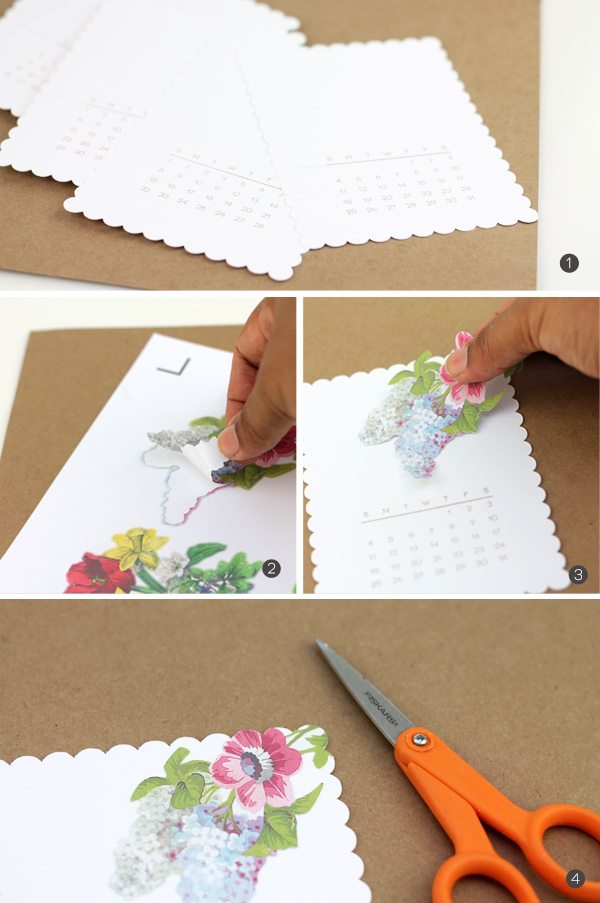
{1} Stamp each calendar page using “Let’s Make a Date” – if you don’t have this stamp set yet, keep scrolling! It’s back in stock and ready to come live with you.
{2} Peel away one of the vintage floral stickers…
{3} Adhere the sticker to the calendar page. I stuck mine slightly off the edge of the calendar page.
{4} Use scissors to trim off any of the sticker that extends beyond the edge of the calendar page.
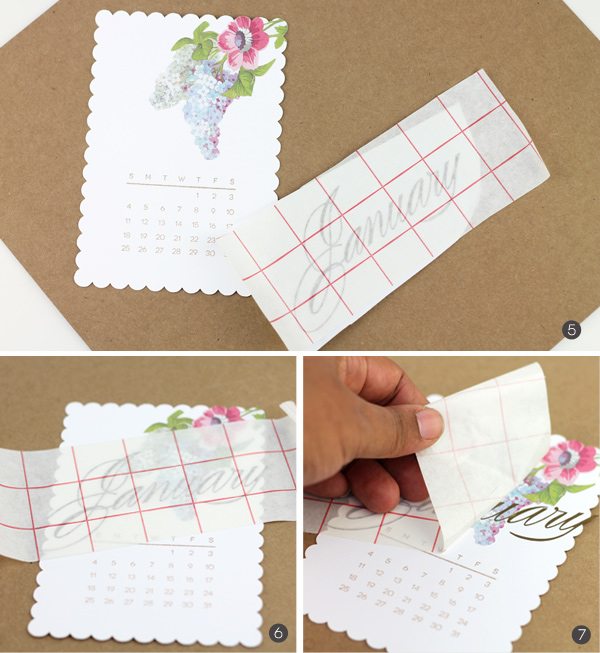 {5} Place the transfer tape over the word cutout
{6} Peel the word off of it’s original backing and then place directly onto the calendar page. Rub it well to make sure it adheres.
{7} Peel away the transfer tape and you’re done…and yes…vinyl works beautifully on paper. It adheres just like a sticker would…so go ahead and add it to your arsenal of paper crafting supplies!







https://apotekonlinerecept.com/# Apotek hemleverans recept
Online apotheek Nederland zonder recept: Online apotheek Nederland met recept – Apotheek Max
https://kamagrapotenzmittel.shop/# Kamagra Original
http://apotekonlinerecept.com/# apotek pa nett
Kamagra online bestellen [url=https://kamagrapotenzmittel.shop/#]Kamagra kaufen[/url] Kamagra Oral Jelly kaufen
http://apotheekmax.com/# Apotheek online bestellen
https://kamagrapotenzmittel.shop/# Kamagra kaufen ohne Rezept
Kamagra Oral Jelly kaufen [url=http://kamagrapotenzmittel.com/#]kamagra[/url] Kamagra Oral Jelly
Kamagra Oral Jelly kaufen: Kamagra Gel – Kamagra Gel
http://kamagrapotenzmittel.com/# Kamagra Oral Jelly
Kamagra kaufen ohne Rezept: Kamagra kaufen – Kamagra Oral Jelly kaufen
Kamagra Oral Jelly: Kamagra Gel – Kamagra online bestellen
Whats up are using WordPress for your blog platform? I’m new to the blog world but I’m trying to get started and set up my own. Do you need any coding knowledge to make your own blog? Any help would be really appreciated!
Appreciating the persistence you put into your website and in depth information you present. It’s awesome to come across a blog every once in a while that isn’t the same outdated rehashed material. Great read! I’ve bookmarked your site and I’m including your RSS feeds to my Google account.
Today, with all the fast chosen lifestyle that everyone leads, credit cards have a huge demand throughout the market. Persons out of every area are using the credit card and people who not using the credit card have prepared to apply for just one. Thanks for sharing your ideas on credit cards.
It?s really a nice and useful piece of info. I?m happy that you simply shared this useful info with us. Please keep us up to date like this. Thanks for sharing.
Thanks for your article. One other thing is that if you are promoting your property by yourself, one of the challenges you need to be cognizant of upfront is just how to deal with household inspection reports. As a FSBO seller, the key towards successfully moving your property and saving money in real estate agent commission rates is awareness. The more you are aware of, the simpler your property sales effort will likely be. One area exactly where this is particularly important is reports.
Thanks for your tips. One thing we have noticed is banks in addition to financial institutions know the spending habits of consumers and understand that most of the people max away their credit cards around the getaways. They smartly take advantage of this real fact and begin flooding your own inbox along with snail-mail box together with hundreds of no interest APR card offers immediately after the holiday season concludes. Knowing that when you are like 98 in the American community, you’ll leap at the chance to consolidate consumer credit card debt and shift balances for 0 interest rate credit cards.
Holy cow! I’m in awe of the author’s writing skills and ability to convey intricate concepts in a concise and concise manner. This article is a true gem that deserves all the applause it can get. Thank you so much, author, for providing your knowledge and offering us with such a valuable resource. I’m truly grateful!
Good ? I should certainly pronounce, impressed with your website. I had no trouble navigating through all the tabs and related info ended up being truly simple to do to access. I recently found what I hoped for before you know it at all. Quite unusual. Is likely to appreciate it for those who add forums or something, website theme . a tones way for your customer to communicate. Excellent task..
Audio started playing anytime I opened up this web page, so annoying!
Many thanks for sharing these kinds of wonderful content. In addition, the best travel in addition to medical insurance plan can often relieve those concerns that come with journeying abroad. The medical crisis can in the near future become very costly and that’s certain to quickly decide to put a financial problem on the family’s finances. Setting up in place the suitable travel insurance package prior to setting off is worth the time and effort. Cheers
I should say also believe that mesothelioma is a rare form of cancer malignancy that is generally found in these previously familiar with asbestos. Cancerous tissue form inside the mesothelium, which is a safety lining which covers almost all of the body’s bodily organs. These cells ordinarily form inside the lining in the lungs, abdomen, or the sac which encircles the heart. Thanks for giving your ideas.
There are some fascinating cut-off dates on this article however I don?t know if I see all of them heart to heart. There is some validity but I will take maintain opinion till I look into it further. Good article , thanks and we want extra! Added to FeedBurner as nicely
Do you mind if I quote a couple of your posts as long as I provide credit and sources back to your blog? My blog is in the very same area of interest as yours and my visitors would definitely benefit from some of the information you present here. Please let me know if this ok with you. Many thanks!
hello!,I love your writing very much! share we be in contact extra approximately your post on AOL? I need an expert in this house to solve my problem. Maybe that’s you! Looking ahead to see you.
Thanks for your posting. One other thing is always that individual American states have their particular laws that affect homeowners, which makes it very hard for the our elected representatives to come up with the latest set of recommendations concerning property foreclosures on homeowners. The problem is that each state possesses own regulations which may work in an unfavorable manner in terms of foreclosure insurance plans.
Hey There. I found your blog the usage of msn. That is a really well written article. I will make sure to bookmark it and come back to learn extra of your helpful info. Thank you for the post. I?ll definitely return.
I like what you guys are up too. Such smart work and reporting! Carry on the superb works guys I have incorporated you guys to my blogroll. I think it’ll improve the value of my site 🙂
I believe that avoiding refined foods is a first step to help lose weight. They will often taste great, but refined foods currently have very little nutritional value, making you take more just to have enough vigor to get over the day. If you’re constantly consuming these foods, moving over to whole grain products and other complex carbohydrates will aid you to have more power while taking in less. Interesting blog post.
I used to be recommended this web site via my cousin. I am now not sure whether or not this submit is written by him as nobody else recognise such distinctive approximately my difficulty. You are incredible! Thank you!
Thx for your post. I would like to write my opinion that the expense of car insurance differs from one plan to another, due to the fact there are so many different issues which bring about the overall cost. Such as, the brand name of the car will have a tremendous bearing on the fee. A reliable outdated family auto will have a lower priced premium than a flashy racecar.
Hi! I could have sworn I’ve been to this blog before but after checking through some of the post I realized it’s new to me. Anyhow, I’m definitely glad I found it and I’ll be book-marking and checking back frequently!
I like the valuable information you provide in your articles. I will bookmark your weblog and check again here regularly. I am quite sure I?ll learn many new stuff right here! Good luck for the next!
Once I originally commented I clicked the -Notify me when new comments are added- checkbox and now each time a remark is added I get four emails with the same comment. Is there any method you may take away me from that service? Thanks!
Hello there! Do you know if they make any plugins to protect against hackers? I’m kinda paranoid about losing everything I’ve worked hard on. Any suggestions?
Magnificent site. Plenty of useful info here. I am sending it to a few friends ans also sharing in delicious. And obviously, thanks for your sweat!
Thanks for your write-up. What I want to comment on is that while searching for a good internet electronics retail outlet, look for a web page with full information on critical factors such as the privacy statement, security details, any payment methods, and other terms in addition to policies. Continually take time to see the help and also FAQ pieces to get a better idea of the way the shop functions, what they are capable of doing for you, and the way you can make the most of the features.