When it comes to cute stationery – I have a serious problem. A S.E.R.I.O.U.S P.R.O.B.L.E.M.
I must have at least 25-30 card sets that I have purchased from various stationery stores. When I was a kid, instead of allowance, I would ask my mom to take me to Hallmark so that I could buy “stationery and stickers.” Not much has changed since then. It’s no wonder that now, I am papercrafting as if someday soon, there is going to be a rush on cardstock and patterned paper.
It’s also no surprise that I love receiving notes that are handwritten on cute stationery. Just yesterday, I received a card from my friend Jenni, thanking me for the gift I sent her a couple of weeks ago. The notecard she sent was sooooo cute. I mean CUH-YUTE.
The second I opened it – I thought, OH, I MUST MAKE THIS!!!
So, I read the sweet note and immediately sat down to my crafting station to get to it!
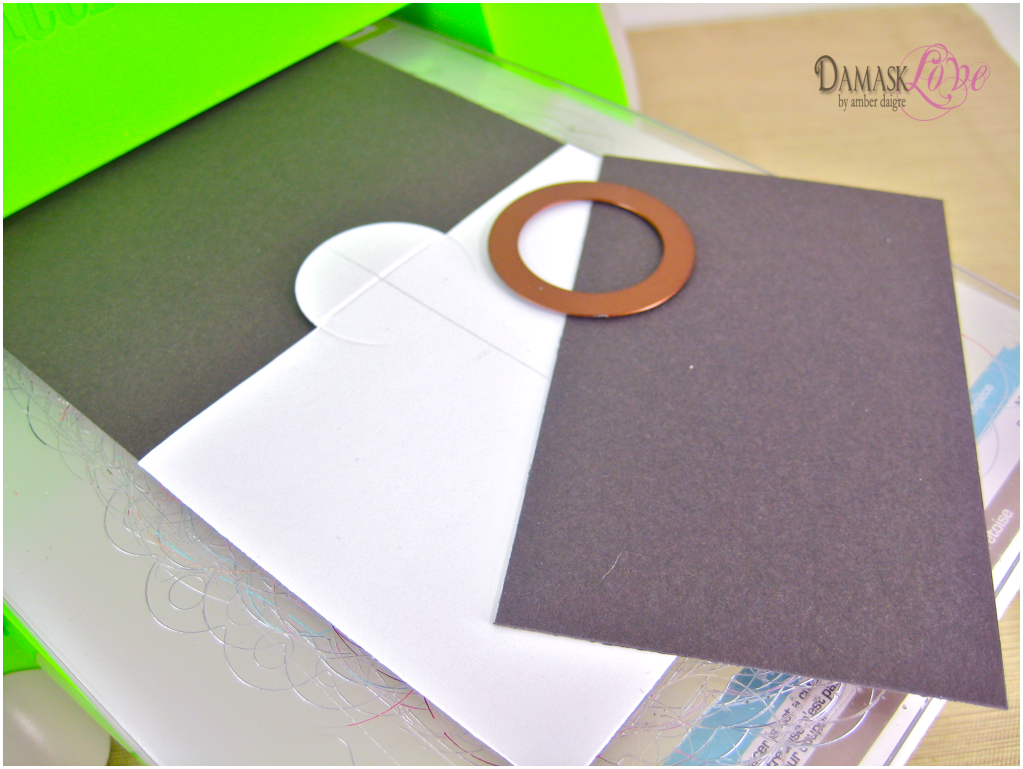
First step was to die cut a semi circle from the middle of the card – not the easiest of feats. I broke out my Cuttlebug…I channeled my inner McGuyver…and figured out a solution.
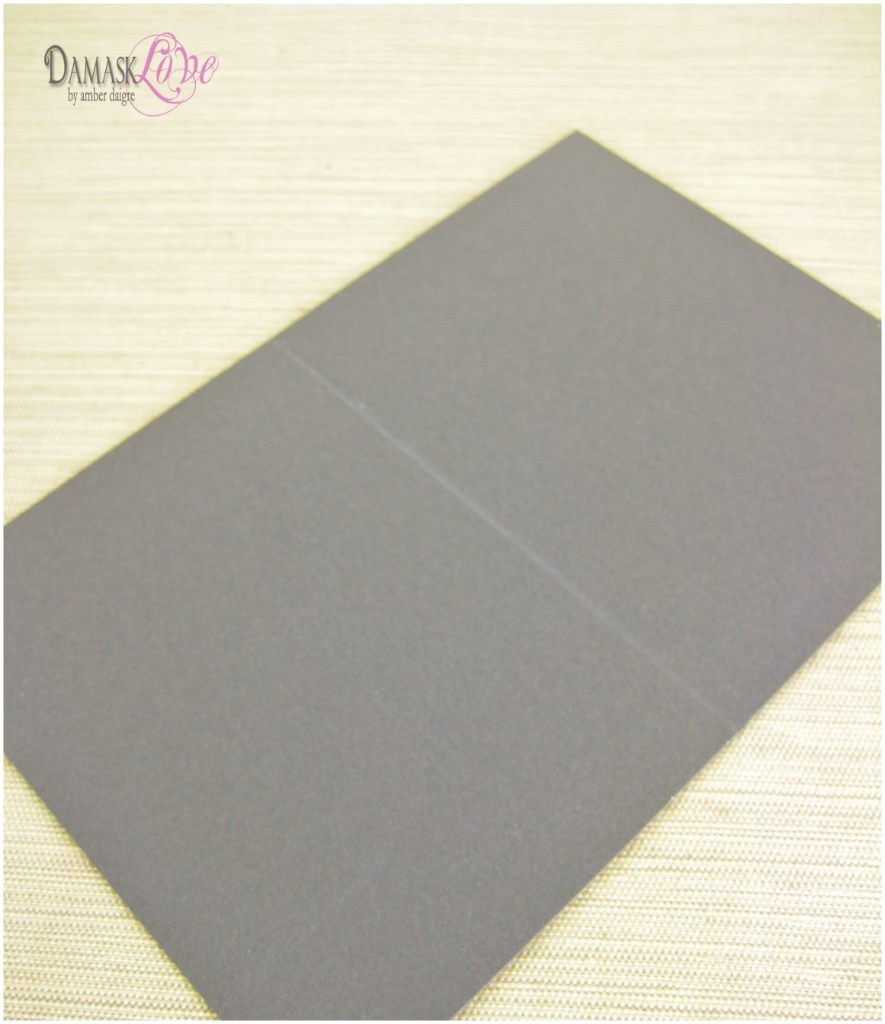
I started with a piece of 4×6″ piece of cardstock, scored in the center (3″).
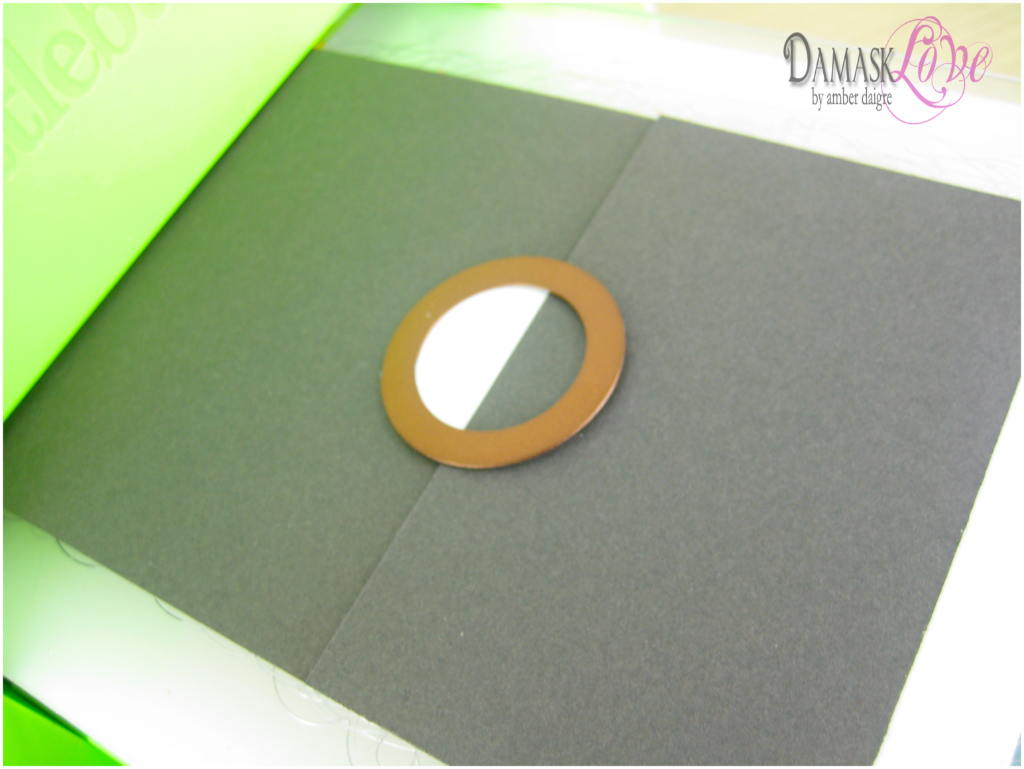
I used the 1 1/8″ circle from my Spellbinders Nestabilities Small Classic Circles set to make a template of where the semi-circle should go on my card.
I also used a piece an extra piece of cardstock, which I strategically placed under the bottom half of the die. This way, only the top half of the die would cut through my card base.
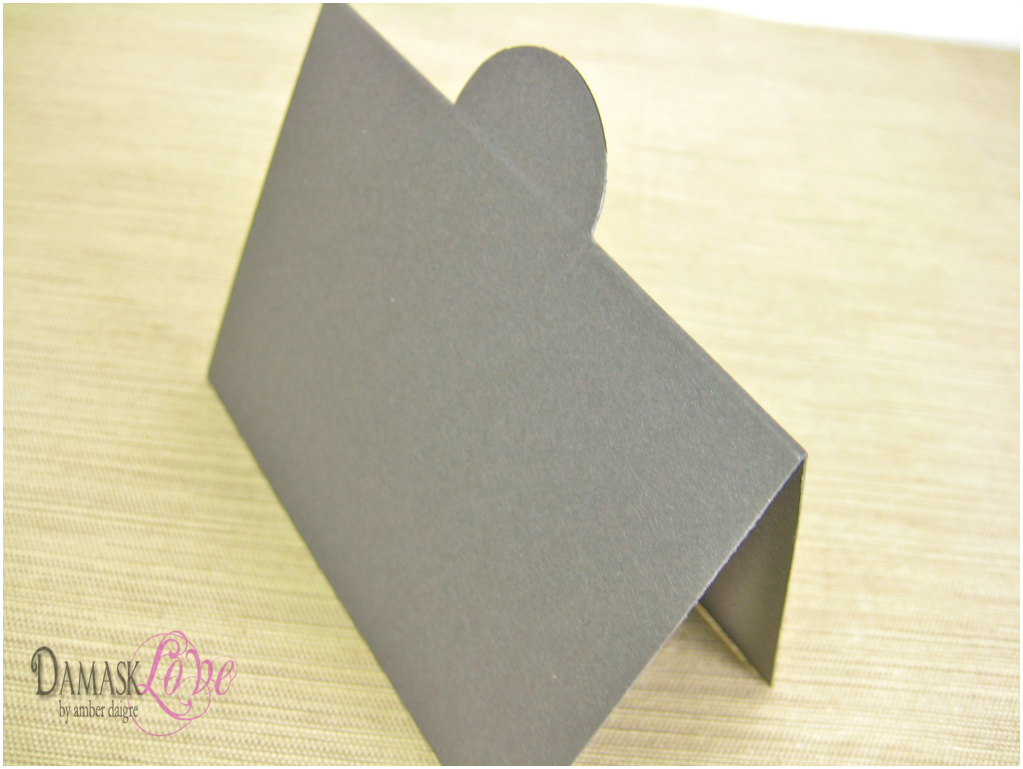
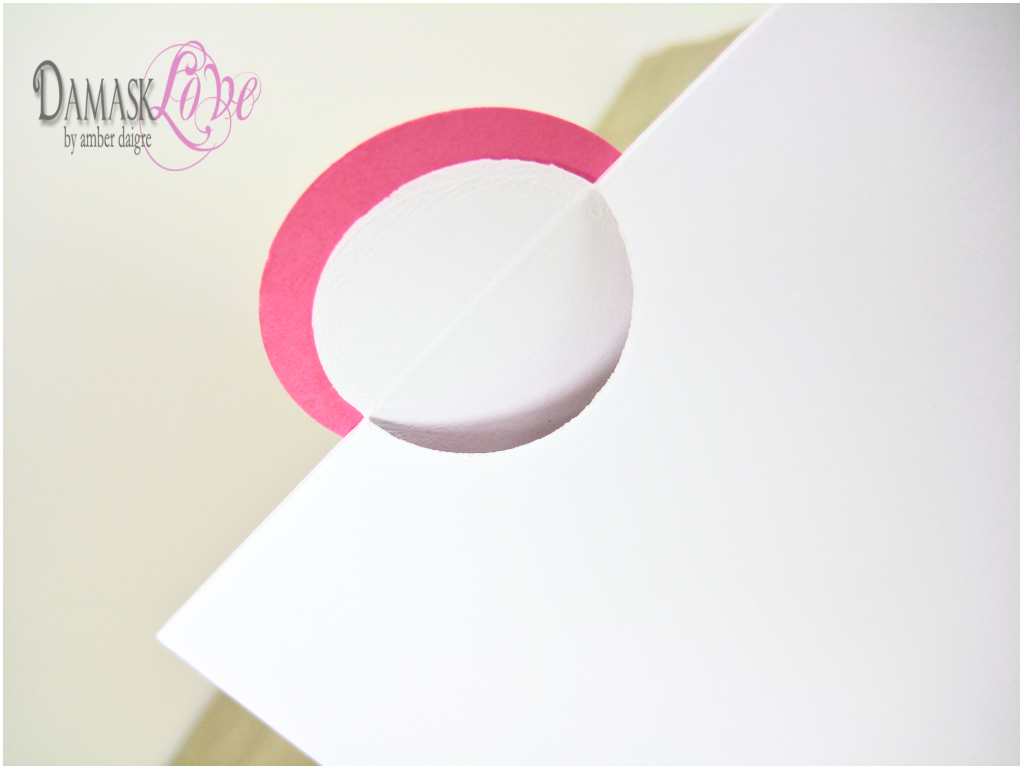
Once I rolled it through my Cuttlebug, the resulting card base looked like this:
Just what I was hoping for. The semi-circle popped up through the middle of the card!
Now time for some pizazz!
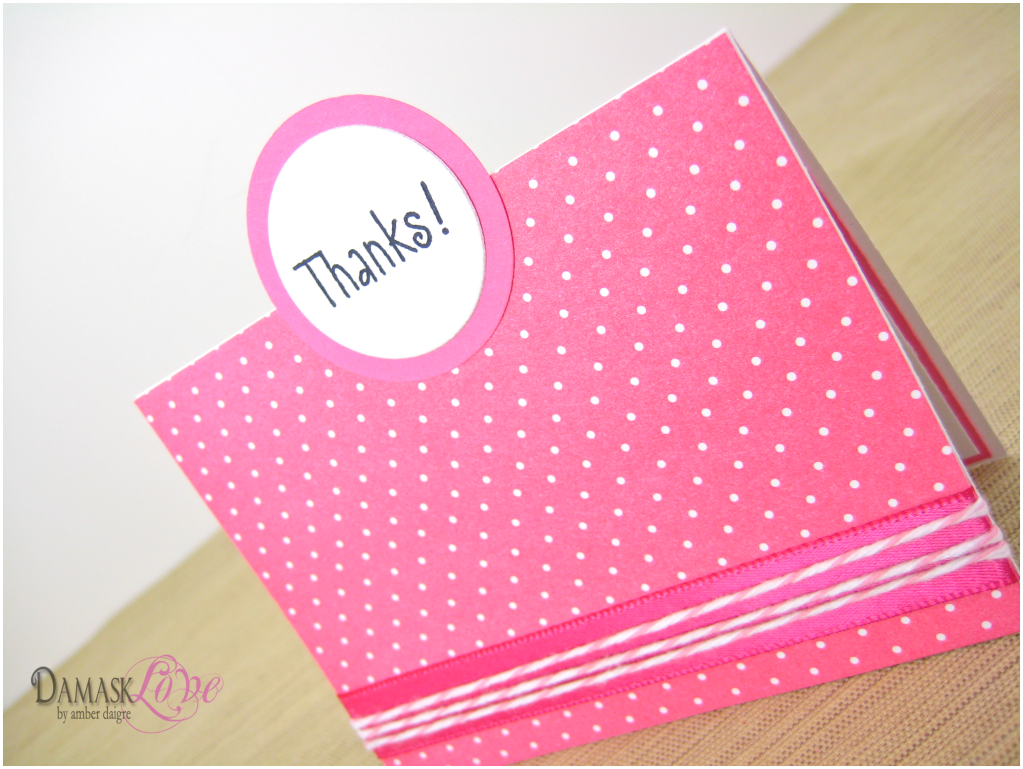
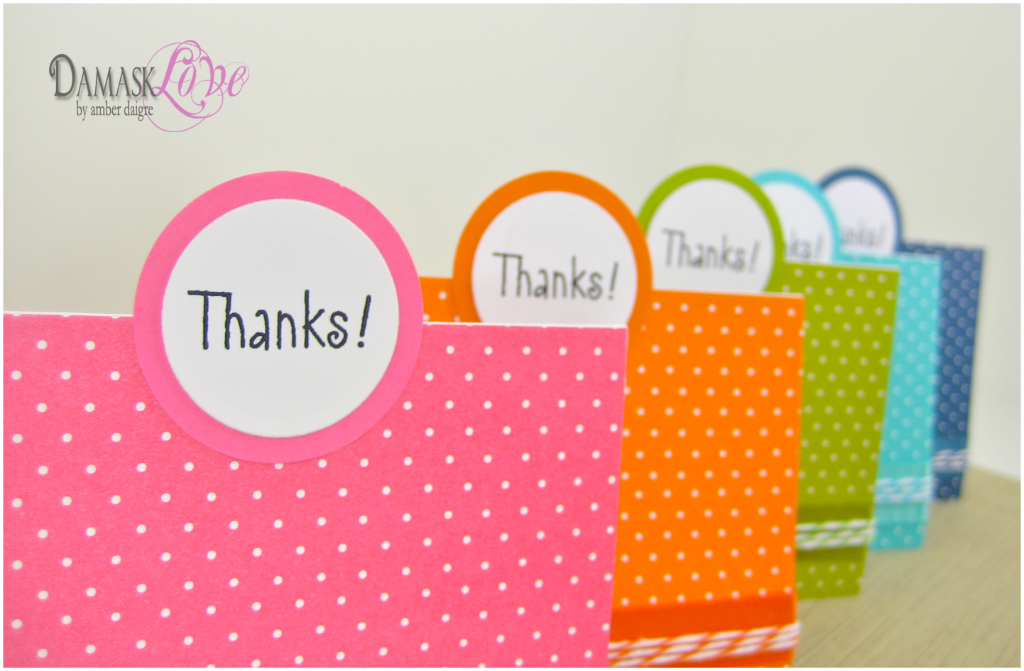
I added some simple patterned paper along with matching ribbon and baker’s twine.
For the sentiment at the top, I used a 1 1/8″ circle mounted on a 1 3/4″ circle, cut from coordinating cardstock. Such a simple design, but really cute (or at least I think so!)
And from the back you can see a little hint of color peeking out.
The fun didn’t stop there, though!
Next up is something I came up with all by myself!
It was time to make this Thank You card into Peek-a-Boo Thank You (don’t you just love the ring of that?!)
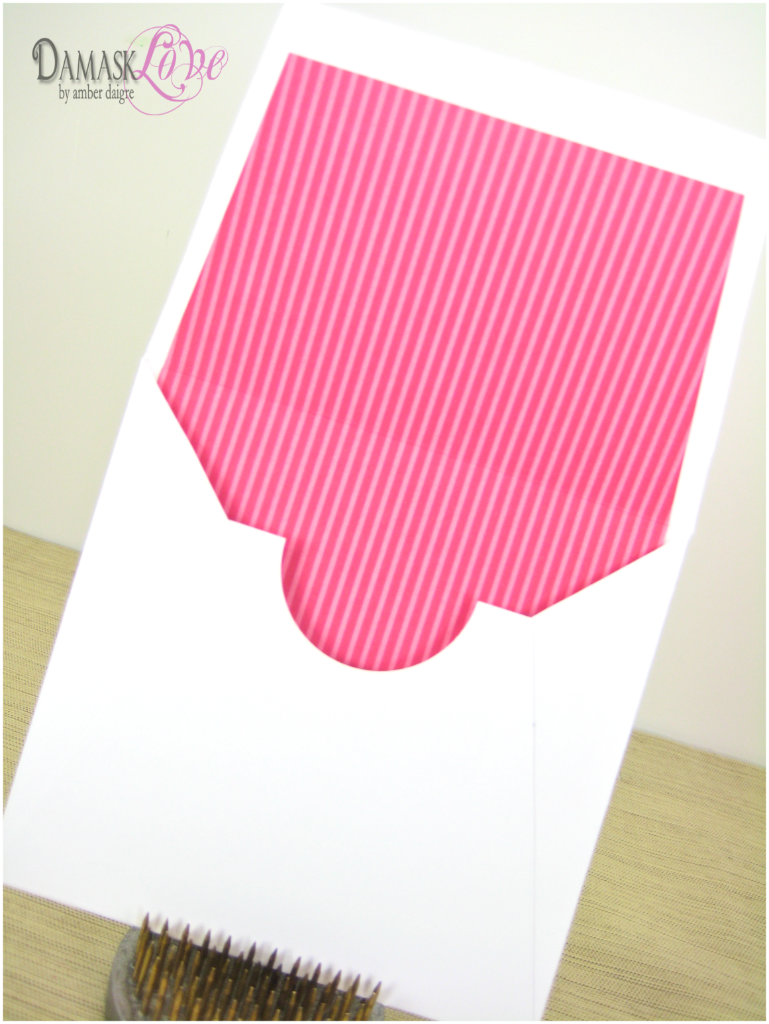
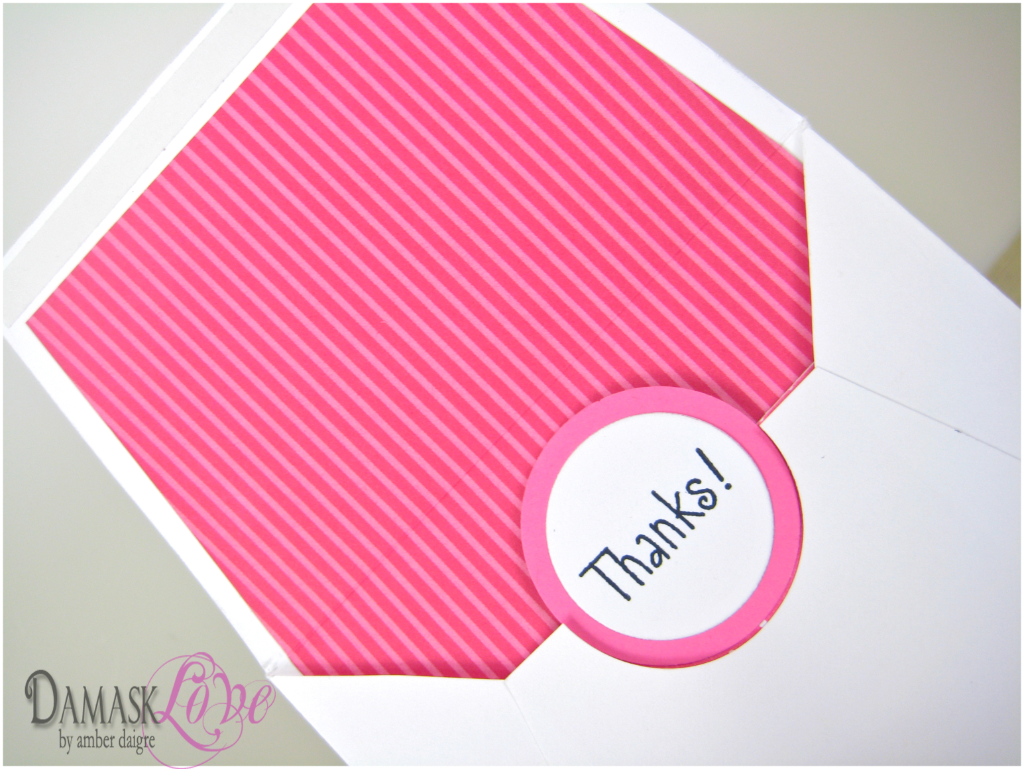
I designed an envelope just for the card. You know I really love a fancy, lined envelope!
That little notch in the center serves a very special purpose.
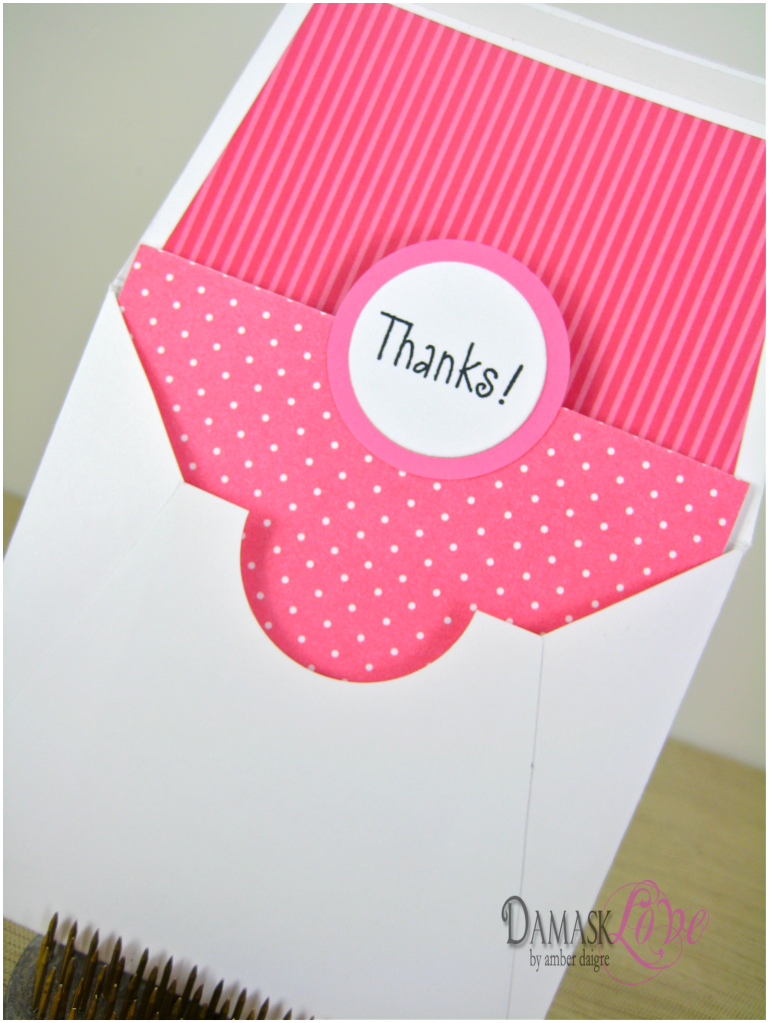
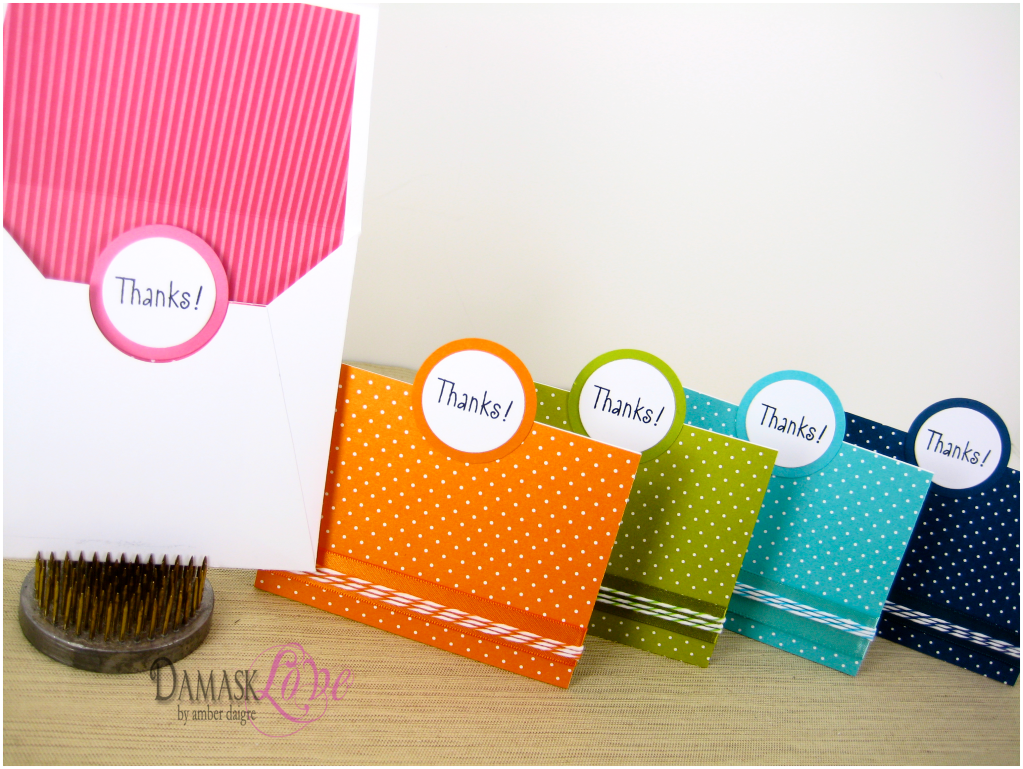
Once the card is all filled out, just slip it in the envie…
The sentiment peeks up from the envelope!!! I mean – seriously, I’m in love.
When the recipient receives this card – they’ll get a fun little surprise when they open the envelope.
Then, just pull up on the circle tab to read a thoughtful & friendly note.
To round out the cuteness, I had to make this a set!
A lovely rainbow of cheery colors. Each has it’s own envelope too!
And on that “note” – I’ll say adios and thanks for stopping by!
Supplies (all Papertrey Ink unless otherwise noted):
Stamps: Fiskars Thank You stamp set
Paper: Hibiscus Burst, Orange Zest, Simply Chartreuse, Hawaiian Shores, Enchanted Evening, Bitty Dots patterned paper, Stamper’s Select white cardstock, Stampin’ Up Brights Designer Paper Stack
Ink: True Black
Other: Nestabilities Classic Circles Small, Ribbon (Raspberry Fizz, Orange Zest, Simply Chartreuse, Hawaiian Shores, Enchanted Evening), Divine Twine (Cotton Candy, Orange, Aqua, Green Apple, Blueberry).





um i want this card set except you’re missing the best color of all – WHERE IS THE YELLOOOOOWWWWWW?!?!?
You are so creative. I love your set. This would make a nice gift.
Too, too cute for words!! LOVE THEM!!! Please put these in your ETSY store–they are a must have!!!
Amazing! Love those bright, bright colors. Thanks so much for the little tutorial. I am definitely going to give this a try!
Too cute. Did you make the cupcake?
Beautiful job, I love all these bright colors!!
Looking for expert guidance on protecting assets while qualifying for Medicaid? As experienced elder law attorneys near me, our team at Ohio Medicaid Lawyers provides specialized legal assistance with Medicaid planning, estate planning, and asset protection strategies. We help seniors understand medicaid eligibility income charts and navigate the complex 5-year lookback period. Visit our website for comprehensive information about Ohio medicaid income limits 2024 and schedule a consultation with a trusted elder care attorney who can safeguard your future.