**Today’s a double header – so check out both posts!**
—
One thing I love about papercrafting is how it brings me back to the kinds of projects I did in elementary school as a kid. I loved art class and I loved that I could be crafty and creative during an otherwise mundane school day.
Every once in a while, I like to think back on those elementary school art projects and revamp them – with my current, more mature perspective.
Earlier this week I was struck with inspiration that was a total throwback.
Maile Belles designed this ultra cute tag which caught my attention.

I love the simplicity of it and immediately a project was brewing in my head.
The image reminded me of those paper pinwheels I made as a kid. The kind that you fastened to a plastic straw with a brad. The kind that you could blow and make spin. The kind that would never work for me and I would end up dizzy just trying to get the darn thing to turn – just a quarter turn!
Well, anyway – Maile’s image inspired me to revive the paper pinwheel.
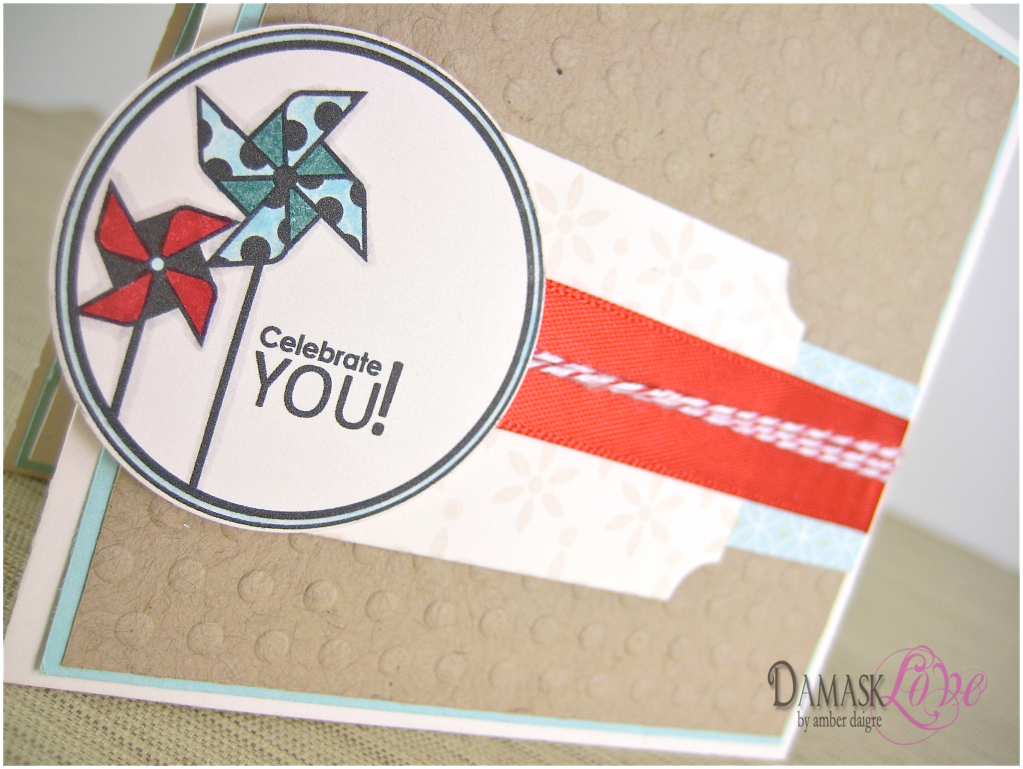
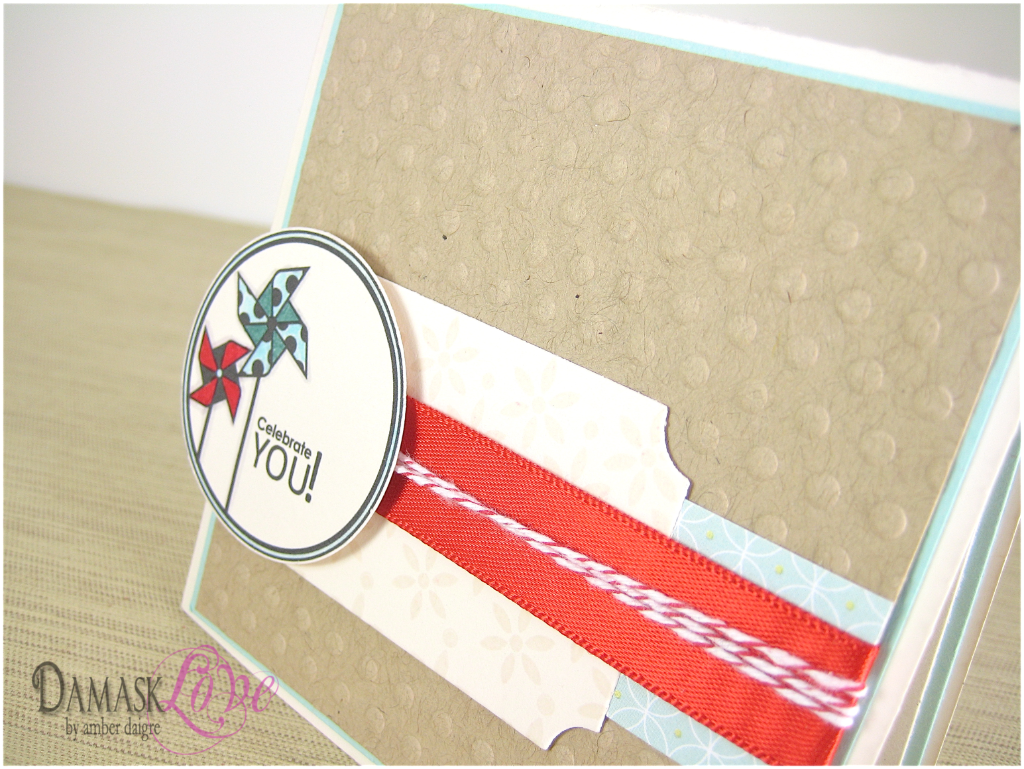
First I made a super simple card using Maile’s design.
Next I tackled those pinwheels!
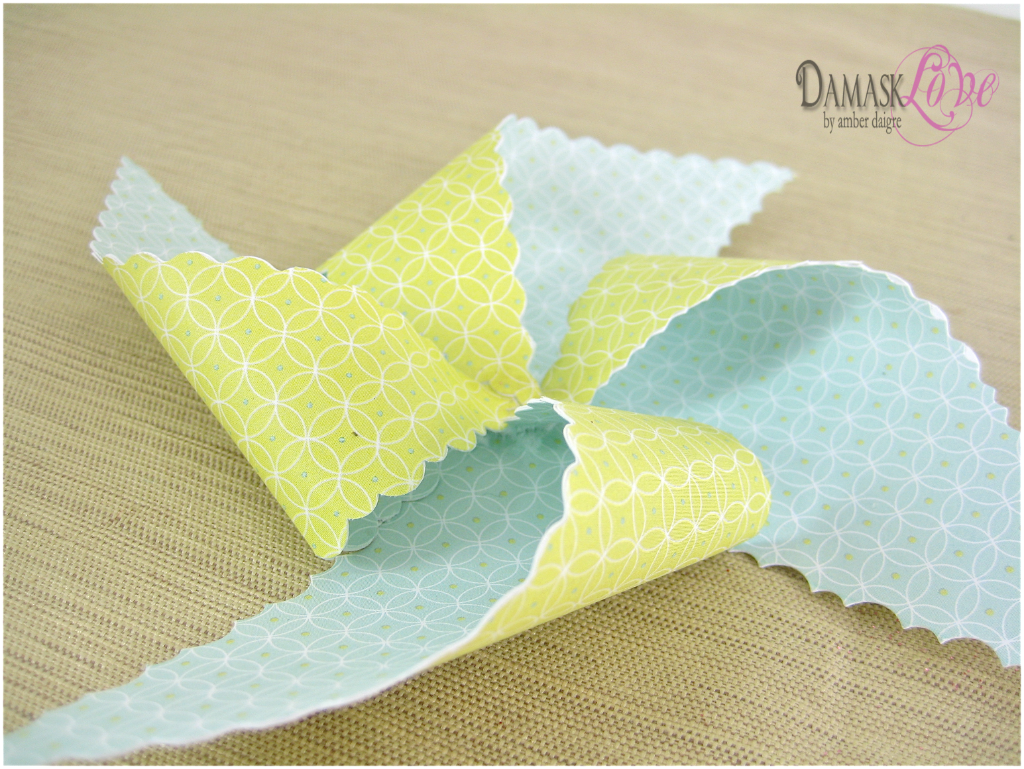
I broke out the scalloped blade for my Fiskar’s rotary paper trimmer. This was my first time using the scalloped blade and I love the results.
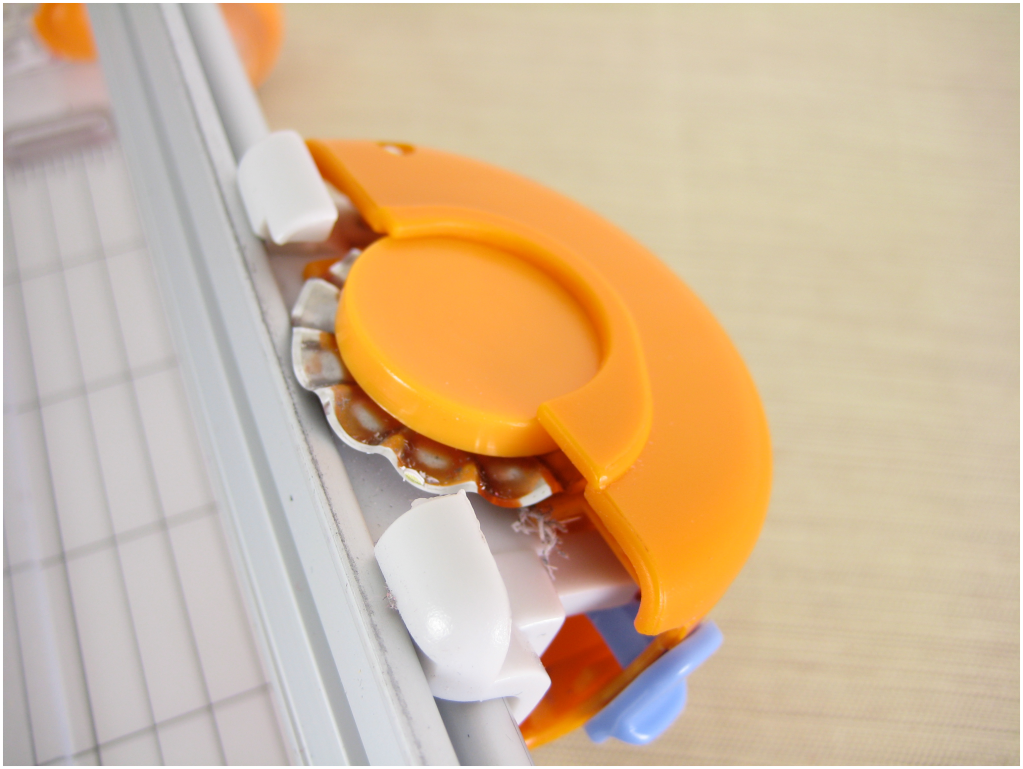
Next, I cut out squares (3″, 4″ and 5″) and scored them on the diagonal.
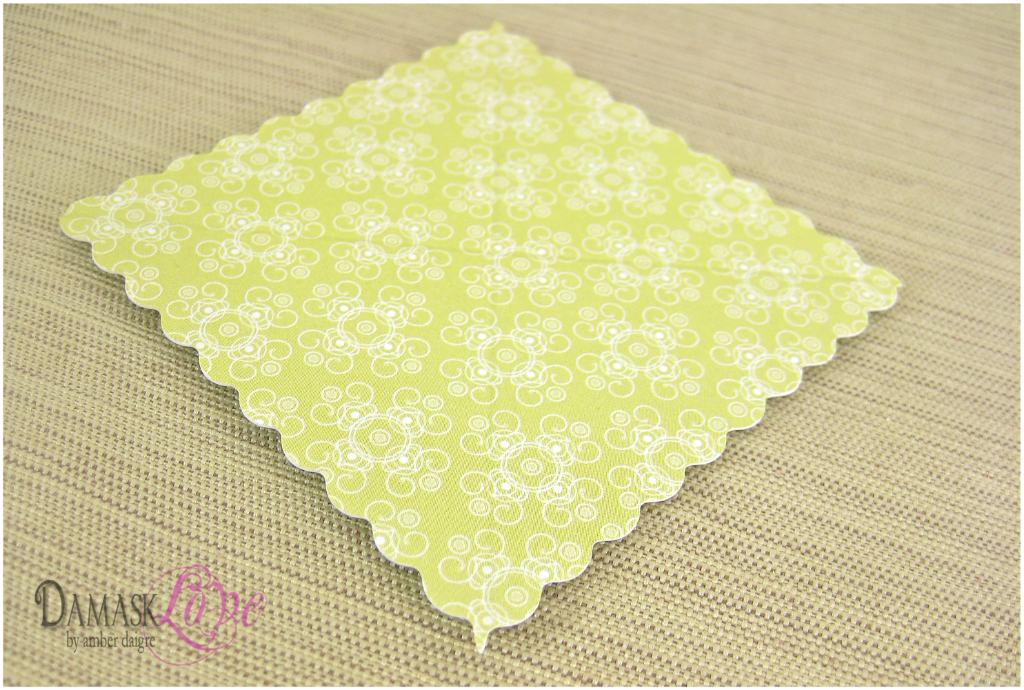
Then I used my scalloped scissors to cut on the diagonal scores – stopping just shy of the middle of the square.

Then I simply adhered every other corner to the center of the square. Zots worked GREAT for this – those things are so sticky!!
FANCY TIME!
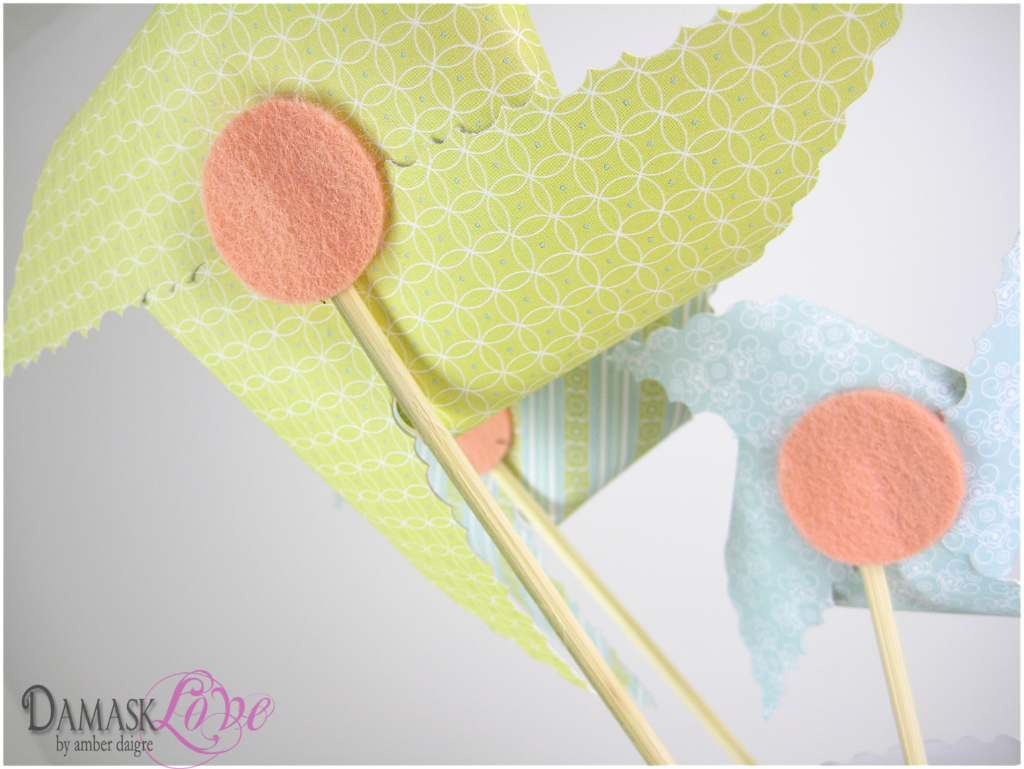
I decorated the pinwheel centers with buttons and used skewers for the bottoms of the pinwheels. I used a sweet little circle of Melon Berry felt to adhere the skewer. I love that pop of color.
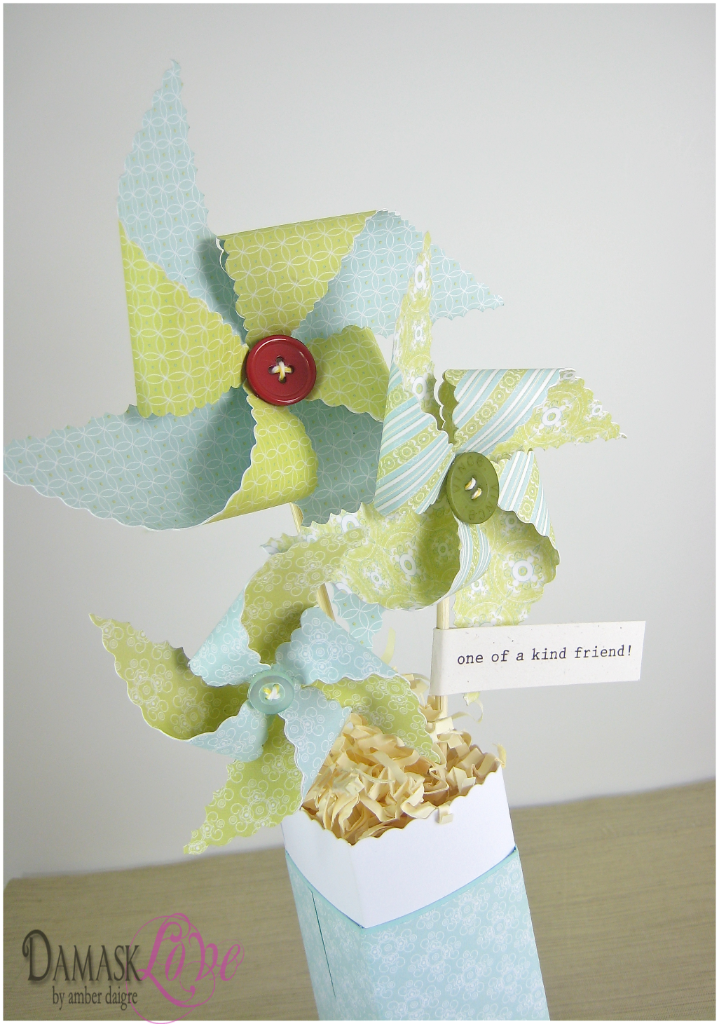
From here the possibilities are endless for how you can use this cute little bouquet of pinwheels.
– use a mini clothespin to attach a picture of you and a special friend
– add a wire photo holder
– attach flags to each pinwheel with handwritten notes about why you appreciate the gift recipient
– fill the base container with candy
– use as centerpieces for a child’s birthday party
– instead of skewers, use Pixie Sticks!
– instead of buttons, use Hershey’s Kisses
– use a single pinwheel as an accent in a floral arrangement
…I could go on and on …you get the idea!
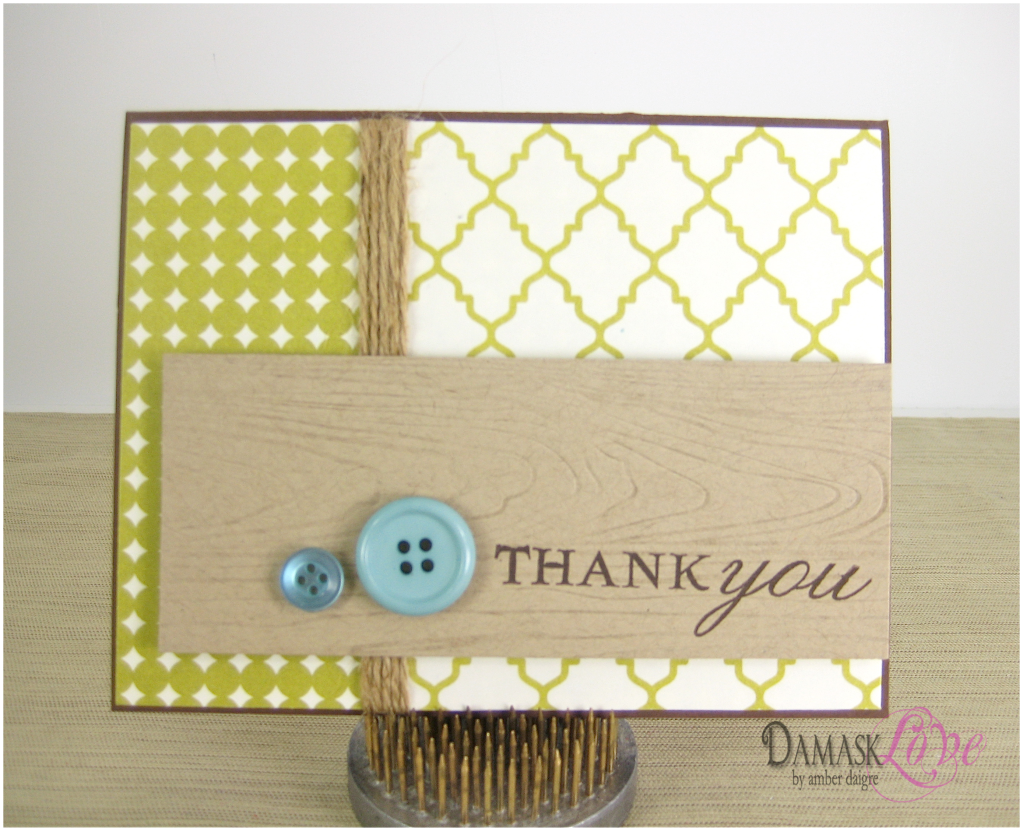
Now for the BONUS!
I challenged myself again with colors that I typically do not pair together.
Here’s the result…let me know what you think.
I kept it simple with a few touches of style – I love that woodgrain impression!
Also – I opted to not weave twine through the button holes – I think it creates more of a minimalist feel.

Have a wonderful day!
Supplies (All Papertrey Ink unless otherwise noted):
Pinwheel Card:
Stamps: Background Basics: Tin Types
Paper: Aqua Mist, Vintage Cream, Kraft, Baby Blessing patterned paper
Ink: Versamark
Other: Cuttlebug Polka Dot embossing folder, Martha Stewart’s Bakers Twine, Pure Poppy satin ribbon, Tombow Watercolor Markers
Paper Pinwheels:
Stamps: none
Paper: Baby Blessing patterned paper, Stamper’s Select white cardstock, Aqua Mist cardstock
Ink: none
Other: Fiskar’s Rotary Paper Trimmer, Fiskar’s Scallop Blade, Zots, Holiday Button Mix, skewers, Melon Berry felt
Retro Background Thank You:
Stamps: Giga Guidelines
Paper: Dark Chocolate, Kraft, patterned paper (manufacturer unknown)
Ink: Dark Chocolate
Other: Woodgrain Impression Plate, Holiday Mix buttons, packing twine (manufacturer unknown)


Amber,
You are so creative. I love your pinwheel bouquet and all the ideas you generated .
I remember those fun days! Amazing creations and I love the fun edge on the life sized pinwheels!
I love the button centers on the pinwheels. What a fun idea to create and then use for teaching deep breathing for child therapy clients, Dr. Amber!
Cute stuff! I really like the pinwheel bouquet.
You actually make it seem really easy along with your presentation however I find this matter to be actually one thing which I believe I would by no means understand. It kind of feels too complex and extremely vast for me. I am looking ahead for your next post, I?ll try to get the hold of it!
I loved as much as you will receive carried out right here. The sketch is attractive, your authored subject matter stylish. nonetheless, you command get got an impatience over that you wish be delivering the following. unwell unquestionably come further formerly again as exactly the same nearly a lot often inside case you shield this increase.
I haven?t checked in here for a while as I thought it was getting boring, but the last few posts are great quality so I guess I will add you back to my daily bloglist. You deserve it my friend 🙂
Thanks for your useful article. Other thing is that mesothelioma is generally caused by the inhalation of fibers from mesothelioma, which is a cancer causing material. It’s commonly found among personnel in the construction industry who may have long exposure to asbestos. It could be caused by living in asbestos covered buildings for long periods of time, Genes plays an important role, and some individuals are more vulnerable to the risk as compared with others.
I mastered more something totally new on this weight-loss issue. A single issue is that good nutrition is especially vital if dieting. A big reduction in bad foods, sugary foodstuff, fried foods, sweet foods, pork, and white-colored flour products can be necessary. Having wastes parasitic organisms, and contaminants may prevent objectives for fat-loss. While specified drugs in the short term solve the matter, the bad side effects aren’t worth it, they usually never offer more than a temporary solution. It’s a known idea that 95 of dietary fads fail. Thank you for sharing your notions on this weblog.
It is perfect time to make some plans for the long run and it is time to be happy. I’ve learn this publish and if I could I want to counsel you few attention-grabbing issues or suggestions. Maybe you could write subsequent articles relating to this article. I wish to learn more things about it!
Thanks for the good writeup. It actually was a entertainment account it. Glance complicated to far delivered agreeable from you! By the way, how can we keep in touch?
Amazing blog! Do you have any tips for aspiring writers? I’m planning to start my own site soon but I’m a little lost on everything. Would you suggest starting with a free platform like WordPress or go for a paid option? There are so many options out there that I’m completely confused .. Any tips? Cheers!
Aw, this was a very nice post. In thought I would like to put in writing like this moreover ? taking time and precise effort to make a very good article? however what can I say? I procrastinate alot and under no circumstances seem to get one thing done.
Superb post however , I was wondering if you could write a litte more on this topic? I’d be very grateful if you could elaborate a little bit more. Appreciate it!
Hi there! I could have sworn I’ve been to this blog before but after browsing through some of the post I realized it’s new to me. Anyhow, I’m definitely glad I found it and I’ll be book-marking and checking back often!
Howdy! I know this is somewhat off topic but I was wondering if you knew where I could locate a captcha plugin for my comment form? I’m using the same blog platform as yours and I’m having trouble finding one? Thanks a lot!
Great post made here. One thing I’d like to say is the fact that most professional job areas consider the Bachelor’s Degree like thejust like the entry level standard for an online degree. Whilst Associate Qualifications are a great way to start out, completing your current Bachelors opens up many entrance doors to various jobs, there are numerous internet Bachelor Course Programs available via institutions like The University of Phoenix, Intercontinental University Online and Kaplan. Another issue is that many brick and mortar institutions offer you Online variants of their qualifications but generally for a significantly higher fee than the companies that specialize in online higher education degree programs.
This is the fitting blog for anybody who needs to seek out out about this topic. You realize a lot its virtually hard to argue with you (not that I truly would want?HaHa). You positively put a new spin on a topic thats been written about for years. Nice stuff, simply nice!
I love your blog.. very nice colors & theme. Did you create this website yourself or did you hire someone to do it for you? Plz answer back as I’m looking to create my own blog and would like to find out where u got this from. thanks
Magnificent goods from you, man. I’ve take note your stuff prior to and you are just too excellent. I actually like what you have obtained right here, really like what you are saying and the best way wherein you assert it. You are making it enjoyable and you continue to take care of to keep it wise. I cant wait to learn far more from you. That is really a tremendous site.
Thanks for helping me to obtain new thoughts about pc’s. I also hold the belief that certain of the best ways to keep your notebook computer in excellent condition is a hard plastic-type material case, or maybe shell, that matches over the top of the computer. A lot of these protective gear usually are model targeted since they are made to fit perfectly in the natural outer shell. You can buy these directly from owner, or from third party places if they are intended for your mobile computer, however not every laptop will have a spend on the market. All over again, thanks for your points.
Pretty nice post. I just stumbled upon your blog and wished to say that I have really enjoyed browsing your blog posts. After all I?ll be subscribing to your rss feed and I hope you write again soon!
Thanks, I’ve been seeking for info about this subject for ages and yours is the best I’ve found so far.