Every once in a while, it’s good to revisit the basics and remind ourselves that the simplest technique can result in the most impressive projects.
One of my go-to crafting materials for simple-yet-stunning crafting is ….drumroll, please…vinyl!
For years, vinyl was one of those material that confused me and intimidated me. I avoided using it with my Cricut machine and stuck to what I knew…which was usually paper.
Fast forward to the moment when specialty vinyls started showing up…and I was immediately sucked in. Give me a brushed metal or holographic finish, and I’ll be your best friend for life! I’m willing you guess you may feel the same way! Or maybe you’re a vinyl pro and you just need a little inspiration for how to use up your growing stash. As always, I’ve got you!
Make sure you Pin this project to your crafting Pinterest board so you have it to reference back to!
First things first, let’s talk about vinyl and where you can find lots of it. Yep. You guessed it…JOANN. You already know my love of all things JOANN, so it was only a matter of time before I started talking vinyl.

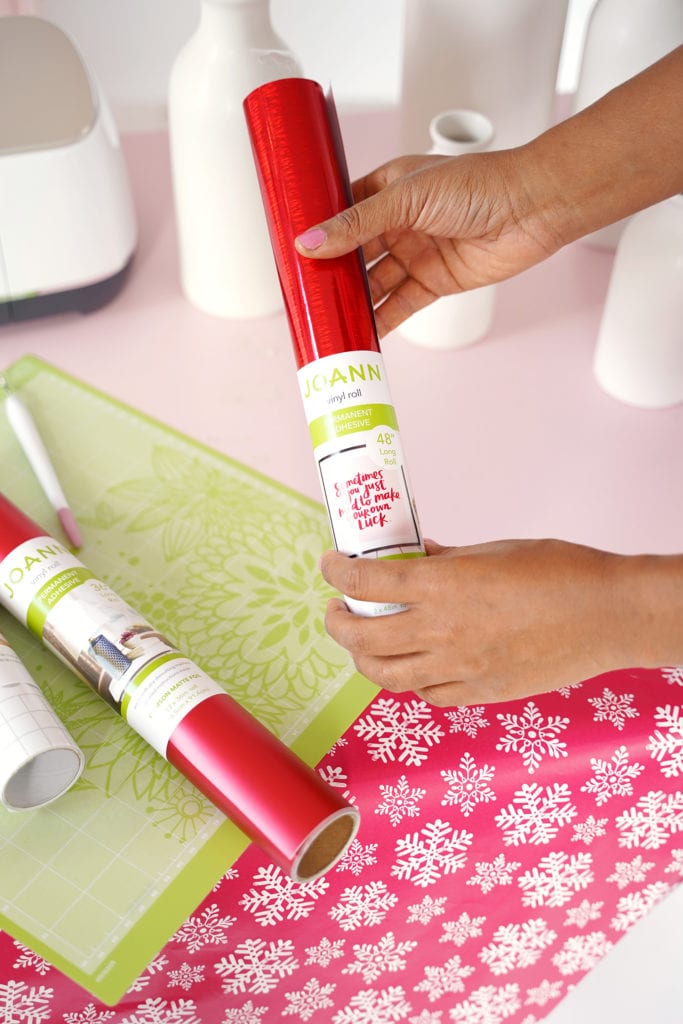
Recently JOANN released their own house line of vinyls that you can find in the exact same aisle with the Cricut products. You’re going to flip for all the colors and finishes available in JOANN vinyl and how they work seamlessly with all the Cricut vinyl that we know and love. My favorite feature of the JOANN rolls is that they offer lots of finishes for the same color. This means, my all-red, monochromatic holiday decor can have a touch of sparkle and sophistication by using the Crimson Glitter, Crimson Brushed Metal and Crimson Laser vinyls. All the same color, but slightly different finishes.
HOW TO CUT AND APPLY YOUR VINYL
I love using vinyl with my Cricut Maker. You DO NOT have to do this, though. You can absolutely cut your vinyl with scissors, a craft knife or paper punches to create your own custom design. If you wont’ be using a Cricut with your vinyl, scroll down to Step 4.
CLICK HERE FOR THE BORDER DESIGNS I USED FOR THIS PROJECT
 STEP 2:
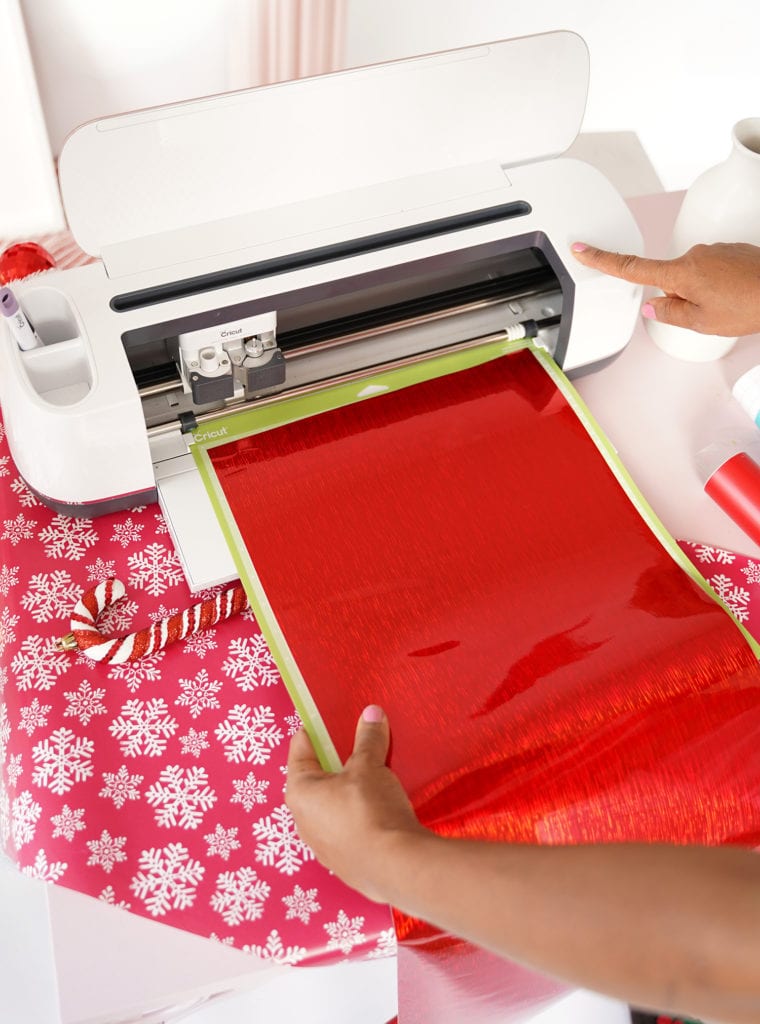
Place vinyl onto your Cricut cutting mat.

STEP 3:
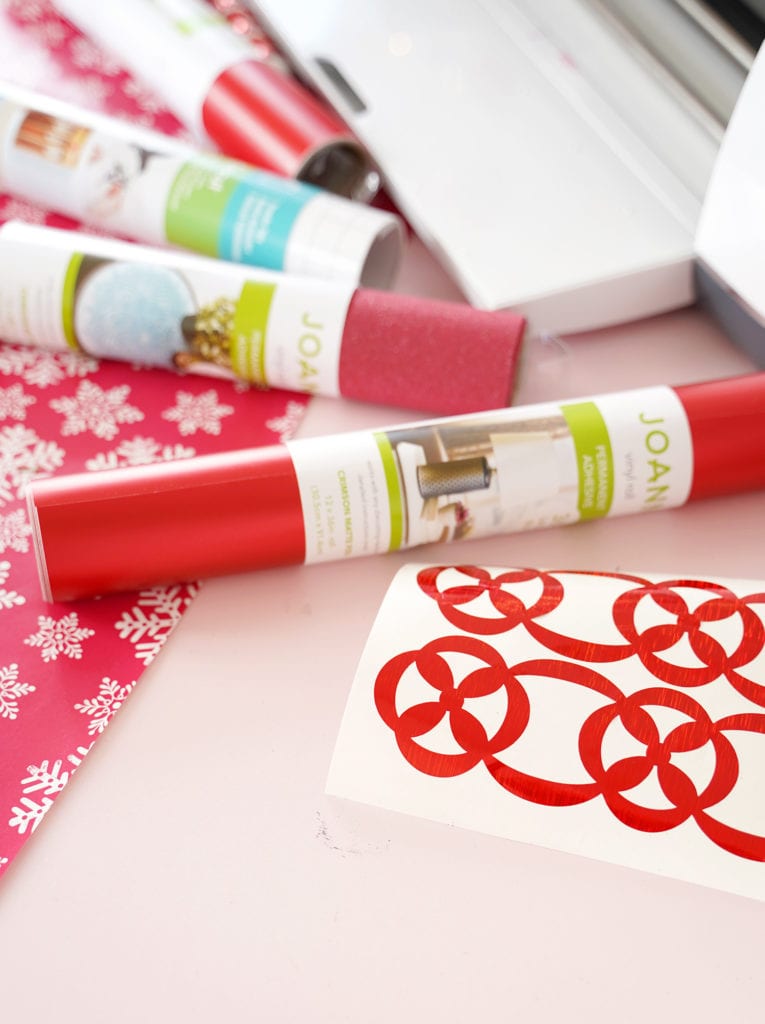
Cut the design from vinyl then use a weeding tool to remove all the excess.
CLICK HERE FOR THE BORDER DESIGNS I USED FOR THIS PROJECT
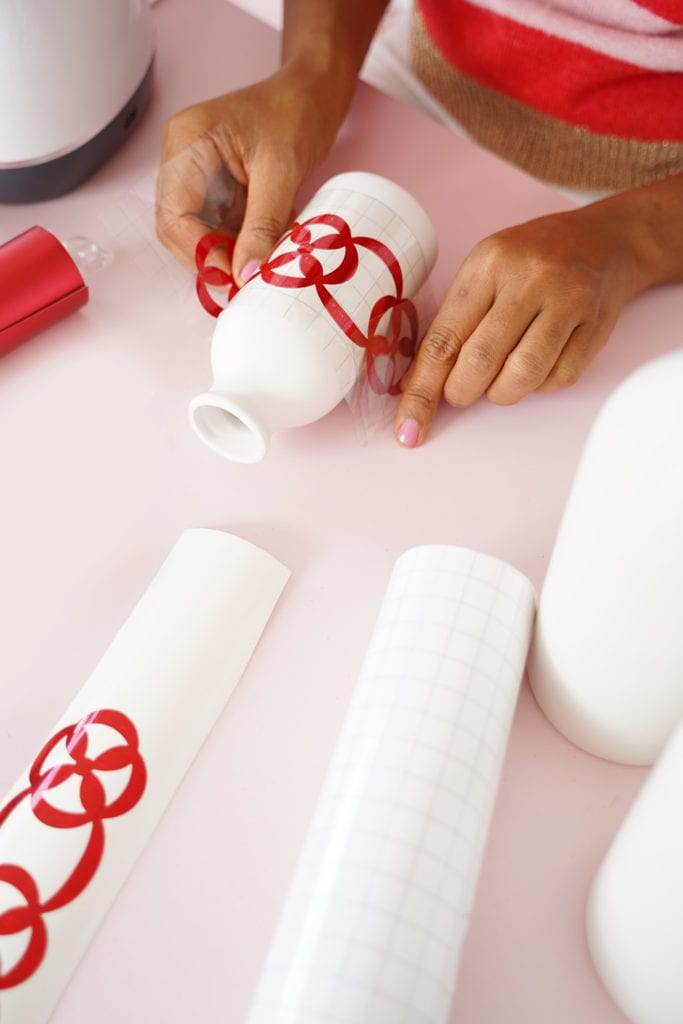
STEP 4:
Now it’s time to apply the vinyl to your surface. For this project, I’m using some simple vases I grabbed from the JOANN floral department.
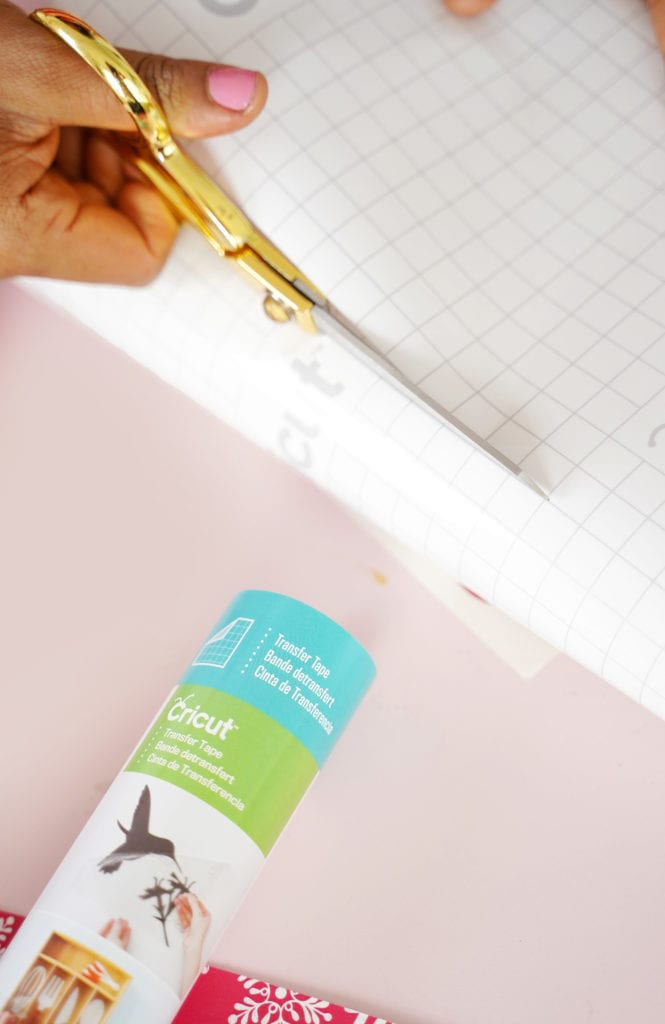
For the application, you’ll need some Cricut Transfer Tape.
![]()
Not all transfer tapes are created equal! Don’t grab the first one you see! You’ll want to make sure it works for the project you are doing.
![]()
Standard Transfer Tape: This stuff is going to be your go-to for MOST vinyl application.
Strong Grip Transfer Tape: I’ve found this is a must have when working with glittery vinyls. Since glitter vinyl has a texture to it, you’ll need a little extra adhesive on your transfer tape for the glitter vinyl to properly stick into place.

STEP 5:
Place the transfer tape directly onto your vinyl design and rub with a bone folder…your fingers also work find too!
CLICK HERE FOR THE BORDER DESIGNS I USED FOR THIS PROJECT

STEP 6:
Peel back the transfer tape and you’ll see that your design is stuck to it!


STEP 7:
Place your vinyl design on to the surface and rub into place. Peel back the transfer tape and you’ll see that the vinyl is perfectly adhere to your pretty new vase!


Want to watch this happen live, head over to the JOANN Facebook Page and watch me demonstrate how easy vinyl application can be!
CLICK HERE FOR THE BORDER DESIGNS I USED FOR THIS PROJECT


I know this if off topic but I’m looking into starting my own weblog and was curious what all is required to get set up? I’m assuming having a blog like yours would cost a pretty penny? I’m not very internet savvy so I’m not 100 positive. Any suggestions or advice would be greatly appreciated. Kudos
Admiring the hard work you put into your website and in depth information you offer. It’s awesome to come across a blog every once in a while that isn’t the same out of date rehashed material. Excellent read! I’ve bookmarked your site and I’m adding your RSS feeds to my Google account.
Hi, Neat post. There is a problem with your site in internet explorer, would check this? IE still is the market leader and a big portion of people will miss your wonderful writing due to this problem.
Thanks for your post on the travel industry. I would also like to include that if your senior contemplating traveling, it really is absolutely crucial to buy travel insurance for golden-agers. When traveling, senior citizens are at greatest risk of having a professional medical emergency. Obtaining the right insurance package on your age group can safeguard your health and provide peace of mind.
Hi my friend! I wish to say that this post is amazing, nice written and include almost all important infos. I would like to peer extra posts like this .
Would you be curious about exchanging links?
I have taken notice that in video cameras, specialized devices help to {focus|concentrate|maintain focus|target|a**** automatically. Those kind of sensors regarding some surveillance cameras change in in the area of contrast, while others employ a beam associated with infra-red (IR) light, especially in low lumination. Higher standards cameras at times use a combination of both models and might have Face Priority AF where the digicam can ‘See’ your face while keeping focused only in that. Many thanks for sharing your thinking on this site.
I am so happy to read this. This is the kind of manual that needs to be given and not the accidental misinformation that is at the other blogs. Appreciate your sharing this best doc.
you are really a good webmaster. The web site loading speed is incredible. It seems that you are doing any unique trick. Moreover, The contents are masterwork. you’ve done a excellent job on this topic!
Thanks for these guidelines. One thing I additionally believe is that credit cards offering a 0 interest often appeal to consumers together with zero rate of interest, instant approval and easy on the net balance transfers, but beware of the number one factor that can void the 0 easy road annual percentage rate and also throw you out into the bad house fast.
Thanks for your handy post. Through the years, I have come to understand that the particular symptoms of mesothelioma cancer are caused by your build up connected fluid between lining of your lung and the torso cavity. The infection may start in the chest place and spread to other areas of the body. Other symptoms of pleural mesothelioma cancer include weight loss, severe deep breathing trouble, a fever, difficulty ingesting, and irritation of the neck and face areas. It must be noted that some people with the disease never experience just about any serious indications at all.
It is the best time to make some plans for the future and it is time to be happy. I have read this post and if I could I desire to suggest you few interesting things or tips. Maybe you can write next articles referring to this article. I want to read even more things about it!
You could certainly see your enthusiasm in the work you write. The arena hopes for even more passionate writers like you who aren’t afraid to say how they believe. Always follow your heart.
Simply desire to say your article is as surprising. The clarity for your post is just excellent and that i could think you’re knowledgeable in this subject. Fine together with your permission allow me to take hold of your feed to stay up to date with forthcoming post. Thank you 1,000,000 and please carry on the rewarding work.
A lot of what you assert is supprisingly legitimate and it makes me wonder the reason why I hadn’t looked at this in this light previously. This particular article truly did switch the light on for me as far as this subject goes. Nevertheless there is actually 1 factor I am not too cozy with so whilst I try to reconcile that with the main theme of the issue, allow me see exactly what all the rest of the subscribers have to say.Nicely done.
Excellent goods from you, man. I’ve understand your stuff previous to and you’re just extremely fantastic. I really like what you’ve acquired here, really like what you’re stating and the way in which you say it. You make it entertaining and you still take care of to keep it sensible. I cant wait to read much more from you. This is actually a tremendous web site.