At this point, you should know that this blog is nothing if not a bastion of crafting and frivolous storytelling. So in an effort to live up to the legacy, I bring you “Tales of a Bargain Shopper.” Alternate title: “How I spent all my money on a whole bunch of stuff I do not need because it was on sale.”
I guess it’s all my husband’s fault. He sort of has this rule where he will buy anything if it’s 80% off or more. Anything. I’m pretty sure he would buy a pallet-full of enemas if they were cheap enough. For a while he was buying mp3 players by the truckloads. Every week, another mp3 player would show up in the mail and he would just smile and tell me what a great deal it was. Now, I get it. mp3 players were the jam back in the day. But when you only have two ears, it’s sort of ridiculous to own thirteen of them. Call me crazy but I think I’m right on this one. No normal two-earred man needs to own a baker’s dozen of electronic musical devices.
…but I think it’s rubbing off on me. This week, while I was in Tampa shooting at HSN, I got the chance to shop at the employee store where all sorts of goodies are for sale a big ‘ol discount. It’s the best. And I bought up the place. Suffice it to say, I came home with enough statement necklaces to make Mr. T blush and enough craft supplies to pimp my ride with patterned paper. I can’t turn down a good deal, even if it begins to resemble hoarding.
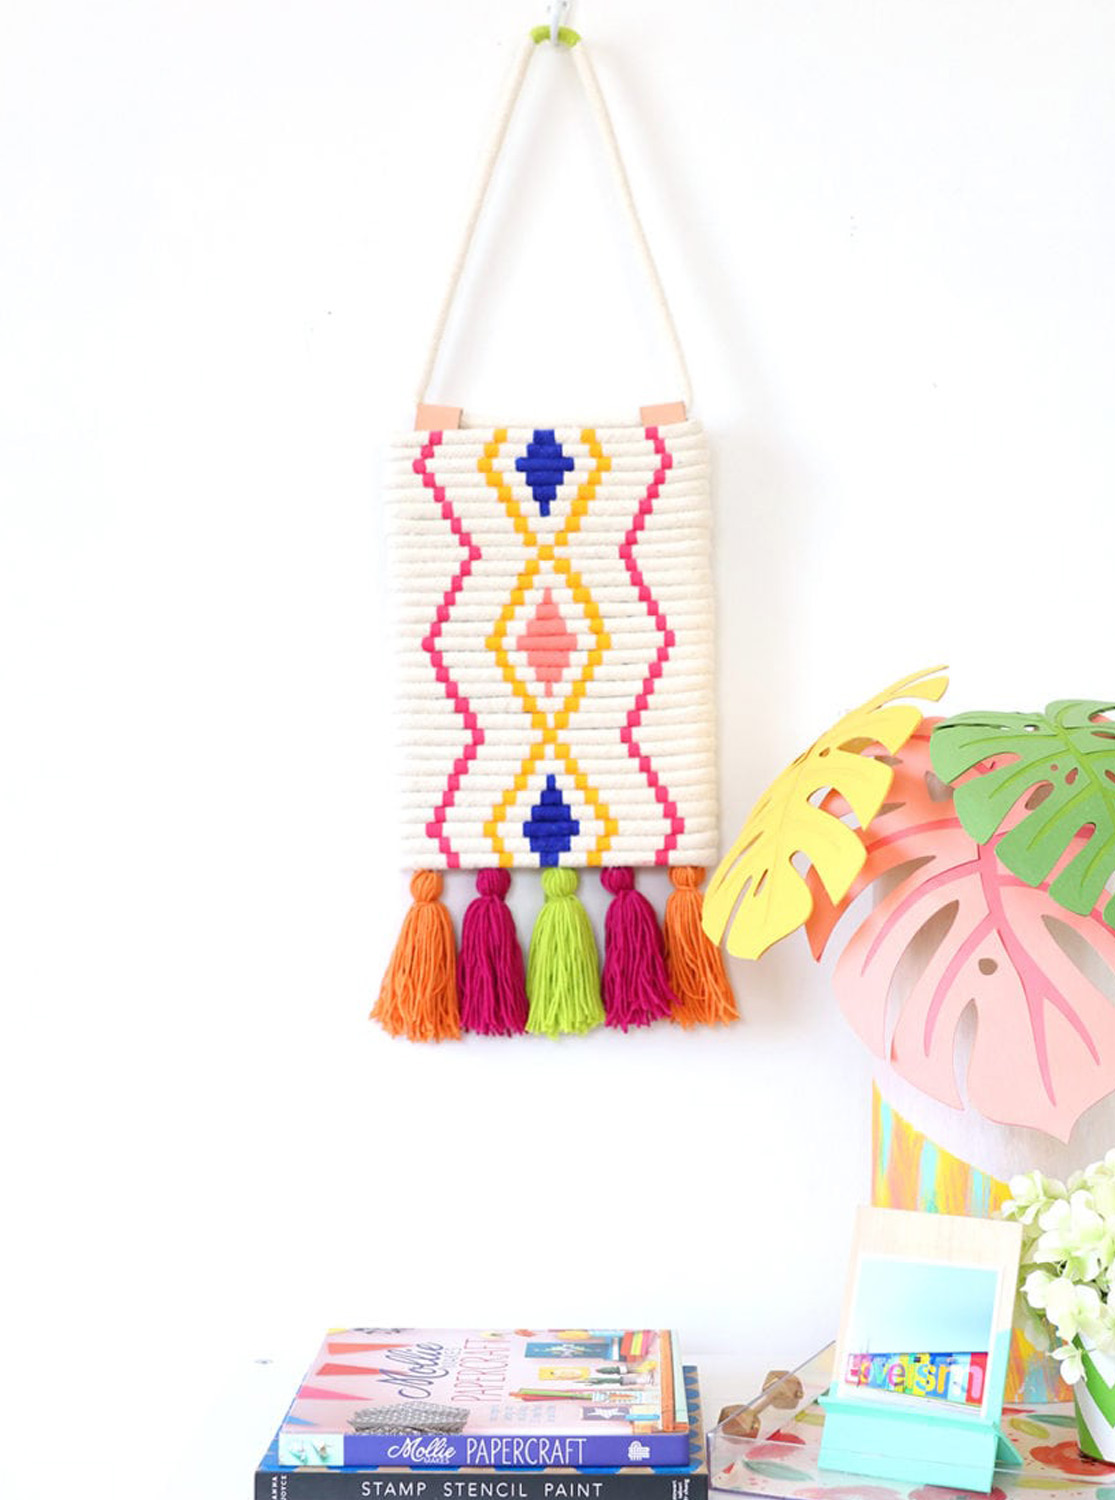
The same thing basically happened with my embroidery floss obsession when I partnered with Commonthread. As a part of my work with them, I needed to stock up on supplies and was able to get it at a big ‘ol discount. Which means loads of DMC Embroidery Floss. I’m talking box fulls of embroidery floss. I put all that floss to work in today’s DIY and I’m pretty excited about how this turned out!
What you need:
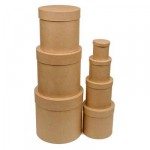
- Two paper mache cylinders (one medium sized, one large sized – I picked mine up from Hobby Lobby)
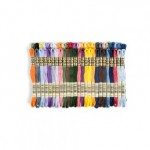
- Assorted colors of DMC Embroidery Floss
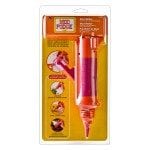
- Hot glue gun
- cotton cord (available at the fabric store)
- Dark permanent marker pen
- Craft glue (not pictured)
- Pair the large paper mache lid with the medium paper mache bottom
- Use the hot glue gun to glue the cotton cord to the bottom of the cylinder
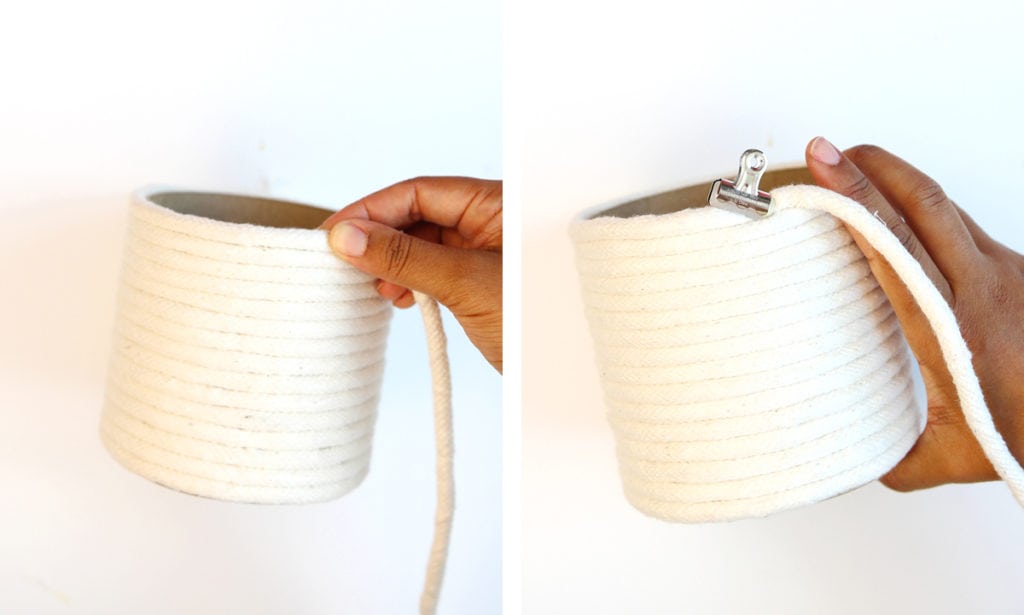
- Wrap the cord around the entire cylinder
- Secure the cord with a clip
- Use the permanent marker to draw a pattern onto the cord
- For my pattern, I went with southwestern diamonds and drew lines in several places onto the cord.
- Unwrap the cord from the cylinder (though the end of the cord will remain attached to the cylinder where you hot glued it into place) Once unwrapped, use your lines as a guide and wrap embroidery floss over each line. I used a colored marker before unwrapping the cord so that I would know what color to use on which pattern. Note: Don’t wrap the embroidery floss tightly! This will shrink the diameter of the cord and distort the finished pattern.
-
Once you’ve finished adding embroidery floss to the cord, add craft glue directly to the cylinder.
- Begin wrapping the cord around the cylinder again and you’ll begin to see your pattern come to life!
- Once you’ve finished wrapping, use the hot glue gun to secure the end of the cord.
The finished product is super impressive but also really affordable…since you spent all your money on necklaces. You can get crazy with the designs of this and make it your own. Trust me – this is a fun one to make!
Another Commonthread project is in the books, sisterfriends! I’m really enjoying working with yarns and such…I hope you are too! You can check out my other Commonthread posts here and here,
Much love to Commonthread for partnering with Damask Love on this post. I received payment, product or both in exchange for this original content. All project ideas, photographs and wackadoo stories are all my very own.











Betrouwbare online apotheek zonder recept [url=https://apotheekmax.shop/#]Online apotheek Nederland zonder recept[/url] Betrouwbare online apotheek zonder recept
Apotek hemleverans recept: Apoteket online – apotek online recept
Beste online drogist: Betrouwbare online apotheek zonder recept – online apotheek
https://apotekonlinerecept.shop/# apotek online recept
Apoteket online: Apotek hemleverans recept – apotek online recept
http://kamagrapotenzmittel.com/# Kamagra kaufen
Apoteket online [url=http://apotekonlinerecept.com/#]apotek online recept[/url] apotek online recept
de online drogist kortingscode: Online apotheek Nederland zonder recept – Online apotheek Nederland met recept
http://apotheekmax.com/# de online drogist kortingscode
https://apotekonlinerecept.shop/# Apoteket online
Apotek hemleverans recept: Apoteket online – Apoteket online
Kamagra kaufen ohne Rezept: Kamagra kaufen ohne Rezept – Kamagra kaufen ohne Rezept
https://apotheekmax.shop/# Apotheek online bestellen
This is a great article!
https://apotheekmax.com/# Beste online drogist
Kamagra Original [url=https://kamagrapotenzmittel.com/#]Kamagra Oral Jelly[/url] Kamagra Oral Jelly kaufen
This is a great article!
http://apotheekmax.com/# de online drogist kortingscode
This is a great article!
Apoteket online: Apoteket online – apotek online recept
Apotheek Max: Online apotheek Nederland zonder recept – Betrouwbare online apotheek zonder recept
https://kamagrapotenzmittel.shop/# Kamagra Oral Jelly kaufen
This is a great article!
Apotek hemleverans recept: apotek online – apotek online recept
Kamagra Oral Jelly [url=http://kamagrapotenzmittel.com/#]Kamagra kaufen[/url] Kamagra Oral Jelly kaufen
kamagra: Kamagra Gel – Kamagra online bestellen
https://apotekonlinerecept.shop/# Apotek hemleverans idag
https://kamagrapotenzmittel.com/# Kamagra Original
I appreciate reading this blog it is full of knowledge and informative content good work keep it up
custom tablecloth with logo
I went over this website and I believe you have a lot of wonderful information, saved to my bookmarks makina me qera tirane
I found your this post while searching for information about blog-related research … It’s a good post Tibetan travel agency in Tibet
2m2ojv
udmaea
uynpio
oodo17
1ihh1w
igquid
Pizza bestellen online war so einfach! Die Lieferung kam in unter 30 Minuten.
Pizzabestellung online
7hjht4
t62v9g