Tis the season for lots of things:
- spend time with family and friends
- bake up delicious cookies and sip hot cocoa
- reflect on all we have to be thankful for…
…but let’s be honest, Tis the season for a few other things, like bulking up your wish list with a some goodies you’ve been eyeing all year. Don’t worry. No judgement here! As far as I’m concerned, you should go big or go home when it comes to wishlisting, what’s the worst that can happen? Santa gives you a stocking full of coal and you’re no worse off than you were before he showed up.
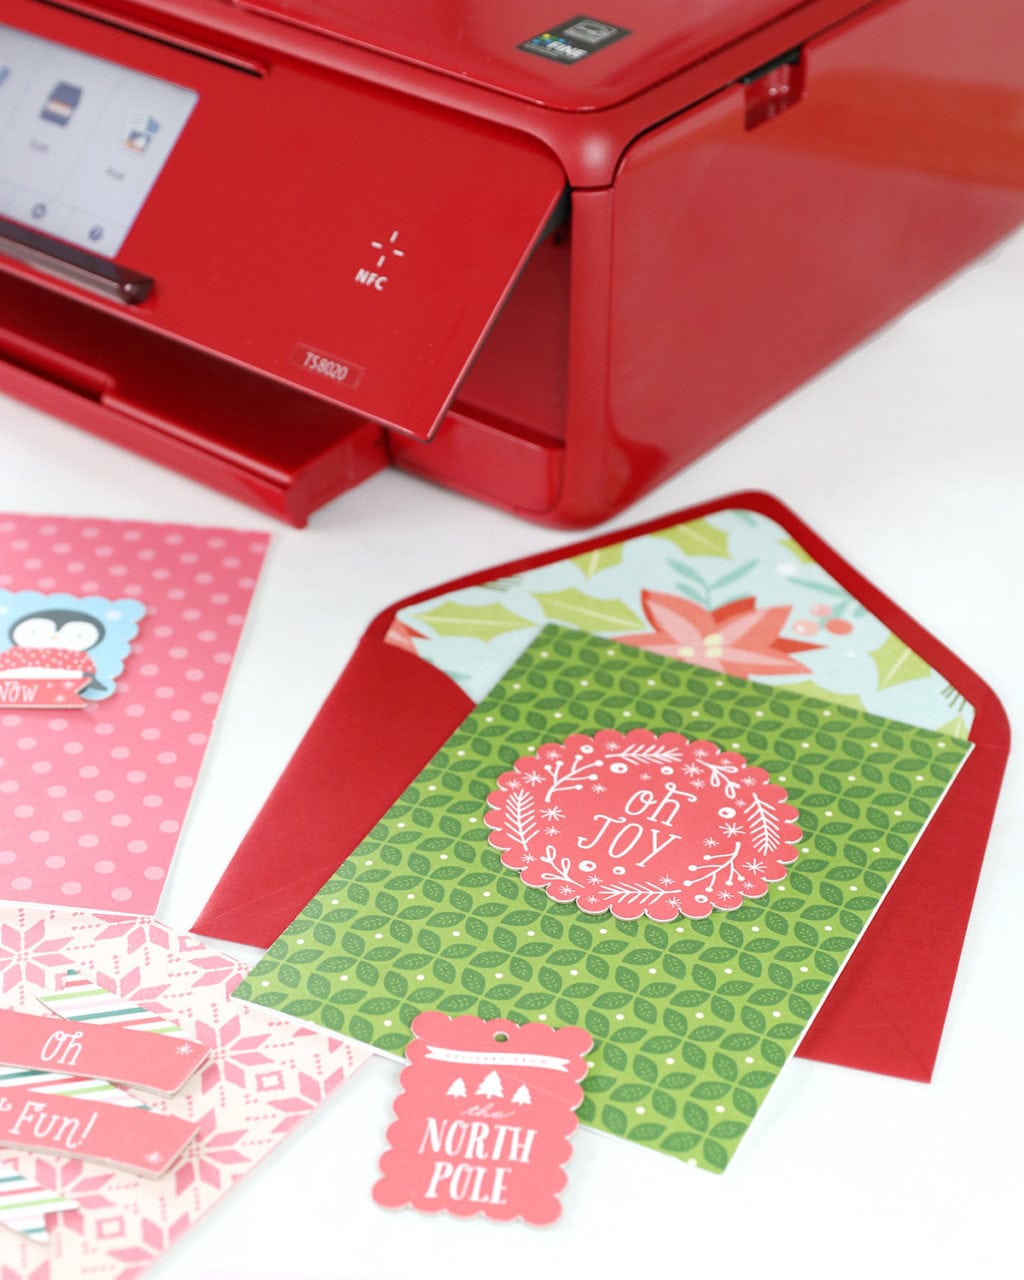
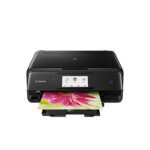
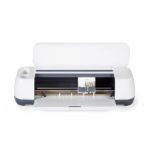
When it comes to crafting must-haves, my Cricut Maker and Canon PIXMA TS8020 are my favorites. Individually, these machines are power houses and will carry you through countless projects. I’ve used my Canon PIXMA to create calendars, gift tags, wall art and albums. When you use them together, though – you’re Canon PIXMA and Cricut Maker can do amazing things!
It’s especially important to have a great printer when using the Print Then Cut feature of the Cricut Maker. Before you cut out your design you need to print it out – and you’ll want to have a quality printer on hand. I’m always happy with the vibrant colors I get from my Canon PIXMA. It really is the perfect printer for crafting (although, it works great for printing out bills and permission slips too, ha!)
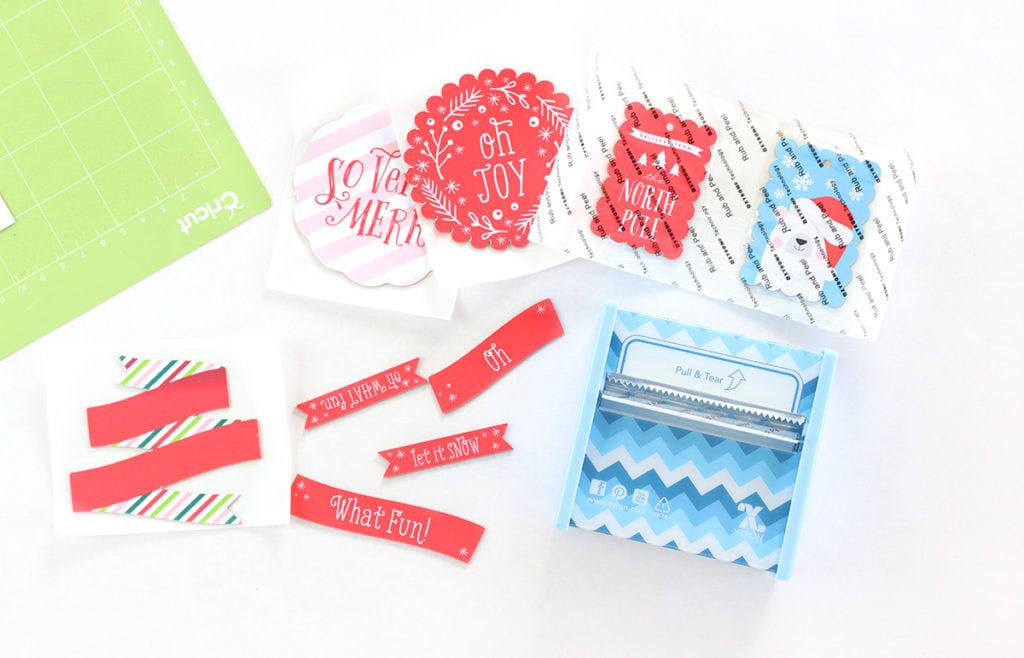
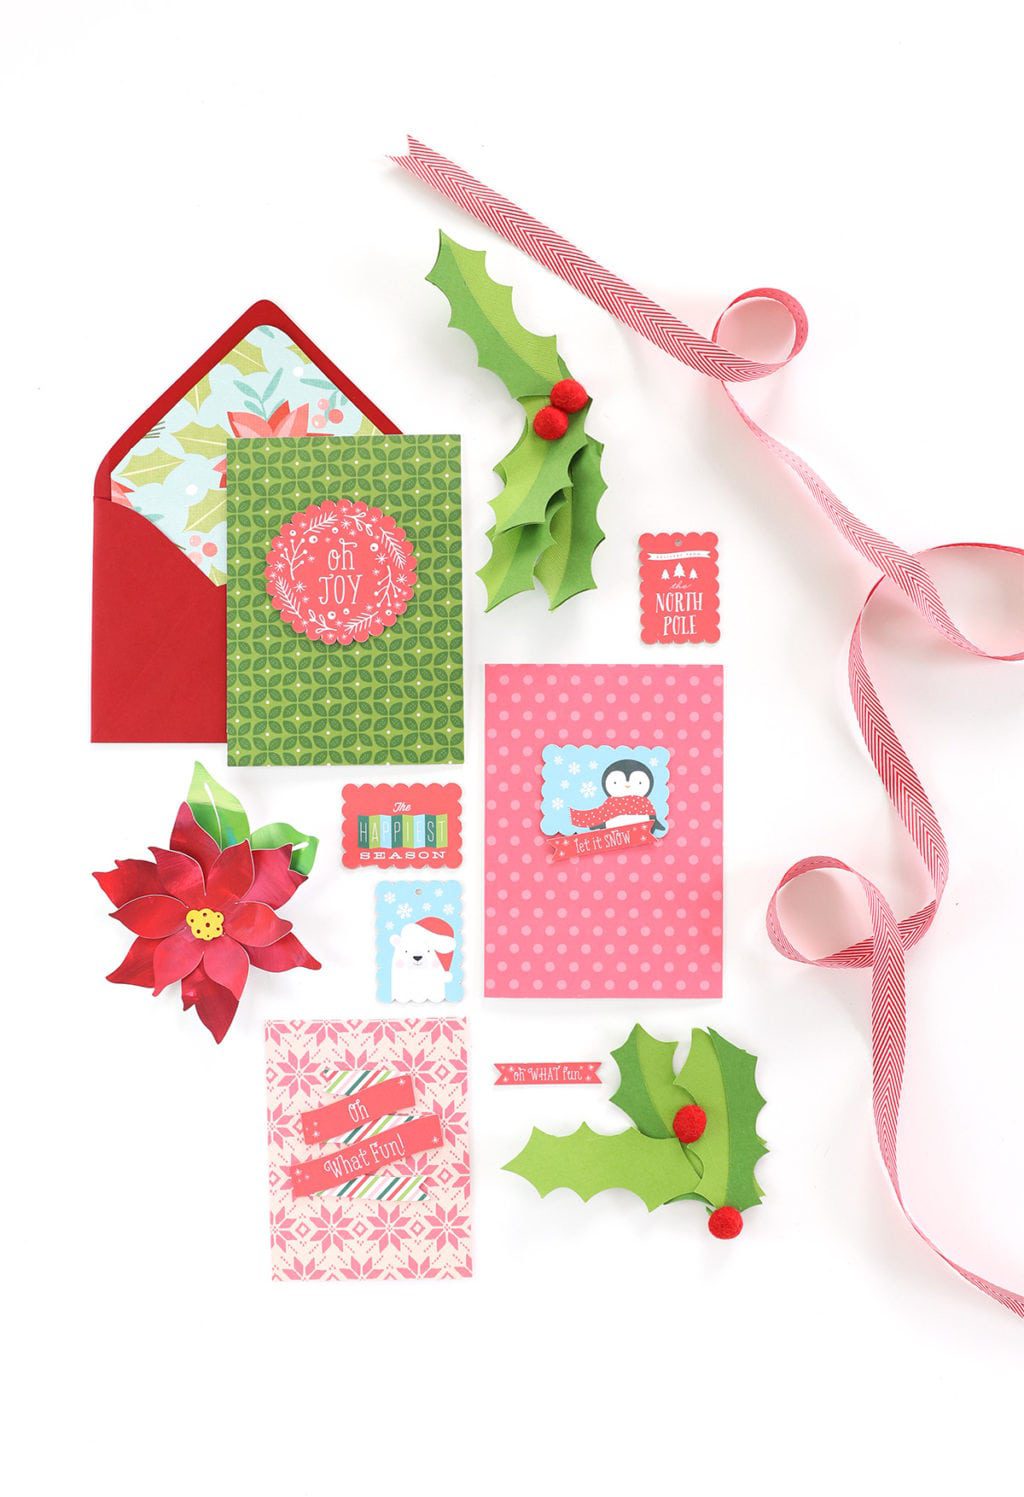
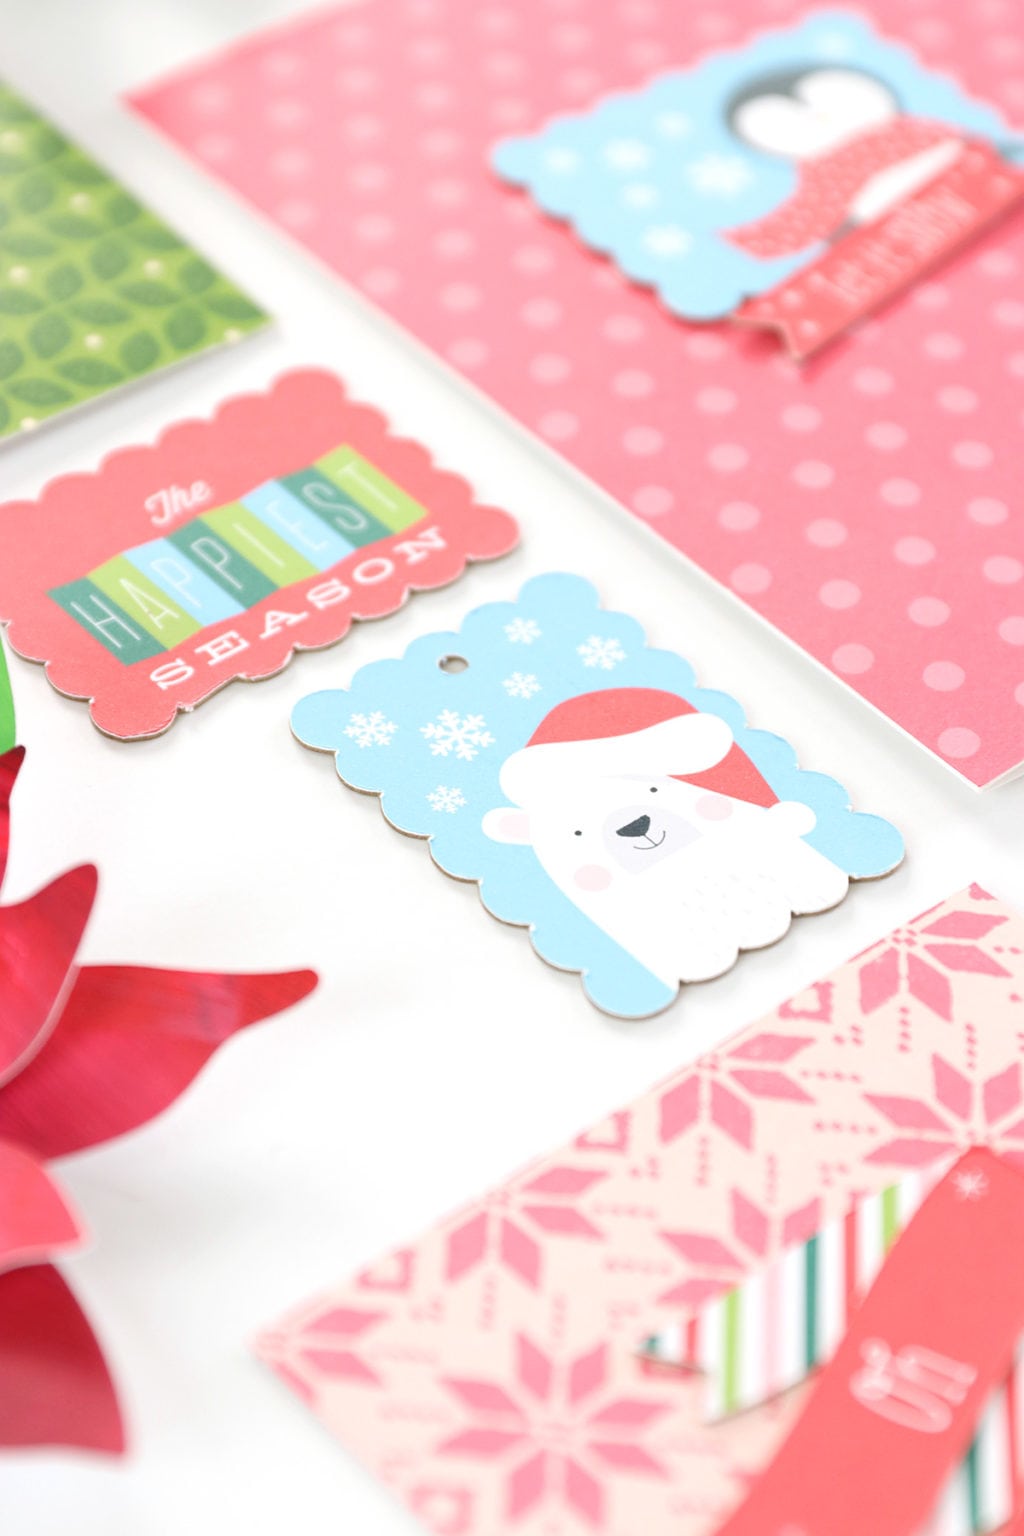
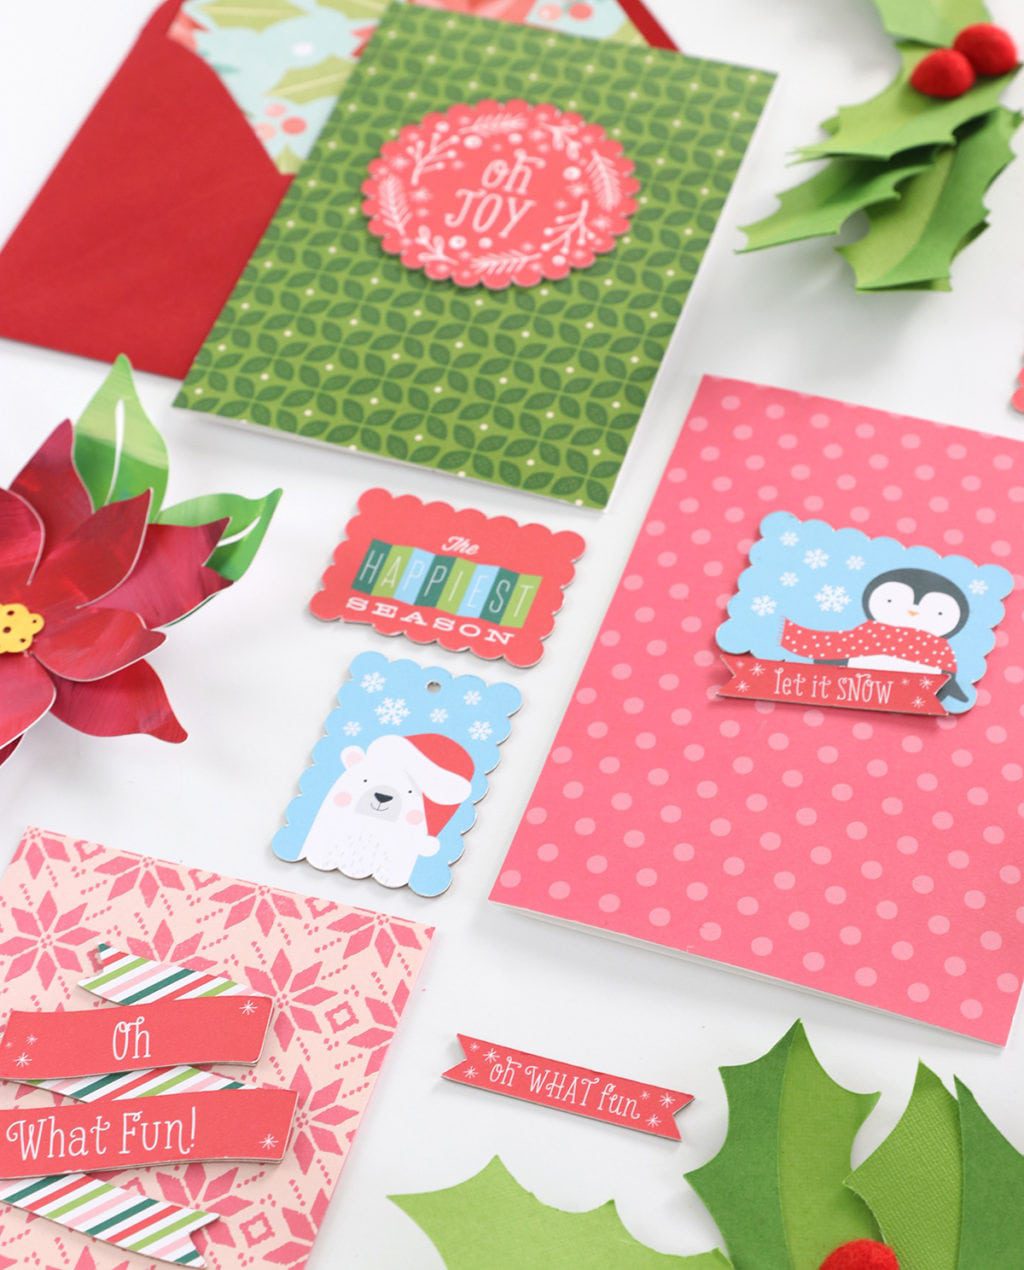
Let me show you how I use my Canon PIXMA and my Cricut Maker to create the most adorable chipboard stickers. These rival anything you would buy at a craft store!
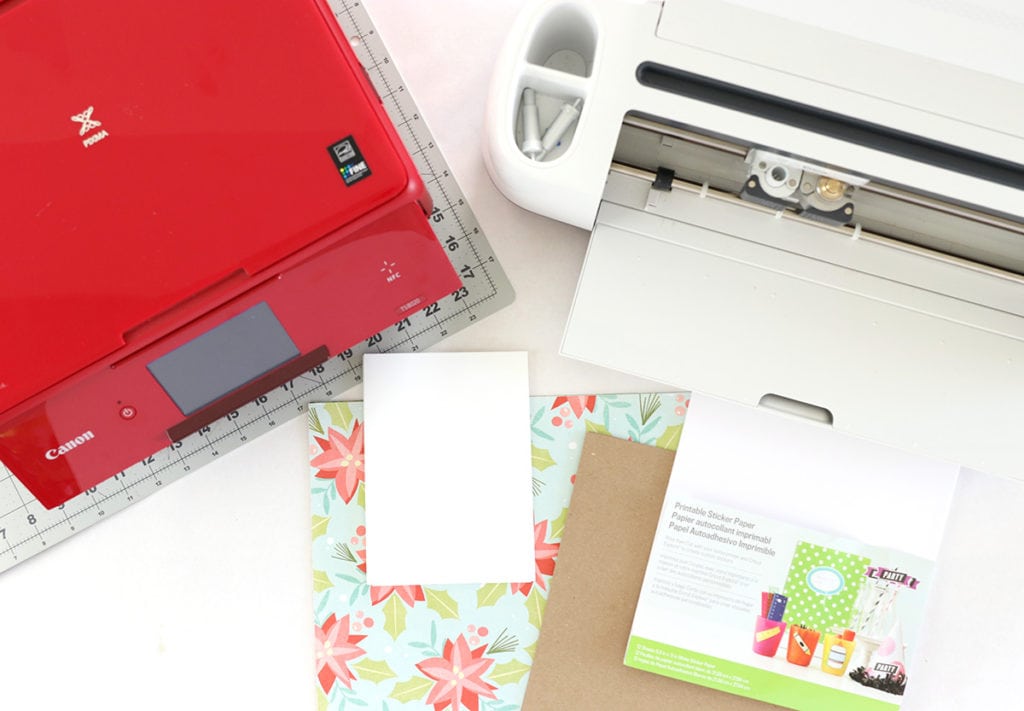
For these DIY chipboard stickers you’ll need:
- Canon PIXMA TS8020 (I LOVE the red color)
- Cricut Maker
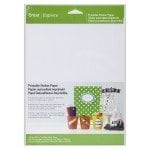
- Cricut Printable Sticker Paper
- A white card and patterned paper (we’ll use these to create our own patterned stationery)
- chipboard
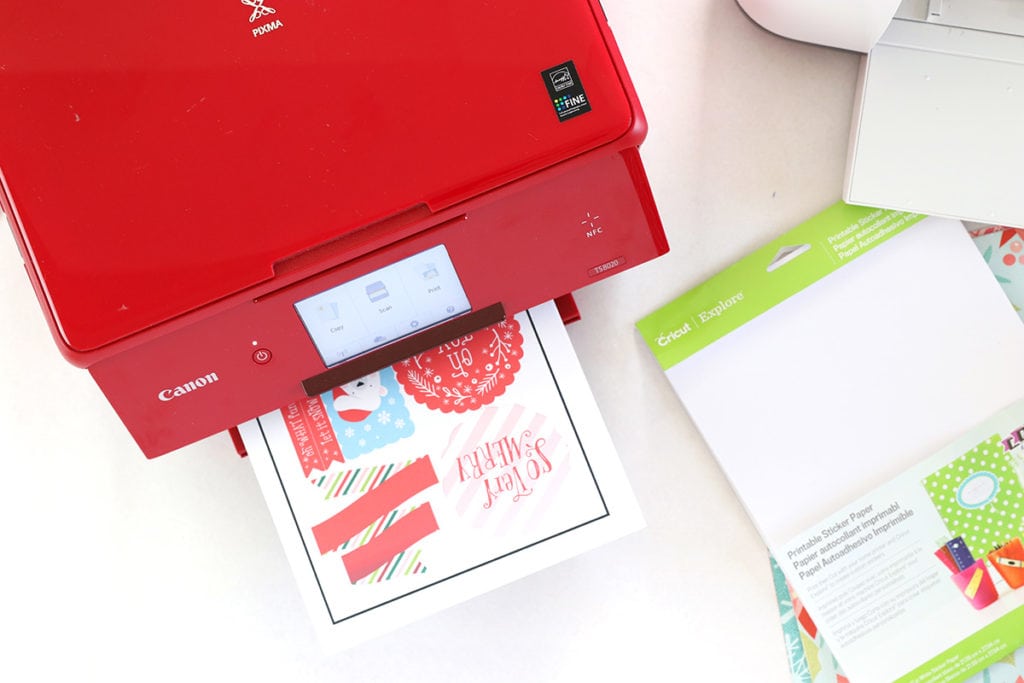
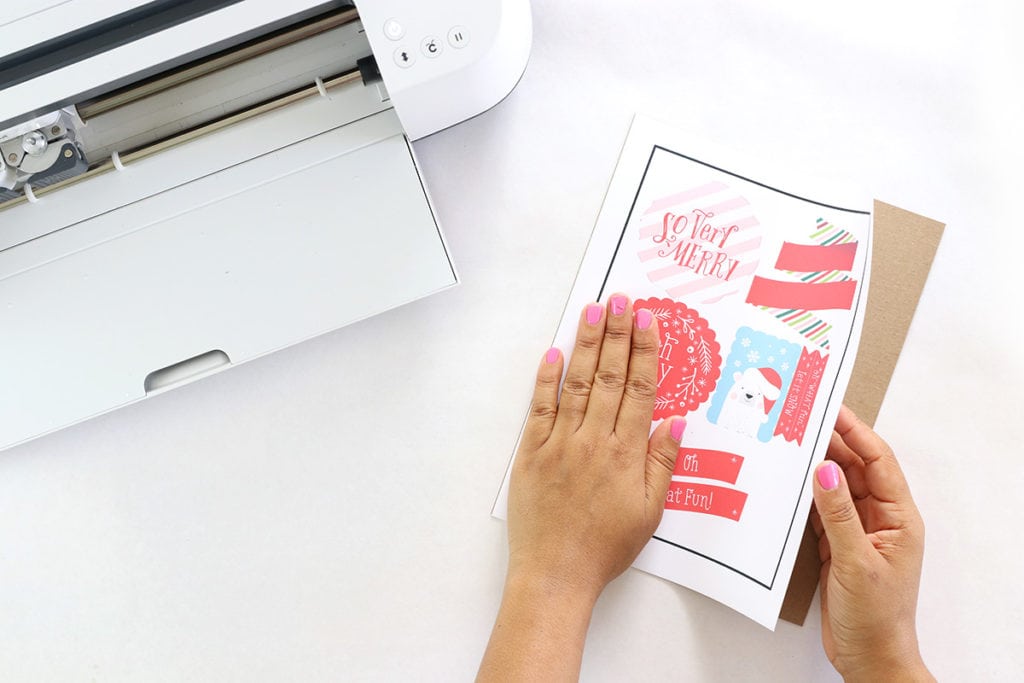
STEP ONE
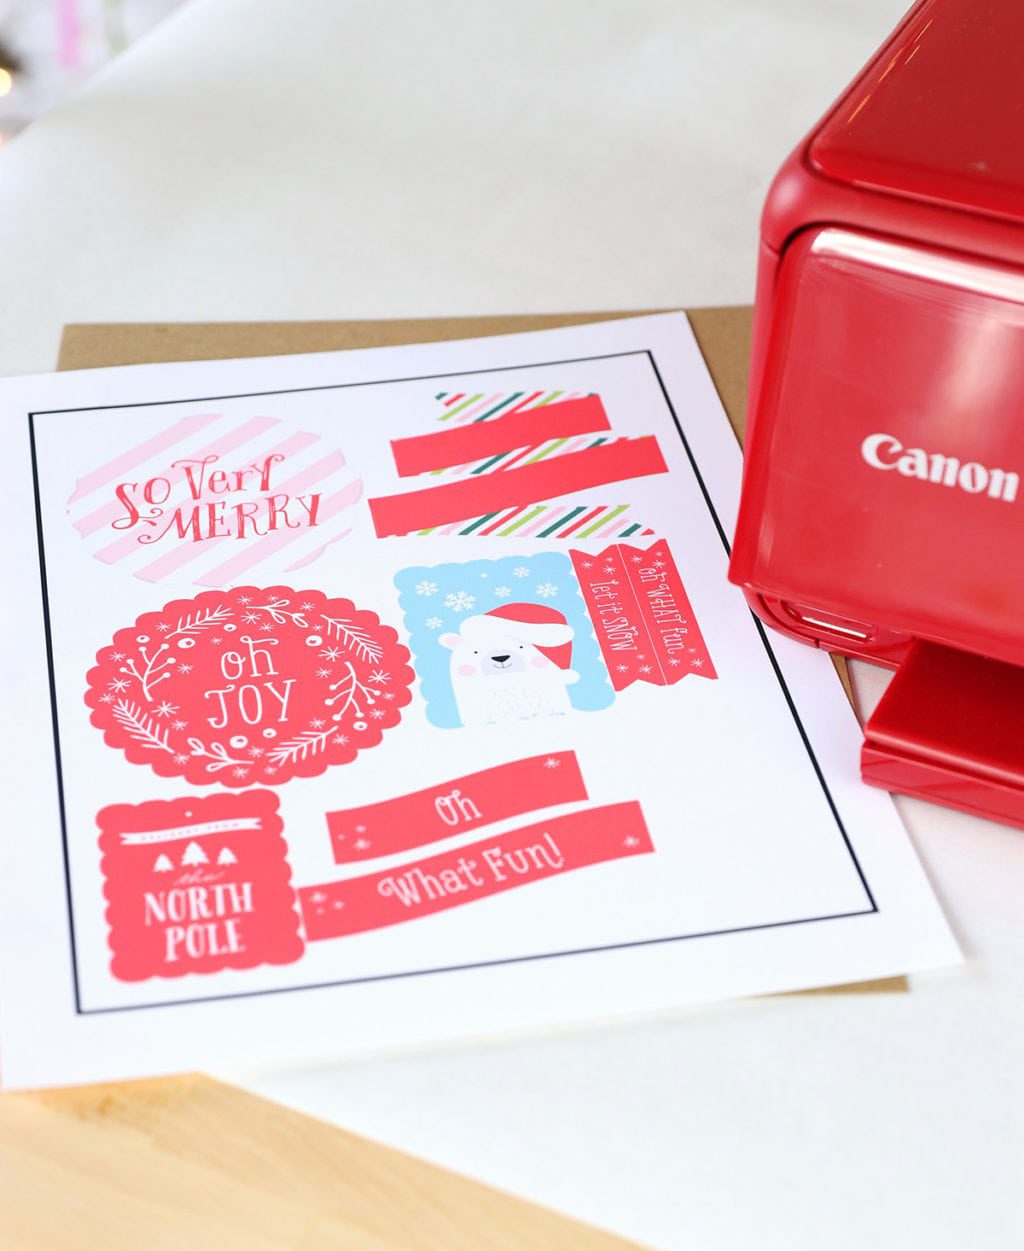
Print your design onto Printable Sticker Paper. With the rear tray feature of my Canon PIXMA TS8020, I’m able to print on thicker, crafting materials like cardstock and sticker paper.
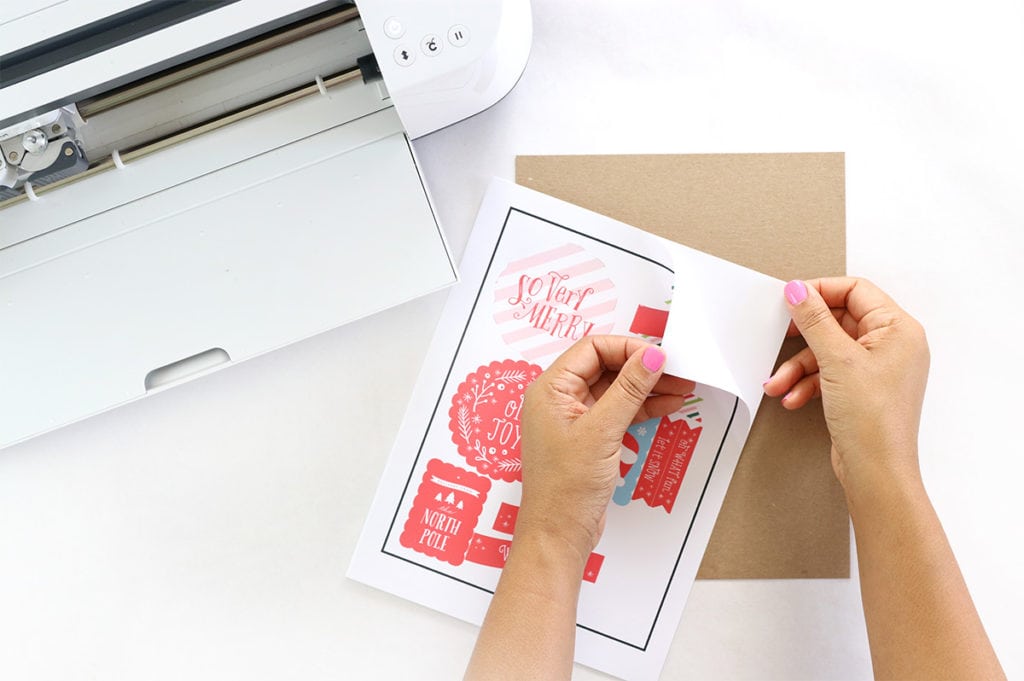
STEP TWO
Peel the backing from the sticker paper, then adhere the printed sticker paper to a piece of chipboard.
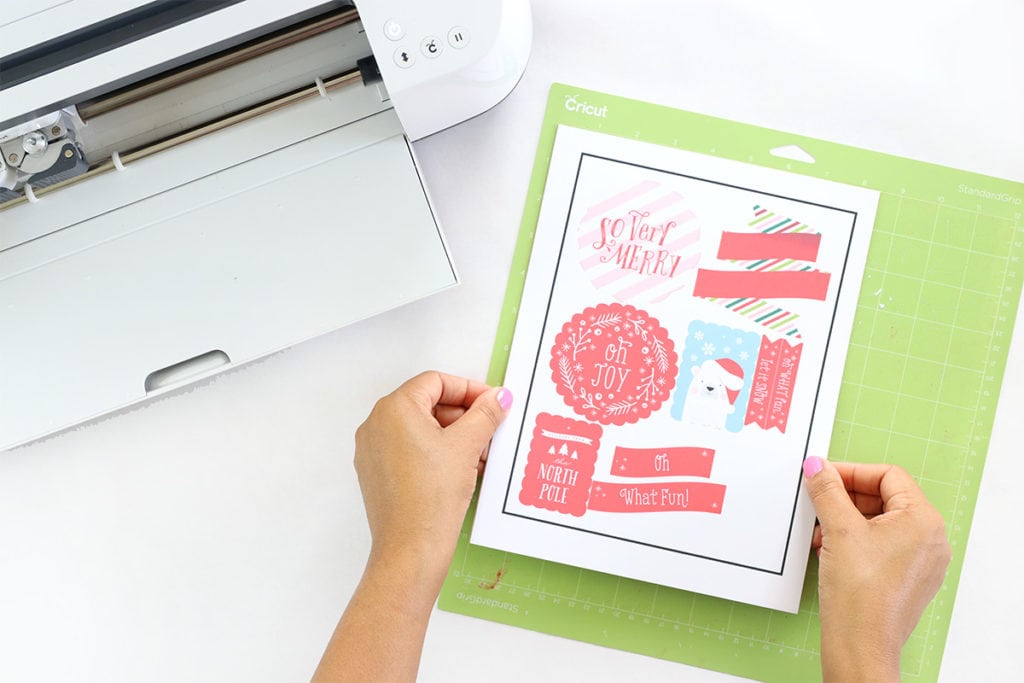
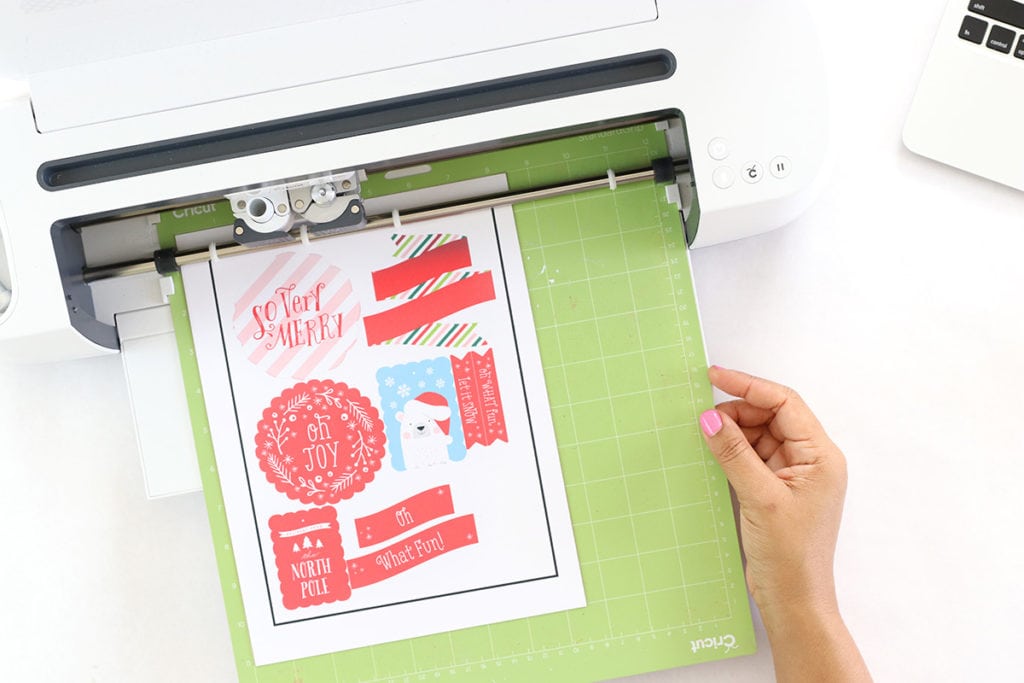
STEP THREE
Place the chipboard onto a cutting mat, and insert into your machine. The Cricut Maker has additional power that makes it very easy to cut through thick materials like chipboard. You’ll just want to make sure you select “Chipboard” or “Matboard” as your material before pressing the button to cut.
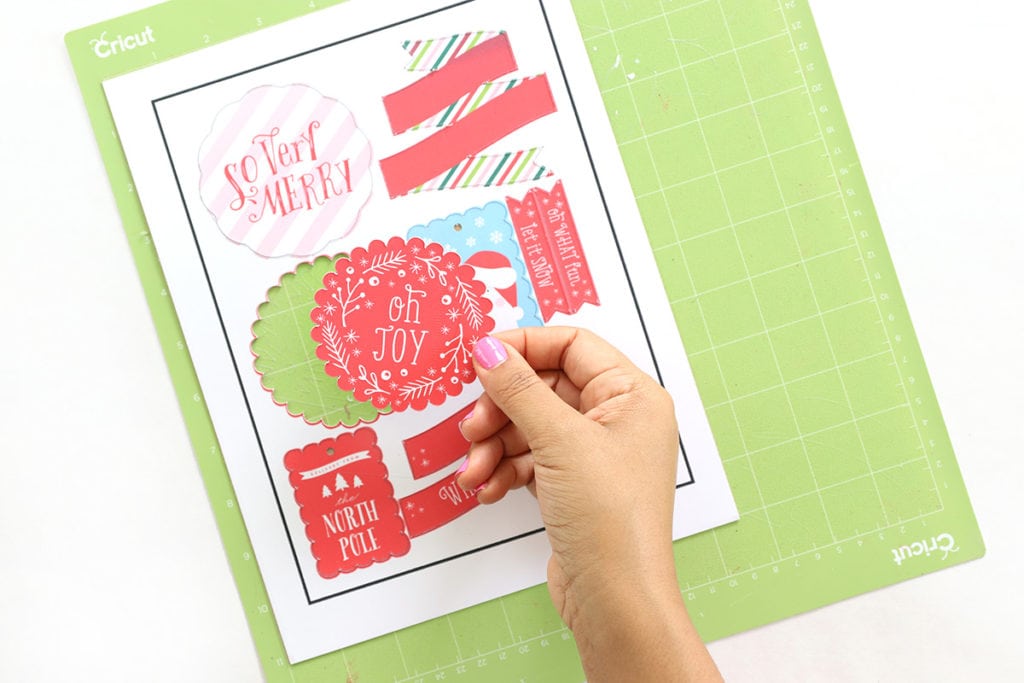
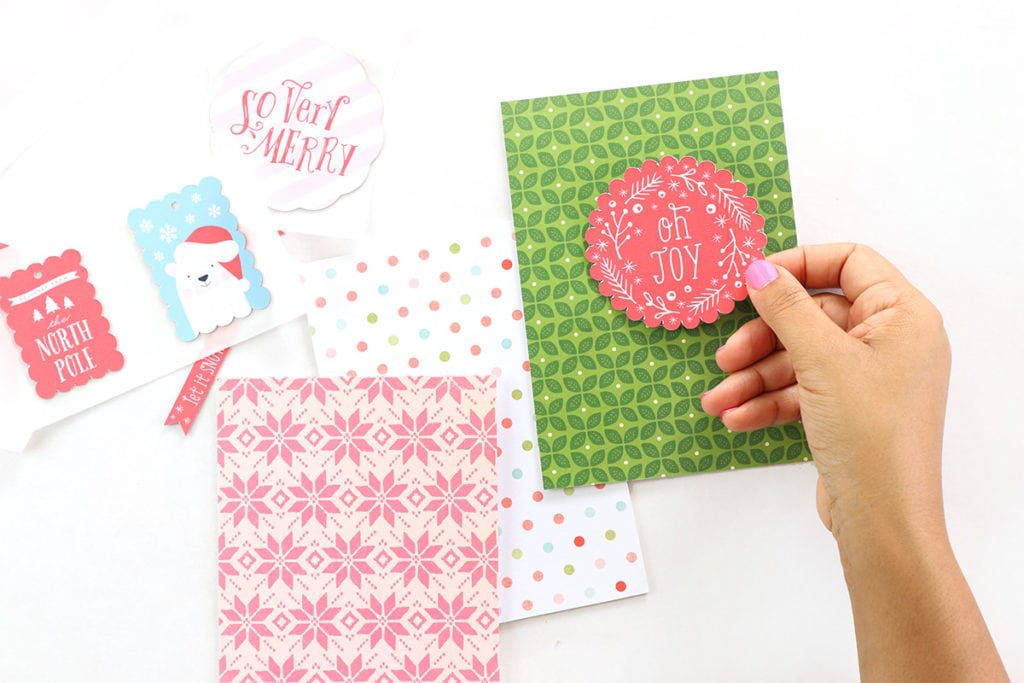
STEP FOUR
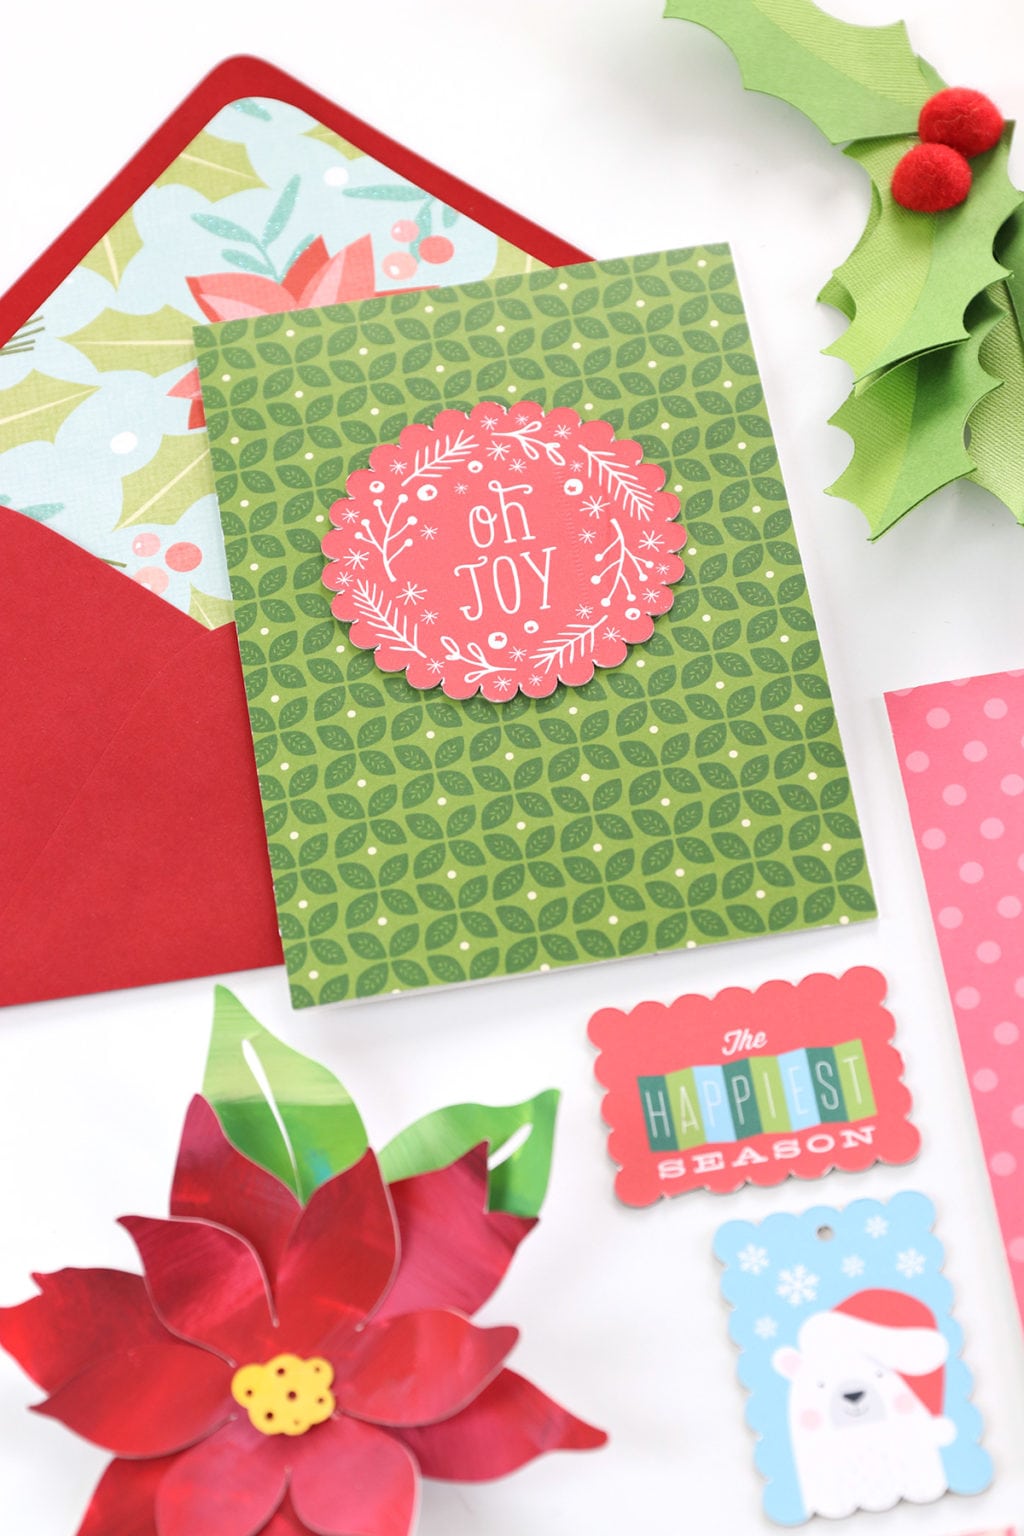
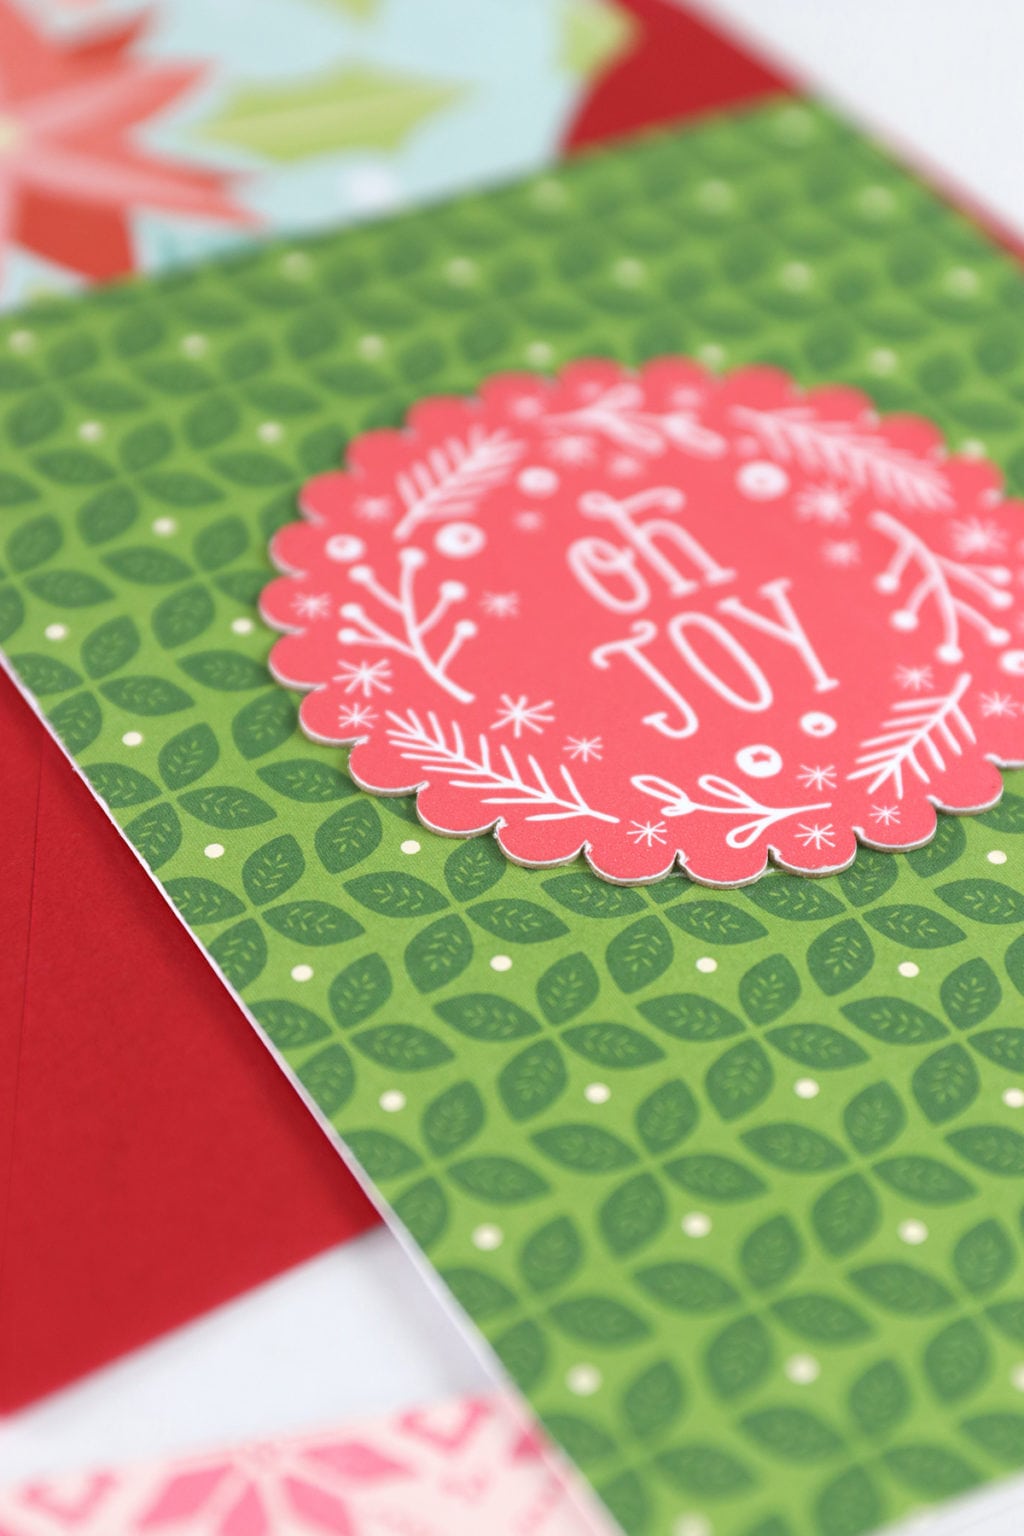
Once the Cricut Maker has cut your design you can remove them as turn them into stickers! Simply run the chipboard cutout through a sticker maker and you’re ready to create your own holiday cards!
I love how seamlessly I can use my Canon PIXMA together with other items in my craftroom! If your name is on the “nice” list, there’s a go ahead and add this pretty printer to your list. Added bonus: that red printer looks mighty festive under a Christmas tree!


This project was completed in partnership with Canon. All projects, photos and opinions are mine, mine, mine! Thanks for supporting the collaborations that keep the lights on in this joint!


https://kamagrapotenzmittel.com/# Kamagra Oral Jelly
https://kamagrapotenzmittel.com/# Kamagra kaufen
Apotek hemleverans recept: Apotek hemleverans idag – Apoteket online
apotek online recept [url=http://apotekonlinerecept.com/#]apotek online recept[/url] apotek online
http://kamagrapotenzmittel.com/# kamagra
apotek online recept: Apotek hemleverans recept – apotek online recept
de online drogist kortingscode [url=https://apotheekmax.shop/#]Apotheek online bestellen[/url] Beste online drogist
apotek online recept: apotek online recept – apotek online recept
https://kamagrapotenzmittel.shop/# Kamagra kaufen
Kamagra online bestellen: Kamagra Gel – Kamagra Oral Jelly