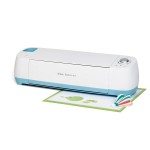
I like to use my Cricut Explore for all types of great projects…including reliving my childhood and creating all the toys I wish I’d had. Today, I’m going back to the days when I was six years old and desperately wanted to own an ice cream cart. True story. In my six year old brain, owning an ice cream truck meant you could eat all the ice cream and popsicles you ever wanted and that is clearly the key to happiness. No need to actually sell ice cream or turn a buck. Just eat the entire inventory. A great business plan, right?
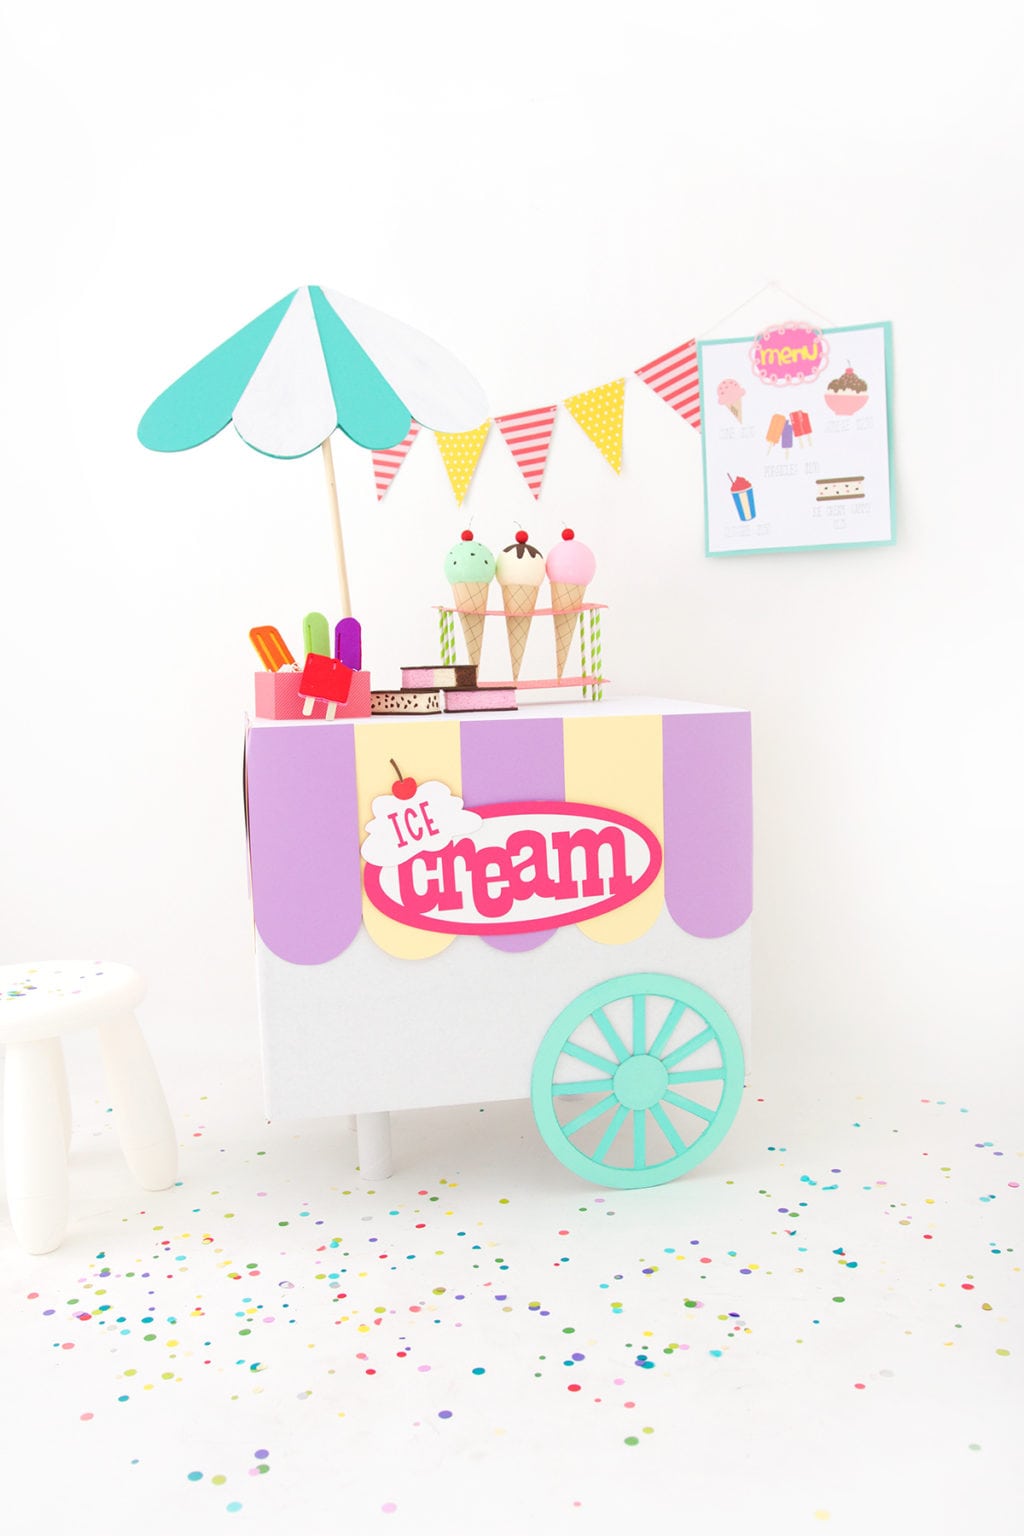
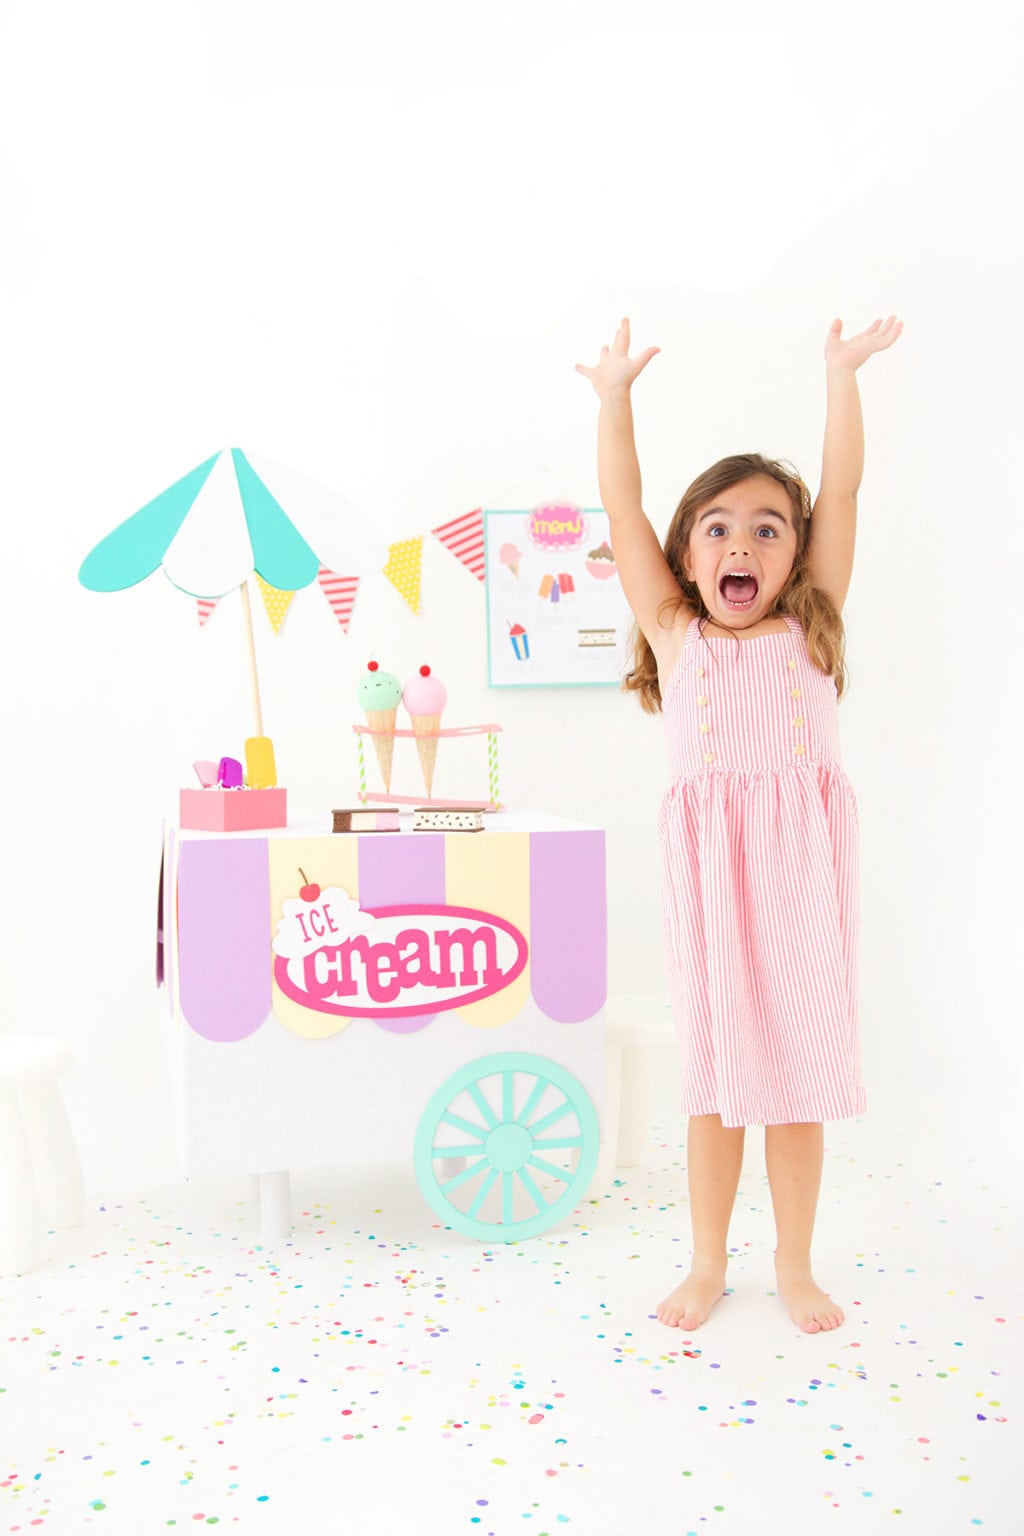
Welp, today’s DIY is the first step in breeding the future ice cream cart owners of America. It’s a cardboard box turned into an ice cream cart! Can you even believe it?! A cardboard moving box, people!!!
DOWNLOAD THE FULL ASSEMBLY INSTRUCTIONS HERE!
I created every element of this DIY cardboard box ice cream cart by using my Cricut Explore. Right down to that adorable aqua blue wheel! The key to creating something like this is chipboard and large pieces of cardstock. Hint: If you don’t have cardstock larger than 12×12, just grab some colored posterboard and trim it down to size so it will fit on the 12×24″ Cricut cutting mat.
Let’s take a little tour of this adorable pretend play ice cream cart.
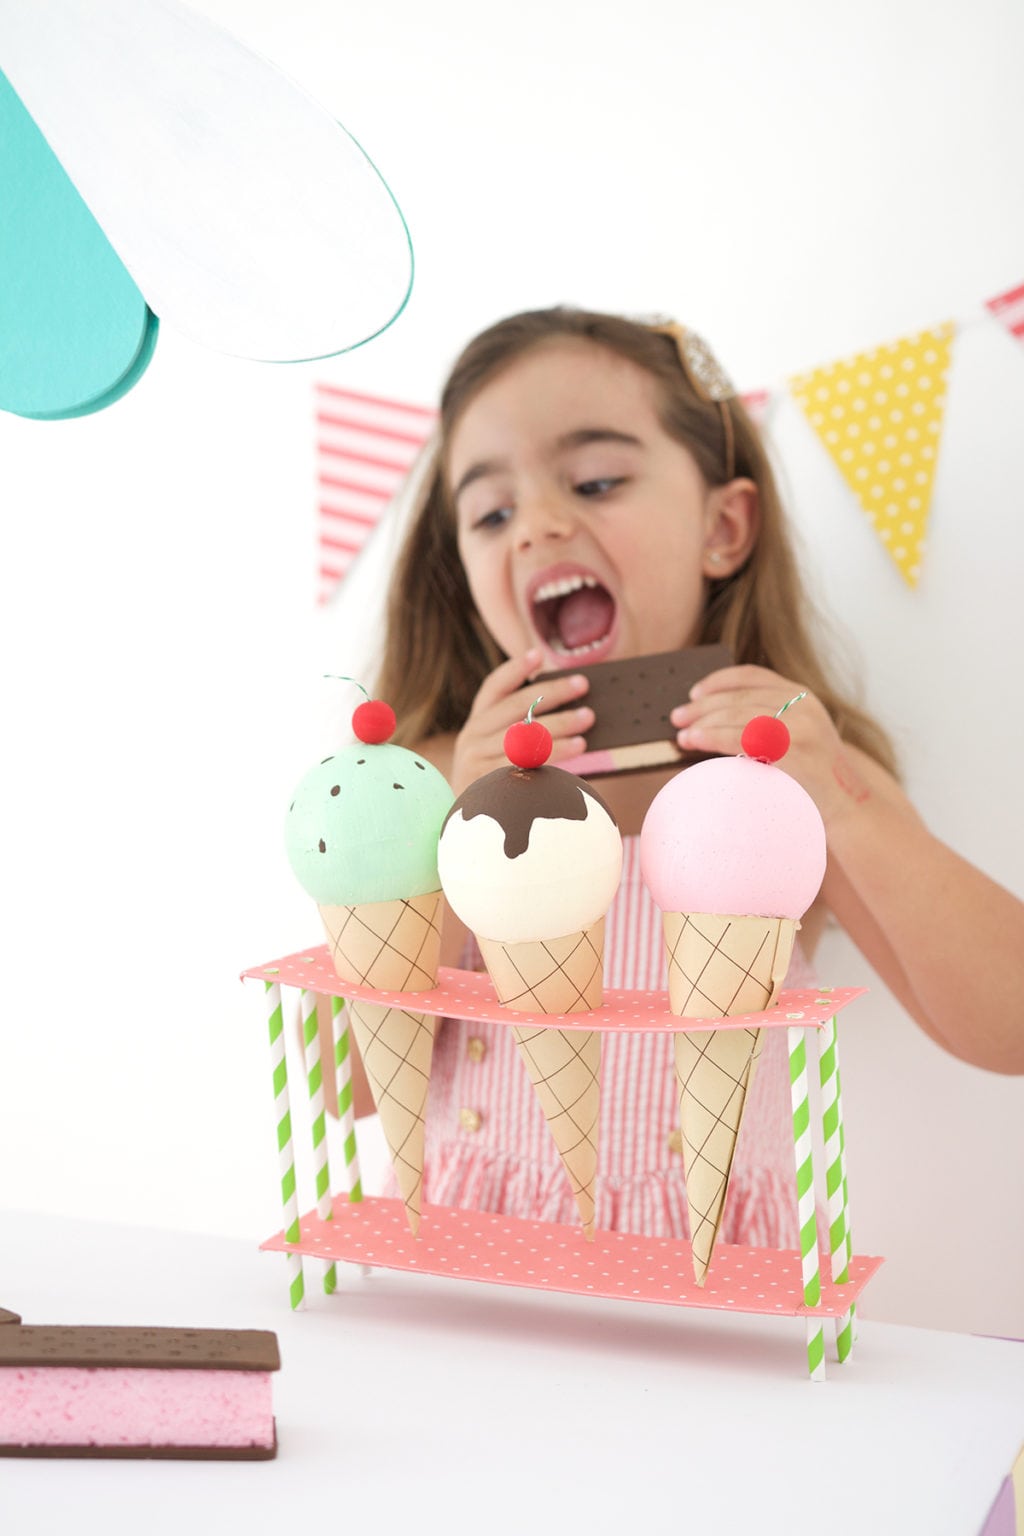
PAPER ICE CREAM CONES
- tan 12×12″ cardstock
- Cricut Southwest Pen Set
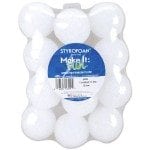
- Styrofoam balls
- pink, brown, white, mint, and red craft paint
- small wooden beads
- foam brush
- craft glue or hot glue gun
- Click HERE for this project in Cricut Design Space
INSTRUCTIONS // Cut cone shape and use pen tool to draw lines on cone. Paint the styrofoam balls to look like ice cream scoops. Paint the wooden beads with red paint. Use glue to assemble the cone, to adhere to styrofoam balls to the cone and to adhere the bead to the top of the styrofoam ball.
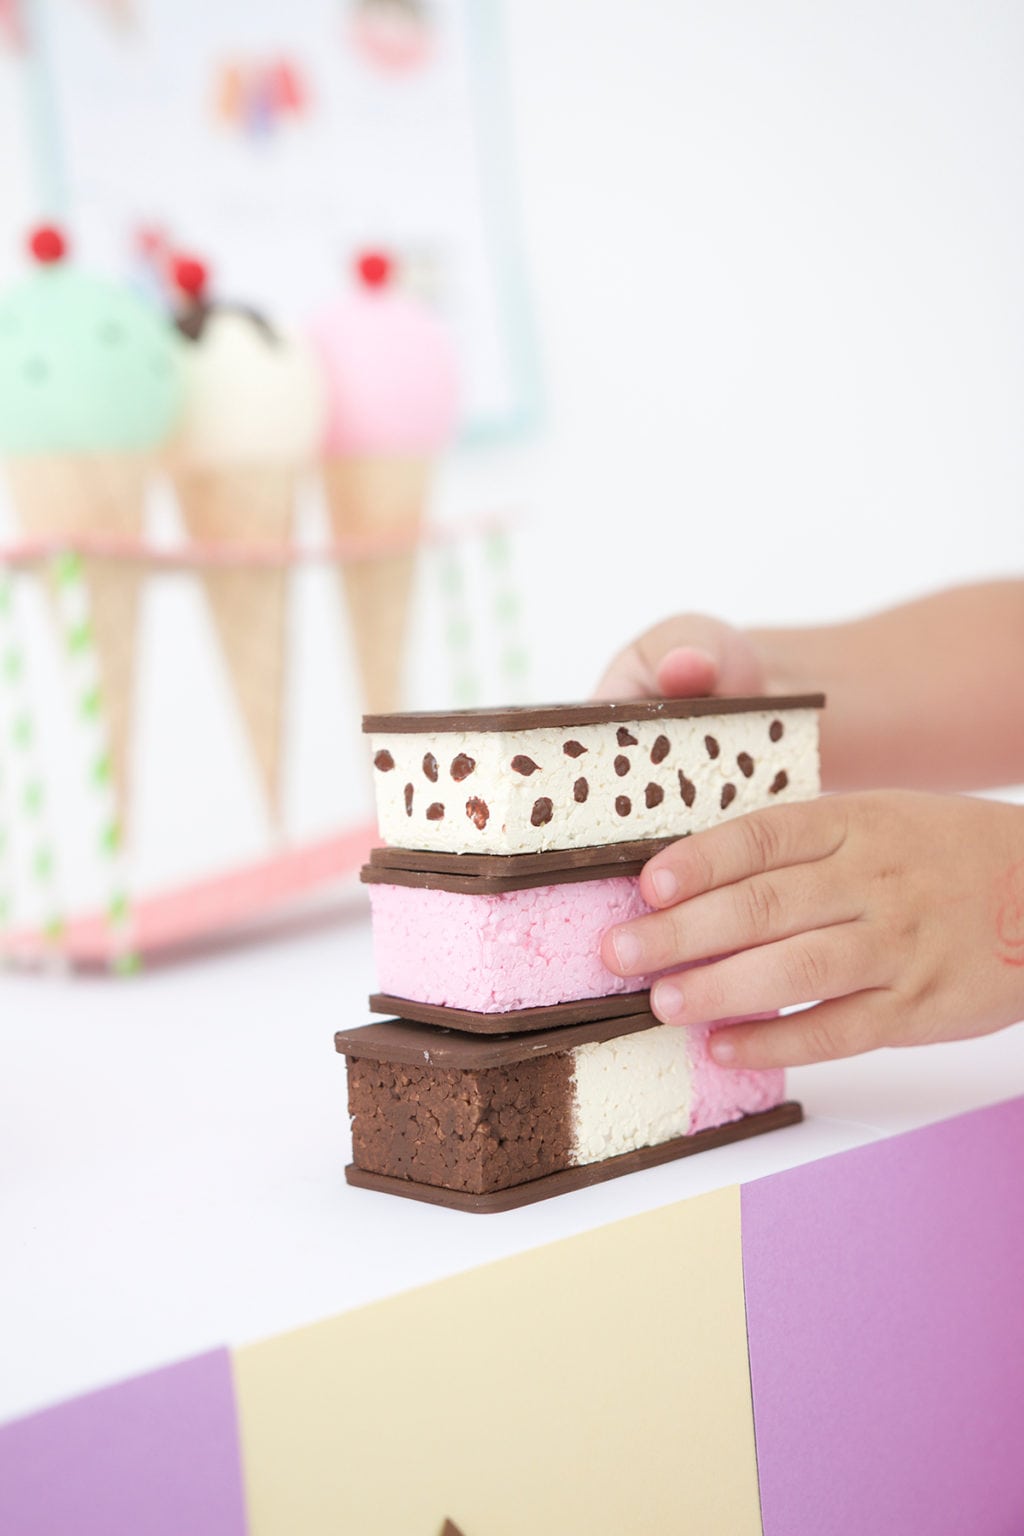
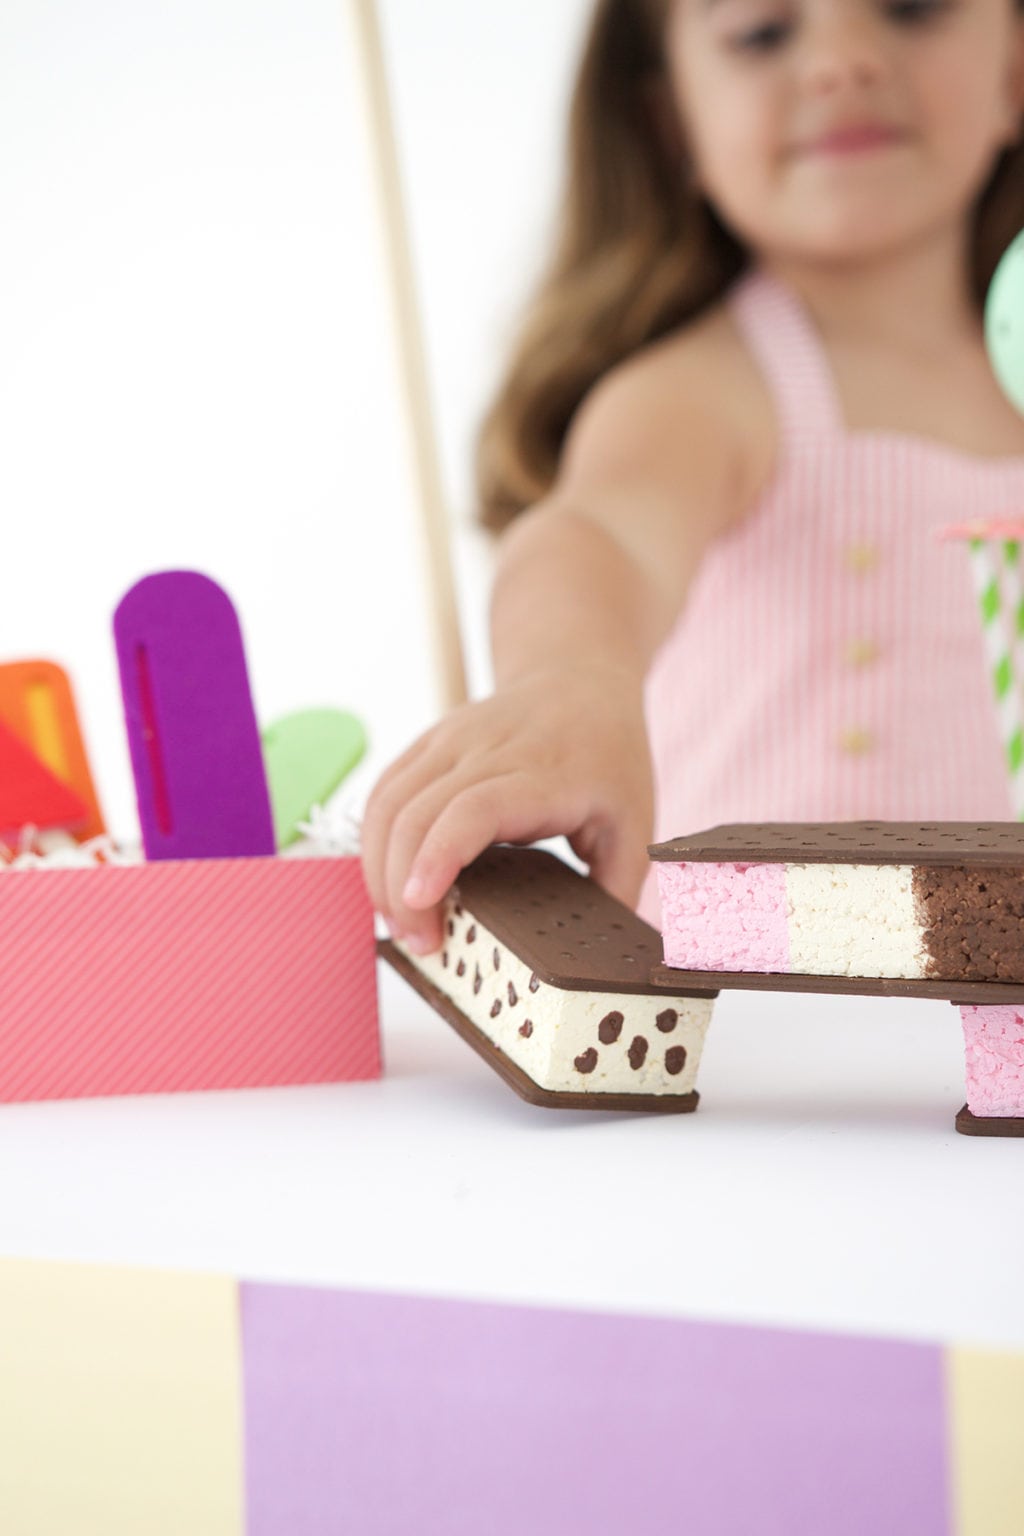
PRETEND PLAY ICE CREAM SAMMIES
- 12×12″ chipboard
- Cricut Deep Cut Blade
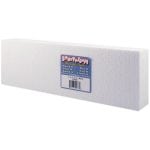
- Styrofoam blocks
- white, brown and pink craft paint
- craft glue
- Click HERE for this project in Cricut Design Space
INSTRUCTIONS // Cut the chipboard using the Design Space file. Use a serrated knife or other sharp tool to cut the sytrofoam block down to the size of the chipboard. Paint the chipboard with brown paint. Paint the styrofoam to look like ice cream. Use craft glue to adhere the sytrofoam between both pieces of painted chipboard

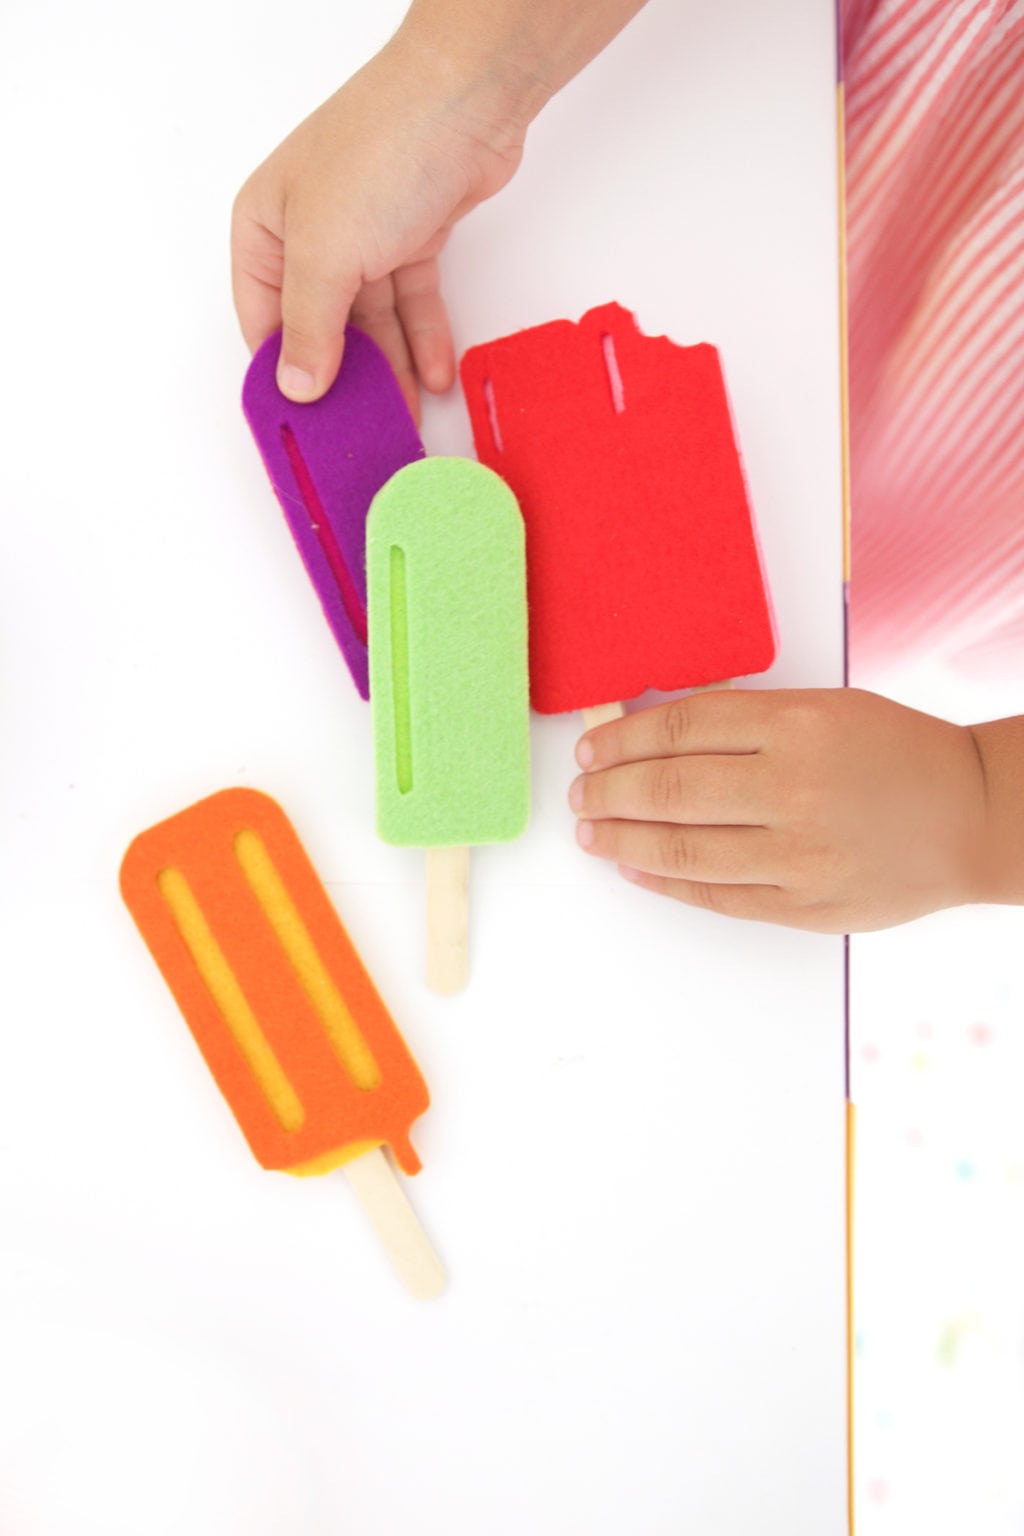
FELT POPSICLES
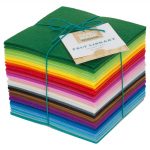
- Felt (I use the Handmade Modern felt from Target)
- Popsicle Sticks
- Hot glue gun
- Click HERE for this project in Cricut Design Space
INSTRUCTIONS // Cut the popsicle shapes from felt and adhere them to the popsicle stick with hot glue
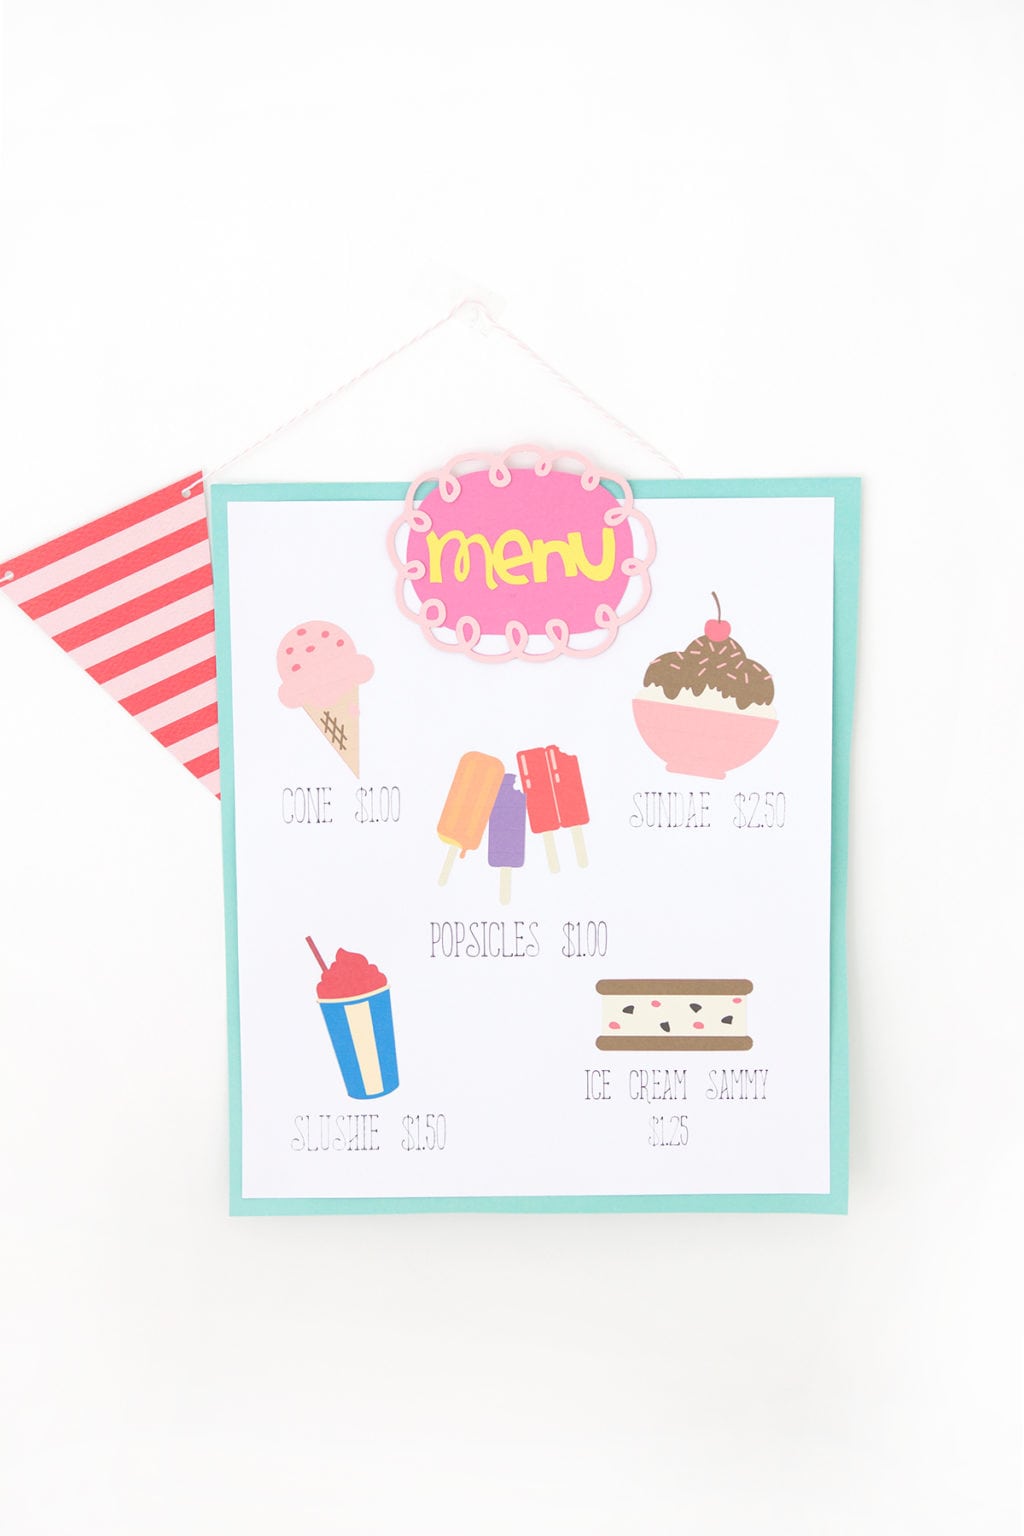
ICE CREAM CART MENU
- Large paper (I used DCWV 16×20″ Paper Packs available at Joann’s)
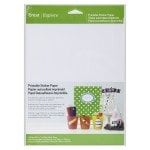
- Cricut Printable Sticker Paper
- Cricut Black Pen
- craft glue
- Click HERE for this project in Cricut Design Space
INSTRUCTIONS // Print Then Cut each ice cream image. Cut the sign shape and label and write the lettering ( the Cricut Explore will do all the writing for you!). Adhere the stickers to the menu. Assemble the remaining parts of the menu with craft glue.
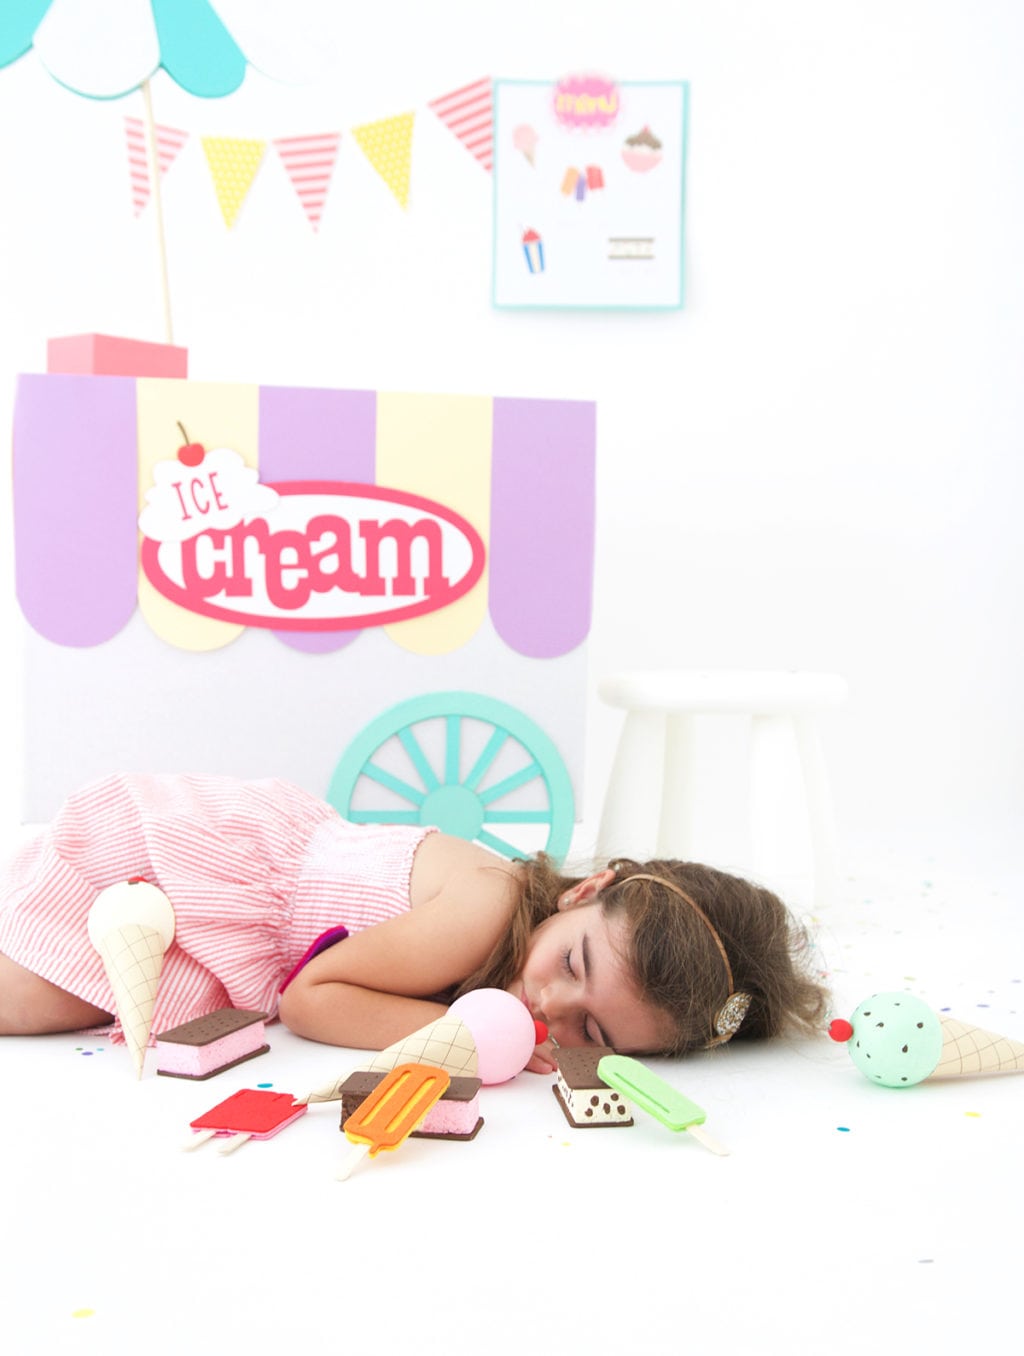
And if you’d like to learn how exactly I assembled the cart with a cardboard box….
DOWNLOAD THE FULL ASSEMBLY INSTRUCTIONS HERE!





buy generic 100mg viagra online: Generic100mgEasy – buy generic 100mg viagra online
https://generic100mgeasy.com/# Viagra generic over the counter
https://tadalafileasybuy.shop/# Buy Tadalafil 20mg
пин ап казино: https://pinupkz.life/
пинап казино – пин ап вход
пин ап зеркало – пин ап
пин ап зеркало: https://pinupkz.life/
пин ап вход – пин ап вход
пин ап казино зеркало – pinup 2025
Generic Viagra online [url=https://generic100mgeasy.shop/#]order viagra[/url] Generic100mgEasy
pinup 2025: https://pinupkz.life/
pinup 2025 – пин ап казино официальный сайт
пин ап казино официальный сайт – пин ап казино
пин ап казино официальный сайт: https://pinupkz.life/
pinup 2025 – пин ап
pinup 2025 – пин ап казино официальный сайт
cialis without a doctor prescription [url=http://tadalafileasybuy.com/#]cialis without a doctor prescription[/url] TadalafilEasyBuy.com
пин ап вход: https://pinupkz.life/
пин ап казино – пин ап
пин ап: https://pinupkz.life/
pinup 2025 – пин ап зеркало
пин ап казино – пин ап вход
cialis without a doctor prescription [url=https://tadalafileasybuy.shop/#]Tadalafil Easy Buy[/url] Cheap Cialis
пин ап казино – пин ап вход
пин ап казино официальный сайт: https://pinupkz.life/
пин ап казино официальный сайт – пин ап зеркало
пин ап казино официальный сайт – пин ап казино
https://kamagrapotenzmittel.com/# Kamagra Oral Jelly
Apotheek Max: Online apotheek Nederland met recept – Online apotheek Nederland met recept
Kamagra Original: Kamagra kaufen ohne Rezept – Kamagra Oral Jelly
https://kamagrapotenzmittel.com/# Kamagra Oral Jelly kaufen
https://apotheekmax.shop/# online apotheek
ApotheekMax: Online apotheek Nederland met recept – Online apotheek Nederland zonder recept
Apotheek online bestellen: Online apotheek Nederland zonder recept – Apotheek Max
https://kamagrapotenzmittel.com/# Kamagra kaufen ohne Rezept
http://apotekonlinerecept.com/# Apotek hemleverans recept
Kamagra kaufen ohne Rezept: Kamagra Oral Jelly kaufen – Kamagra Oral Jelly
Kamagra Oral Jelly kaufen: Kamagra online bestellen – Kamagra Gel
https://kamagrapotenzmittel.shop/# Kamagra Oral Jelly kaufen
apotek online recept: Apotek hemleverans idag – apotek online recept
http://apotheekmax.com/# online apotheek
http://apotekonlinerecept.com/# apotek online recept
apotek pa nett: apotek online recept – apotek pa nett
apotek online recept [url=https://apotekonlinerecept.com/#]apotek online recept[/url] Apotek hemleverans recept
https://kamagrapotenzmittel.shop/# Kamagra Oral Jelly
ApotheekMax: de online drogist kortingscode – ApotheekMax
Kamagra Oral Jelly kaufen: Kamagra Original – kamagra
http://apotekonlinerecept.com/# apotek online
What a fun and creative project! I love how you transformed simple cardboard into such a delightful ice cream cart. The step-by-step instructions are super helpful, and I can’t wait to try making one for my kids. Thank you for the inspiration!