Perhaps this is why I am such a fan of food & beverage themed stamp sets. They totally appeal to my foodie side, while saving me the trouble of hopping on the treadmill. It’s the best of both worlds! The newly released By the Glass and By the Glass Too stamp sets offer a unique assortment of adorable beverages. When paired with the By the Glass Sentiments set, these images are full of fun and whimsy.
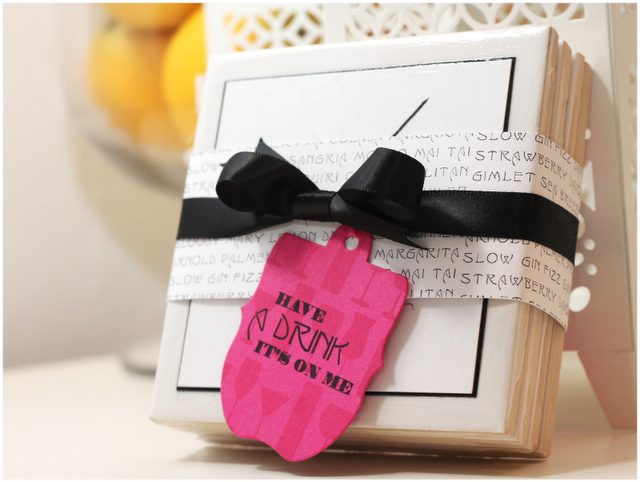
For today’s project, I’ve got a great accessory for all your colorful, summertime cocktails. For only a few dollars, you can create coasters that rival anything you’d find at a gift shop. You can package them up as a hostess gift or keep them for yourself – just be prepared to make a few more for friends! Once they seem these coasters, they’ll definitely want a set. Good thing they are super easy to make, right?
I hope you enjoy this project as much as I did. Let’s get started…
Until Later Loverlies,
Amber KG
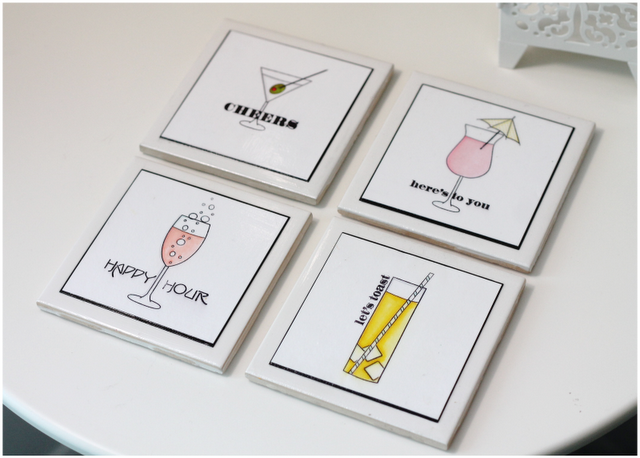
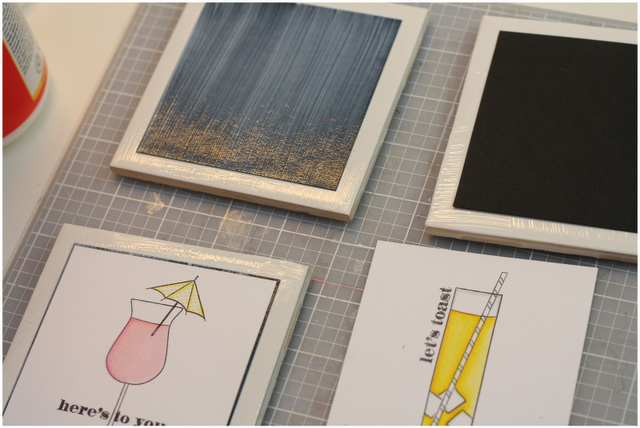
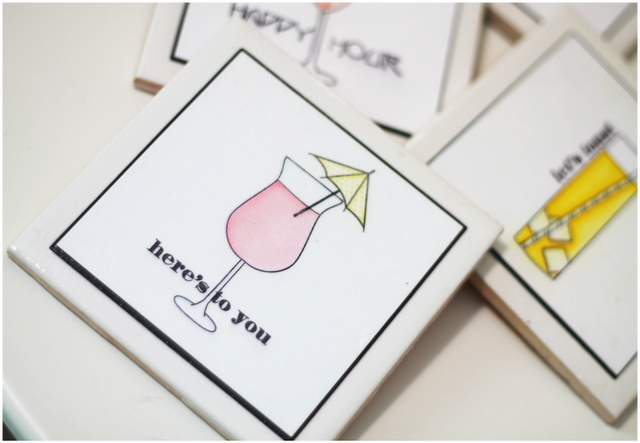
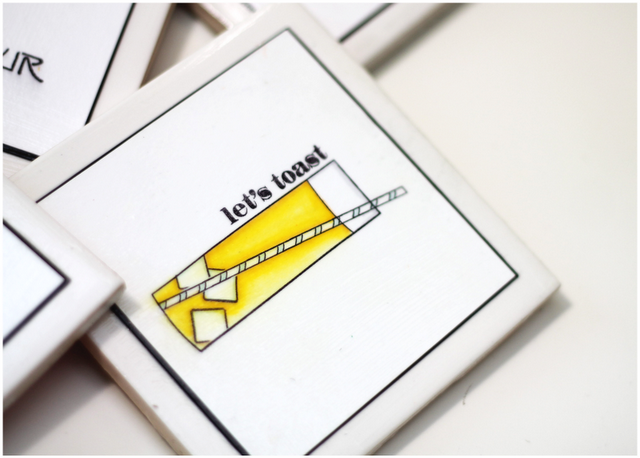
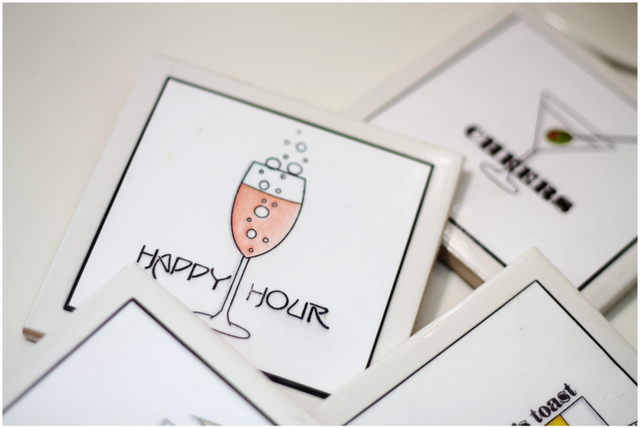
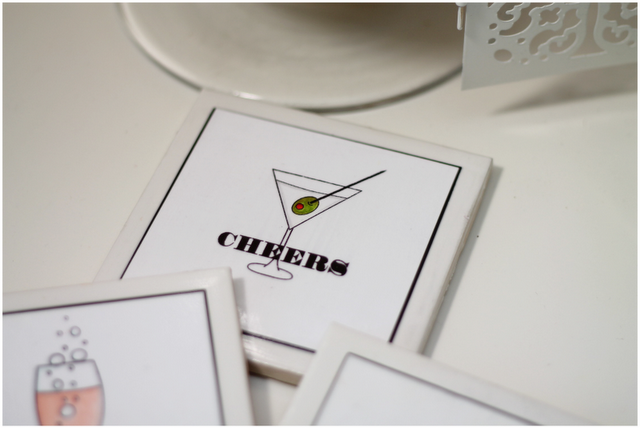
Here’s a look at the foursome of cocktail coasters that I created using tile squares from Home Depot (they only cost $0.19 each!!!) along with some crafting supplies I already owned.
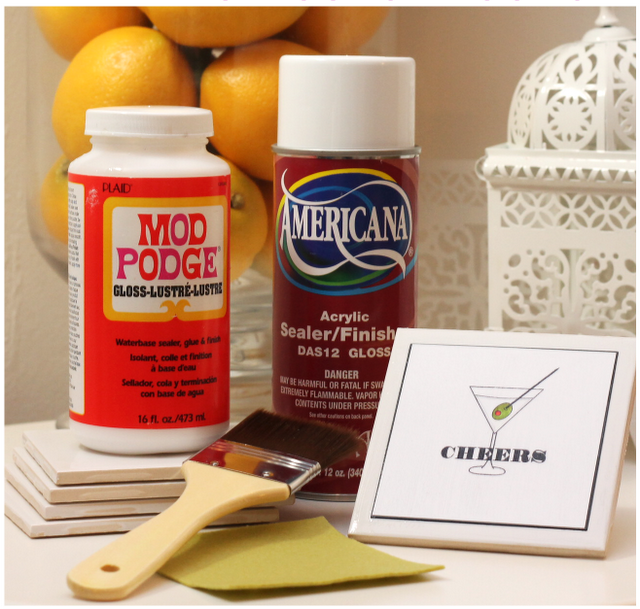
- White Square Tiles (I purchased mine from Home Depot)
- Mod Podge Decoupage Glue
- A Paint Brush, you can also use a sponge brush
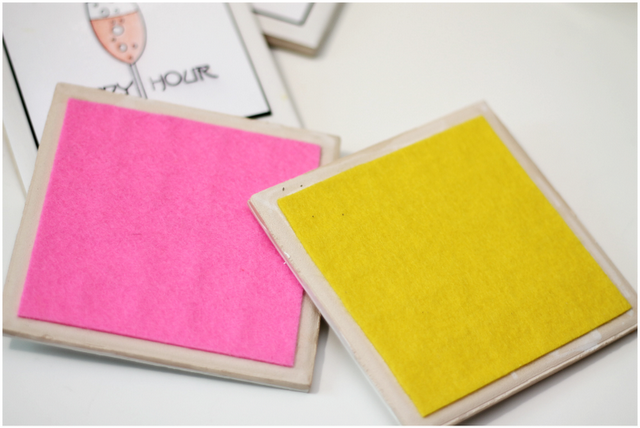
- Squares of felt to use on the bottom of each tile coaster
- Spray acrylic sealant (Available at Michael’s)



What a great project. I really like this, thinking about doing some for Christmas presents. Thank you for sharing.
Are you using ceramic tiles with the glossy finish?
Hi Margaret! I’m glad you liked this project! They would make wonderful Christmas gifts! Yes, I used the ceramic tiles with the glossy finish. When you get them, be sure to get ones that are flat on all edges. They also sell edge piece tiles that are rounded on one side – you don’t want those! Hope this helps!
Drinks on me… too funny. I love that they are all different. Great coloring. Felt bottoms, great idea. Super fun project and what a fabulous gift set!
Holy cow! These are fantastic! i just LOVE them! they will be great Christmas gifts for several of my friends and family! I will be looking into the stamps right now! thanks!!
Great idea for Christmas presents! I’m trying to work out what I can make for work friends (male and female). Is the spray adhesive good enough? There is a 2 part sealant that can give decoupage projects a really good finish – bit messy to work with!
They’re cute, Amber. But I do have a question: what did you use to glue the felt to the back of the tiles — hot glue? Super glue? White glue? What would be best?
Hi! I stumbled across your site today and am loving the coasters! I’ve made a few of these in the past and would suggest after sealing or as an alternative to the sealant, using Polyurethane or some other water repellant for longer lasting protection.
Thanks for this tip!! I will definitely consider this for future coaster projects! So glad you stopped by:-) Have a great one, Erin!
474146 378738I likewise conceive so , perfectly written post! . 886739
love these!! I just bought some tiles from Home Depot and am going to try to start making them…. yours are beautiful
Where can these stamps be purchased?
Where can I purchase the “by the glass” stamp sets and the sentiments ?
Thank you.