It is taking everything in my not to post a video of storytime in this house.
Let me back up.
When I was a kid, I was a voracious reader and I have visions that our baby will have lots and lots of books to choose from. With that in mind, we’ve started reading to him at night before bedtime. Some of our favorites are Time for Bed, Little Blue Truck, and quite possibly the cutest book that every child needs: Ten Little Fingers and Ten Little Toes. Usually, I do the reading. I read in typical motherese. Soft. Soothing. Lullaby-esque. Andrew on the other hand? When he reads, it’s sort of a cross between Ludacris and a old southern baptist reverend standing at the pulpit delivering the climax of his Sunday sermon. In a word? Hilarious. I can only hope that our baby will come out with the rhythmic, rapper-ific reading skillz of his daddy. Yes. Skillz. For the sake of my marriage, I’ll spare you the full video reveal of our storytime routine. Instead all I’ve got for you is a crafting tutorial. It’s not nearly as awesome as my husbands nursery rhymez – but it’s pretty awesome nonetheless.
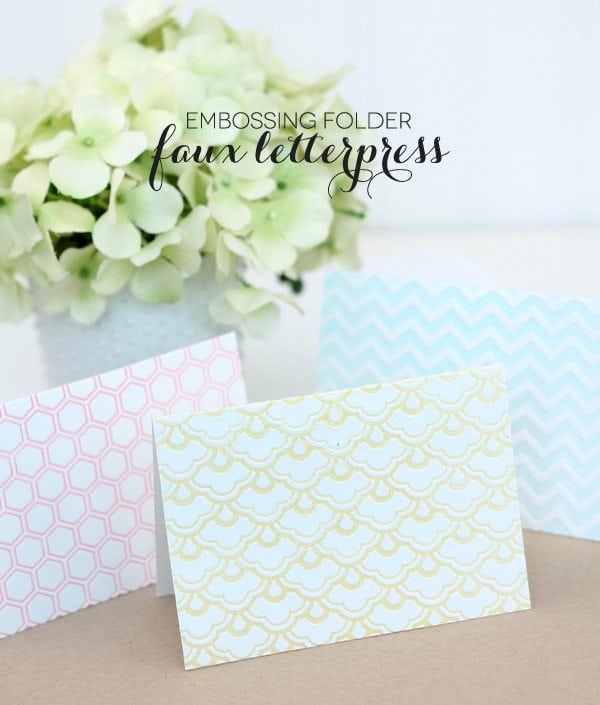
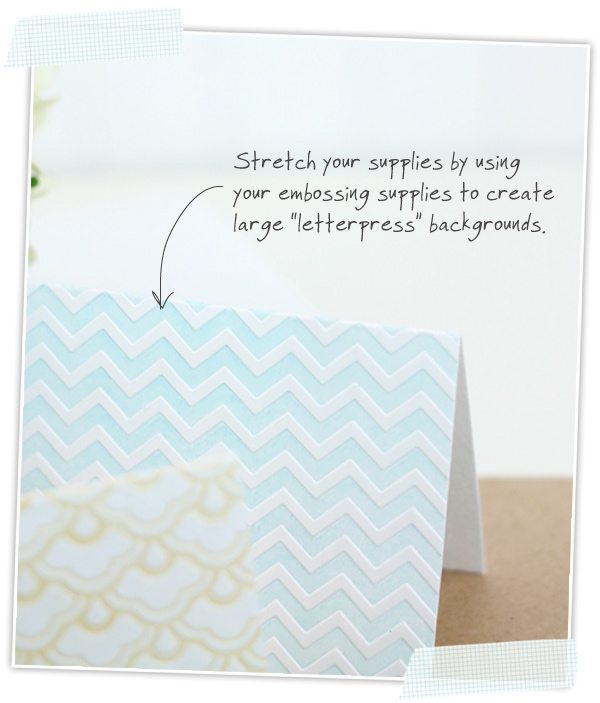
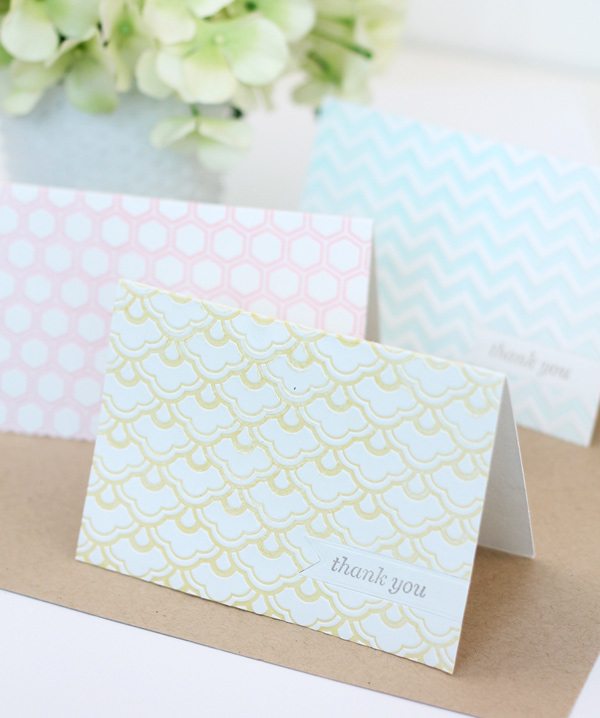
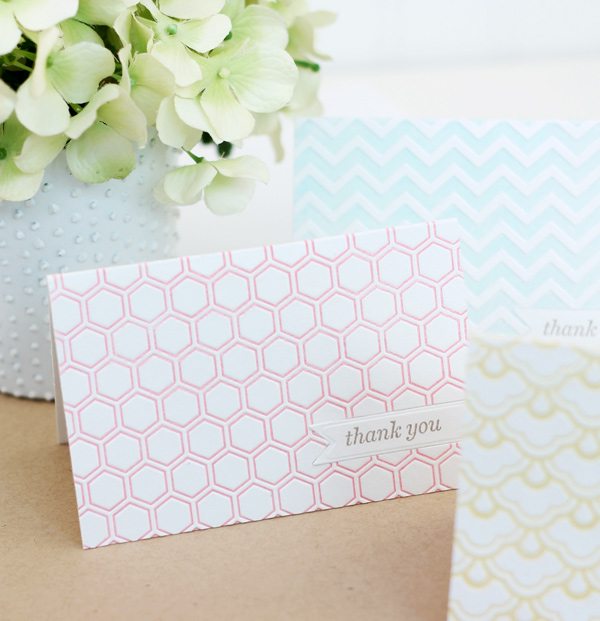
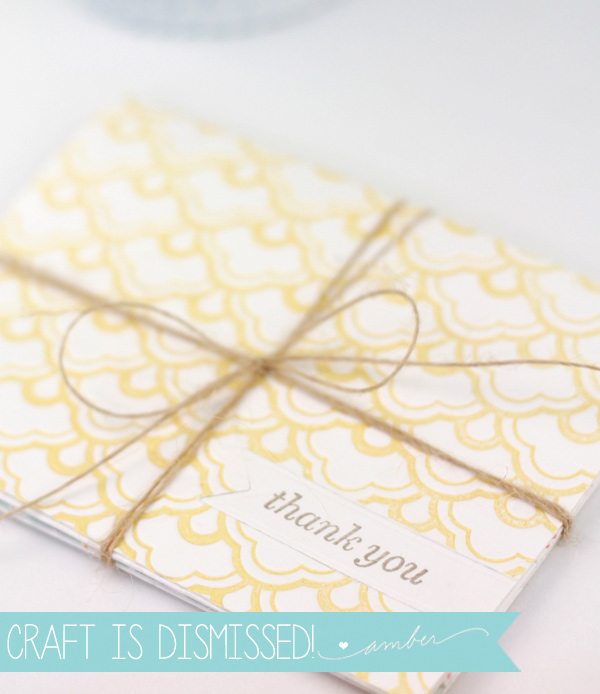
Seems like we crafters are on a never-ending mission to recreate the beauty of letterpress within our homes. It’s a tough art to replicate without the real deal equipment, but you can get close. With products like the L Letterpress Starter Kit and the beautiful new two-step letterpress plates like this one, you can make really impressive letterpressed projects. Turns out with today’s tutorial, you can also recreate letterpress with a few supplies that you may just have in your craft room.
1. Squeeze a small drop of pigment ink onto a large acrylic block
2. Roll the brayer through the pigment ink creating a very thin layer of ink.
3. Roll the inked brayer over the raised side of the embossing folder pattern.
4. Place the front of the blank notecard onto the inked embossing folder.
5. Close the embossing folder around the card front.
6. Run the plate through your die cutting machine as you usually would to achieve the look of letterpress.






Love this, the cards look so good! What brand of ink did you use? Love the colors.
DUH!!!!! See the Avery Elle bottles staring me in the face!!!!
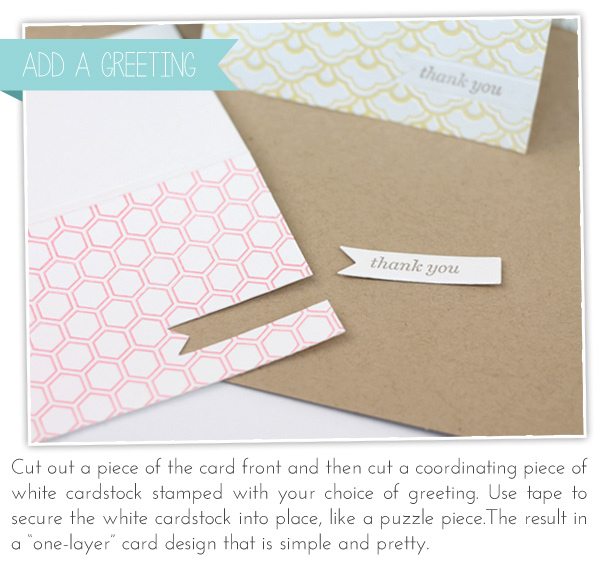
LOVE this, Amber. So crisp and clean looking. The embedded die cut greeting…brilliant!
Thanks so much Ashley, for sharing this! I like the idea of a brayer to add the ink! I LOVE that Whimsey folder, a LOT!
I LOVE that you are reading to your baby, too!
Thanks for sharing
Susan
great cards and idea!
Laughing so hard about the reading-rapping skillz. These cards are great. Might have to try this out, since I can’t invest in real letterpress.
So clever! I’ll definitely be using this technique. Awesome.
I actually saw Jennifer McGuire demonstrate recently and thought I would try it. It turned out so beautiful. I love it and your cards are just amazing!
Very elegant….beautiful stationery…I too am not particularly fond of embossing folders, so this is a great alternative…as much as I live the cards, would have loved even more a video of the rhymeZ! Super cute I tell ya!
Speaking of reading and books, would love your take on bookmarks..especially as favors and gifts for book clubs.
Cheers!
What color inks did you use on these?? I don’t see that mentioned but may have missed it. Love them!
Such beautiful cards! Cant wait to try out the braying!
First of all, I lalways ook forward to your blog and can’t wait to see what creations you have come up with for us normal folk to try. This one was a plus as I just ordered the books you recommended for my soon to be grandson. Thanks and thanks!
Oops! Sorry for the type os.
Love them all! Thanks for sharing the photo tutorial.
You’re amazing and I love you. 🙂 that is all.
Gorgeous – have tried this before but never really liked the result – will try again using the pigment ink – Thank you – clever lady ;-P
Hiya! Your site is very cute! I’m going to incorporate your tutorials in my upcoming wedding. Can you help me with this: the card has two panels. How would you avoid letterpressing both these panels? Would you simply have one panel inside the embossing folder and place the other panel on the bottom or top outside of it when it’s running through the machine?
Link exchange is nothing else but it is only placing the other person’s website link on your page at appropriate place and other person will also do same
for you.
This design is steller! You certainly know how to keep a reader amused.
Between your wit and your videos, I was almost moved to start my own blog
(well, almost…HaHa!) Fantastic job. I really enjoyed what you had to say, and
more than that, how you presented it. Too cool!
I pay a quick visit everyday some web pages and sites to read
posts, but this webpage presents feature based writing.
https://lilisharyantoliardia.wordpress.com sukses mantap
I continue to be impressed with your posts! I love your ideas and they save me MONEY!
What an excellent idea to use a brayer to ink up the embossing folders.
Such a cleaner look this way.
Thank you for sharing
gr Carina
the latest addition to our exam preparation arsenal – the all-new D-DP-DS-23 dumps [2023]. With updated content and cutting-edge features, these dumps are designed to help you ace your certification exam with ease.
Our team of experts have meticulously crafted these dumps, ensuring that they cover all the essential topics and latest trends in the industry. Plus, with our user-friendly interface and interactive practice tests, you’ll be able to simulate the actual exam experience and gain confidence in your abilities.
Invest in your future and take your career to the next level with https://www.dumpstool.com/D-DP-DS-23-exam.html [2023]. Whether you’re a seasoned professional or just starting out, these dumps are the ultimate tool for exam success. Order now and start your journey towards certification excellence!