We’re in double digits, people! Ten weeks of easy projects and so many more to come. From what I can tell, this Sunday morning post is quickly becoming a favorite so I must say “thanks” for all the support and comments! You guys are great.
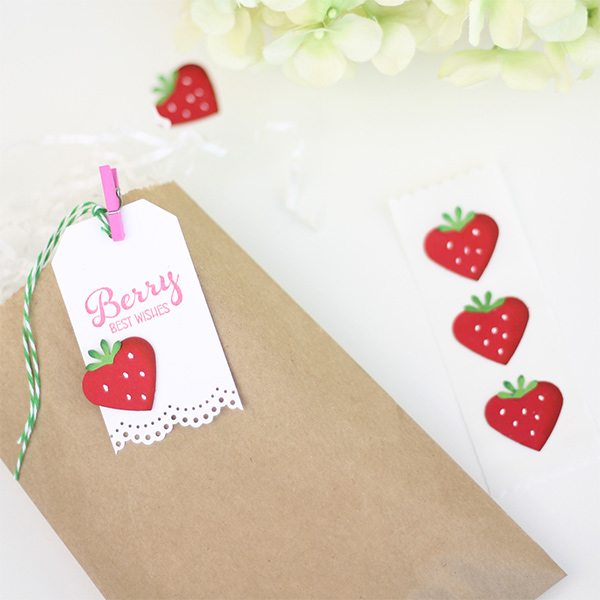
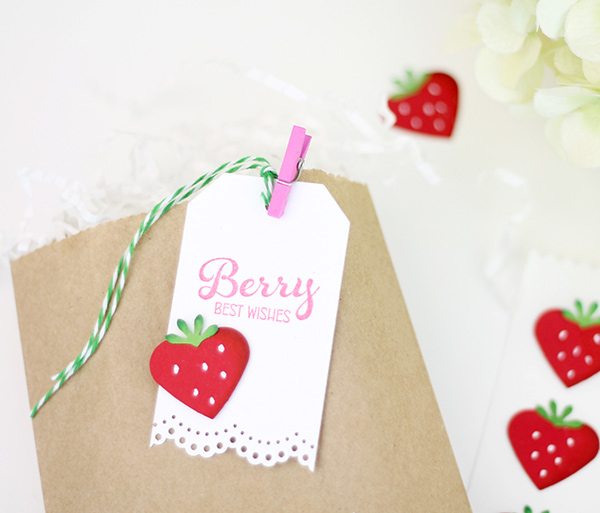
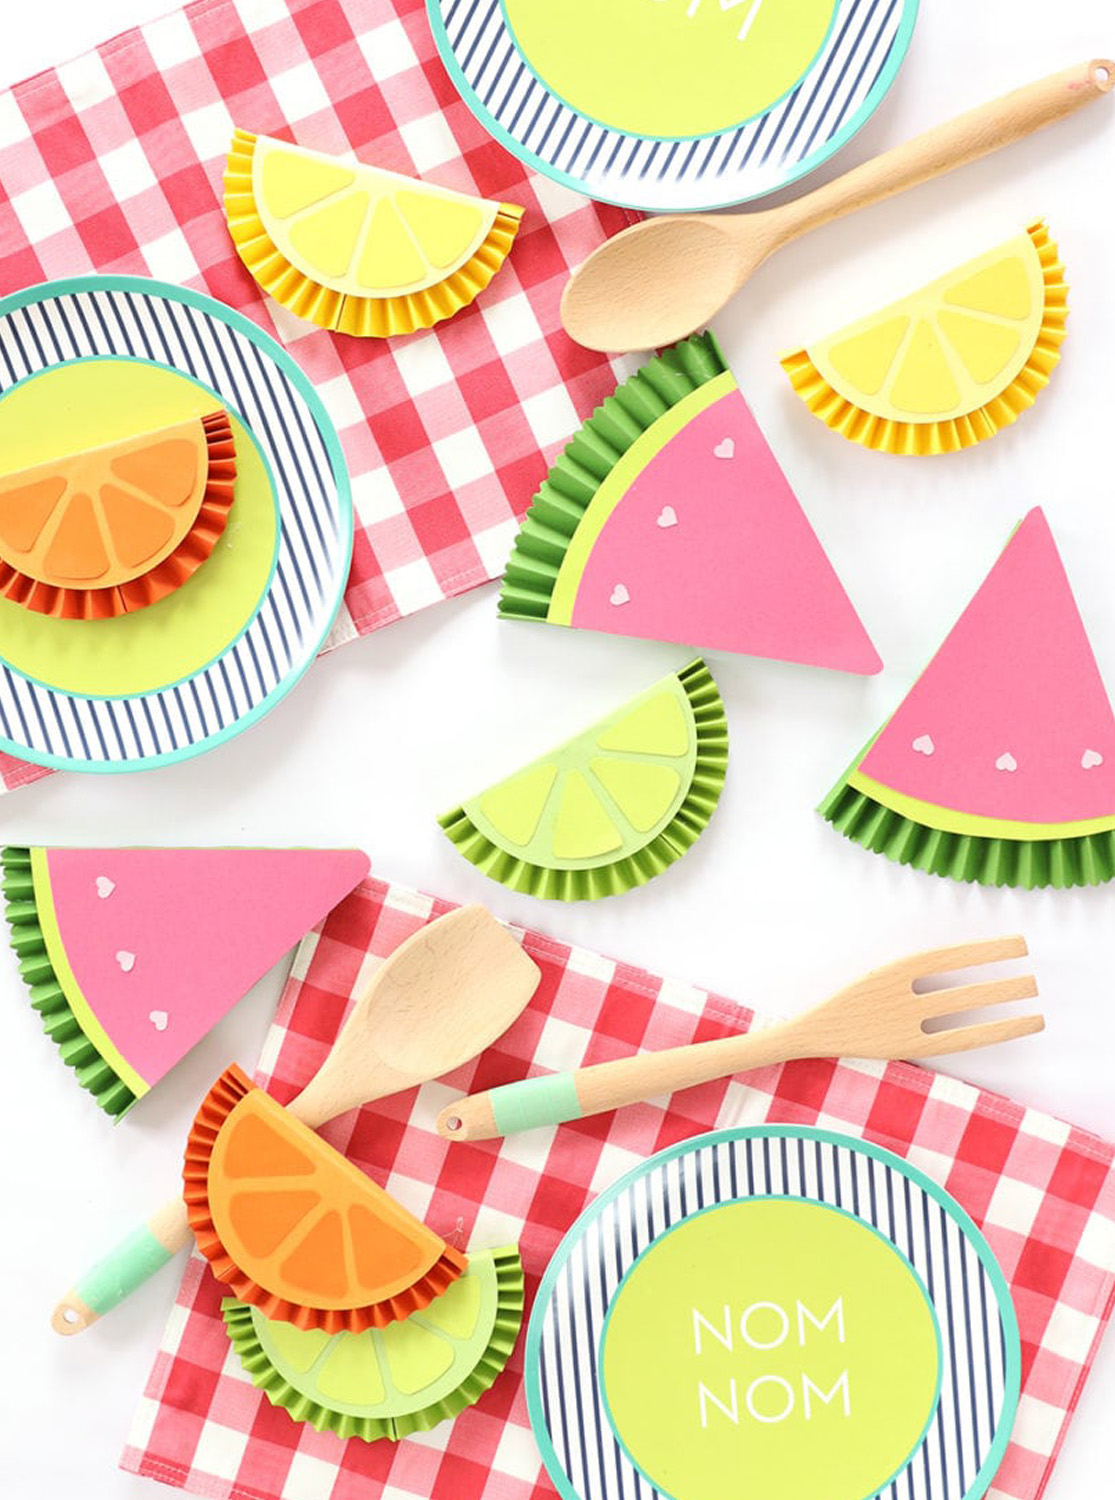
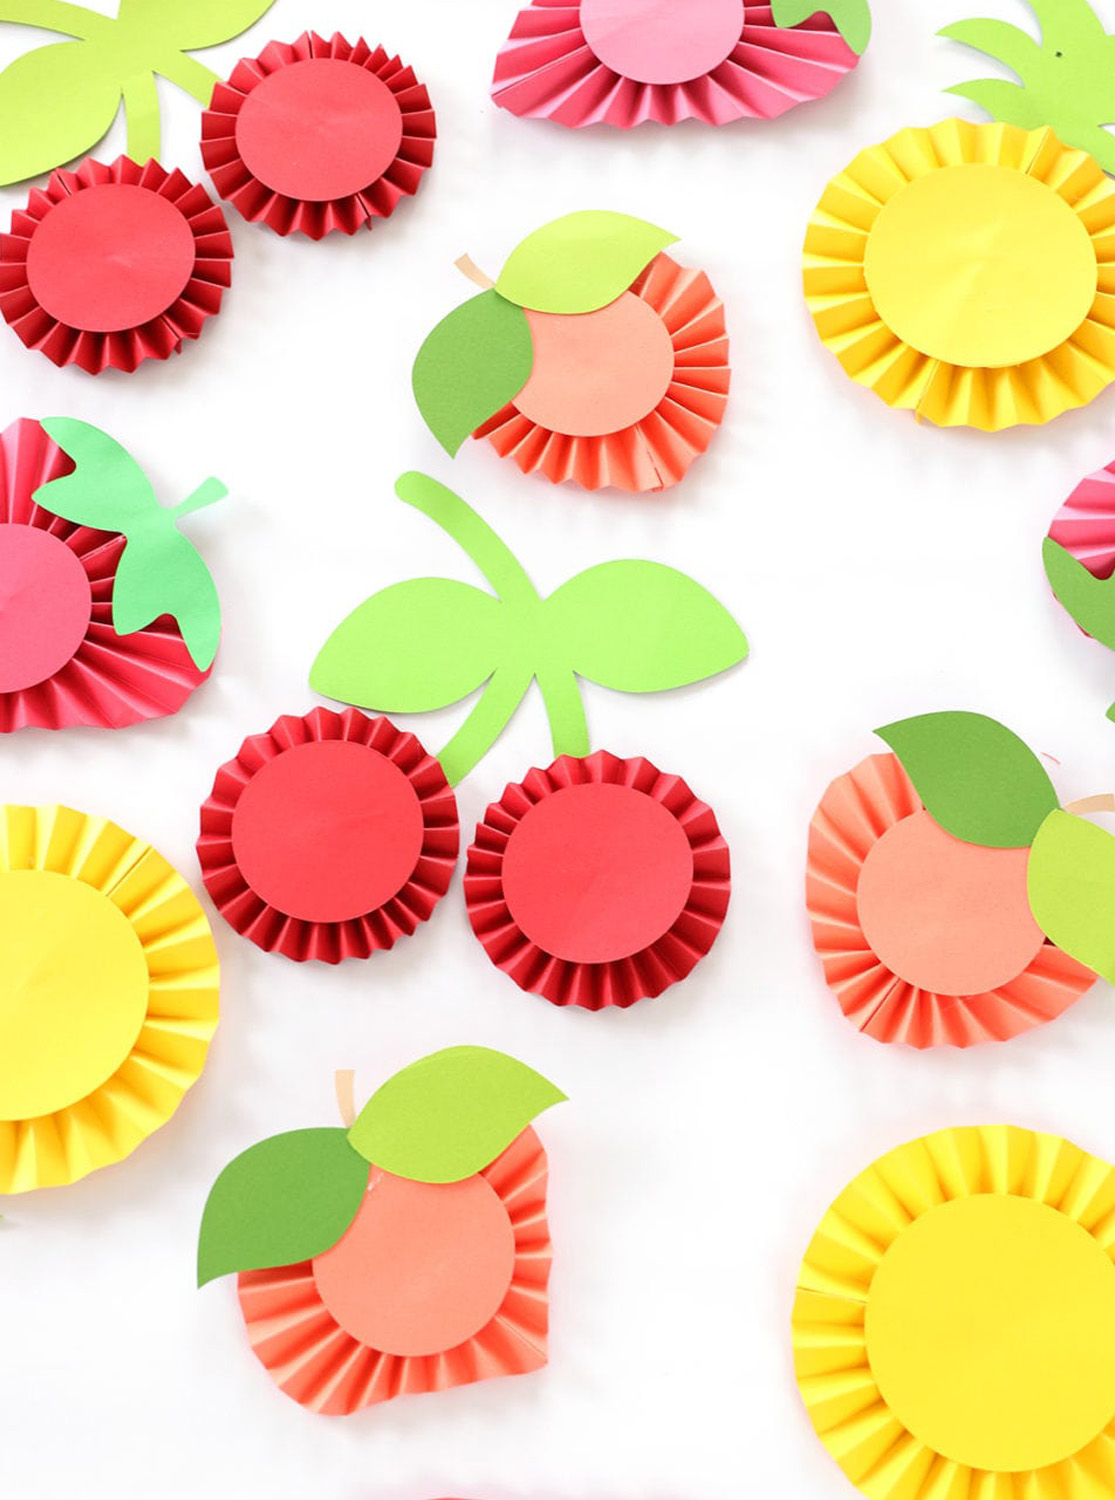
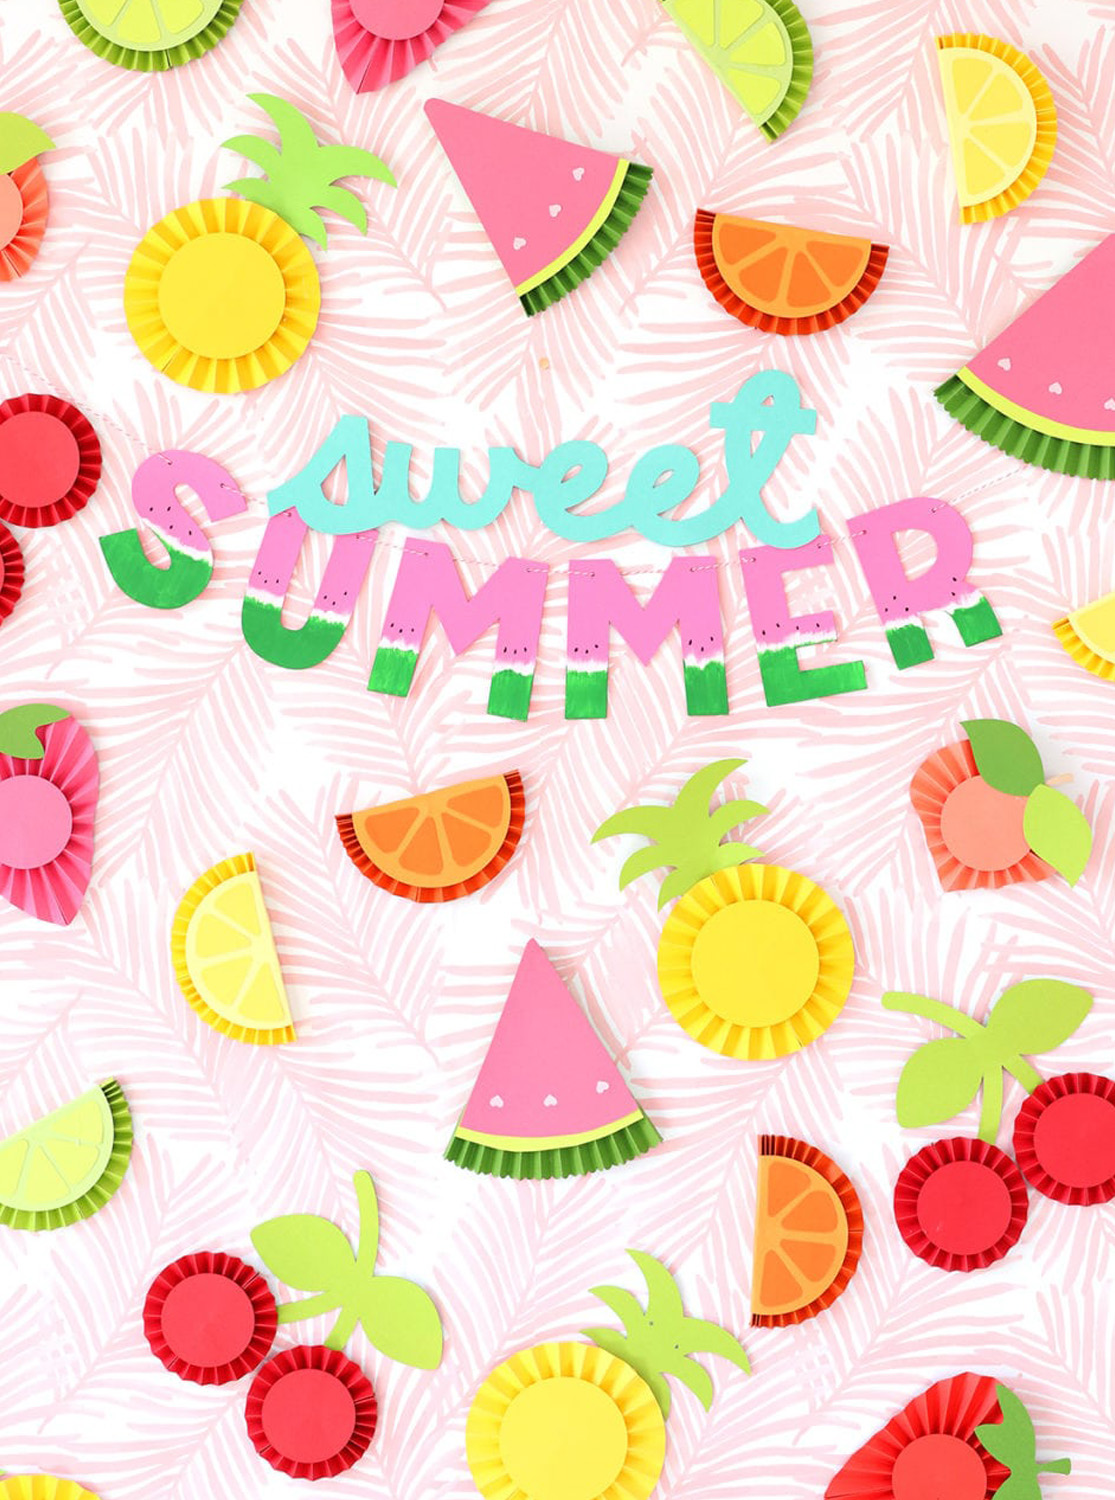
So far in the Easy Like Sunday Morning line up, we’ve tackled cupcakes, watermelon and donuts. Can you tell I have a thing for food crafting? With spring in full swing and summer on the way, today’s project is perfect for dressing up gifts, favors or placecards. They are so easy to make that I created a pile of them in just a few minutes!
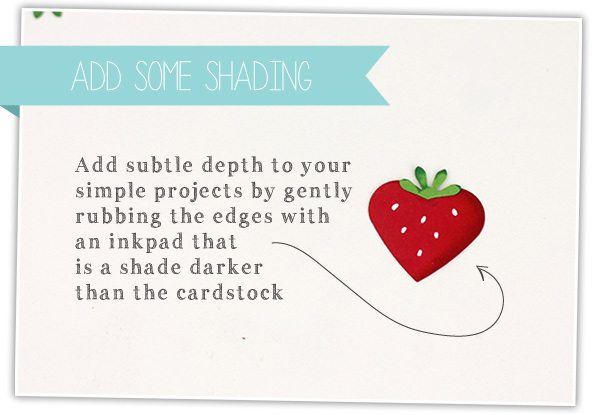
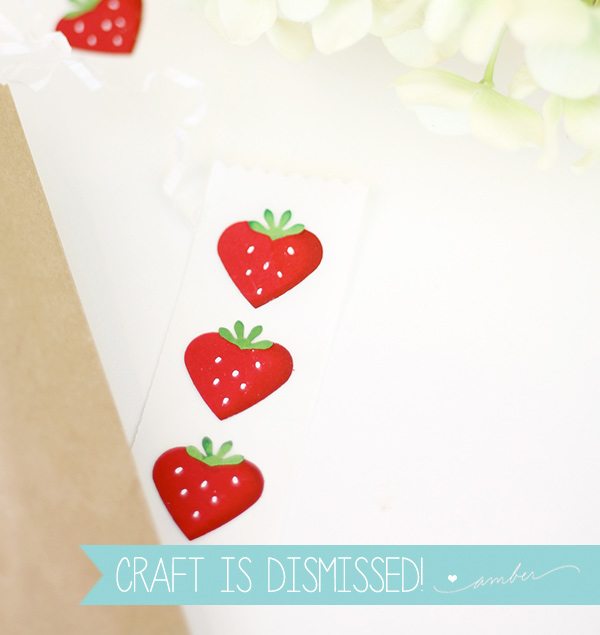
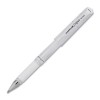
 When you’re done assembling this basic shape, just add some “seeds” with the white gel pen and some shading…







Thank you so much for this. My wedding celebration is june next summer, a cottage backyard family bbq to celebrate. We are giving mini picnic baskets with homemade strawberry jam as one of the favors. I am doing everything myself from the decorations right down to my bouquet and the cake. I was trying to design the tags for the baskets and guest seating cards. This is perfect!!! And I have all the supplies except for red card stock! Thank you thank you thank you!
VERY clever and so real looking!
Thanks for sharing ~ I LOVE Sunday mornings!!!
Susan
I totally agree that I LOVE your Sunday morning projects! this is such a simple and cute tutorial – great tip about adding the shading to create depth in the paper punches. xo Erika @ http://www.yayforhandmade.com
So clever and SWEET
Amber, your projects are always so adorable and clever! I love these little strawberries!
Oh my goodness what a wonderful idea!
Thanks so much for sharing.
Crafty hugs,
D~
DesignsByDragonfly.blogspot
Love the strawberries! What a neat idea! You always come up with the most creative yet easy enough things to share. Thank You!
I just discovered your blog, and I love your style! Nothing intimidating, and ideas that children can do, too. Thank you for the fun!!
Once again – Genius!!! Love it.
BERRY cute!!! Love this!
I love. These Sunday projects too. You are really the most crafty person EVER!
Awesomely cool! I will making a bunch of strawberries! Thank you so much for sharing. BTW: Love your blog.
Can you say what you used for the “topknot” on the strawberries?
Hi Susan! The small flower punch is one that I picked up from Michaels. I couldnt find a link for it to include in the supply list but I’m sure you could find something similar at most craft stores. Hope this helps!
So cute!
So sweet and clever!
These are just the cutest and sweetest strawberries ever. Why didn’t I think to use a heart and flower petals to create berries? That’s why we have you around, Amber. Thanks for all your inspiration and tutorials!
Genius, I have these supplies! Cx
So cute and totally clever! Love this project, Amber!!!
WOW!! You are fabulous! Love this and with Spring and Summer here will be using this idea right away! Thanks again.
Looking for expert guidance on protecting assets while qualifying for Medicaid? As experienced elder law attorneys near me, our team at Ohio Medicaid Lawyers provides specialized legal assistance with Medicaid planning, estate planning, and asset protection strategies. We help seniors understand medicaid eligibility income charts and navigate the complex 5-year lookback period. Visit our website for comprehensive information about Ohio medicaid income limits 2024 and schedule a consultation with a trusted elder care attorney who can safeguard your future.