Use glitter. Ask questions later. Cardinal rule of crafting.
Ever since I posted this project, glitter has been a staple around here. I blame Martha Stewart. Well, not the actual Martha but you know…her company. Those people pump out glitter varieties like the Duggars pump out children…and I’m not one bit mad at em.
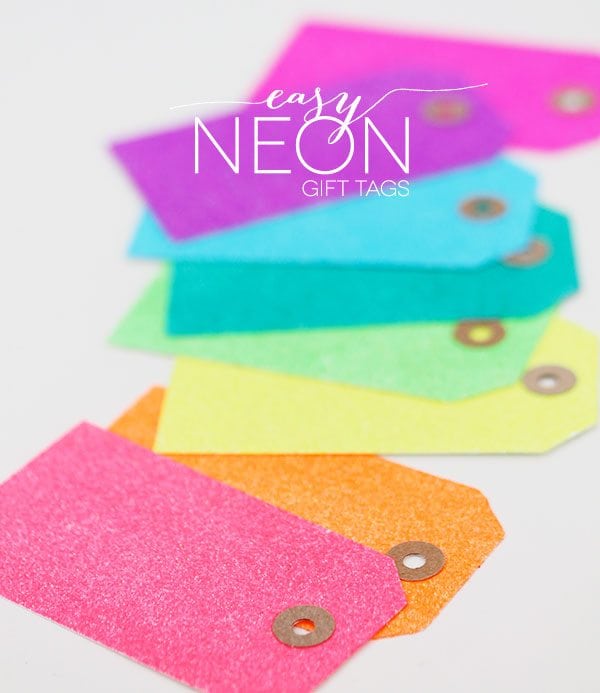
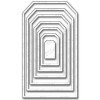
Neon tags are pretty popular right now. At least I think they are. Let’s pretend they are – since that would make today’s project a whole lot more relevant. I love the look of these simple tags – but let’s be honest – everything immediately become a grillion times more wonderful when glitter is involved. So that’s what we’re gonna do. Just add glitter.

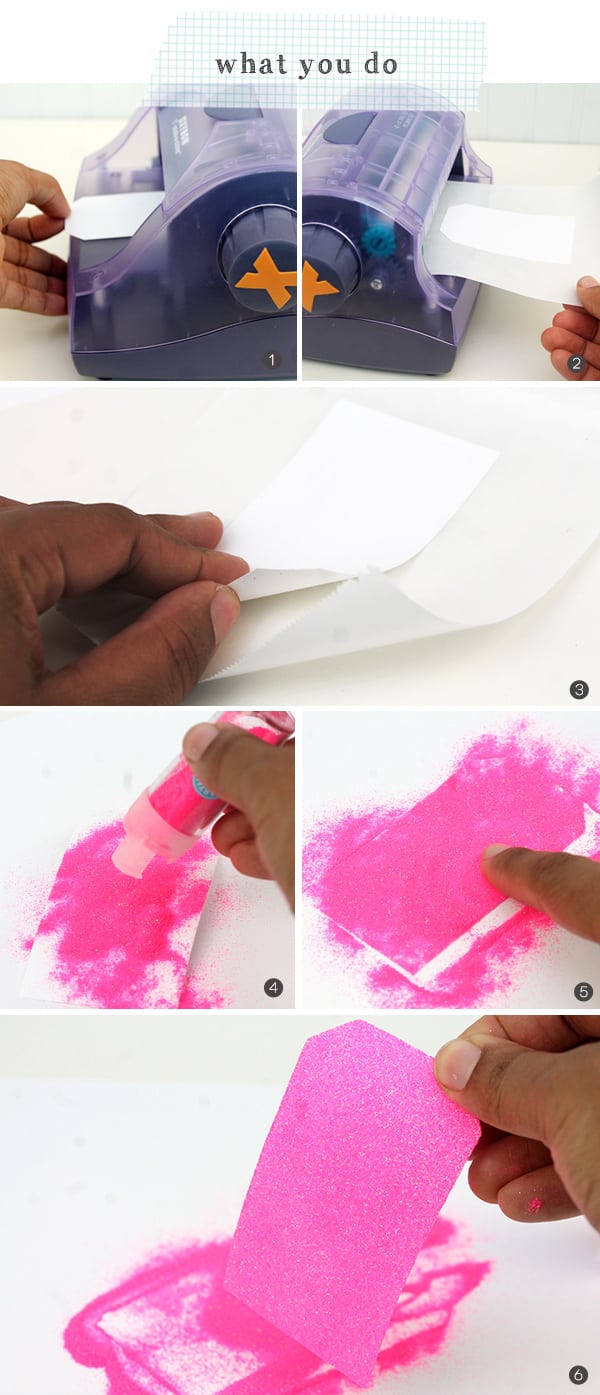
 The tools and technique behind this project look a lot more complicated that you think. Take a good scroll through the photo tutorial and I’ll show you what I mean.
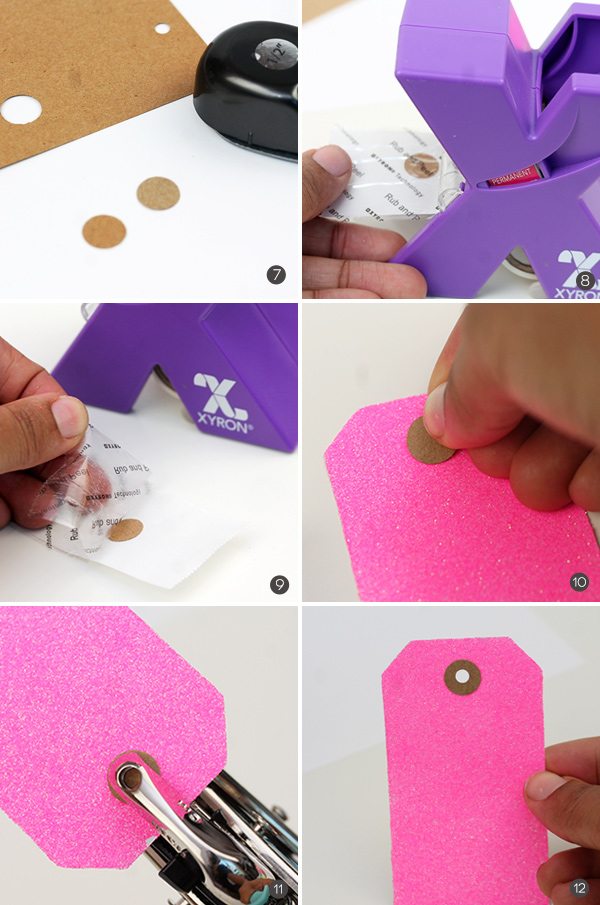
A note about the “hole puncher” : Being the seasoned crafter that I am, my hole puncher looks a bit like a torture device. In fact, it’s the world’s most awesome hole punching tool ever known to man: The Crop-a-dile. It punches through paper, wood, tin, chipboard…you get the idea. It also sets eyelets, snaps and the like. See, what I mean. Awesome. And so very necessary.
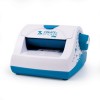
{1-2} Run your tag through the sticker maker
{3} Peel the sticker from it’s paper
{4} Sprinkle the adhesive side of the sticker with glitter
{5} Rub in the glitter with your finger
{6} Shake It Out like Florence & The Machine to get rid of any excess glitter.
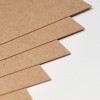
{7} Punch .5″ circles from kraft cardstock
{8-9} Run the circle through the smaller Xyron sticker maker (link at the end of this post)
{10} Adhere circle to the top of the glitter tag
{11} Punch a hole through the circle as shown
{12} All done!
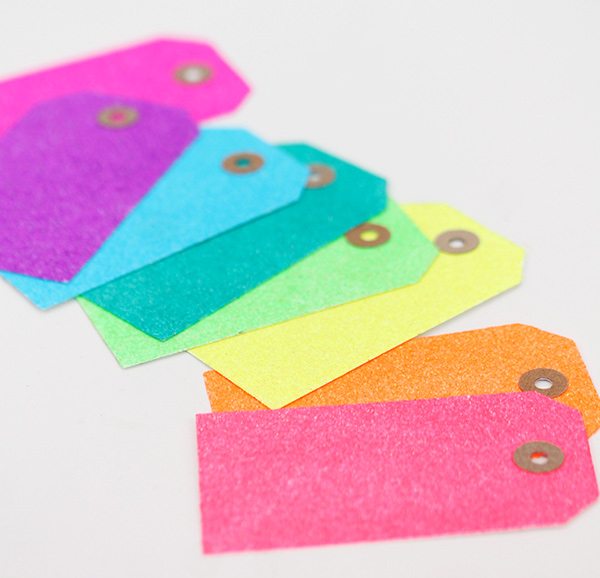
At this point, you can use these tags in whatever way your heart desires. Of course, this may just include staring at them for a few hours. When the staring is done, go ahead and dress up a simple gift package with your creation.












https://kamagrapotenzmittel.shop/# Kamagra kaufen ohne Rezept
https://apotheekmax.com/# Online apotheek Nederland zonder recept
Apotek hemleverans recept: apotek pa nett – apotek online
https://kamagrapotenzmittel.com/# Kamagra kaufen ohne Rezept
https://apotekonlinerecept.com/# Apoteket online
ApotheekMax: Apotheek Max – Apotheek Max
https://kamagrapotenzmittel.com/# Kamagra online bestellen
https://apotekonlinerecept.com/# apotek pa nett
apotek pa nett: Apotek hemleverans idag – Apotek hemleverans idag
Kamagra online bestellen: Kamagra kaufen ohne Rezept – Kamagra online bestellen
http://apotheekmax.com/# Apotheek online bestellen
http://apotekonlinerecept.com/# Apoteket online
http://apotekonlinerecept.com/# Apoteket online
Kamagra Original: kamagra – Kamagra Original
kamagra: Kamagra Oral Jelly kaufen – Kamagra Original
https://apotekonlinerecept.com/# Apotek hemleverans recept
https://apotekonlinerecept.com/# apotek pa nett
apotek online recept: apotek pa nett – apotek online