Remember in elementary school when you made those paper bag mailboxes for your valentine cards? At my school we each got a paper bag and decorated it. Every year, I had to take my paper bag home to complete the decorations, because I just didn’t have enough time to do it all during class – no surprise there, huh?!
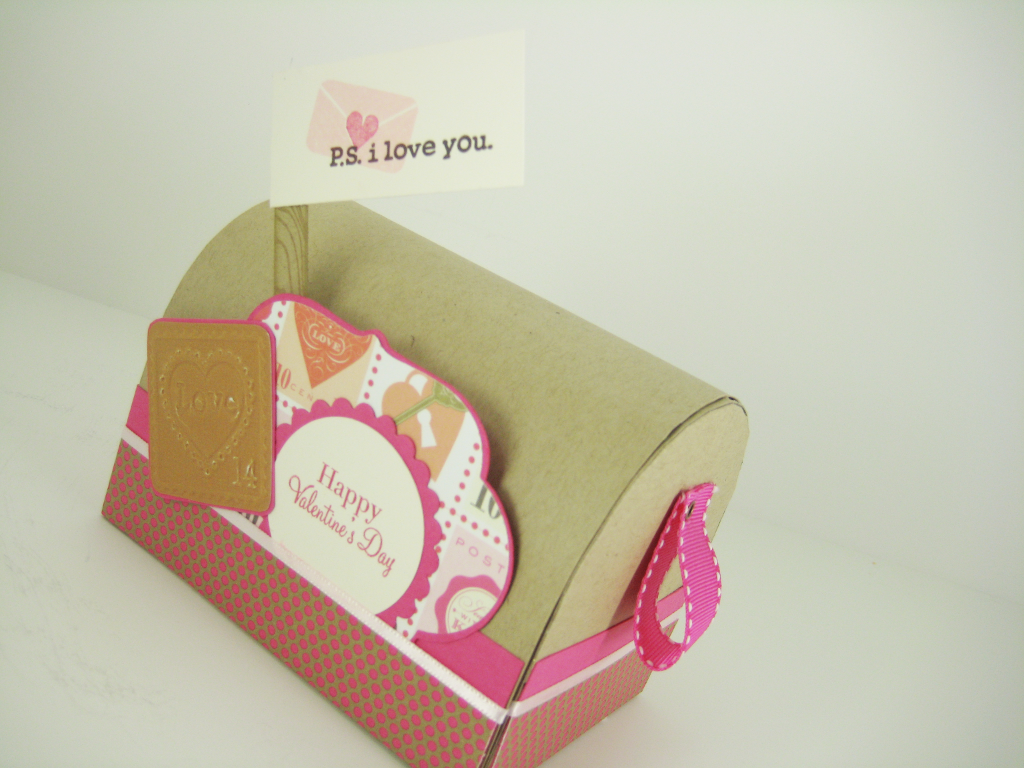
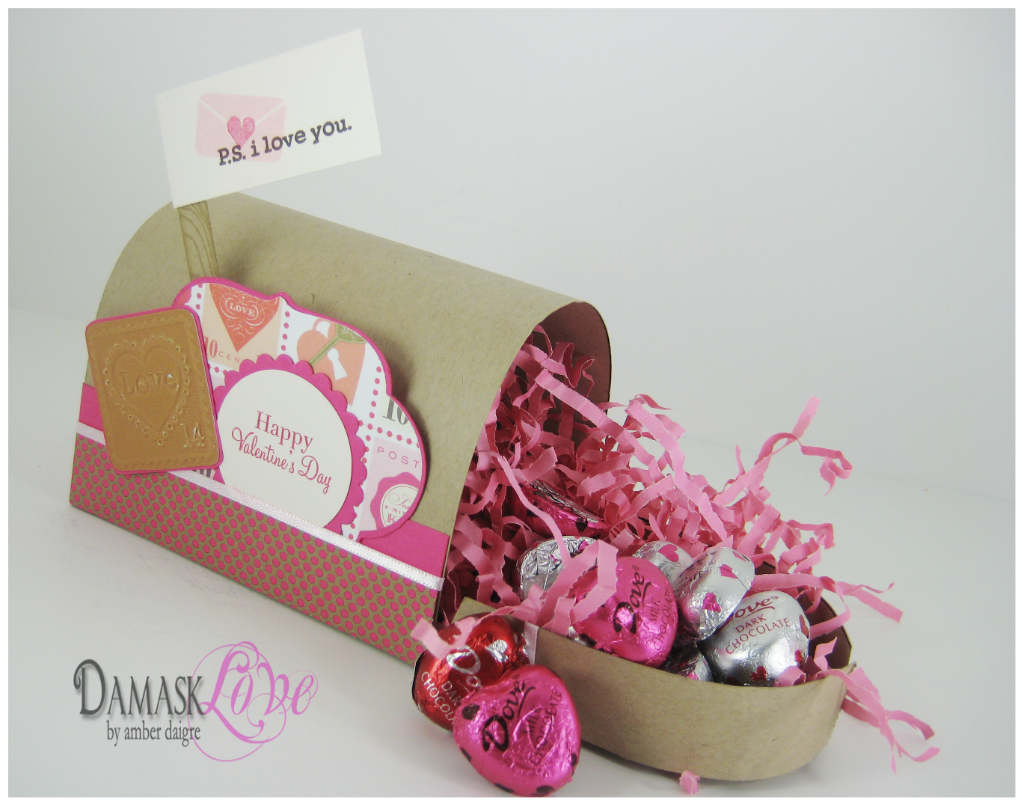
With Valentine’s Day approaching, I thought I’d pay homage to the elementary school paper bag mailbox – but in Damask Love style, of course. I guess you could say, I’m going postal today (corny I know!)
I’m excited to share this project because this is my first time designing a template that can be used by others to quickly replicate this cute mailbox! I searched the internet for templates, but I wasn’t terribly happy with what I found – so I took on the challenge of designing my own template.
Now for a visual walk-through of the mailbox project.
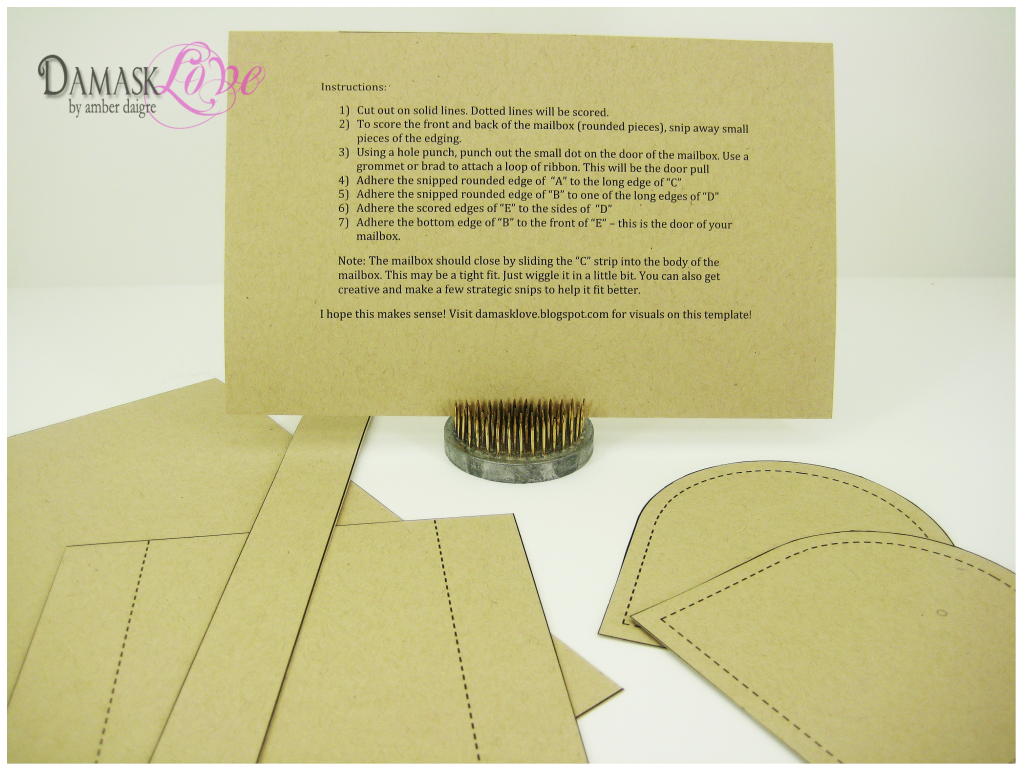
First, here are the materials that you will print once you’ve downloaded the template and instructions.
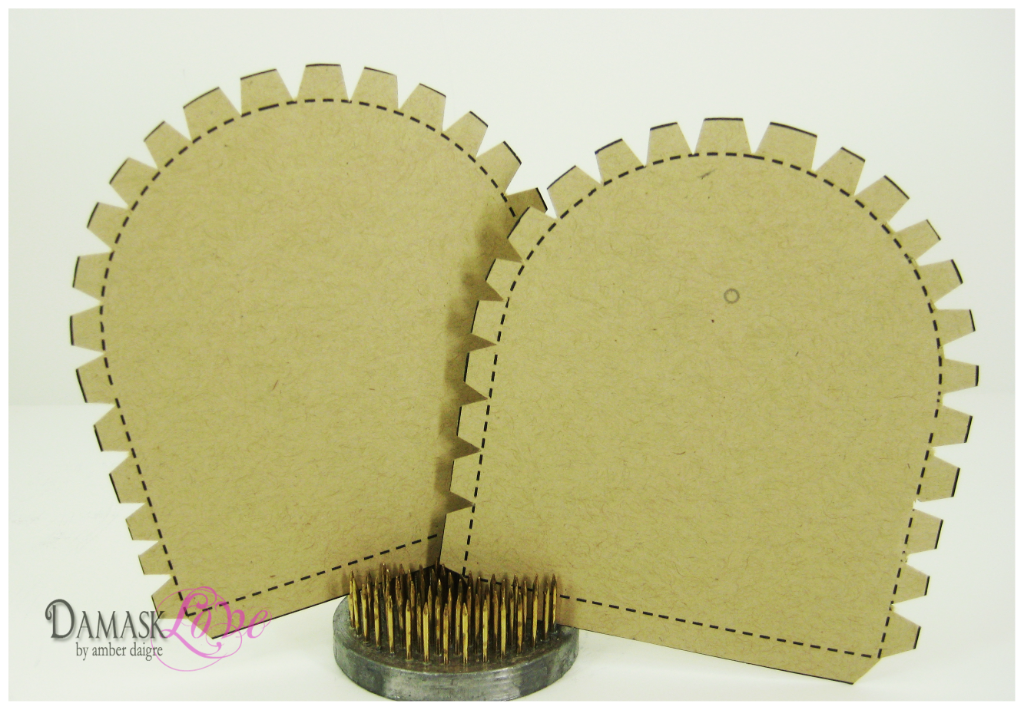
The instructions state that you’ll need to snip small notches around the front and back pieces of the mailbox. Here’s a visual for that part of the instructions.
One of these pieces has a small gray circle on it. This is the door of the mailbox and the circle is where you can punch hole and attach a ribbon or paper handle using a brad or grommet.
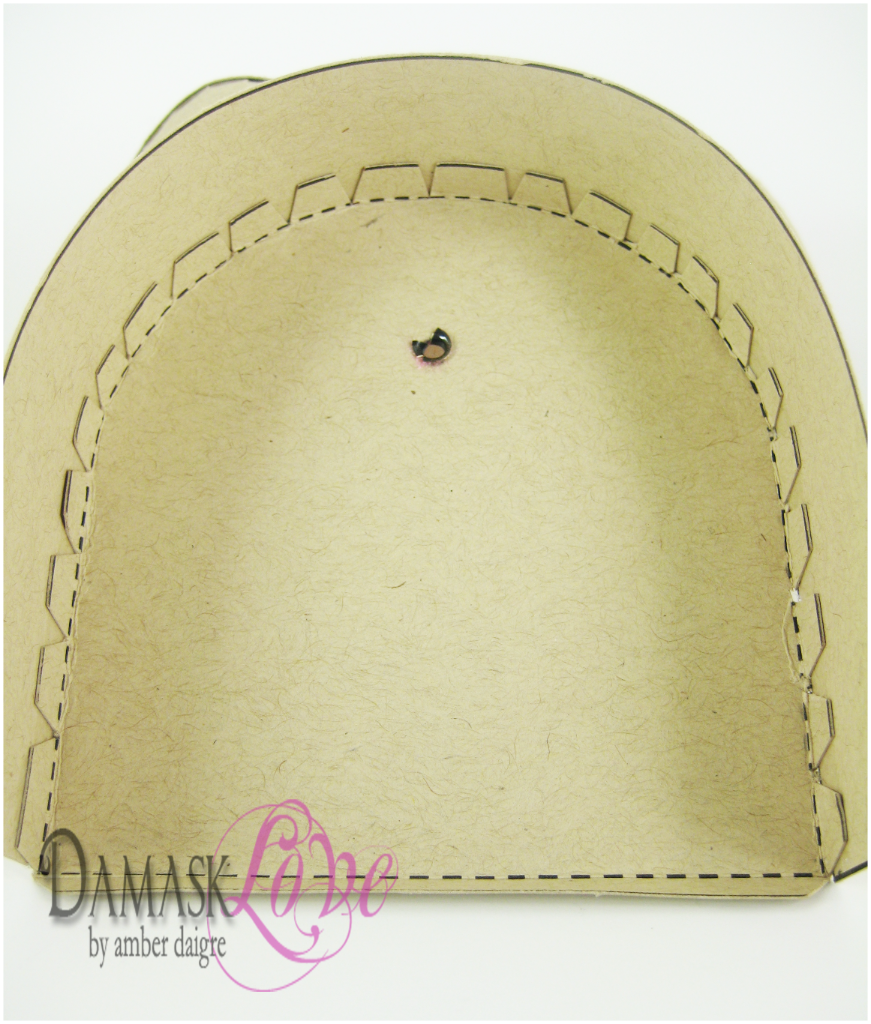
Once the notches are snipped, fold them down at the dotted line and adhere to the appropriate pieces.
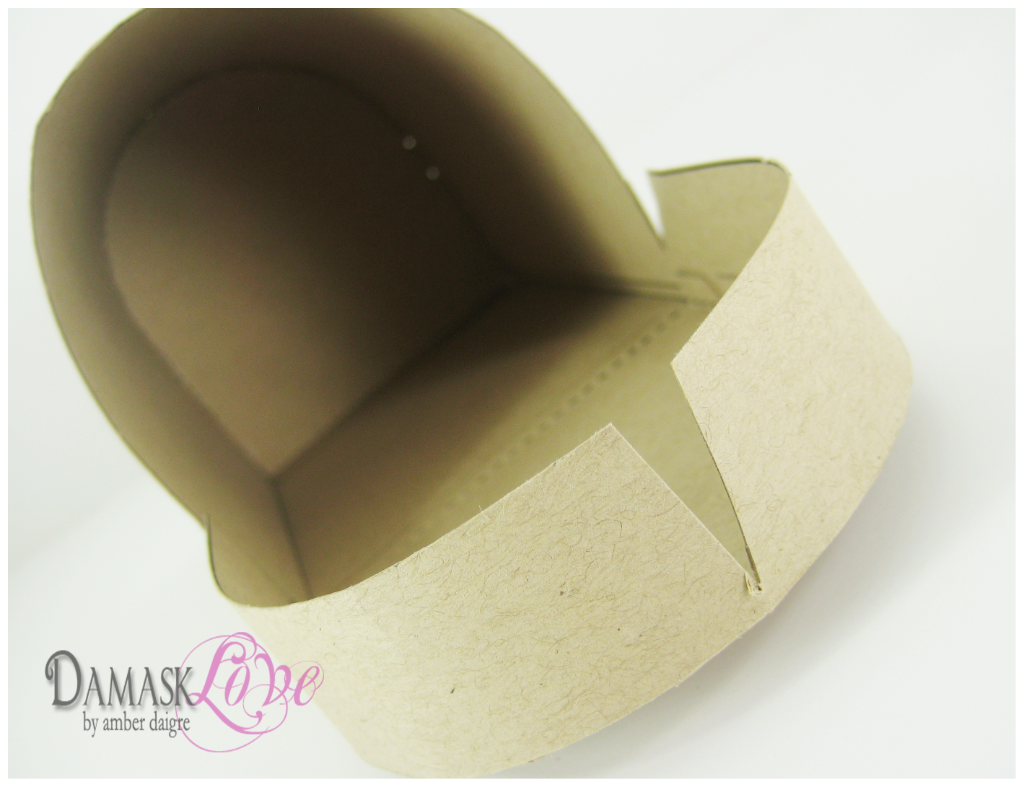
Here’s a little hint –
Getting the door to slide into the body of the mailbox can be a little difficult. I cut a single notch out of mine and this solved the problem.
Once all the pieces are assembled- it’s time to jazz it up!
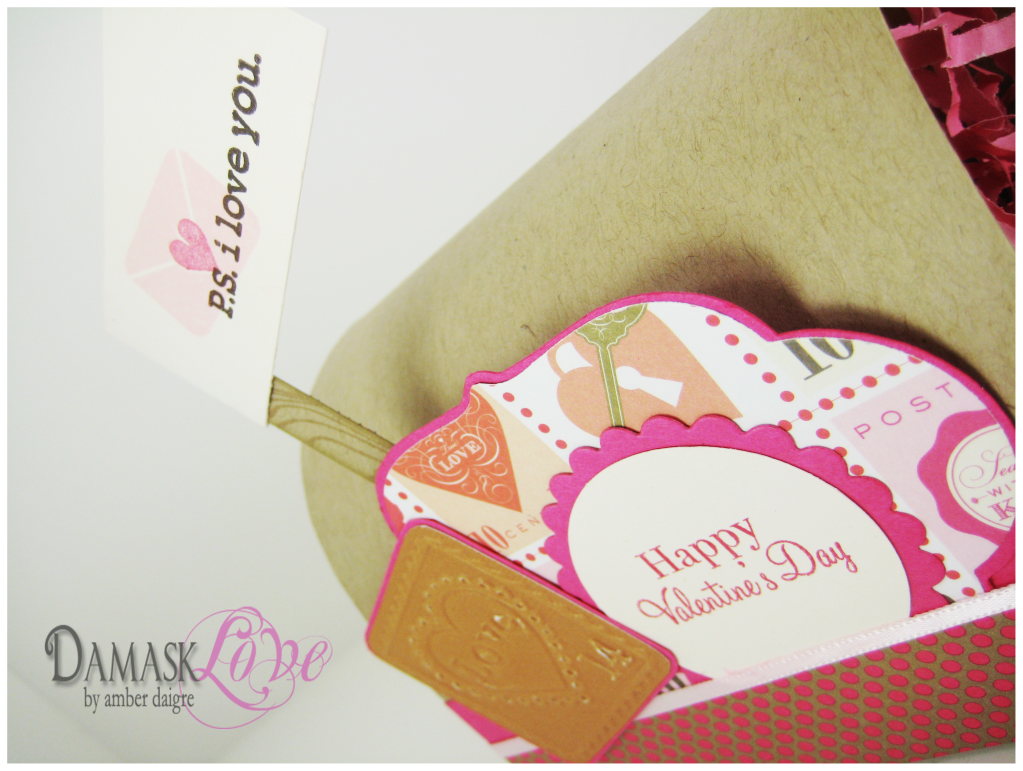
For my mailbox, I sifted through my stamps and came across PTI’s Love Song stamp set – the “P.S. I love you” sentiment and envelope image could not be more perfect for this project!!!
I think this mailbox would be so fun to use in the days leading up to Valentine’s Day! Place a small treat in the mailbox everyday and let the recipient open it to see what sorts of fun each day brings!
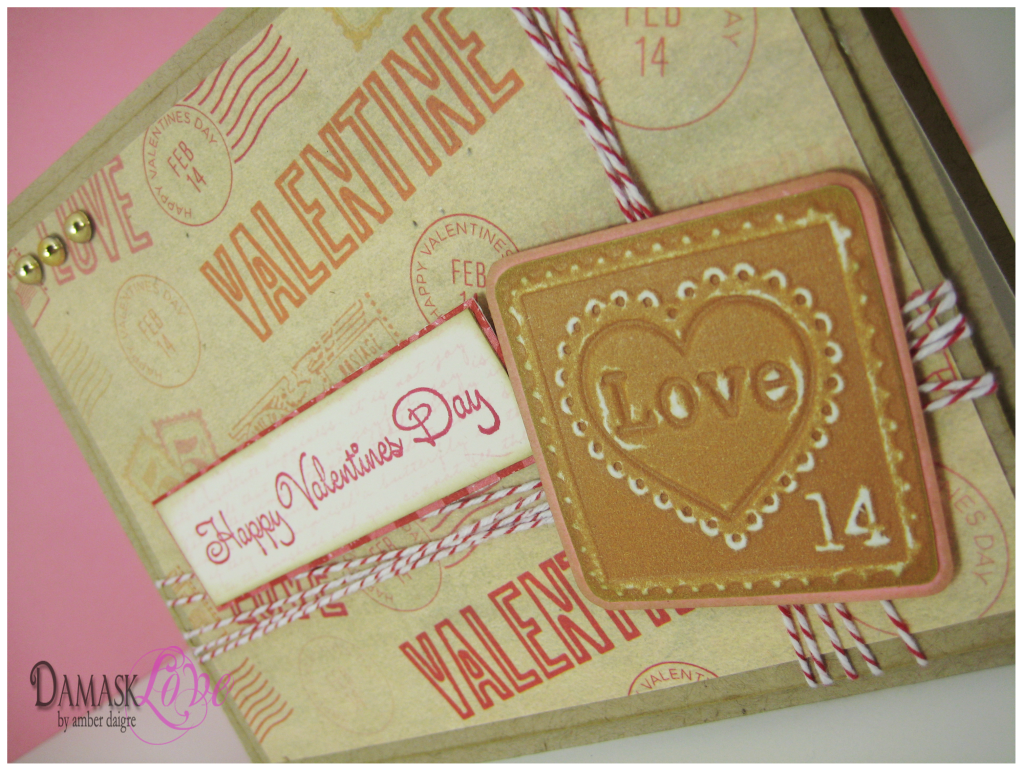
I thought it would also be fun to make a mailbox-inspired card for this project. The paper is by Martha Stewart and fits the theme perfectly!
TTFN! (Ta ta for now) – come back tomorrow for more Valentine’s crafting!
Supplies (all Papertrey Ink unless otherwise noted):
Valentine’s Mailbox:
Stamps: Love Songs, Love Birds, Background Basics – Woodgrain
Paper: Kraft, Raspberry Fizz, Dotty Biscotti, Martha Stewart Designer Paper Series – Valentine’s
Ink: Stampin’ Up Rose Red
Other: Paper Mailbox Template, Mat Stack 5 die, 2.5″ Limitless Layers, Cricut mini embossing folder
Mailbox-Inspired Card:
Stamps: Unknown “Happy Valentine’s Day” sentiment
Paper: Kraft, Martha Stewart Designer Paper Series – Valentine’s, Distressed Dots
Ink: Stampin’ Up Rose Red
Other: Red Baker’s Twine






пин ап зеркало – пин ап вход
ApotheekMax: Beste online drogist – Apotheek online bestellen
Apotek hemleverans idag [url=https://apotekonlinerecept.shop/#]Apoteket online[/url] Apotek hemleverans recept
Kamagra kaufen: Kamagra online bestellen – Kamagra Gel
Apotheek online bestellen: Online apotheek Nederland met recept – Beste online drogist
apotek online recept [url=http://apotekonlinerecept.com/#]apotek pa nett[/url] Apoteket online
Kamagra Gel: Kamagra Oral Jelly kaufen – Kamagra kaufen
https://apotheekmax.shop/# ApotheekMax
Apoteket online [url=https://apotekonlinerecept.com/#]apotek online recept[/url] apotek online
ApotheekMax: Beste online drogist – Apotheek Max
Understanding exempt resources for Medicaid eligibility is crucial for proper planning. Ohio elder law experts offer comprehensive explanations.