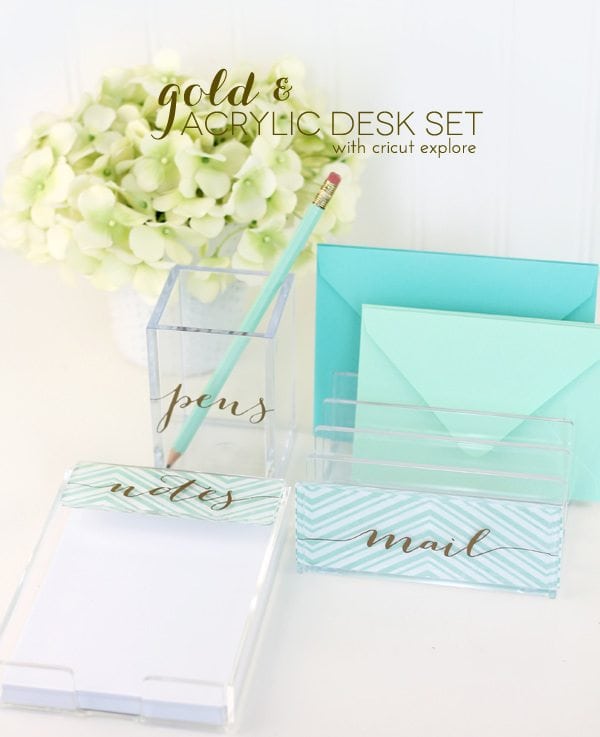
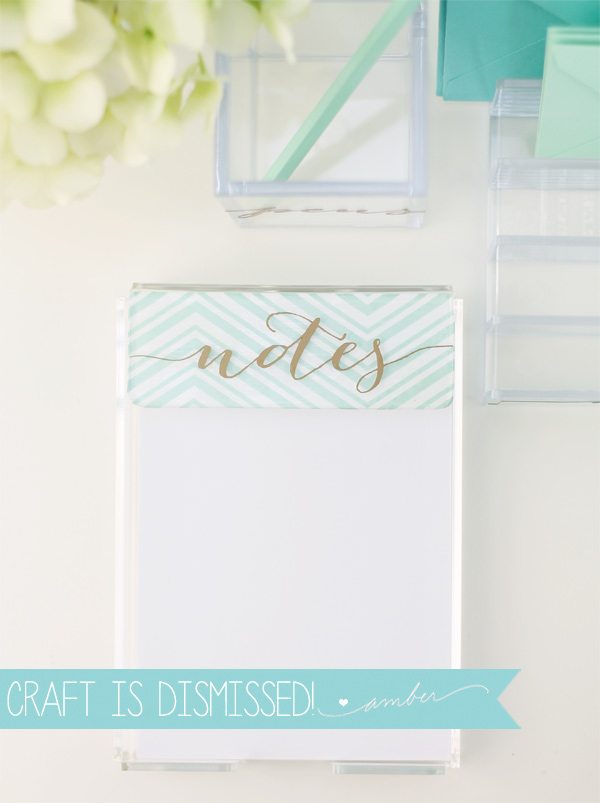
Today’s post is brought you by acrylic …and the color gold. I love them both so I decided to invite them to a party celebrating the newest addition to the Cricut vinyl family. Cricut just released their gold vinyl and I’m so very happy. Until recently, I’ve never ever used vinyl – can you believe it?! I’m pretty excited to add it to my repertoire because the stuff is downright awesome – and after today’s post, you’ll agree. If you don’t – well then, I don’t know what to tell you. You must have something against awesome.
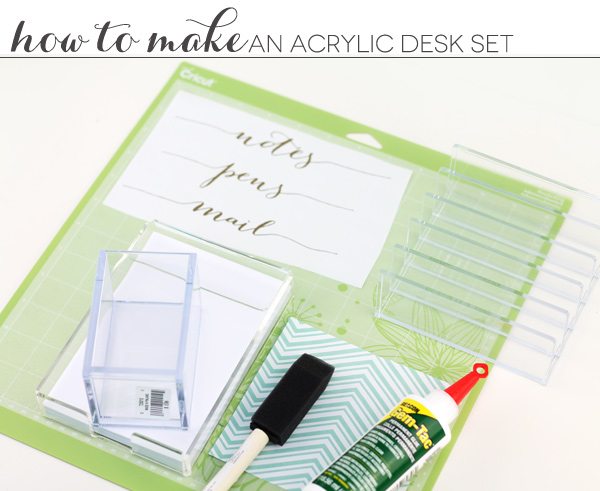
Here’s what you’ll need:
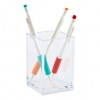
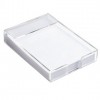
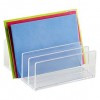
- Acrylic desk accessories. I picked mine up from The Container Store while I was supposed to be shopping for #cribmeetscraft supplies. What can I say – I’m easily distracted. For this ensemble, you’ll need their Acrylic Notepad Tray, Acrylic Pencil Cup and Acrylic Letter Sorter
- You’ll also need to have a Cricut Explore and gold vinyl for this project in order to cut out the labels. I cut my labels out using a font called “Bombshell.” The Explore allows you to upload your own images and fonts and use them within Design Space. That’s what I did here.
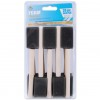
- Foam brush
- Patterned Paper
- Gem-Tac glue. This glue is perfect for this project since it dries completely crystal clear! Other glues won’t work for this, since we need the glue to be invisible against the acrylic.
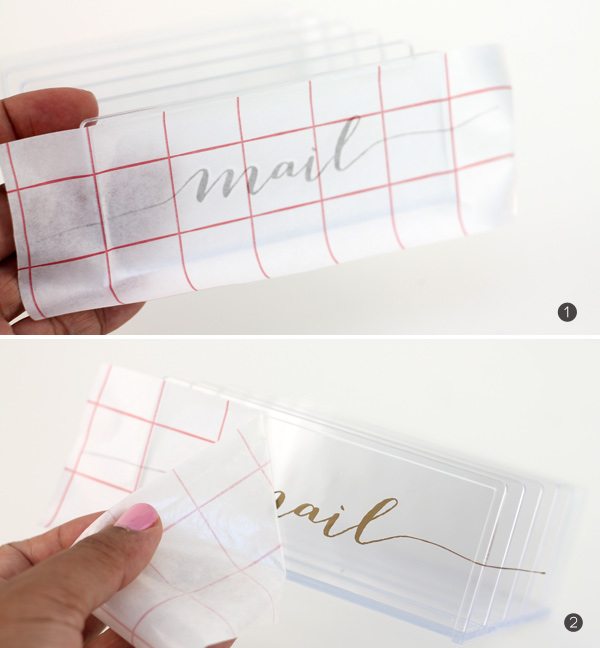
{1} For each label that you cut out, adhere it to a piece of Vinyl Transfer Tape, place the label onto the acrylic piece and rub gently over the vinyl to secure it in place. The transfer tape makes it SO easy to get a perfect, even application of vinyl.
{2} Peel back the transfer tape and snip off any vinyl that hangs off the edges.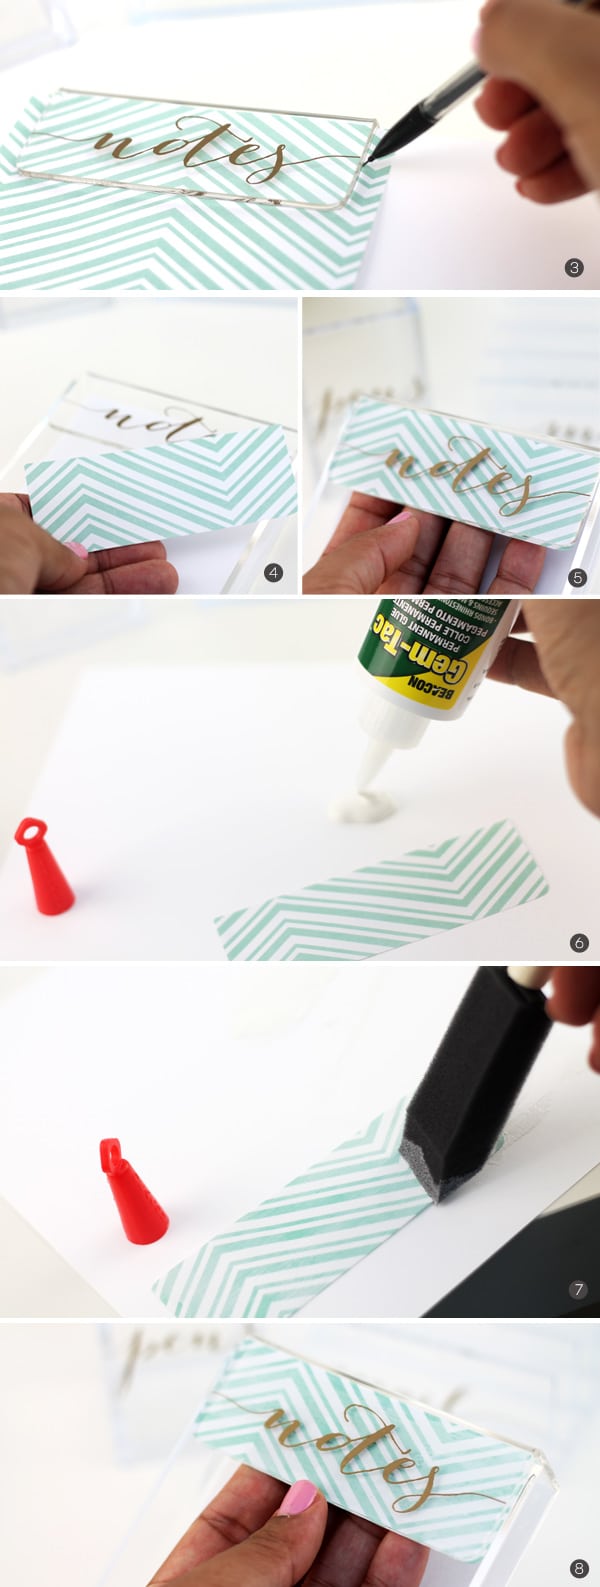
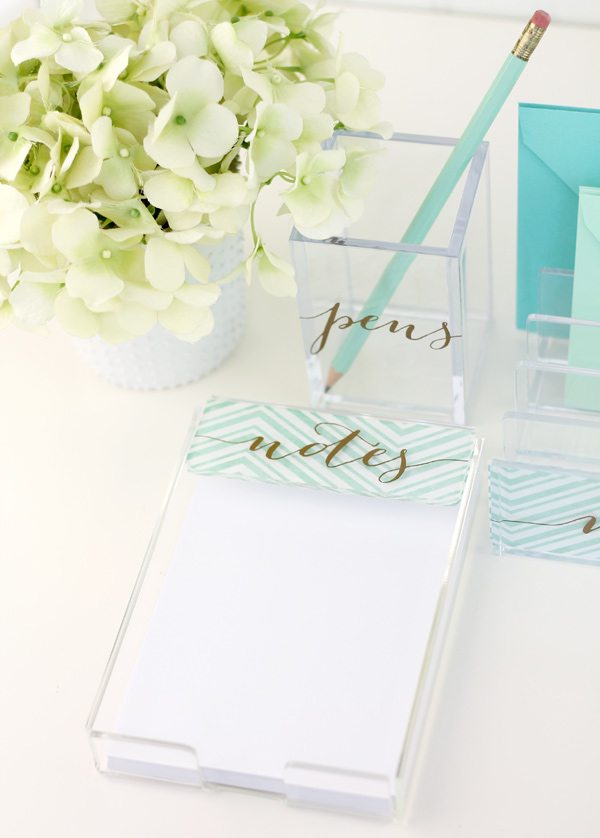
{3} Place the patterned paper beneath the top of the acrylic notebook tray and trace the edge with a pencil
{4} Cut out the patterned paper along your pencil line
{5} Place the patterned paper underneath the top of the notebook tray to make sure you have a good fit. Trim as needed.
{6} Squeeze out a large dollop of Gem-Tac glue onto a piece of scrap paper
{7} Use the foam brush to apply a smooth, even coat of glue directly onto the patterned paper.
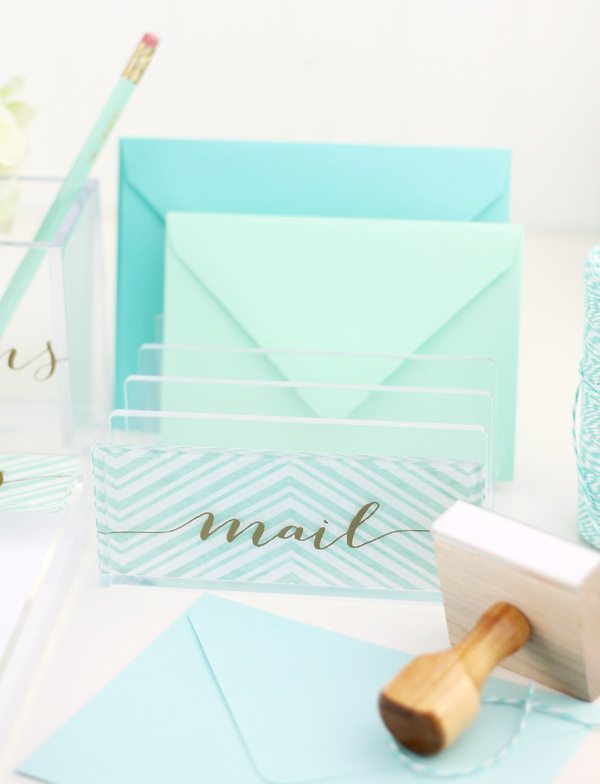
{8} While the glue is still wet, place it on the under side of the acrylic notebook tray and shown. Smooth the paper into place to remove any bubbles and allow to dry. Repeat this process with the letter sorter tray.
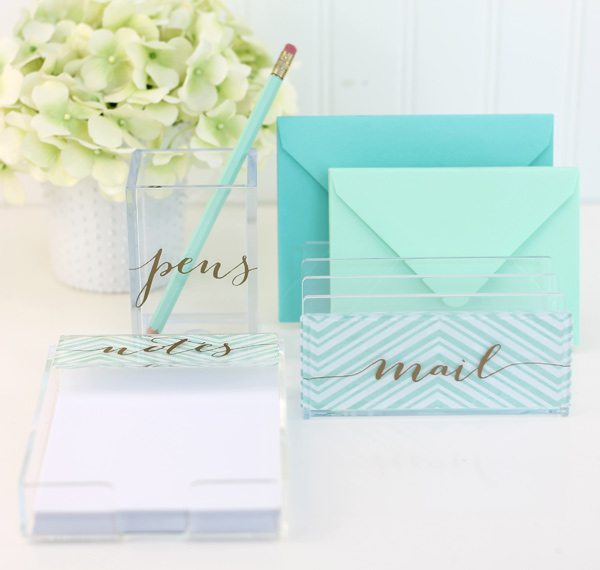
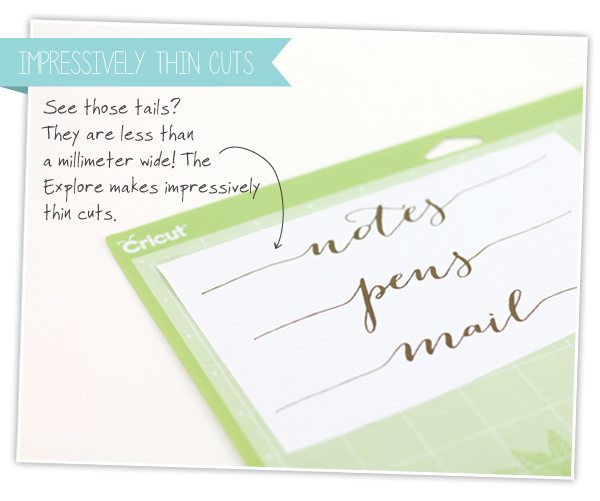 The ability of the Cricut Explore to cut thin, small shapes is one of the features I love most! When I started this project, I was doubtful that it could handle those super thin tails on the edge of each word. Welp – it cut them out with no issue! Winner, winner, Cricut dinner.
This project is really impressive but incredibly simple – so go ahead and add it to your list of DIY-able gift options this holiday season! The acrylic desk elements are pretty inexpensive, making this an affordable gift option for friend, family or coworkers….or yourself!
And before I go – have you checked out all of the posts this week?! Be sure to browse through so that you don’t miss any of the craft ideas or giveaways that are going on. During the whole month of November, I’m bringing you creative inspiration for gifts and projects that will make this a handmade holiday!
I’m entering this project into the Cricut Design Space contest where lots and lots of bloggers are sharing their ideas for creative ways to use your Cricut Explore. This handmade gift is great for the holidays and if you want more inspiration, just follow the #designspacestar hashtag on Instagram to see what other projects are being made.





Ridiculously Amazing! In other words…Love it! You add such an elegant touch to simple items.Thanks for your out of the box thinking. But stop tempting me with the Cricut explore. I’m gonna have dreams (craftmares) about it. Lol!
I love this project too! Very cool! I expect you will win… 🙂
Beautiful – so chic 🙂
I love this! I’m in the middle of revamping my office/craft space and I’m going to make this set for the “grand opening” of my elfa desk! Love everything copper right now, hopefully I can find some copper vinyl for the lettering. Thanks for sharing this project!
Beautiful font!! Where did you find it?
Beautiful!! Great little tutorial. Thanks for the ideas.
Amazing! I love this as a gift, you are always so inspiring. I recently used your petal box tutorial to make gift boxes for handmade soap and i have been using your quatrafoil cards as inspiration for card sets as gifts. Thank you for sharing your mad skilz with us!
Link exchange is nothing else except it is just placing the other person’s webpage link
on your page at appropriate place and other person will also do same in favor of you.
Hi, I loved this idea so tried it for tidying my desk. However I found the explore separates the letters in my bombshell font when it writes for some reason. Did you come across this?
Hi Emma! Really good question and yes – I know exactly what you are talking about. When you type the font directly into design space, it will separate the letters in the word. The way to fix this is to type the word in photoshop or illustrator and then save that word as an image. Then upload the image into Design Space. Does that make sense?
Looking for expert guidance on protecting assets while qualifying for Medicaid? As experienced elder law attorneys near me, our team at Ohio Medicaid Lawyers provides specialized legal assistance with Medicaid planning, estate planning, and asset protection strategies. We help seniors understand medicaid eligibility income charts and navigate the complex 5-year lookback period. Visit our website for comprehensive information about Ohio medicaid income limits 2024 and schedule a consultation with a trusted elder care attorney who can safeguard your future.