whoa, ho, ho…
say it ain’t so…
two posts in a row?
So maybe clever rhymes are not my thing – but I’ll tell you what I am pretty good at…getting crafty! And today I’m here to share some more crafty craftiness with you!
Back in the day when I was a posting regularly, I shared this Partial Die Cutting project and I received great feedback about it! Many people loved the technique and many had questions.
Today, I am going to share another simple partially die cut card along with a few tips about the technique.
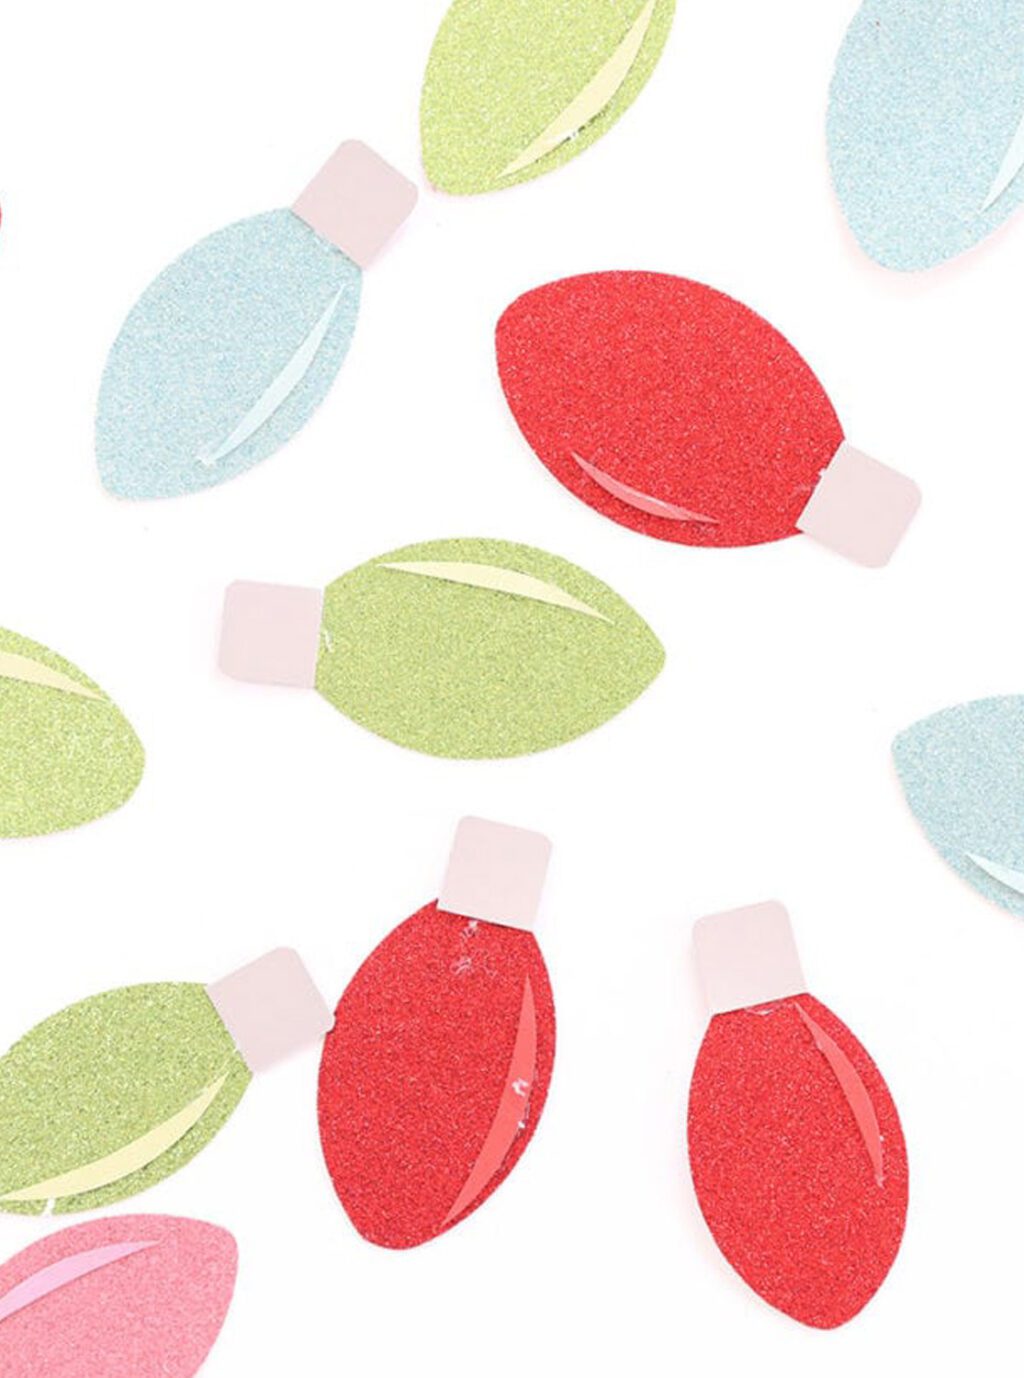
For today’s card, I reached into my PTI stash and pulled out and oldie but a goodie: Up, Up & Away! The images and coordinating dies were perfect for partial die cutting.
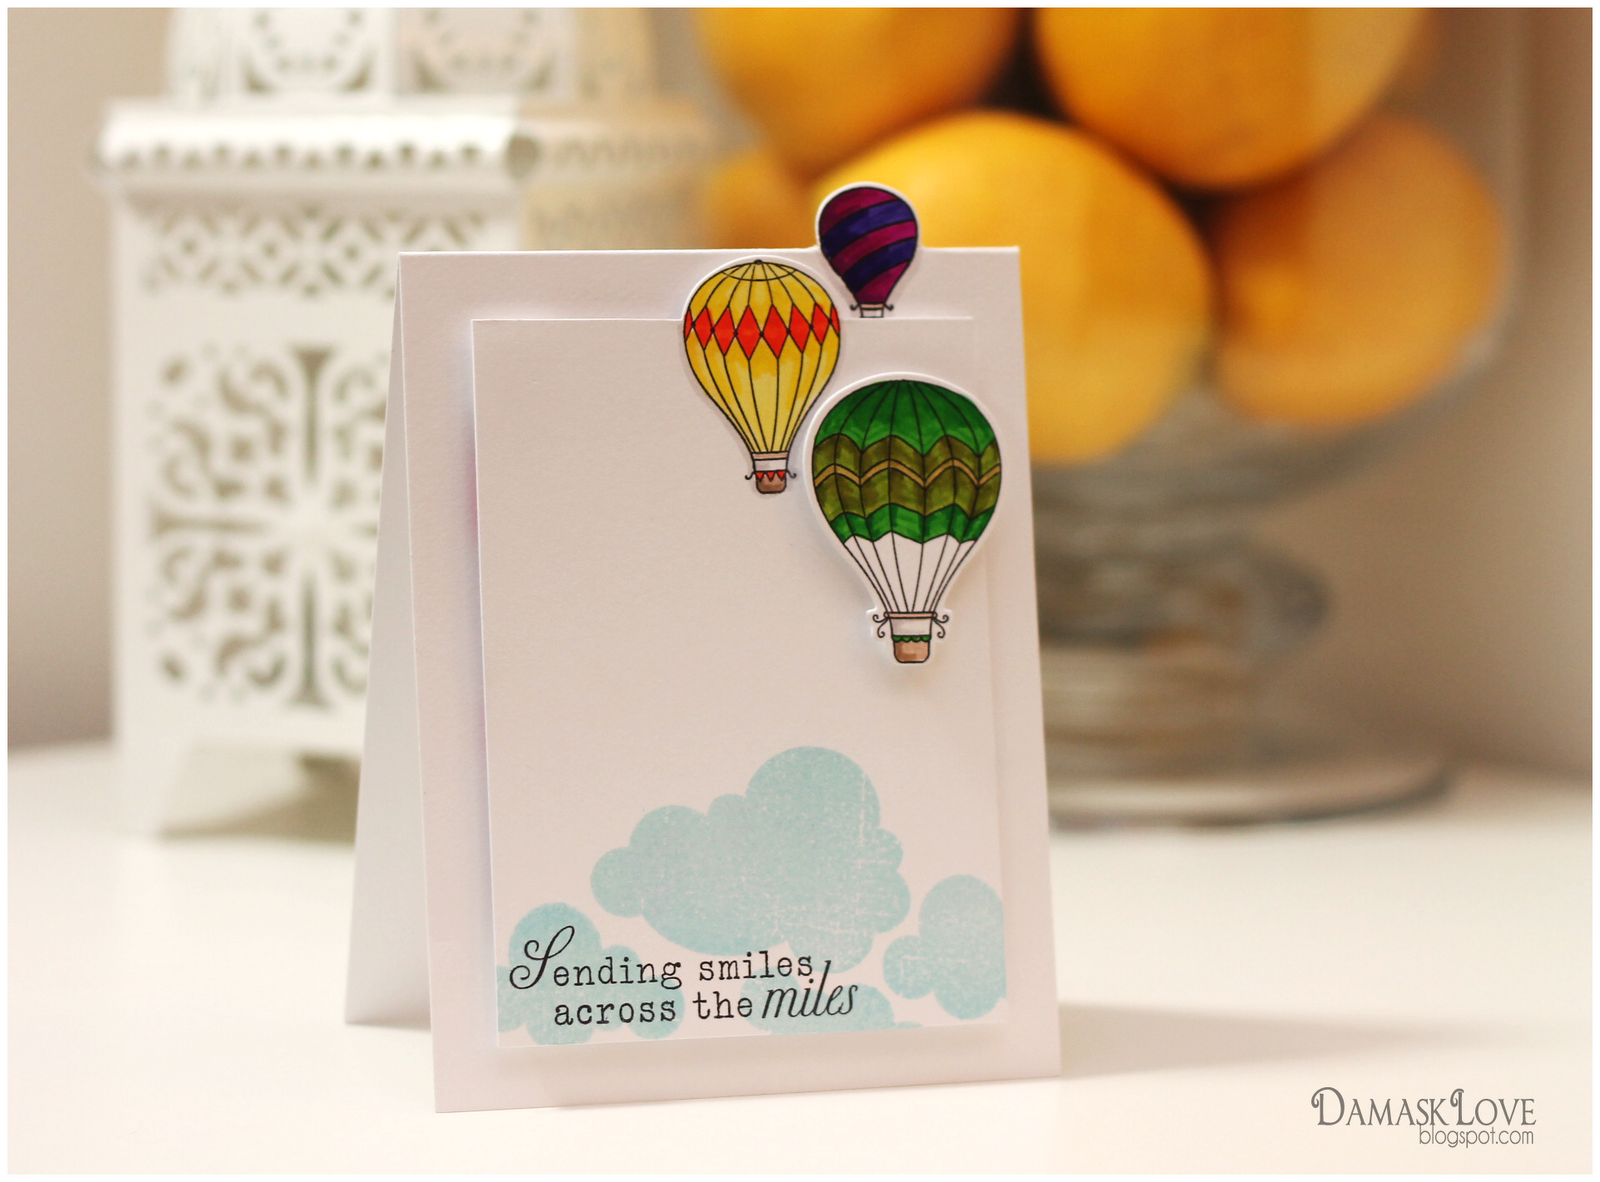
To add dimension and movement to this card, I used partial die cutting on two layers to create the suggestion of air balloons floating above the clouds.
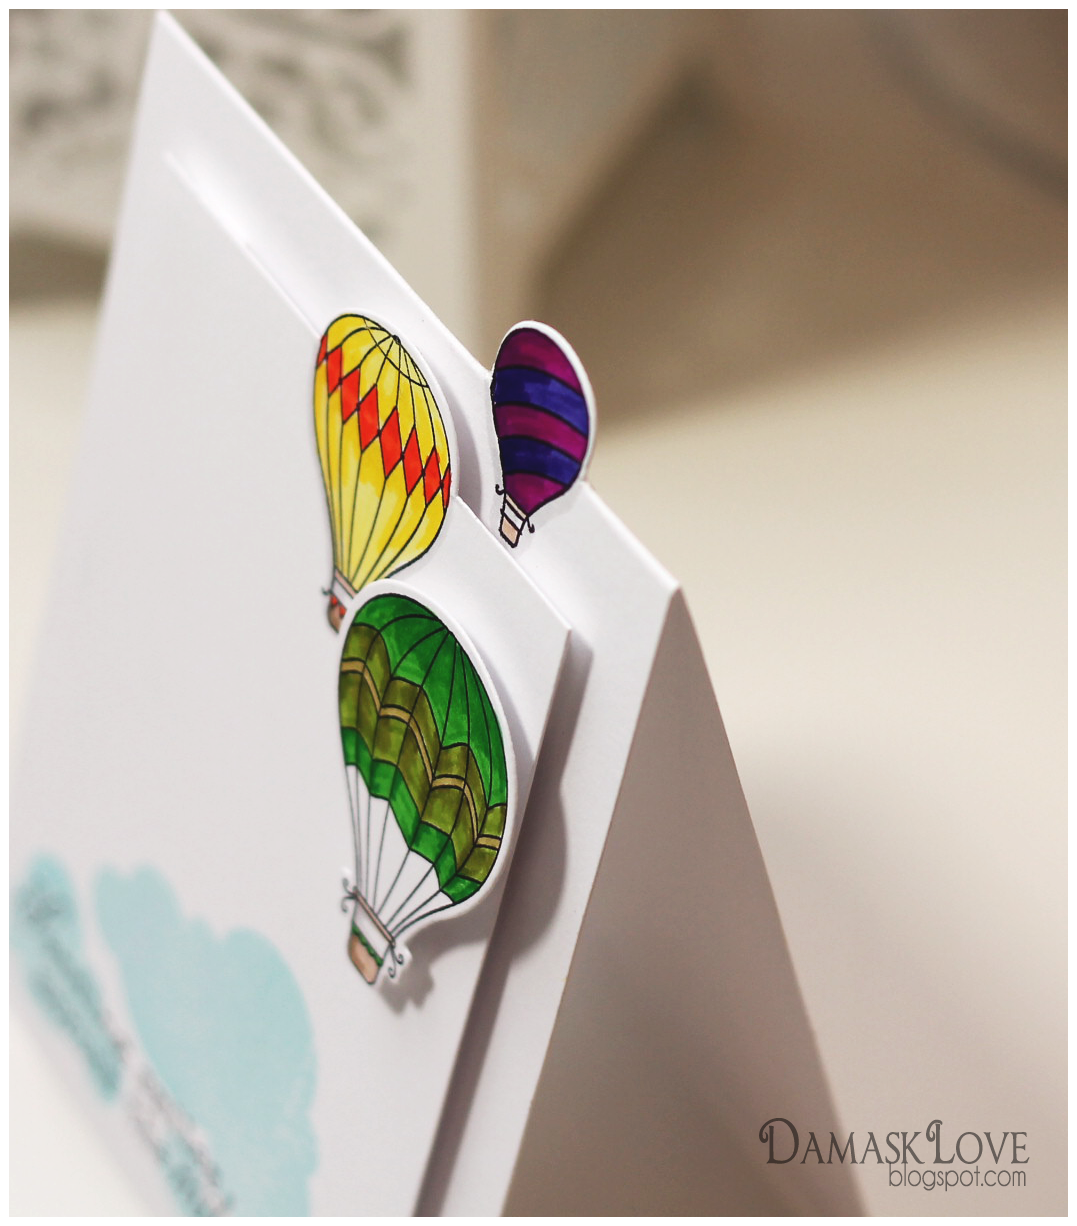
I die cut the smallest balloon directly on the the card base, then used a second layer of cardstock for the medium sized balloon. For the largest balloon, I simply die cut and adhered the image with dimensional adhesive.
Using this card as an example, I’ll share a few little tidbits about partial die cutting.
First, many people asked me about what the back of these cards would look like after partially die cutting above the fold of the card.
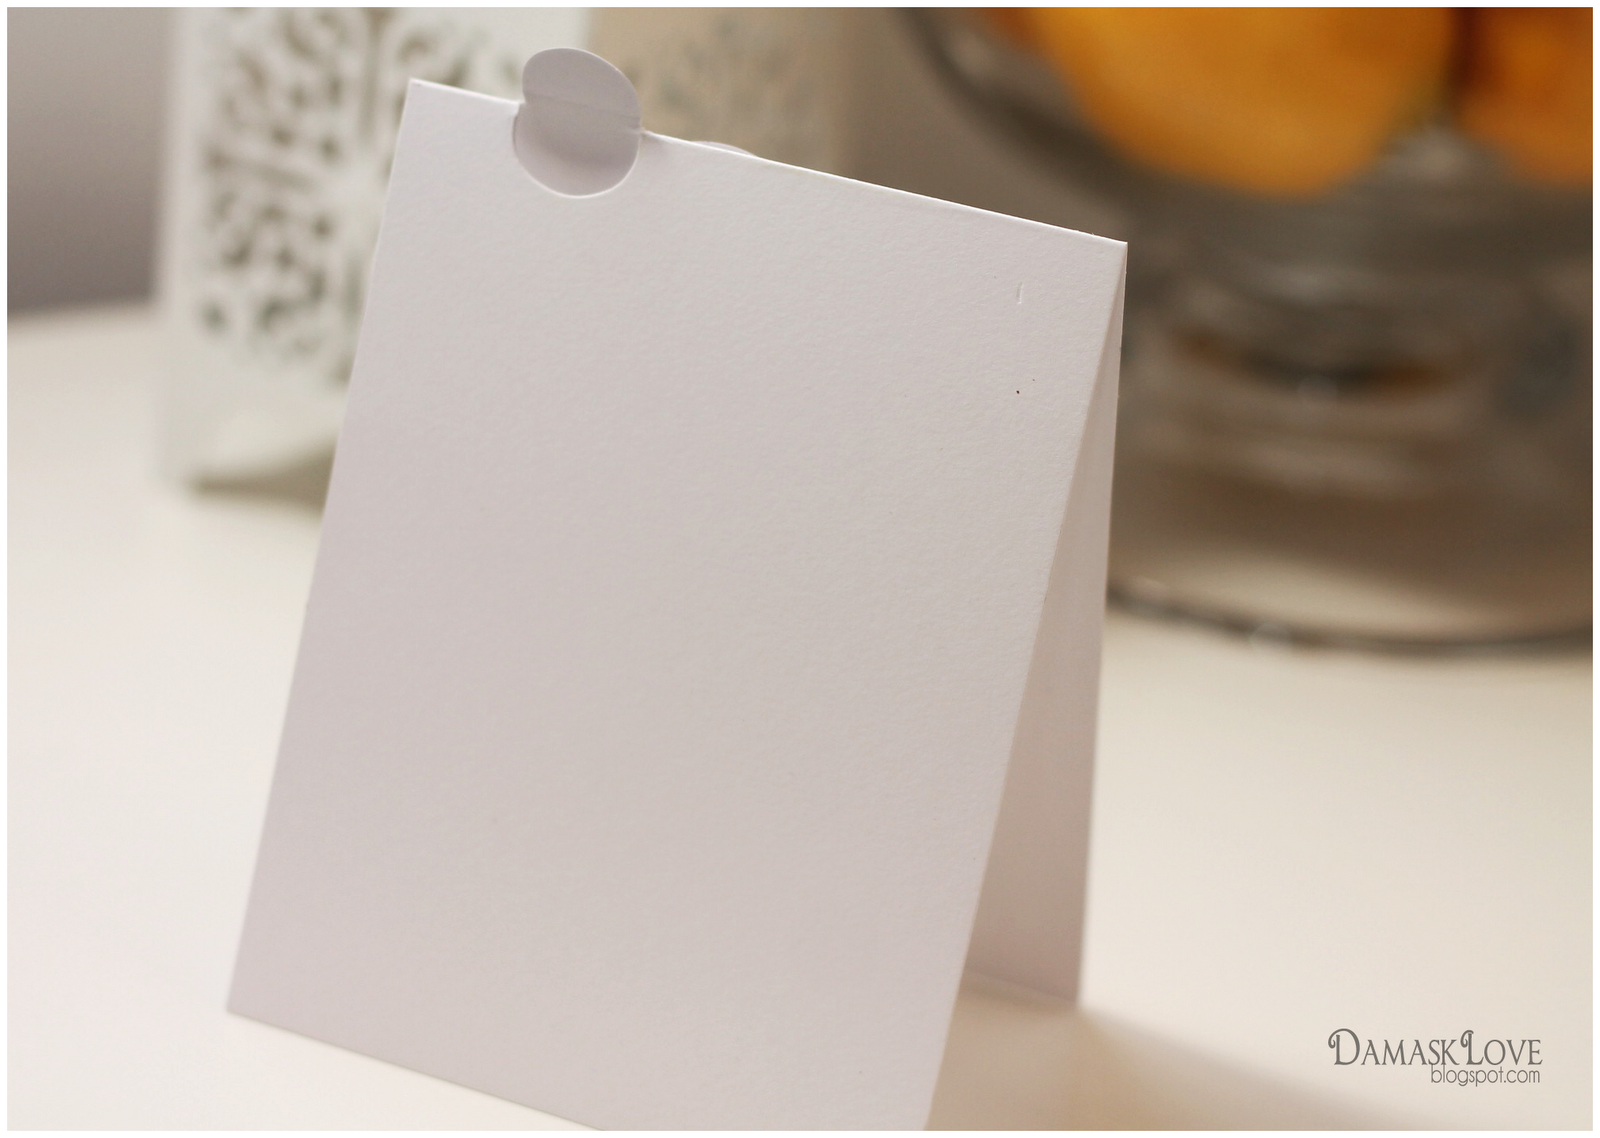
As you might imagine, this technique does result in a negative die cut on the back of the card. For this simple card, there is just a small semi-circle removed. For more intricate partial-die cuts, the back of your card may have several negative cuts. Personally, I think this is just fine and adds a added element of interest to the card.
I’ve also had a few questions about using “fused” dies for partial die cutting. By “fused” I mean dies that are grouped together on one sheet.
I purposely chose the Up, Up & Away collection for this card, since the dies were originally “fused” and I wanted to give an example of how they can be separated and used for partial die cutting. Unfortunately, the only way that I know to get an individual cut from this type of die is to separate them…or as I like to say…do a little surgery.
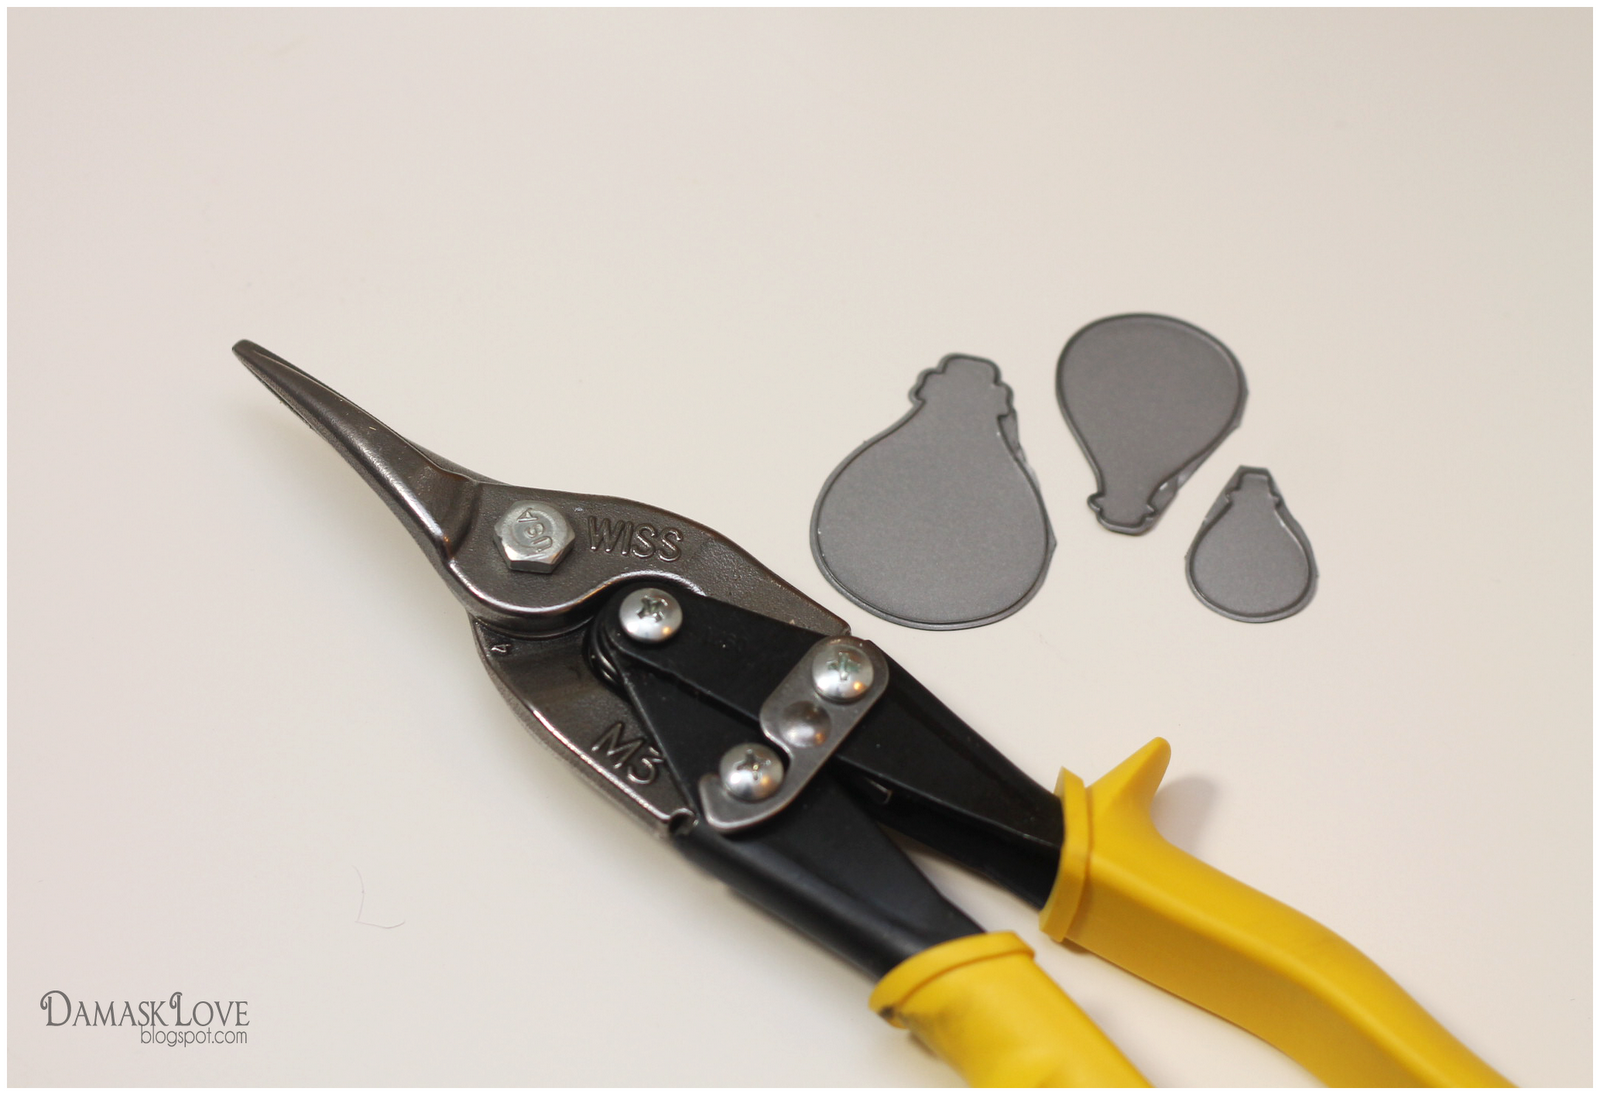
Now, I’ve read many suggestions on how to separate dies and I’ve tried numerous techniques including Tim Holtz snips, wire cutters and regular scissors. Nothing worked for me until I found these:
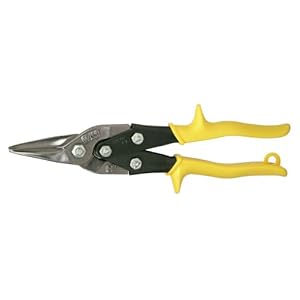 |
| WISS M3R Metal Master Snip |
I found these on Amazon and they cut like butter! I was able to separate my Up, Up & Away dies in seconds and clean up any sharp edges or pointy corners! I would definitely suggest this tool to anyone willing to do surgery on their dies in order to use them for techniques like partial die cutting.
I hope this little post has shed some light on partial die cutting! Please let me know if you have any questions!
In the meantime, have a great day and thanks for stopping by!
Supplies:
Stamps: Papertrey Ink (Up, Up & Away, Up, Up & Away Sentiments)
Ink: Impress Fresh Ink (Island); Ranger Archival Ink (Jet Black)
Cardstock: Papertrey Ink (white)
Other: Up, Up & Away die collection separated using Wiss Metal Master Snips


пин ап – пин ап
пин ап – пин ап
пинап казино: https://pinupkz.life/
пин ап казино – пин ап вход
пин ап казино – пин ап зеркало
пин ап зеркало: https://pinupkz.life/
Order Viagra 50 mg online [url=https://generic100mgeasy.shop/#]Generic100mgEasy[/url] over the counter sildenafil
пинап казино – пин ап казино зеркало
пин ап вход: https://pinupkz.life/
пин ап казино зеркало – pinup 2025
пин ап – pinup 2025
cialis without a doctor prescription [url=https://tadalafileasybuy.shop/#]TadalafilEasyBuy.com[/url] TadalafilEasyBuy.com
пин ап казино: https://pinupkz.life/
пин ап зеркало – пин ап
пин ап: https://pinupkz.life/
пин ап вход – pinup 2025
пин ап казино зеркало – пин ап вход
Generic100mgEasy [url=https://generic100mgeasy.shop/#]buy generic 100mg viagra online[/url] Generic 100mg Easy
пин ап казино: https://pinupkz.life/
пин ап вход – пин ап казино официальный сайт
пин ап казино зеркало – пин ап зеркало
https://kamagrapotenzmittel.com/# Kamagra kaufen
Apotheek Max [url=https://apotheekmax.shop/#]Apotheek online bestellen[/url] Online apotheek Nederland zonder recept
Kamagra Oral Jelly kaufen: Kamagra Oral Jelly kaufen – Kamagra kaufen ohne Rezept
Betrouwbare online apotheek zonder recept: Apotheek Max – Online apotheek Nederland zonder recept
https://apotekonlinerecept.com/# apotek online
http://apotheekmax.com/# Betrouwbare online apotheek zonder recept
Apotek hemleverans idag: apotek online – apotek online recept
Kamagra Oral Jelly kaufen: Kamagra Gel – Kamagra online bestellen
Apotheek online bestellen [url=https://apotheekmax.shop/#]ApotheekMax[/url] de online drogist kortingscode
http://apotheekmax.com/# Apotheek online bestellen
http://apotekonlinerecept.com/# Apotek hemleverans idag
kamagra: Kamagra Oral Jelly kaufen – Kamagra kaufen
online apotheek: ApotheekMax – de online drogist kortingscode
http://kamagrapotenzmittel.com/# Kamagra online bestellen
https://apotekonlinerecept.com/# apotek online recept
Apoteket online [url=http://apotekonlinerecept.com/#]Apoteket online[/url] apotek pa nett
https://kamagrapotenzmittel.com/# Kamagra online bestellen
Apoteket online: apotek online recept – Apotek hemleverans recept
http://apotheekmax.com/# Beste online drogist
apotek pa nett: apotek pa nett – Apotek hemleverans idag
Apoteket online [url=http://apotekonlinerecept.com/#]apotek online recept[/url] Apotek hemleverans recept
https://apotekonlinerecept.shop/# apotek online recept
https://apotekonlinerecept.shop/# apotek online recept
The Ohio elder law attorney team at Ohio Medicaid Lawyers provided essential guidance for mom’s long-term care plan.