I didn’t intend for this to be a tradition. It just sort of happened. In 2012 I created some handstamped calendars. A lot of handstamped calendars. And they were a hit. So the next year, in 2013, I decided to make more calendars…but this time I made them using a stamp set that I created. Again, it was a hit. You guys loved it! In 2014, I brought that stamp set out again to make this calendar...which is still one of my faves.
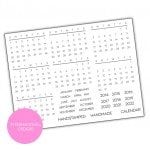
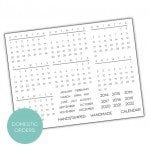
So here we are putting the period on the end of 2015, which means it’s calendar time again – and you’ll be so happy to know that the exclusive Let’s Make a Date Stamp Set is back in stock and ready to come live with you.
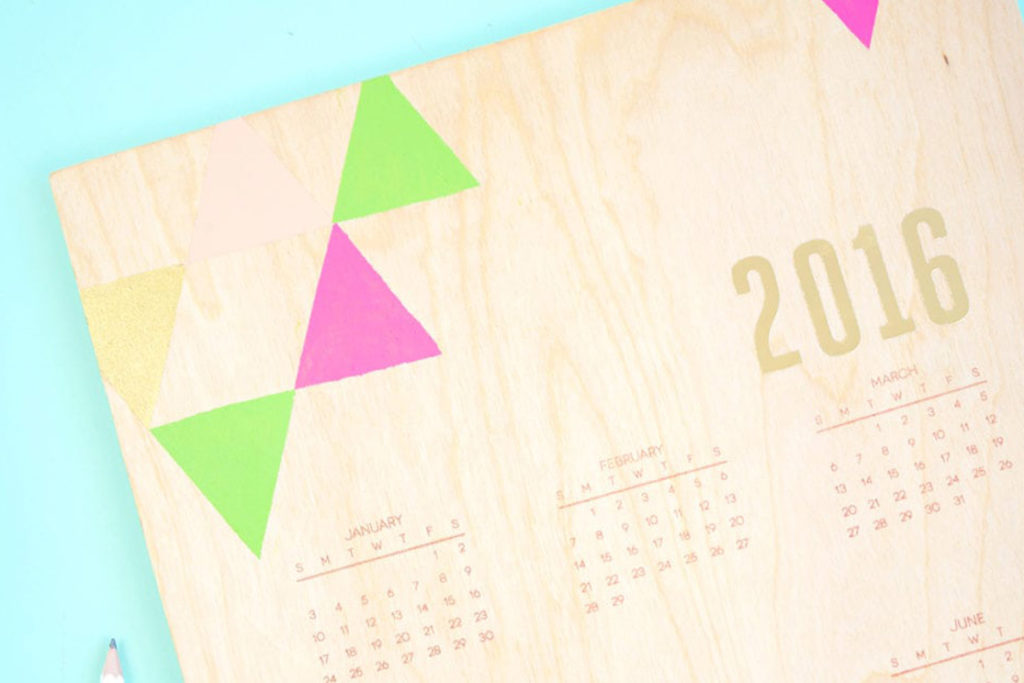
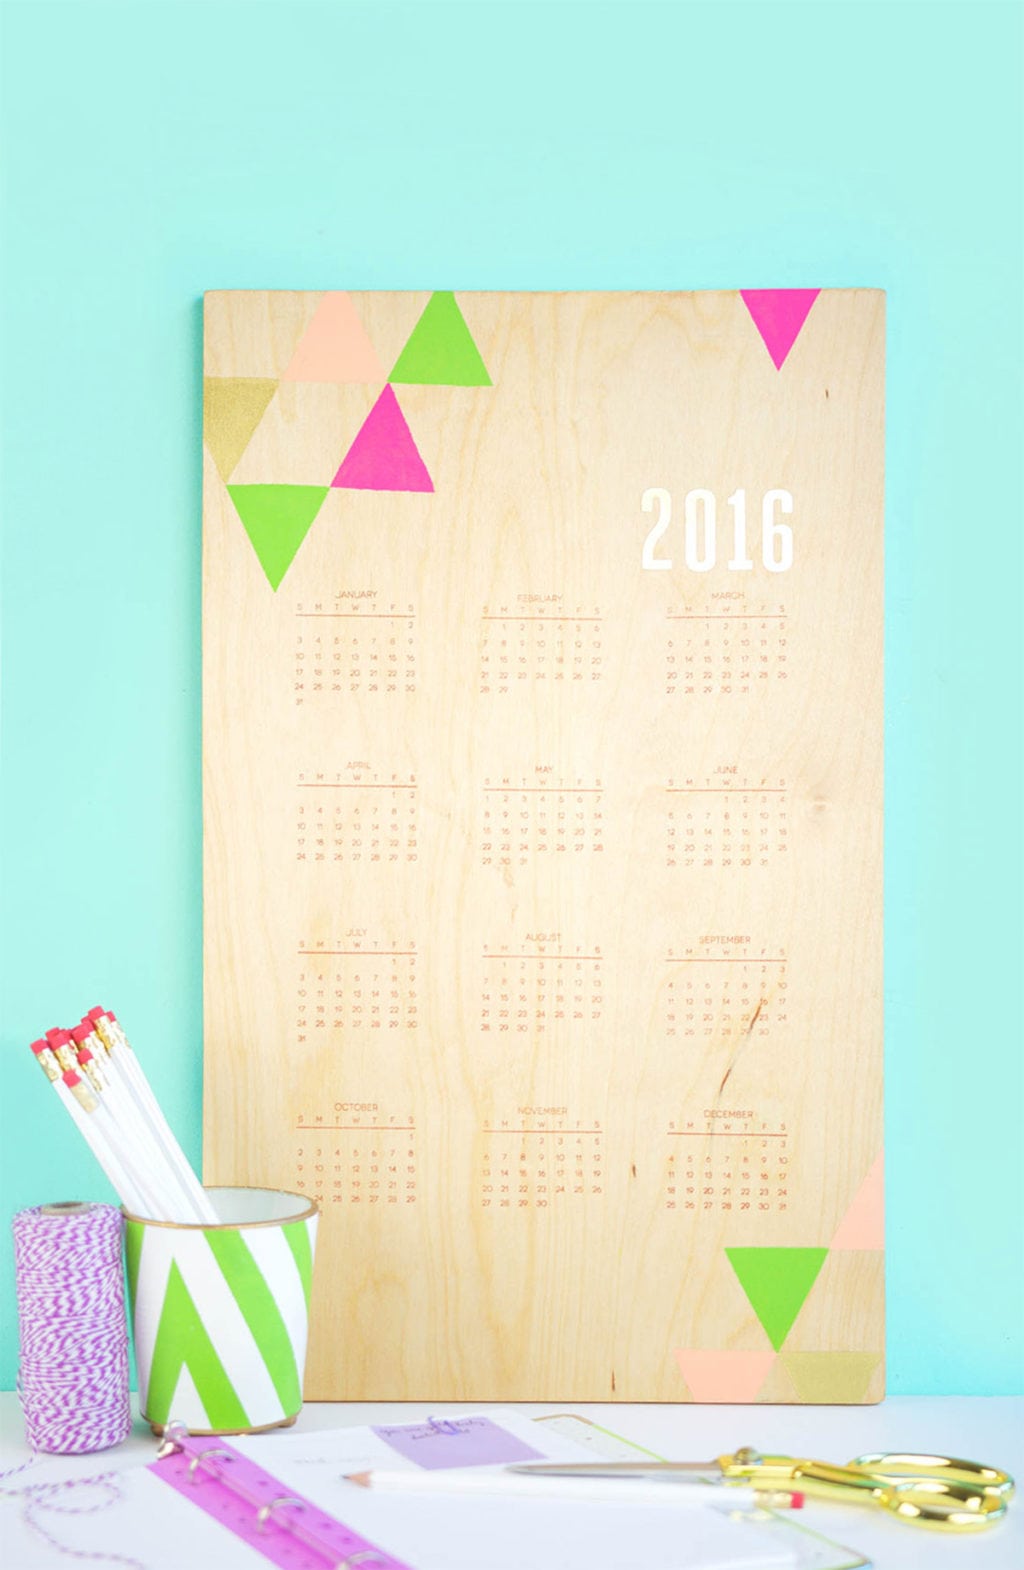
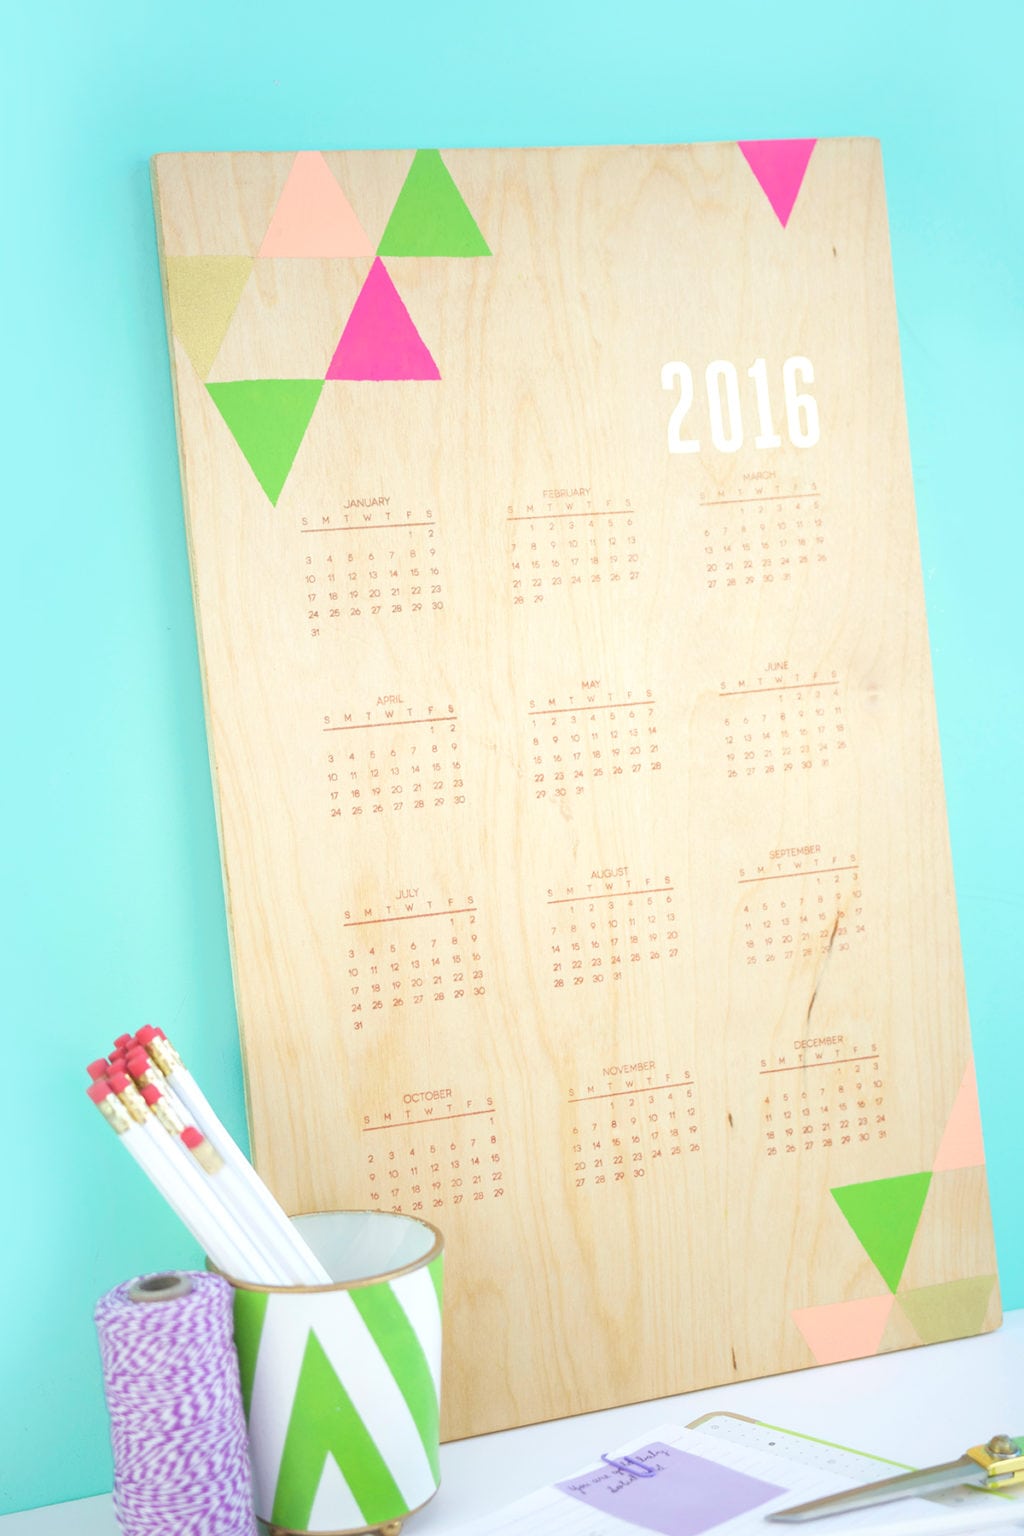
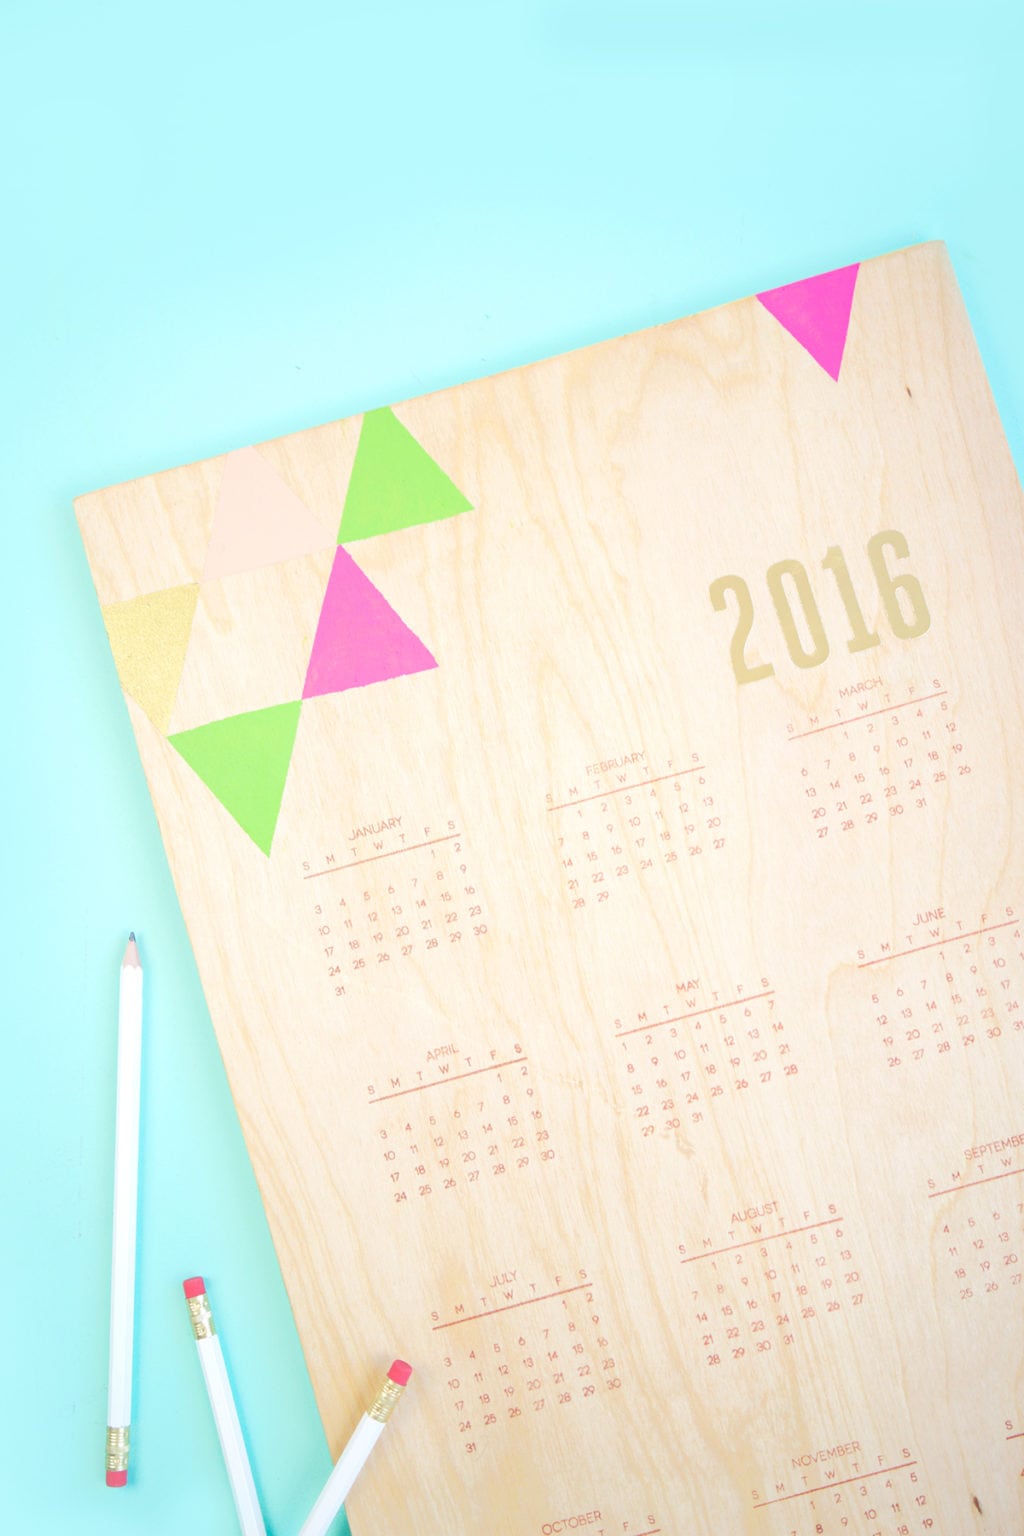
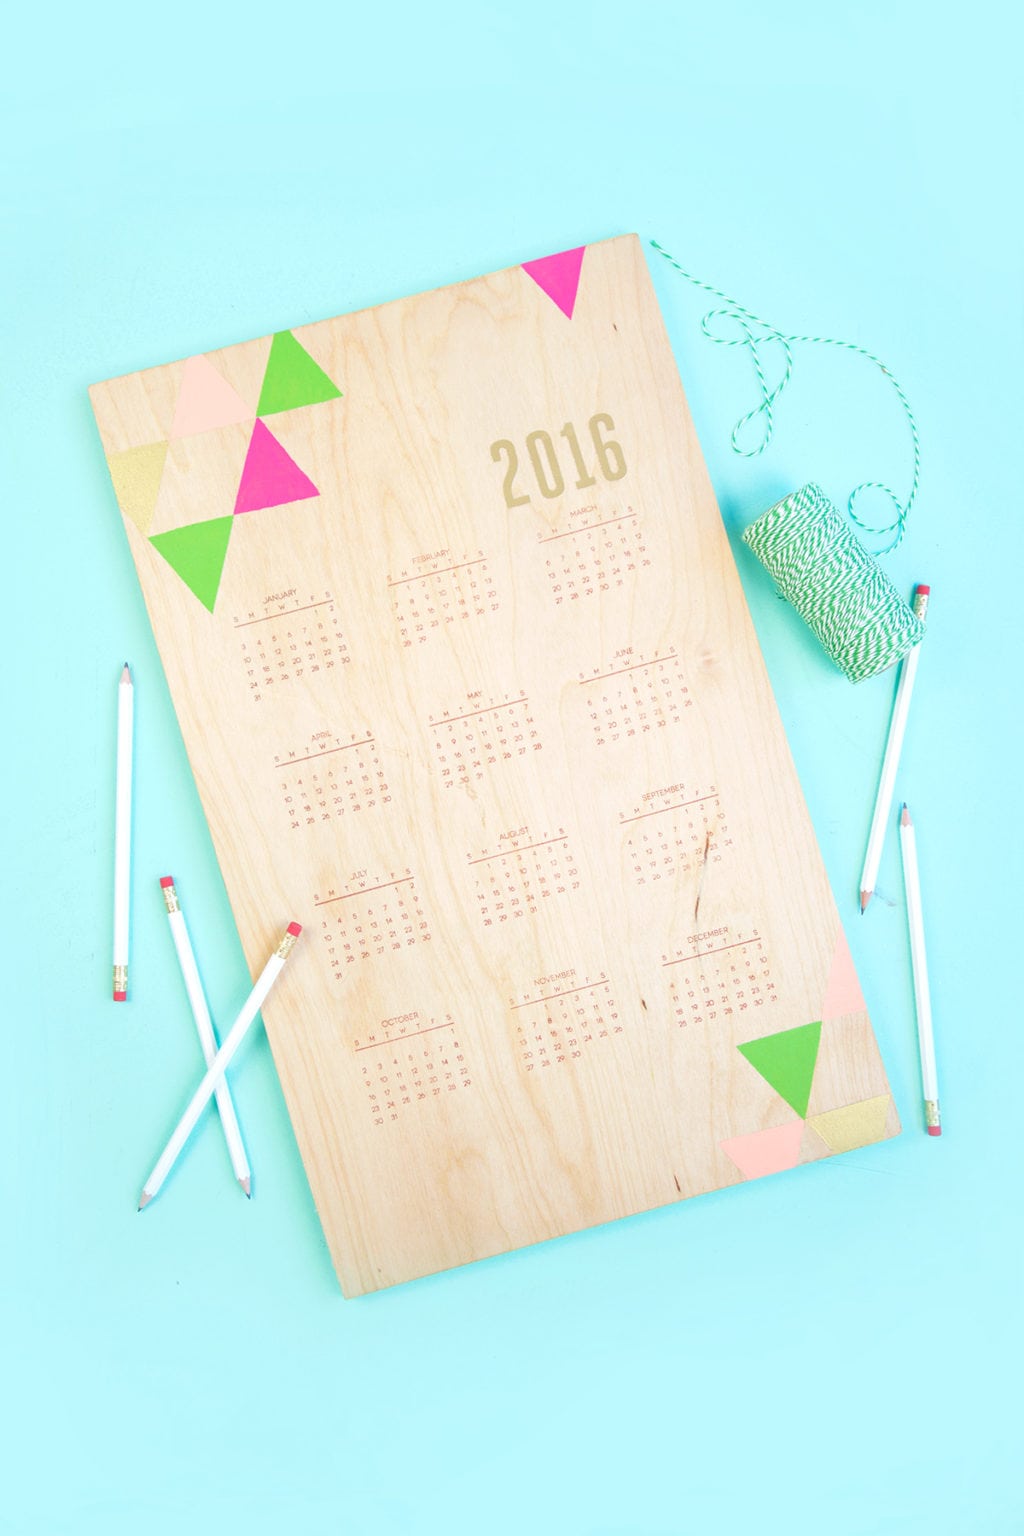
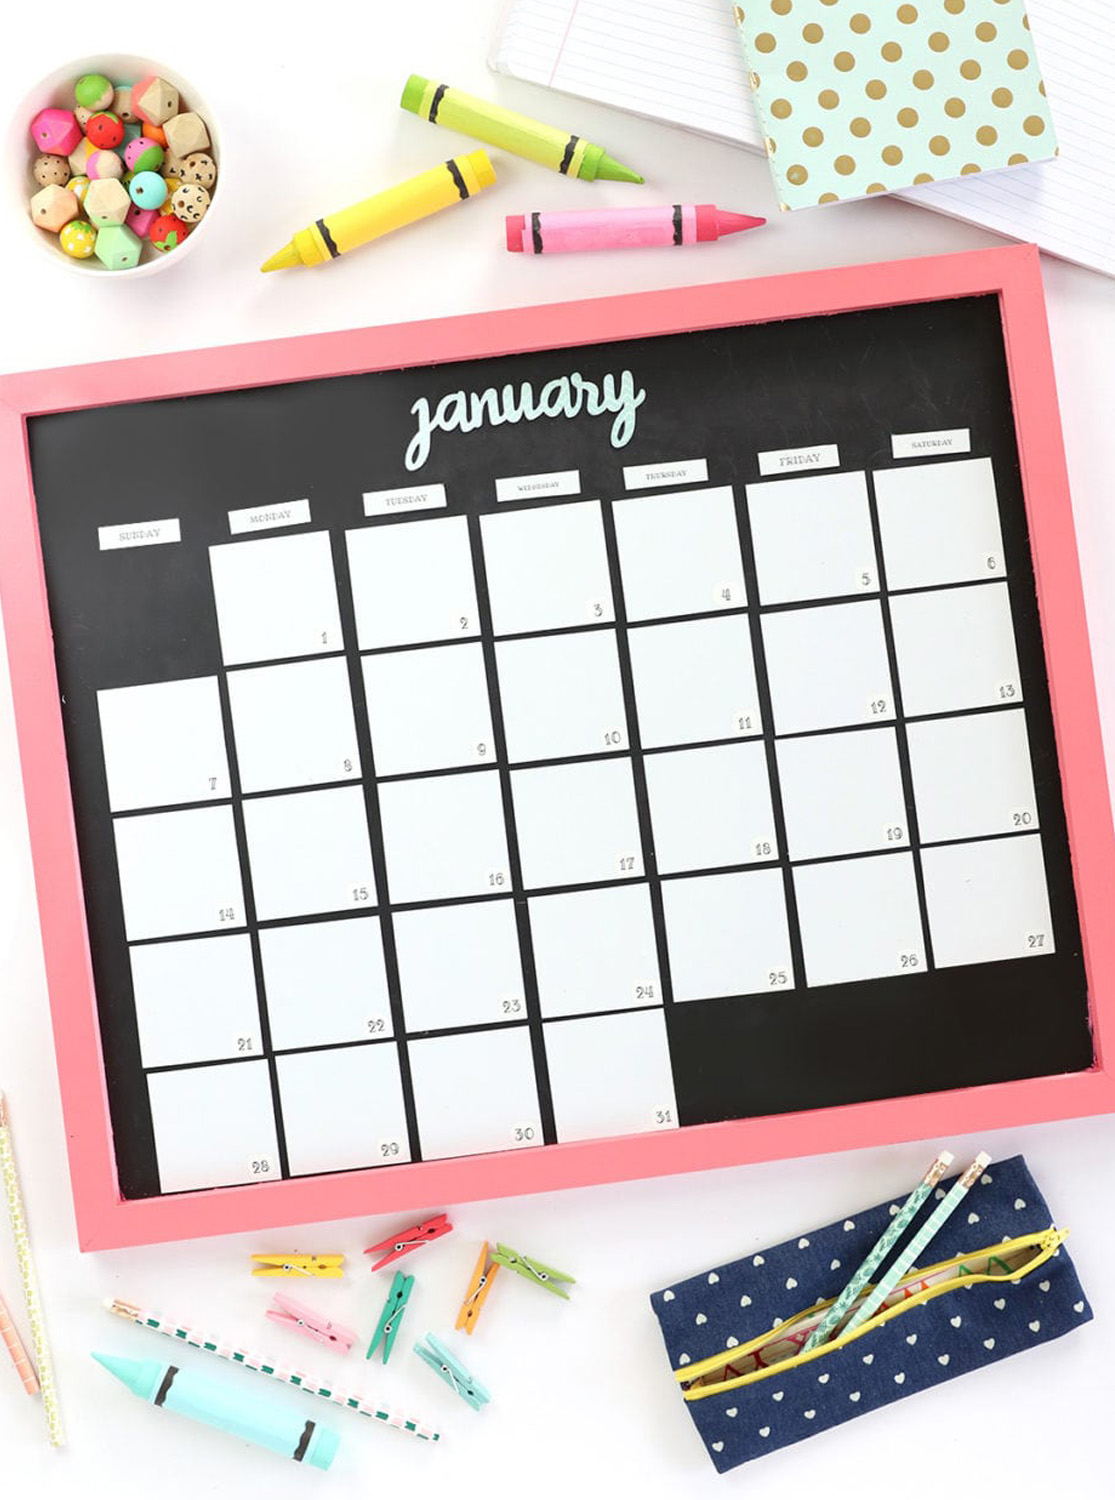
If you’re on the fence about the stamp set, I’m here to show you how cool it is in action. Plywood calendar, anyone?
Now, I suppose you could just snag a free printable calendar off the interwebs. But wait! Then it wouldn’t be on wood. Or maybe you could print on wood. Nope, that won’t work either. Welp – I guess there’s only one solution to the eternal conundrum of how to make a plywood calendar. And here it is…
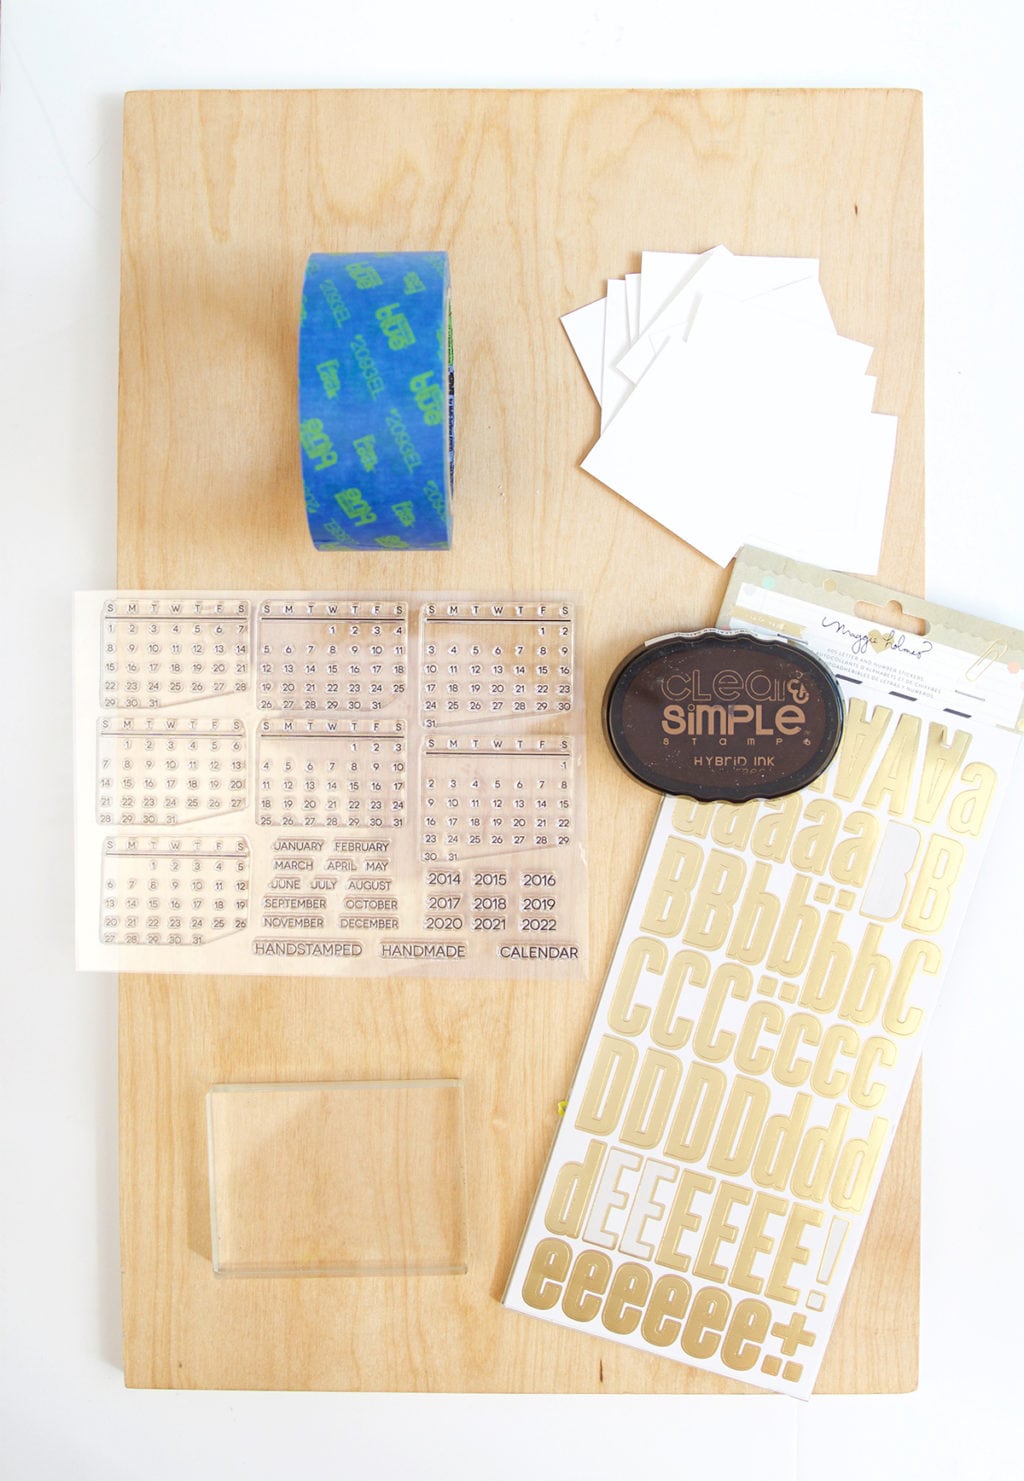
You’ll need:
- Let’s Make a Date Stamp Set
- Acrylic Block
- Permanent stamping ink (like Staz-On)
- a piece of plywood cut to the size you want for your calendar. I went with a 12 x 16 piece. You can also stain it if you wish, of leave it natural. So many fun ways to customize this.
- painters tape and washi tape (not pictured)
- twelve pieces of white paper cut to 2″ x 2.5″
- alphabet/number stickers
- paint (optional)
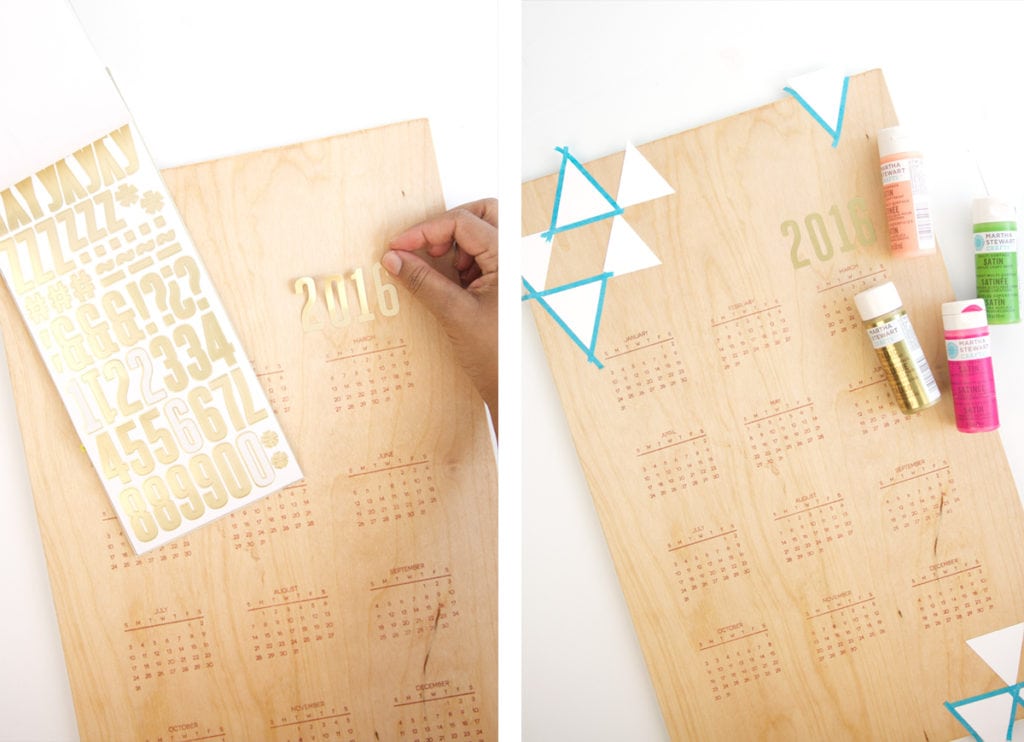
- Lay out the 12 pieces of paper onto the wood to mark where you’ll be stamping each month. You can lightly adhere the paper to the wood with a tape runner.
- Use painters tape and washi tape to create borders and divisions between the white paper
- Remove the white pieces of paper
- Begin using Let’s Make a Date to stamp all the months of the year. To use Let’s Make a Date, you will need to know the day of the week on which the month starts and how many days are in the month. Select the stamp starting on the correct day of the week, ink it up, then use a wet wipe to remove ink from any dates that do not apply to the month you’re stamping. This technique means that you can use Let’s Make a Date to stamp any month during any year from now until forever. It’s like the fruitcake of crafting. It’ll never go bad.
- Use stickers to add the year onto the calendar
- Then you can use stencil tape and paint to add a fun painted pattern to your calendar. This part is totally up to you, so get creative!
By using Let’s Make a Date you can stamp a calendar on any surface – it’s a pretty cool stamp set if I do say so myself! It’s back in stock so snag it up!





Generic100mgEasy [url=http://generic100mgeasy.com/#]Generic100mgEasy[/url] Generic 100mg Easy
пин ап казино: https://pinupkz.life/
pinup 2025 – пин ап вход
пин ап: https://pinupkz.life/
Generic100mgEasy [url=https://generic100mgeasy.shop/#]Generic100mgEasy[/url] buy generic 100mg viagra online
пин ап зеркало: https://pinupkz.life/
пинап казино: https://pinupkz.life/
cialis for sale [url=https://tadalafileasybuy.com/#]Tadalafil Easy Buy[/url] Buy Tadalafil 5mg
пин ап казино: https://pinupkz.life/
пин ап: https://pinupkz.life/
pinup 2025: https://pinupkz.life/
kamagra pillen kopen [url=https://kamagrakopen.pro/#]KamagraKopen.pro[/url] Kamagra Kopen
пин ап казино официальный сайт: https://pinupkz.life/
https://kamagrapotenzmittel.shop/# Kamagra kaufen ohne Rezept
Kamagra online bestellen [url=https://kamagrapotenzmittel.com/#]Kamagra Oral Jelly[/url] Kamagra Oral Jelly
http://kamagrapotenzmittel.com/# Kamagra Original
https://apotheekmax.com/# Apotheek Max
apotek pa nett [url=http://apotekonlinerecept.com/#]Apoteket online[/url] apotek pa nett
http://kamagrapotenzmittel.com/# Kamagra kaufen ohne Rezept
https://kamagrapotenzmittel.com/# Kamagra Oral Jelly kaufen
Kamagra kaufen ohne Rezept [url=https://kamagrapotenzmittel.com/#]kamagra[/url] Kamagra Oral Jelly kaufen
https://apotekonlinerecept.com/# apotek online
can i buy zithromax online: zithromax over the counter – where can you buy zithromax