I swore I wouldn’t do it. I said I would hold out. But then I went to Home Depot one afternoon. And there they were, all pretty and oh so reasonably priced.
Succulents.
They are pretty much the mason jars of gardening. Very trendy and you see ’em everywhere. Well…here I a giving in to the trend. Going back on my word. But I think it’s totally worth it. Today’s post is one of those posts that I truly love. If this post gets zero comments, I will still love it. If you tell me that this project is the ugliest you’ve ever seen, I will still love it…and then we probably won’t be friends anymore.
When I brought home my little succulent babies, I wanted to come up with a creative way to display them. There is no shortage of succulent projects out there in blogland, but I think I’ve come up with a simple variant that will speak to all you stampers out there.
{1} Oven-bake clay
{2} Clay roller
{3} Scallop edge cut from chipboard. This scalloped edge was created using Clear & Simple Stamps Border Scallop Dies
{1} Roll out the clay to 1/4″ thickness
{2} Trim the clay into a long rectangle. You can freehand this, but I would suggest using a piece of chipboard as a guide for your cuts.
{3} Place your scallop edge on your clay rectangle and follow the scallops with you knife tool.
{4} Smooth the scalloped edges if needed to create even scallops along the top edge of your rectangle.
{5} Using the stamp of your choice, press the stamp into the clay with your hands. Do not use an acrylic block stamping.
{6} Gently peel the stamp away from the clay.
{7} Wrap the rectangle around a circle cut from clay to create a cylinder.
{8} Use a shaping tool to join the edges of the clay together.
{9} Use a paper straw to create a hole in the bottom of your clay pot.
BAKING: Finally, bake the piece according to package instructions.
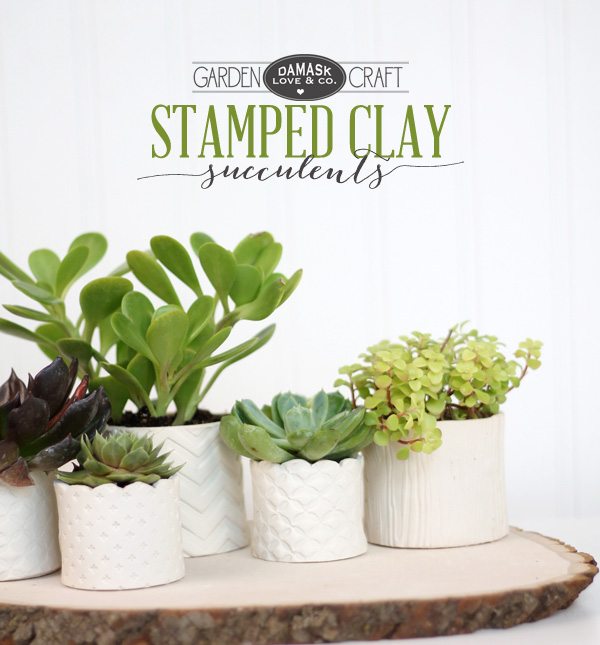
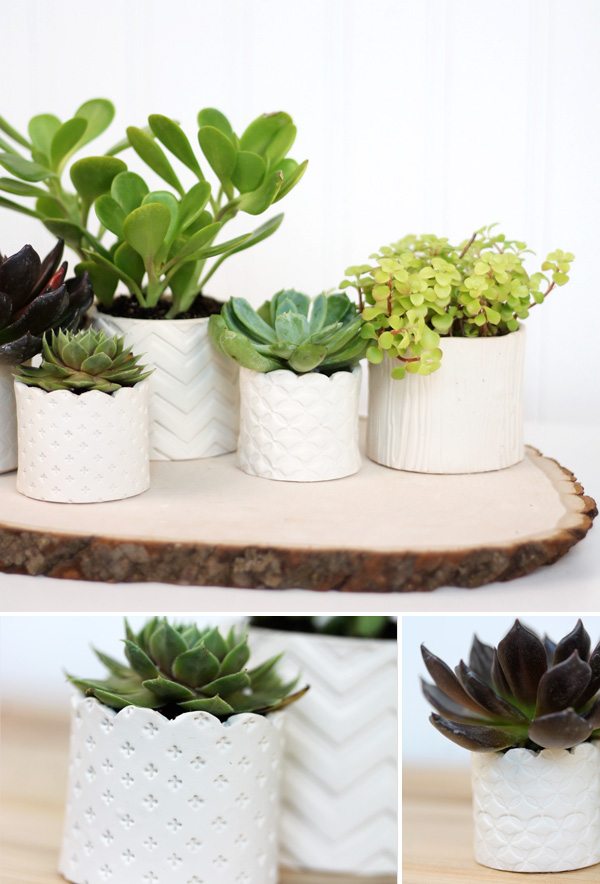
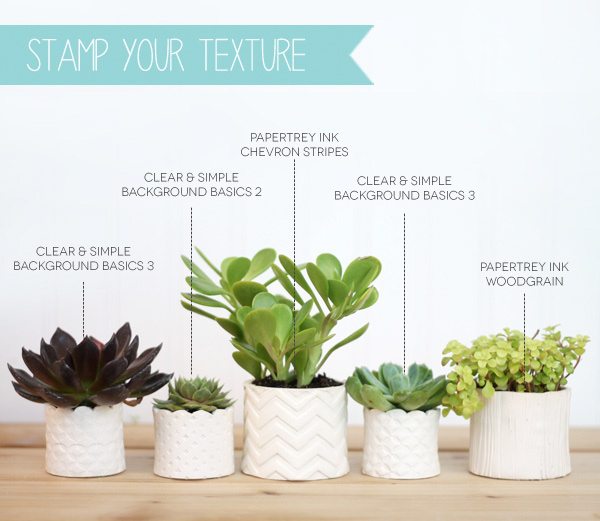 Once you get started making these, it’s pretty hard to stop. I had fun playing with different stamps to create a variety of modern, fun textures on each pot. With so many of these completed, it only made sense to package a few of them up to give away.
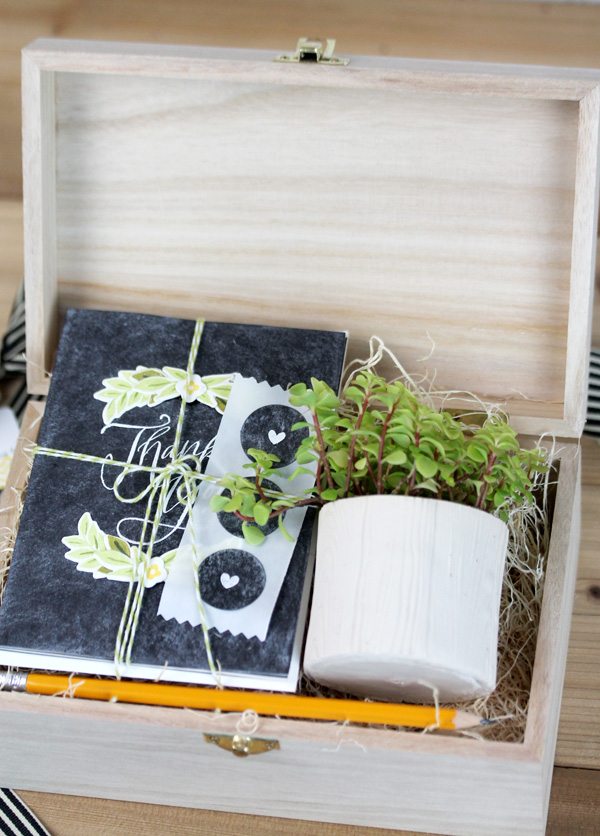
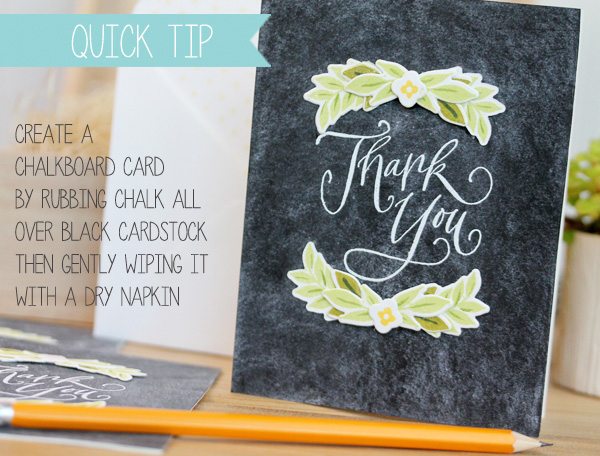
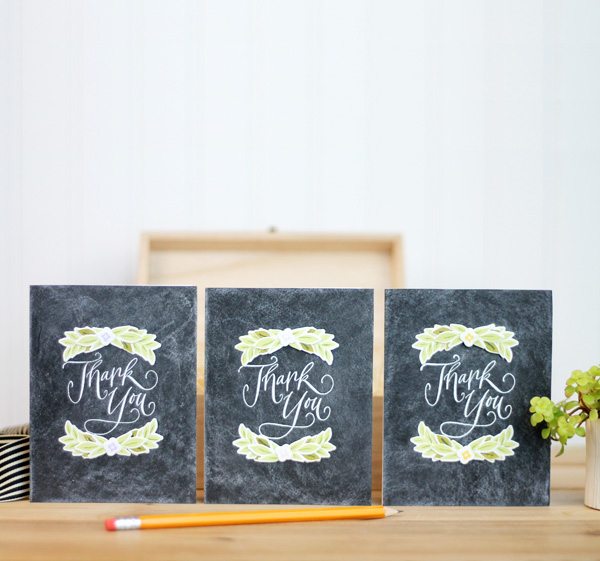
For some reason, succulents and chalkboard were a natural combination for me, so I created a coordinating set of chalkboard stationery and boxed everything up in a pretty wood gift box.
And while we’re at it, I should probably warn you that I am completely and utterly obsessed with THIS “Thank You” stamp from Paper Source. You’ll be seeing a lot of it around here.
And so ends our little study of garden themed crafts! Hope you had fun with this theme. I know I did.
SUPPLIES:
Clay Pots: Sculpey Oven Bake Clay | Clear and Simple Stamps Background Basics 2 | Clear and Simple Stamps Background Basics 3 | Papertrey Ink Chevron Stripes | Papertrey Ink Woodgrain // Chalkboard Card Set: Paper Source Thank You Woodmounted Stamp | Wplus9 Fresh Cut Florals









Apotek hemleverans recept: apotek pa nett – apotek online
Apotek hemleverans recept: Apoteket online – apotek online
https://kamagrapotenzmittel.com/# Kamagra Gel
Kamagra Gel [url=http://kamagrapotenzmittel.com/#]Kamagra kaufen ohne Rezept[/url] Kamagra kaufen ohne Rezept
apotek online: apotek pa nett – Apoteket online
http://apotheekmax.com/# Online apotheek Nederland zonder recept
Online apotheek Nederland zonder recept: de online drogist kortingscode – Apotheek online bestellen
http://apotheekmax.com/# Apotheek online bestellen
Beste online drogist: Apotheek online bestellen – Betrouwbare online apotheek zonder recept
Online apotheek Nederland zonder recept [url=https://apotheekmax.shop/#]de online drogist kortingscode[/url] Online apotheek Nederland zonder recept
Even with the widespread use of modern wearable tech, mechanical watches remain timeless.
A lot of enthusiasts value the intricate design that defines traditional timepieces.
In contrast to modern wearables, which become outdated, classic timepieces hold their value over time.
http://www.bilderschuppen.net/viewtopic.php?f=10&t=17454
Luxury brands still produce new traditional watches, showing that their appeal remains strong.
For true enthusiasts, a traditional wristwatch is not just an accessory, but a tribute to craftsmanship.
Though digital watches come with modern tech, traditional timepieces carry history that never goes out of style.
http://apotekonlinerecept.com/# apotek online
apotek pa nett: Apoteket online – apotek pa nett
Kamagra kaufen ohne Rezept [url=https://kamagrapotenzmittel.shop/#]Kamagra kaufen[/url] Kamagra online bestellen
apotek online recept: apotek online – Apoteket online
apotek online recept: Apotek hemleverans recept – Apotek hemleverans recept
https://apotheekmax.shop/# Betrouwbare online apotheek zonder recept
Discover the secrets to achieving optimal wellness with our expert guidance. From mindful movement and natural skincare to gut health supplements and digital detox retreats, our comprehensive resource covers it all. Learn how to prioritize your mental health, boost your energy, and nourish your body with our actionable tips and expert advice. Whether you’re looking to improve your sleep hygiene, optimize your fitness routine, or simply find a sense of calm, we’ve got you covered. Explore our curated content and start your journey towards a balanced, holistic lifestyle today!
[url=https://wellness-warrior-guide.blogspot.com/2024/04/holistic-health-your-fun-guide-to.html]Wellness Retreats[/url]
Discover the secrets to achieving optimal wellness with our expert guidance. From mindful movement and natural skincare to gut health supplements and digital detox retreats, our comprehensive resource covers it all. Learn how to prioritize your mental health, boost your energy, and nourish your body with our actionable tips and expert advice. Whether you’re looking to improve your sleep hygiene, optimize your fitness routine, or simply find a sense of calm, we’ve got you covered. Explore our curated content and start your journey towards a balanced, holistic lifestyle today!
[url=https://wellness-warrior-guide.blogspot.com/2024/05/positive-psychology-your-secret.html]Natural Remedies[/url]
На этом сайте вы можете обнаружить рабочую копию сайта 1 икс бет без проблем.
Мы регулярно обновляем ссылки, чтобы гарантировать свободное подключение к порталу.
Работая через альтернативный адрес, вы сможете делать ставки без ограничений.
1xbet-official.live
Эта страница позволит вам без труда открыть рабочее зеркало 1xBet.
Мы стремимся, чтобы все клиенты мог не испытывать проблем.
Следите за актуальной информацией, чтобы всегда оставаться в игре с 1хбет!