Before we get to it, here a recap of this week’s posts
Now on to today’s project. It may just be my favorite of the week!
The inspiration for this post is my love for Mod Podge.
Now, don’t get me wrong – damask and I are in a long-term committed relationship but if something goes wrong, Mod Podge is next on my list.
I often have to fight back the urge to use Mod Podge on EVERYTHING! For those of you who don’t know what Mod Podge is – it is a medium for decoupaging. For those of you who don’t know what “decoupage” means – it’s just a fancy word for smothered in glue.
For today’s project I took a different approach to papercrafting with my jar of Mod Podge – and made earrings! I was inspired by the earrings I made in an earlier post.
Let’s get to it!
I started with the following materials:
Papertrey Ink Heart Prints die (medium sized)
A small scrap of PTI Sweet Blush Cardstock
A small square of medium weight chipboard
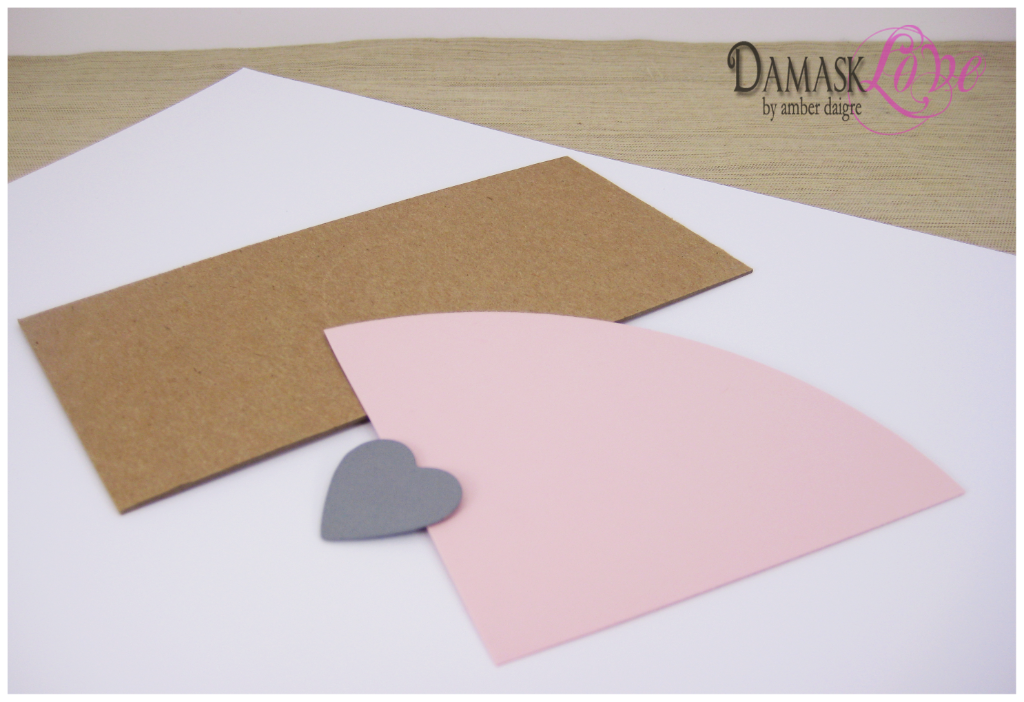

I die cut two hearts from the chipboard and four hearts from the cardstock.
At this point I needed a few more things:
Mod Podge
Foam Brush
Earring Findings (head pins, beads, hooks)
The recipe for using Mod Podge is really simple and universal for most surfaces.
For the earrings, here’s what I did:
– Apply a thin coat of MP to both sides of the chipboard hearts
– Adhere the cardstock hearts to each side of the chipboard
– Brush another coat of MP over the cardstock on both sides
– Allow to dry for 20 minutes and apply another coat of MP
– Dry overnight before completing project
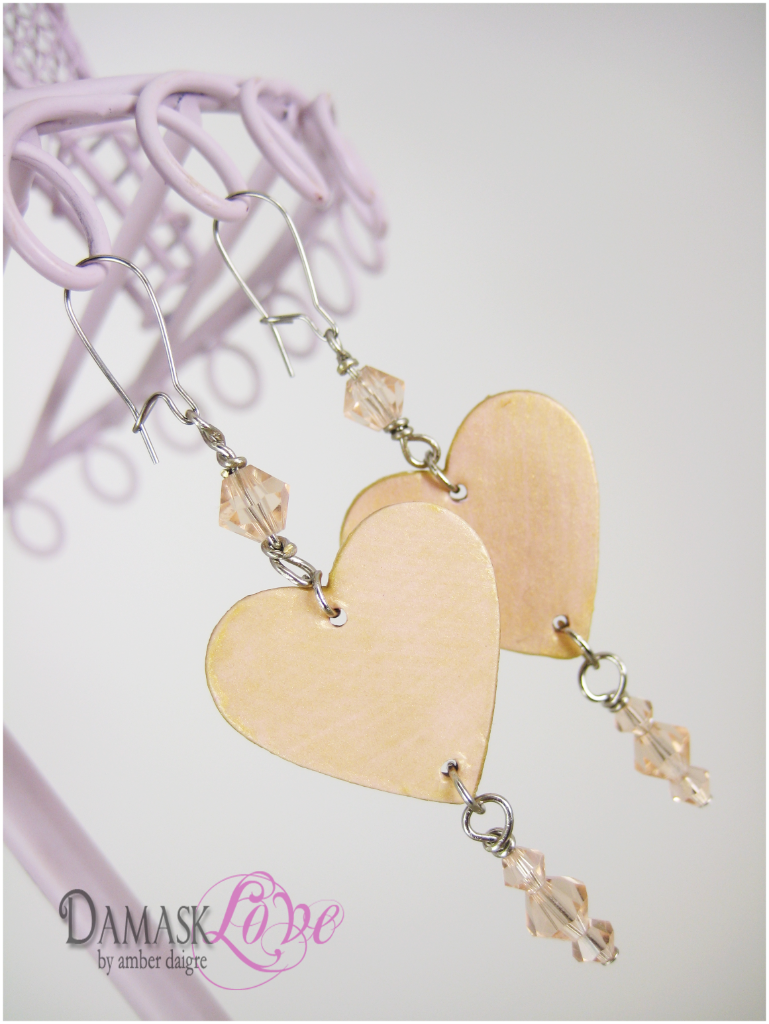
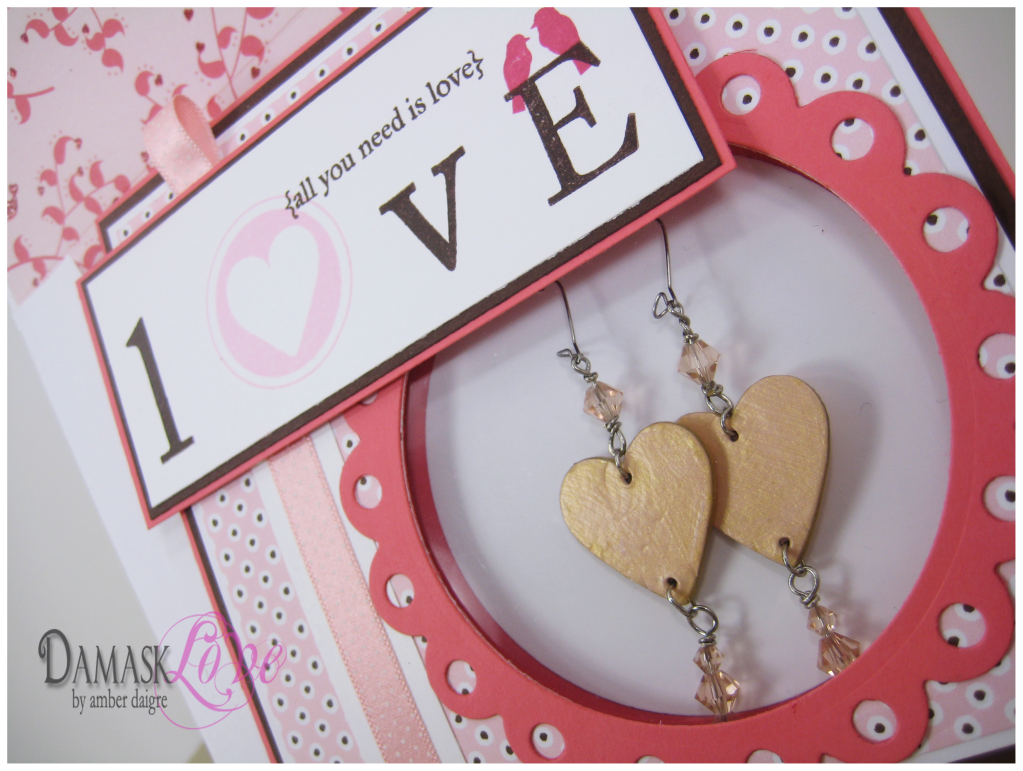
Once the earrings were dry and ready to handle, I used wire and beads to dress them up!
Here’s the finished product – I LOVE LOVE LOVE!
I used Shimmer Mod Podge, which gave the paper a beautiful golden sheen.

Ok – if you know me, you know I couldn’t just leave it at that.
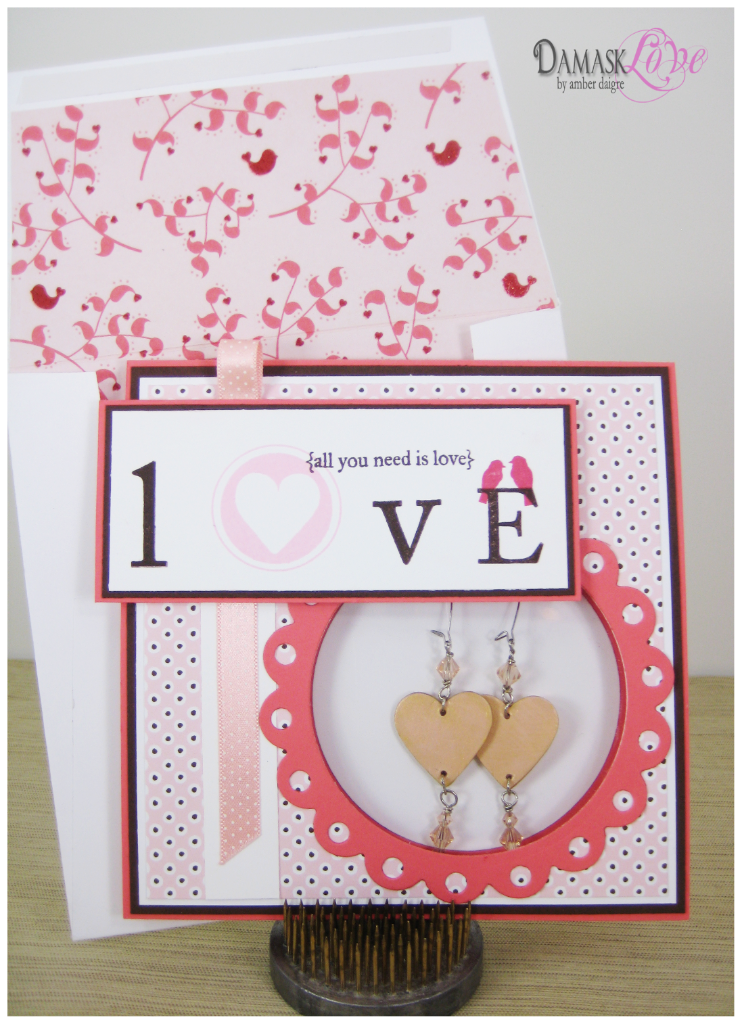
So I made a card that served as packaging for my earrings.

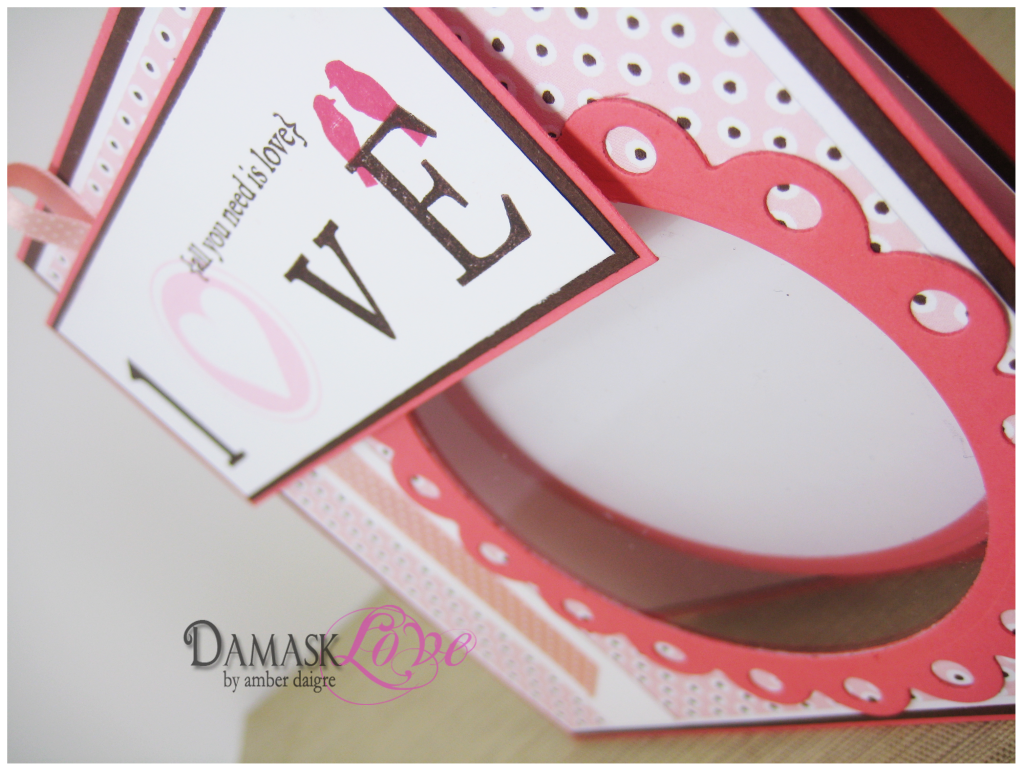
*HINT*
There was no way I could die cut through all those layers of cardstock to get the window – SO – I cut away the centers of the brown and white mat, making the card thin enough to cut through with my die.
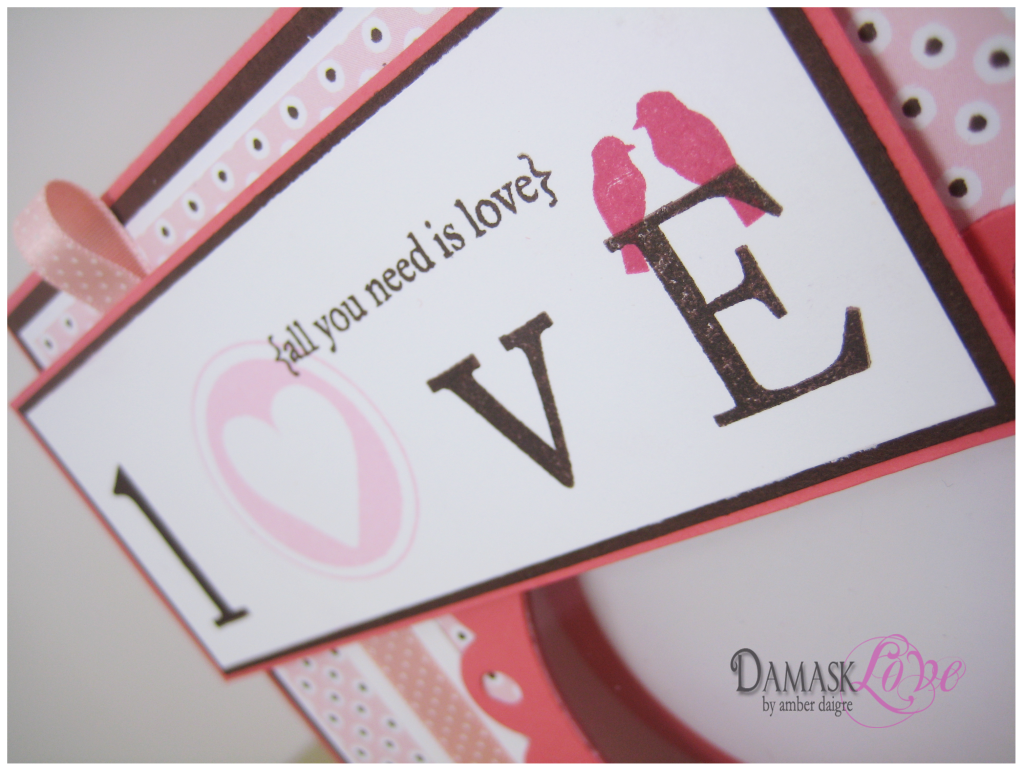
Here’s a close up of the sentiment. How cute are those little birds perched atop the “E”!
Here’s the whole shebang – matching envelope and all!
I was so excited to find the patterned paper that I used for the liner – it matches PERFECTLY – red birds and all!
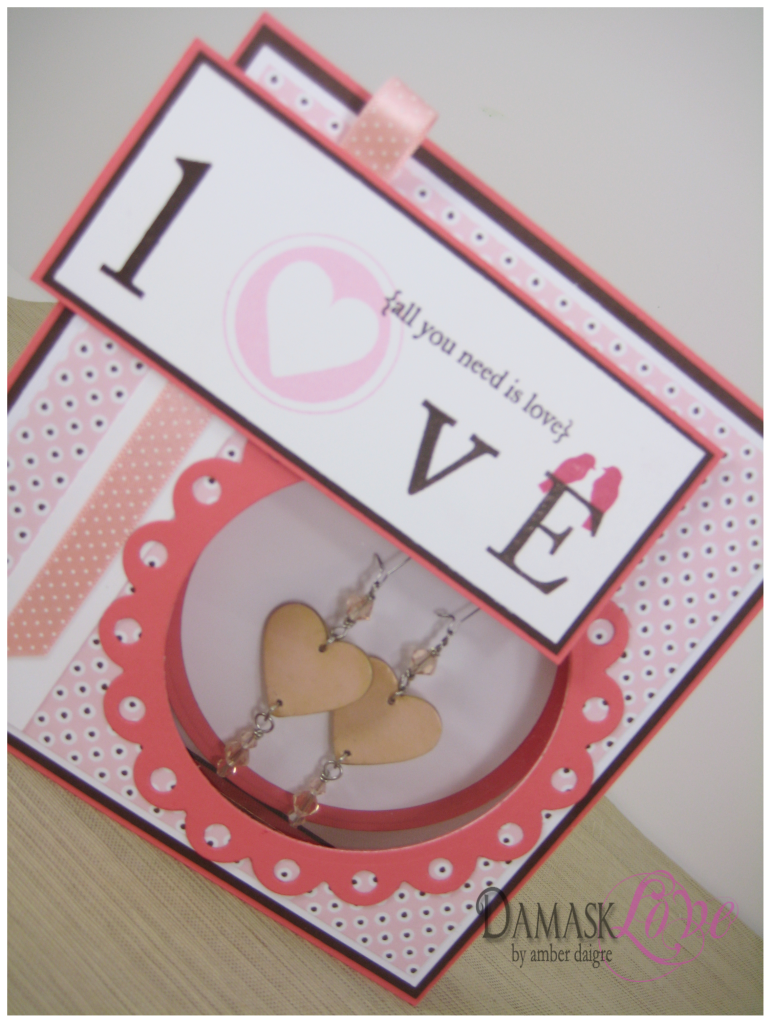
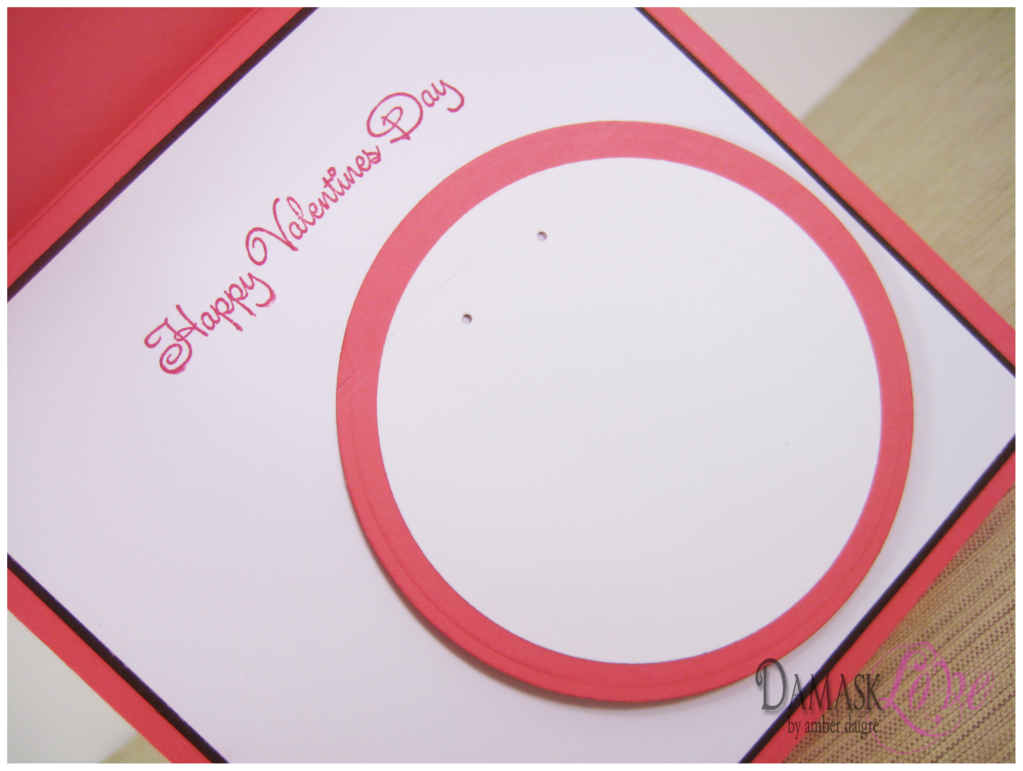
On the inside of the card, I mirrored the circular shape of the window with a circle where I mounted the earrings. I scored the top of the circle so the recipient can easily remove the earrings.
So there it is – the last project of a week full of Valentinesy fun.
I hope these projects have gotten you in a Valentine’s Day mood or given you inspiration for other projects that you’d like to try.
I’ll be back soon with our regularly scheduled blogging:-)
Supplies (All PTI unless otherwise noted):
Stamps: Love Songs, Love Birds, Fillable Frames #11
Paper: Sweet Blush, Dark Chocolate, Stamper’s Select White, Berry Sorbet, Happy Spots patterned paper
Ink: Dark Chocolate, Stampin Up Pretty in Pink, Stampin Up Rose Red
Other: Shimmer Mod Podge, foam brush, Heart Prints die (medium size), jewelry findings (head pin, four – 4mm beads, four – 6mm beads, Spellbinders Nestabilities standard circles, Spellbinders Nestabilities eyelet circles

apotek pa nett [url=https://apotekonlinerecept.com/#]apotek online[/url] Apotek hemleverans idag
Betrouwbare online apotheek zonder recept: Apotheek Max – Beste online drogist
Online apotheek Nederland zonder recept: de online drogist kortingscode – Online apotheek Nederland met recept
apotek online recept [url=https://apotekonlinerecept.shop/#]apotek online recept[/url] apotek online
Apotek hemleverans idag: Apoteket online – Apotek hemleverans recept
apotek online: apotek online – apotek online recept
Apotek hemleverans idag: Apotek hemleverans idag – Apotek hemleverans idag
apotek pa nett [url=https://apotekonlinerecept.com/#]apotek online[/url] apotek online recept
ApotheekMax: Beste online drogist – Apotheek online bestellen