Hello, Hello, Hello!
Let me start this post off by saying: I am a sucker for holidays….all of them! My goal in life is to figure out how I can put up decorations for President’s Day.
In the meantime – I will stick to the easy holidays. The ones that come with colors. The ones that come with decorations…the kind of decorations that flood the aisles of Target, months before the actual holiday even arrives.
Enter: Valentine’s Day!
There are certainly those who hate this holiday. Calling it a “too commercial,” “A Hallmark holiday.”
I, on the other hand, call it a great excuse to wear my favorite red pea coat and a fabulous reason to give out crafty creations to friends and family.
With that in mind, I thought I would dedicate this week’s blog posts to Valentine’s day! Everyday, I will post a project or creation that fits the holiday. And if you are inspired – you’ll have a few days to recreate these crafts yourself!
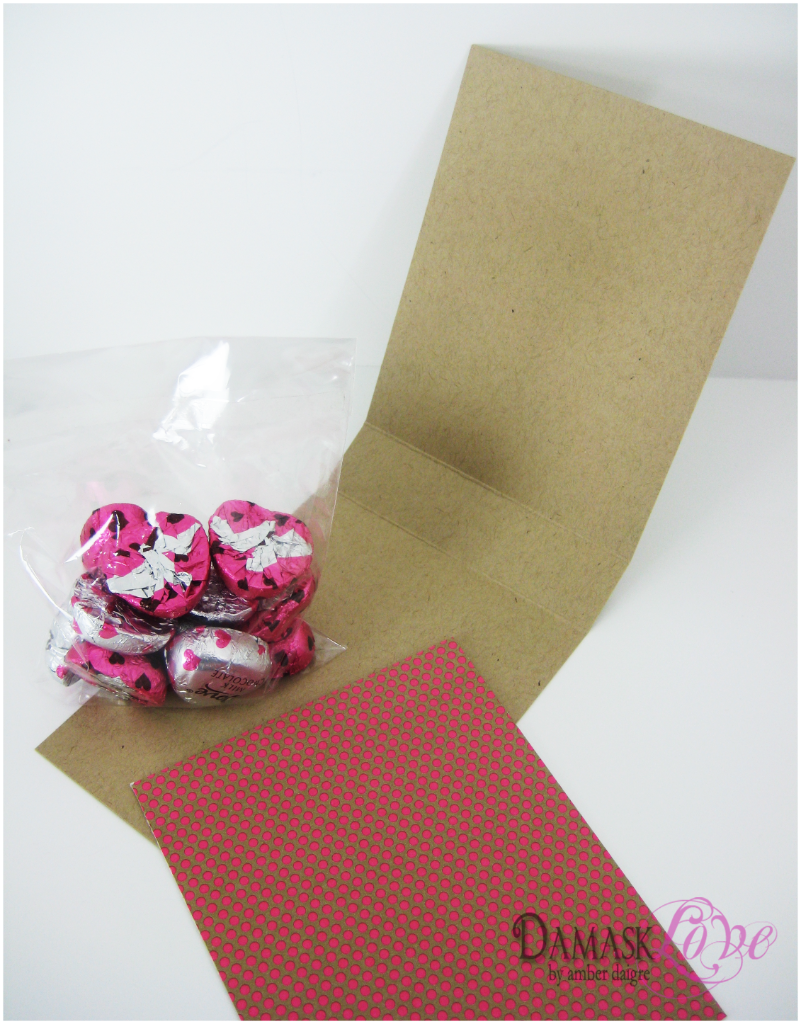
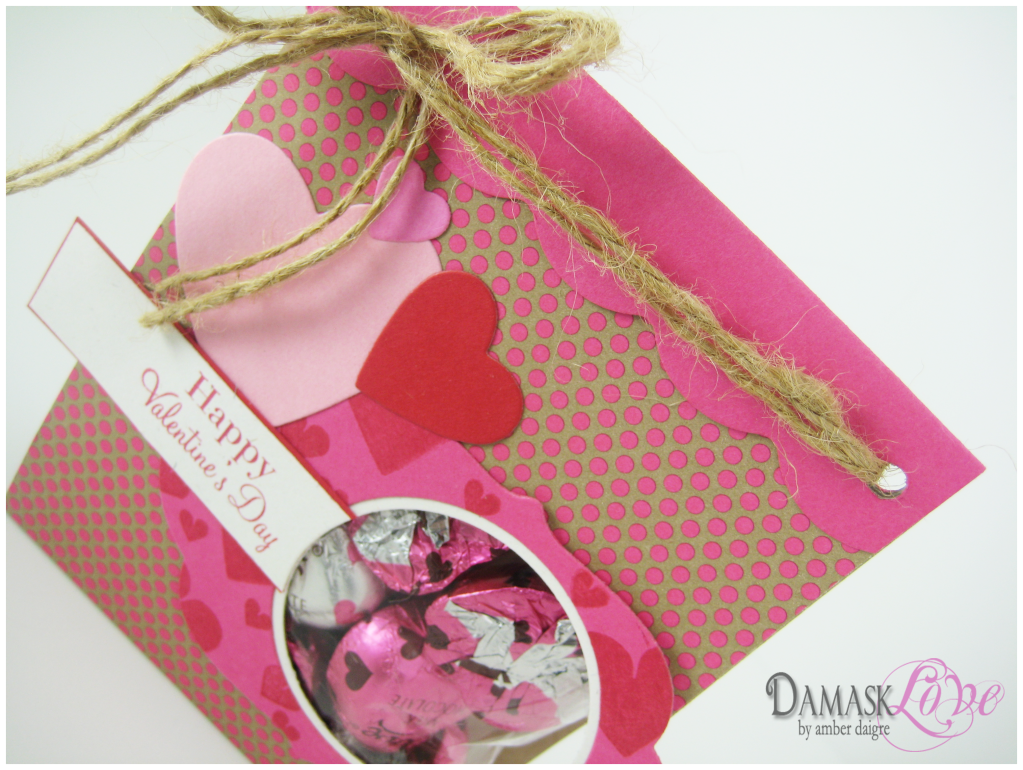
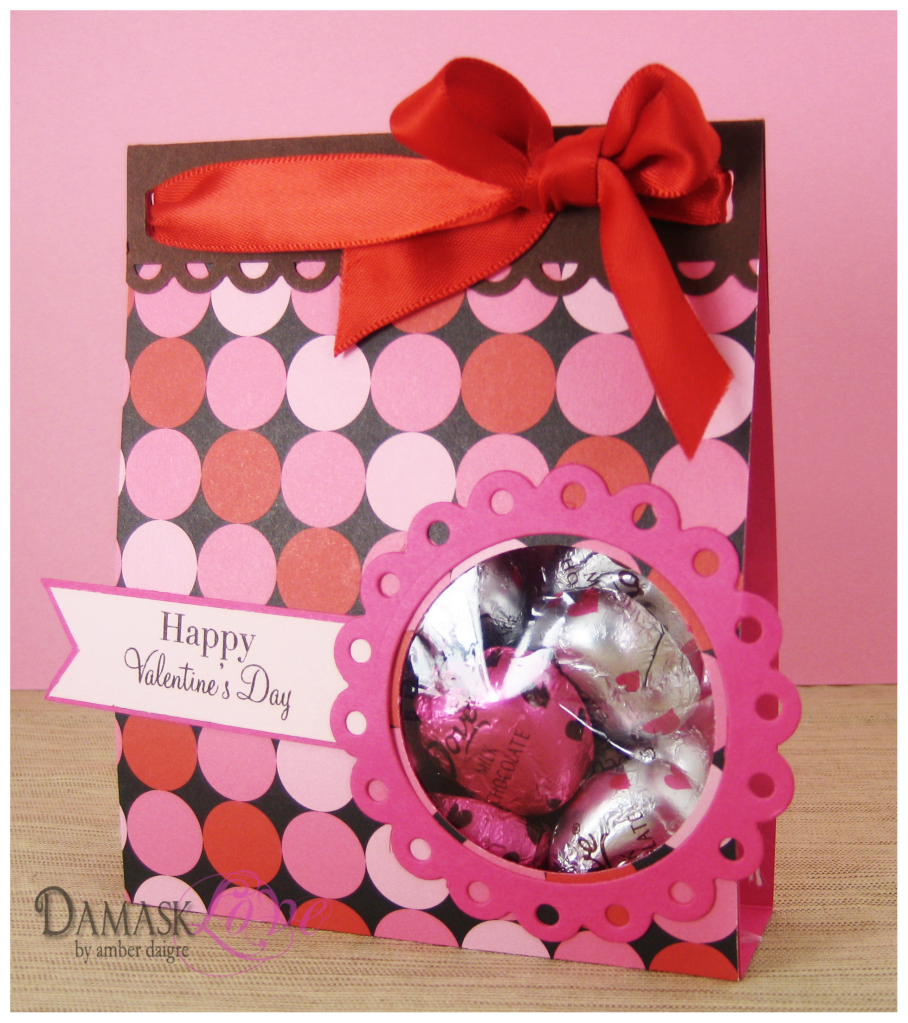
For today’s post, I created this cute treat bag filled with yummy chocolates. I have seen these done by lots of other crafters. I thought it might be helpful to show the step-by-step process for those who have never seen this project before.
It’s simple.
Just some cardstock, scored and folded around a small glassine bag filled with your favorite sweet. The front of the treat bag is a blank canvas for you to unleash your creativity.
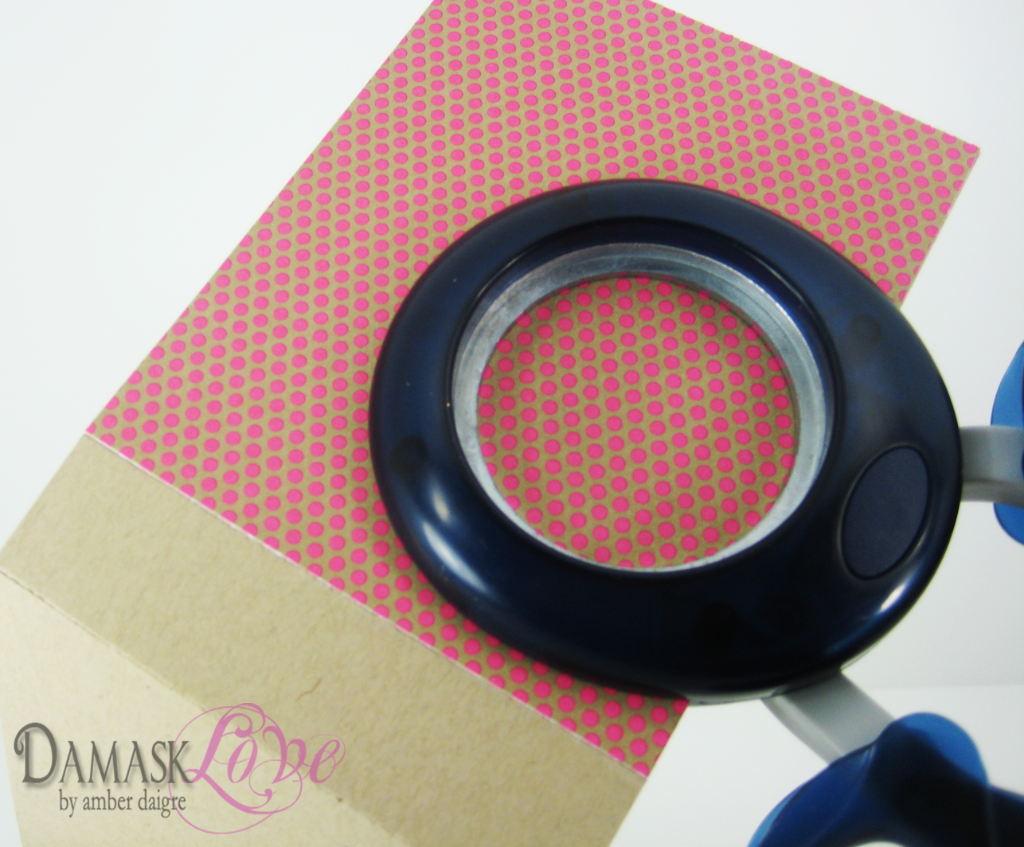
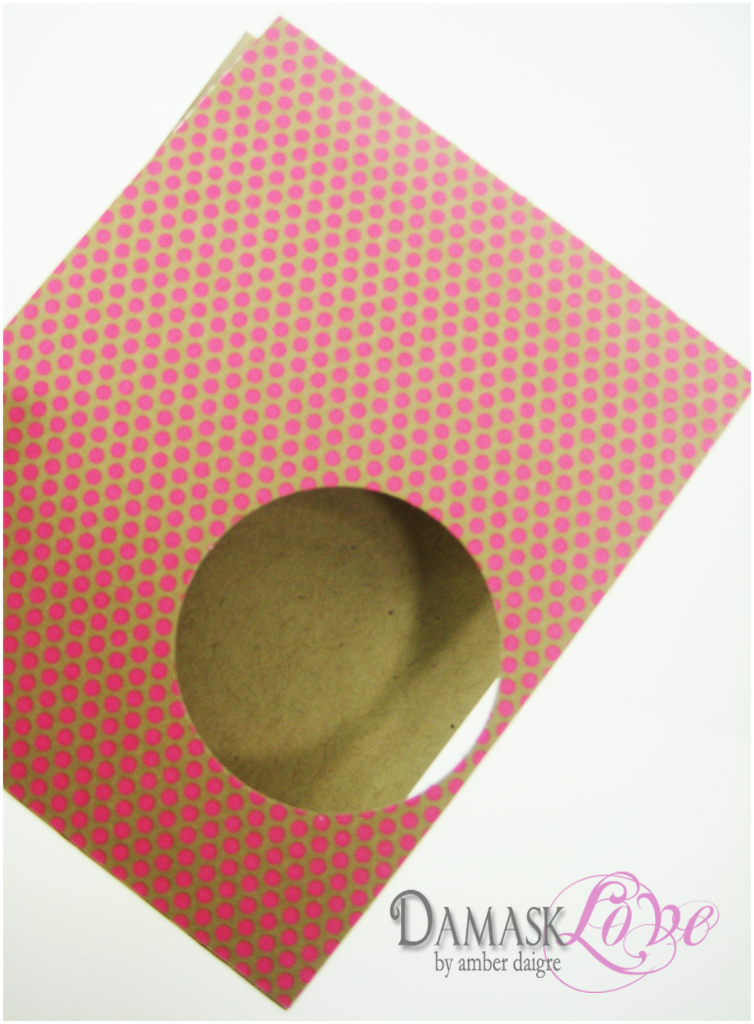
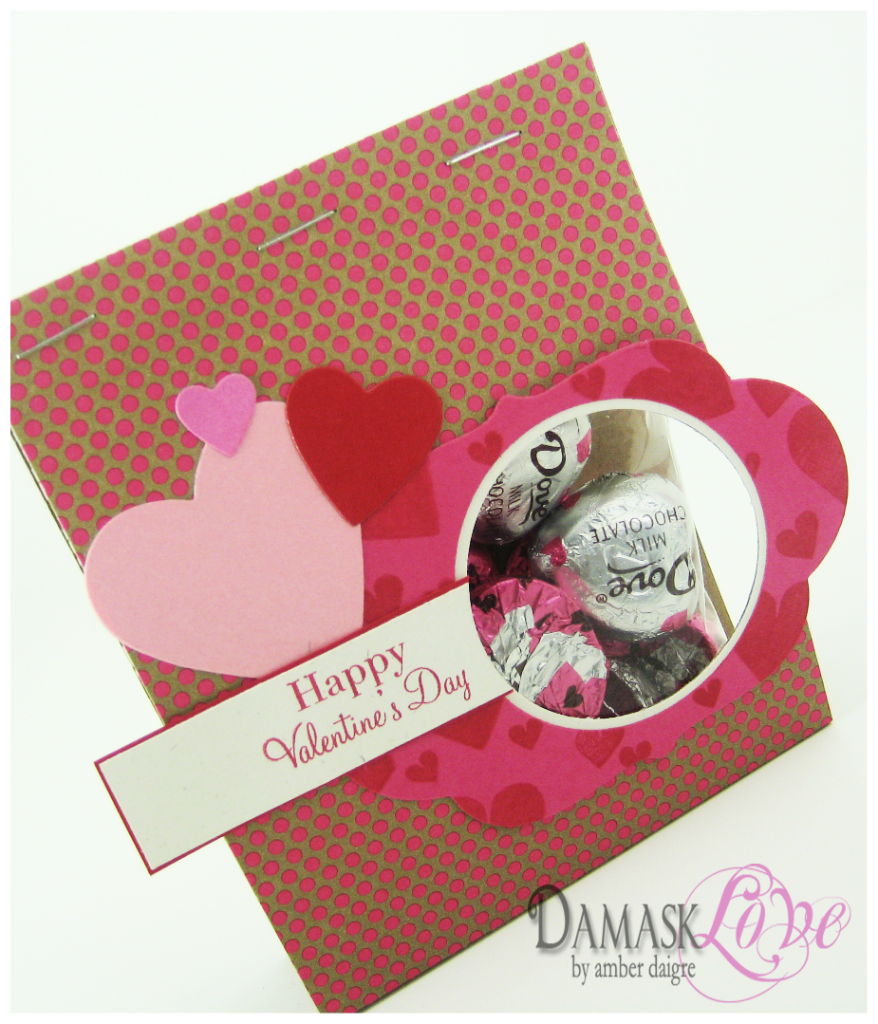
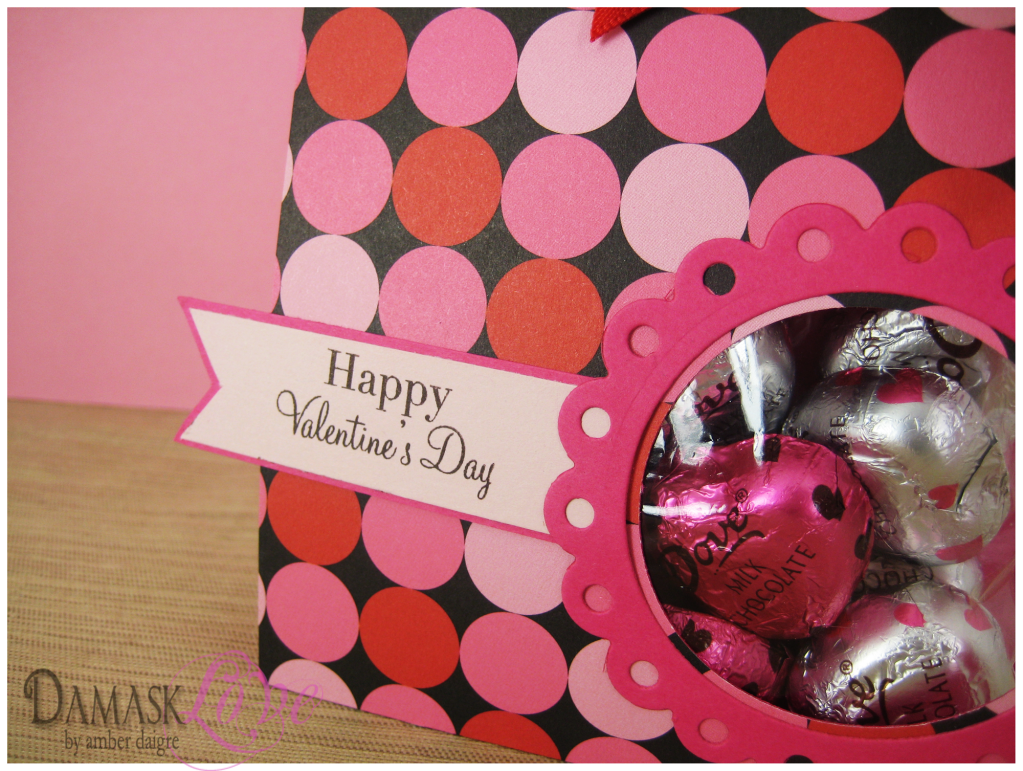
I used my Fiskars 2.5″ Circle Punch to create a window to showcase those cutie-patootie chocolates!
I created a border for my window using PTI Mat Stack #5. I finished off the front of my treat “bag” with a little strip of paper, stamped with a friendly sentiment!
Once the bag was closed, I used some cardstock and twine to trickily hide those unsightly staples!
And why not make another??!?
Too cute, right!?
Until next time…
Supplies (Papertrey Ink unless otherwise noted):
Red Bow Valentine Bag
Stamps: Love Birds (“Happy Valentine’s Day” sentiment)
Paper: Dark Chocolate, Raspberry Fizz
Dies: Spellbinder’s Nestabilities Eyelet Circles
Other: PTI Pure Poppy Satin Ribbon, Fiskars Extra Large Squeeze Circle Punch, Dove Milk Chocolates
Twine Valentine Bag
Stamps: Love Birds (“Happy Valentine’s Day” sentiment), Love Songs (heart stamps)
Paper: Kraft, Dotty Biscotti patterned paper, Pure Poppy, Sweet Blush, Hibiscus Burst, Rustic White
Dies: Heart Prints die, Mat Stack #5 die
Other: Heart Prints die, Fiskars Extra Large Squeeze Circle Punch, Dove Milk Chocolates



Hi! Thank you for this nice walk-through! The bags are very cute! I will try to make some too, if I get time later this week.
These bags are super cute and what a fun project!! They look fab!
You know I’m a sucker for twine… 🙂
Amber…….This is so, so cute! Now I feel like I should go out and buy some chocolates to have on hand for your posts all week!!! Enabler, you!
These are FANTASTIC! I’m loving all your work Amber. So much talent!
so cute Amber! Love it!
Cute, cute, cute, cute!! Love the little window you created for the candy!! The 2nd one is my favorite!!
So sweet! I really love this and have been meaning to try something similar. I like how you didn’t center the circle and let the mat stack go off the side. It is a very eye catching and I would have never thought of it! As always, thanks for sharing and taking the time to give us directions!
I have not opened my bag, because it is so darn precious!!! Thanks again!!