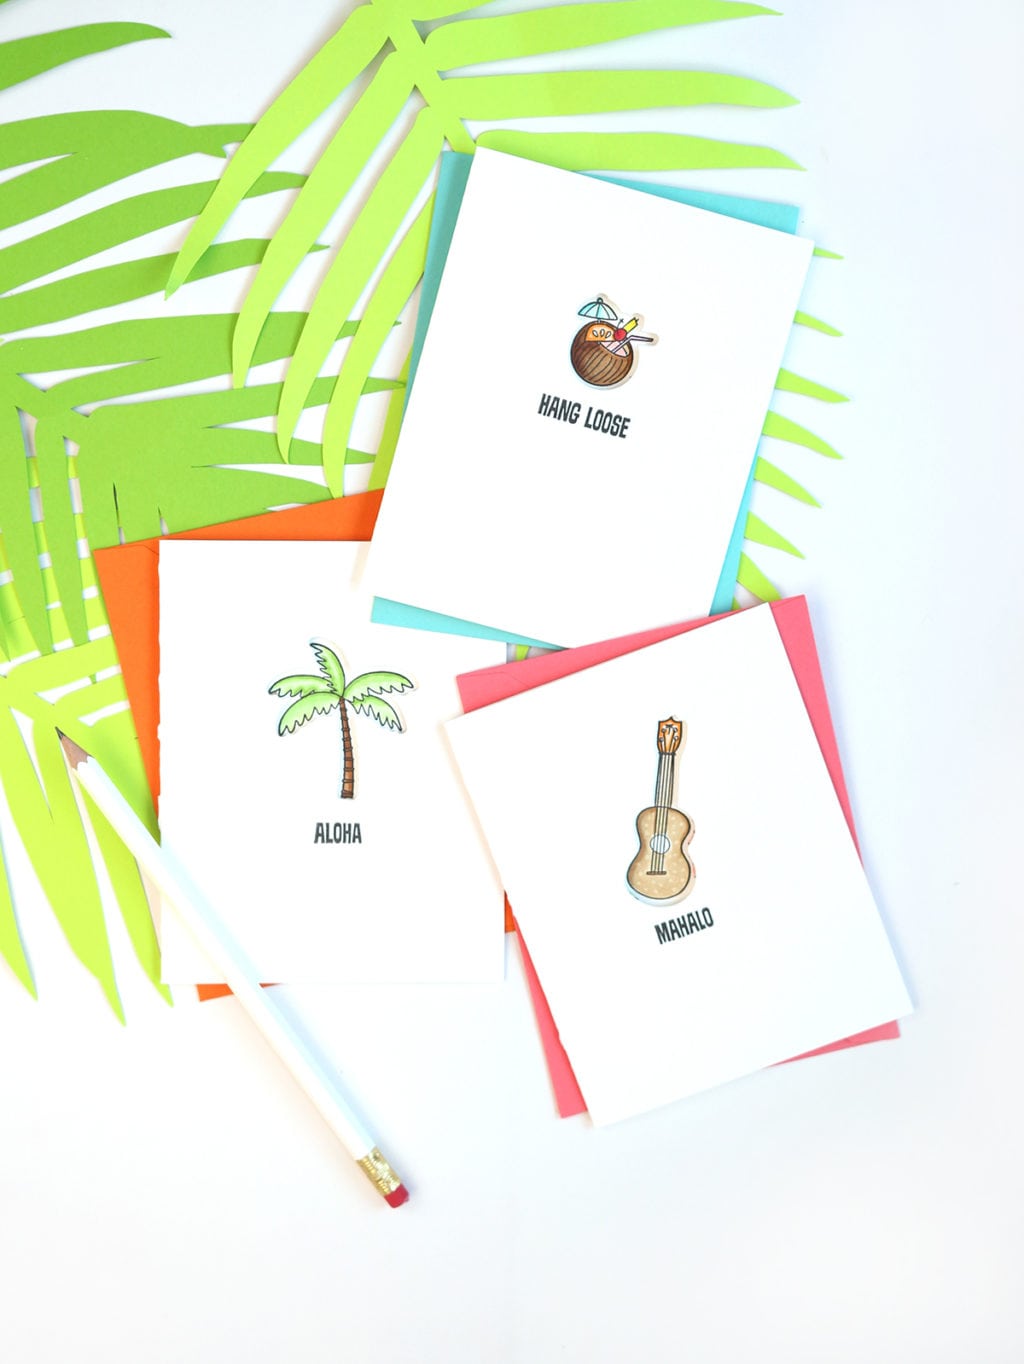
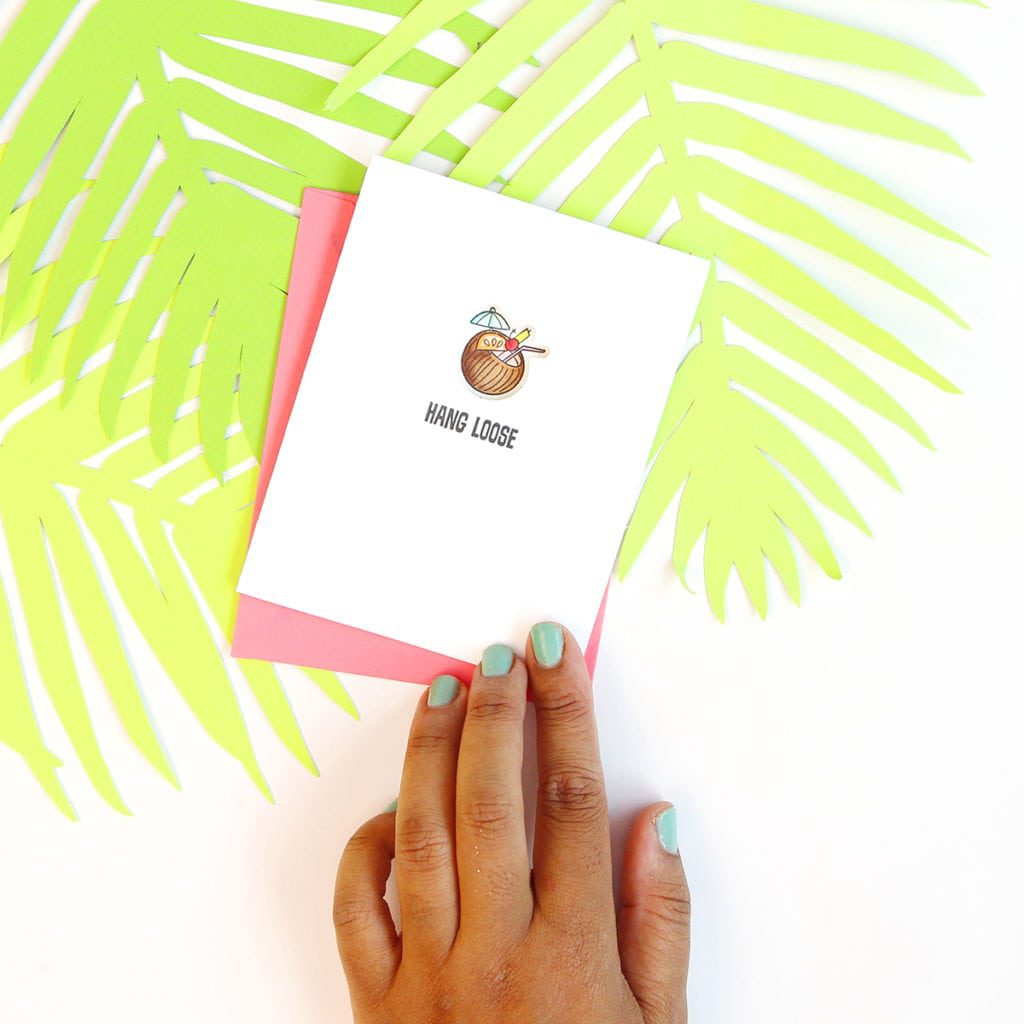
It all started with cards. That’s where the blogging bug bit me – and clearly, it bit me in a big way, because here I am years later, plugging along. If there are any of your who’ve been reading Damask Love since the beginning, I would love, love, love to hear from you! For those who are newer to my corner of the interwebs, I’m excited to share today’s project. It’s definitely a nod to my cardmaking roots.
Of all the crafts you can create, cards are perhaps the most useful. You may not be into emojis and you may not need candy in a frame, but chances are that before to long, you’re gonna need a piece of beautiful stationery. Your sister will have a birthday and you’ll need a card. Your co-worker will get a promotion and you’ll need a card. You pretty much always need a good card. Obviously my favorite kind of cards are the handcrafted kind. The kind that make in impact but don’t take all day to create. The kind that are packed with color and a little bit sassy-fied. And if they feature a palm tree- well, then that’s a bonus. Today’s card project is all of the above. Let’s get to it.

What you need:
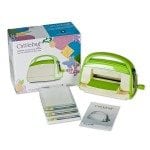
- a cuttlebug or other manual die cutting machine (if you don’t know the first thing about manual die cutting machines, visit the Craft 101 video page for a quick 60 second tutorial)
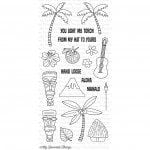
- Tiki Party Stamps from My Favorite Things
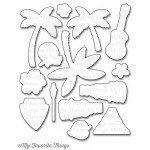
- Tiki Party Dies from My Favorite Things
- Folded A2 cards (note: A2 = 4.25″ x 5.5″)
- Black permanent ink
- Clear acrylic stamping block
Not pictured:
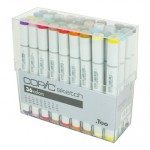
- Markers for coloring
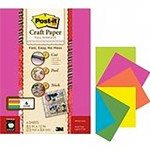
- Post-it Paper
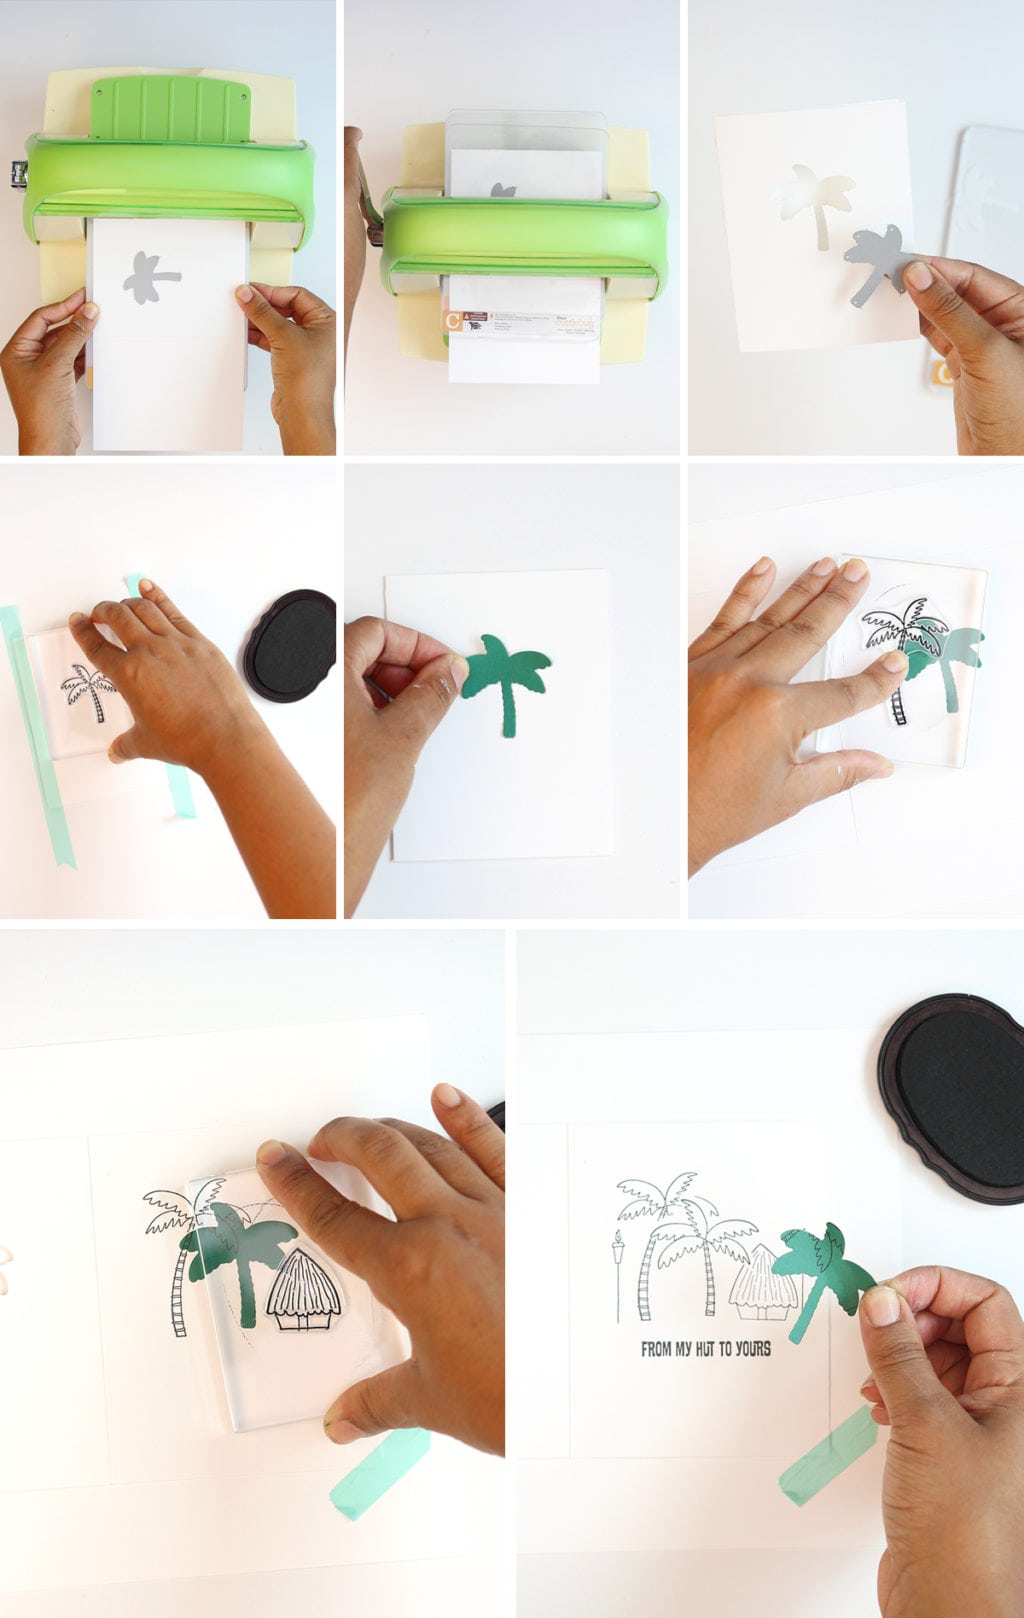
What you do:
- Place the die onto the front of the card
- crank the die through your manual die cutting machine
- you will be left with a window in the front of the card
- close the card and set on top of your work surface (I found that washi tape was helpful in keeping the card closed)
- stamp the coordinating image in the window
- die cut a piece of post it paper and place the post it paper in the window
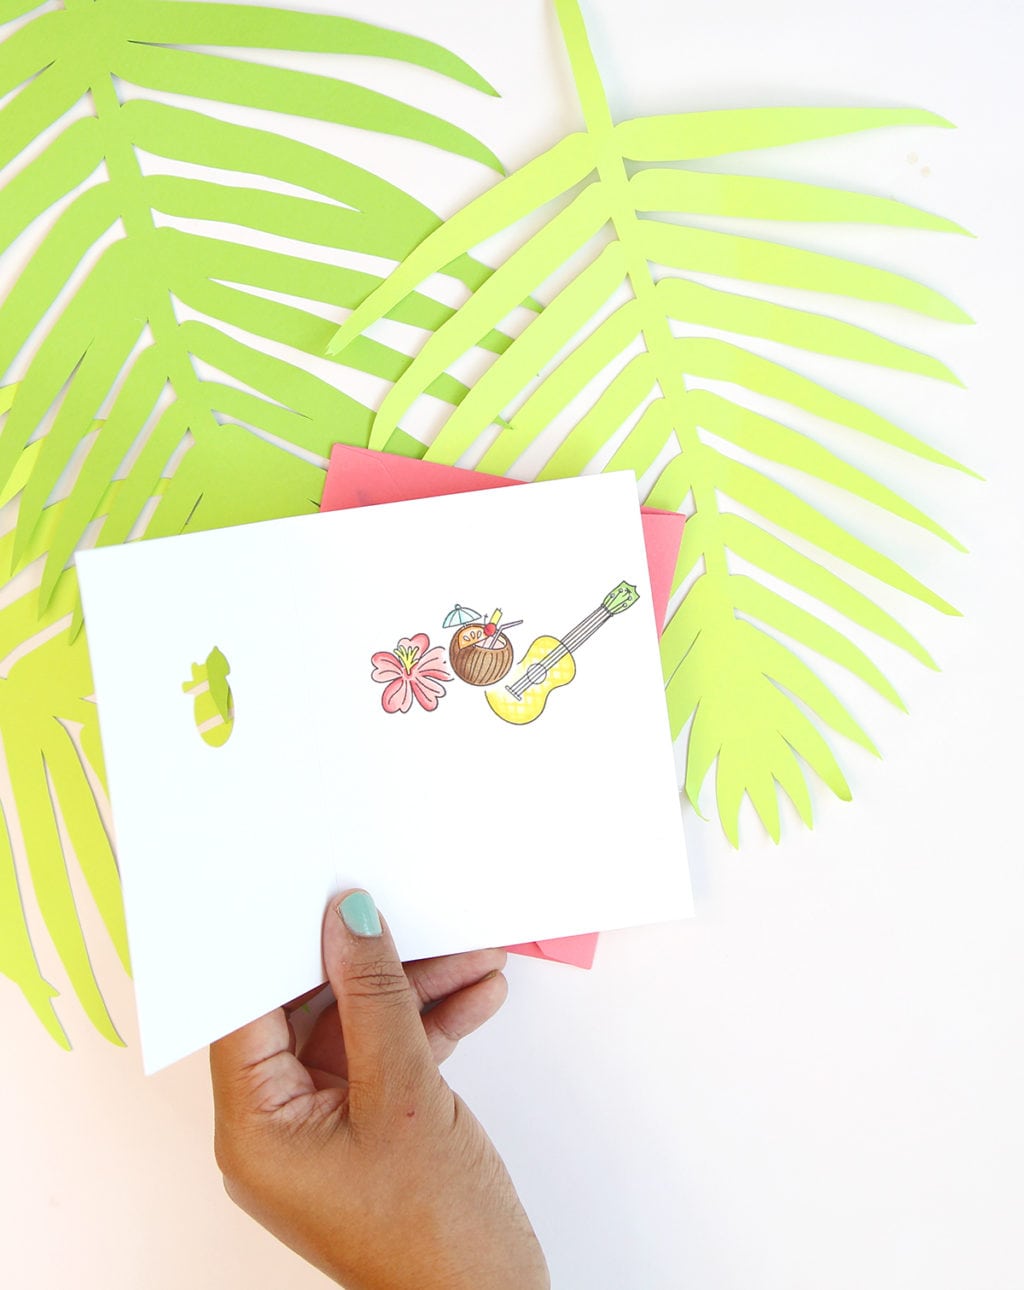
- open the card and begin stamping the inside of the card
- once you are finished stamping the images, remove the post it paper to revel the final design
- use markers to color in the image
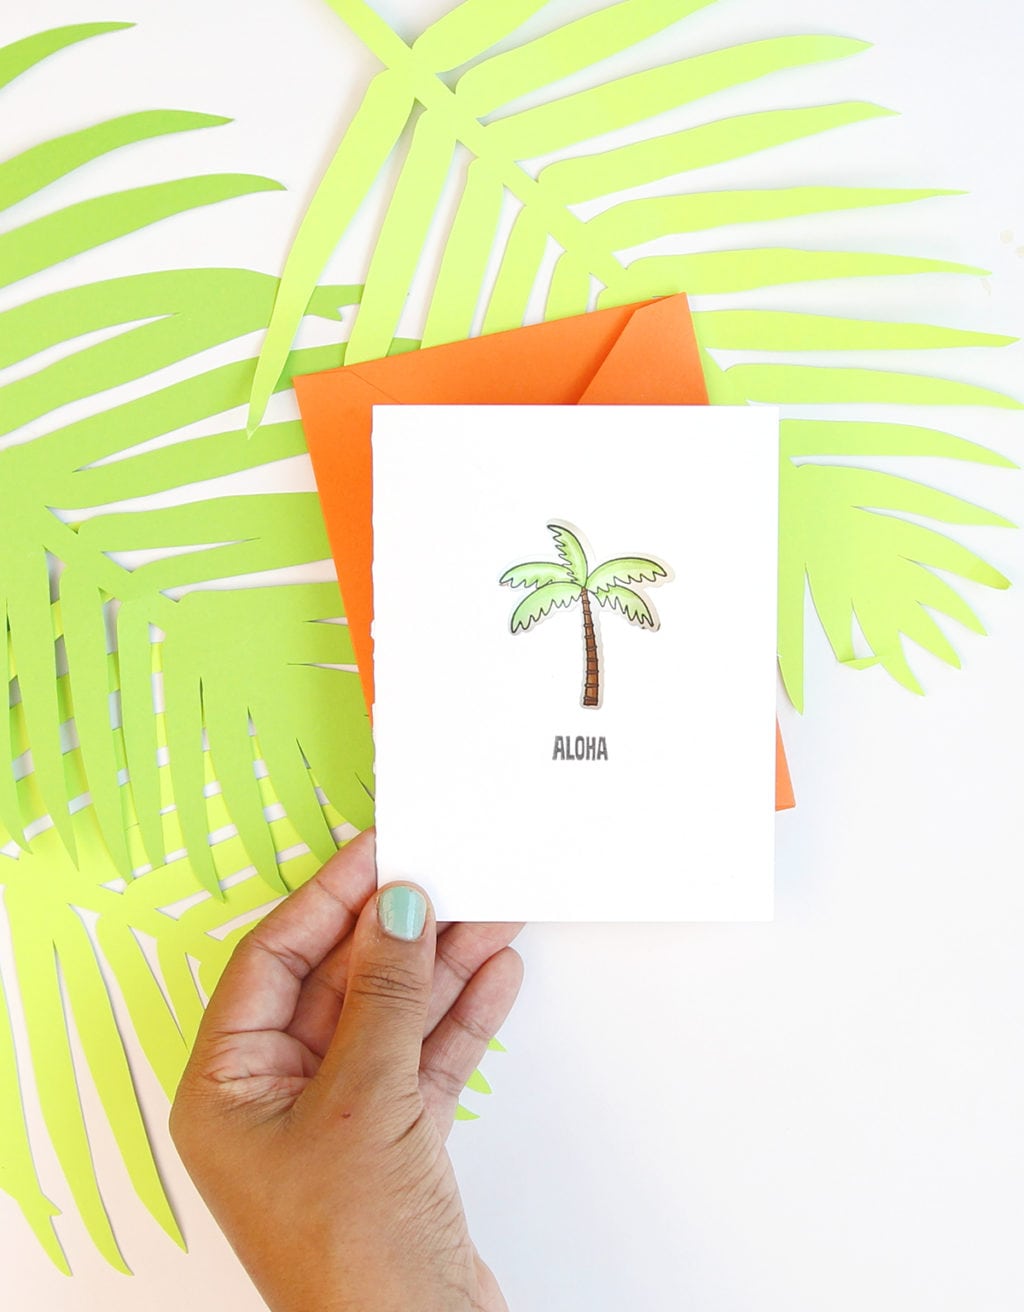
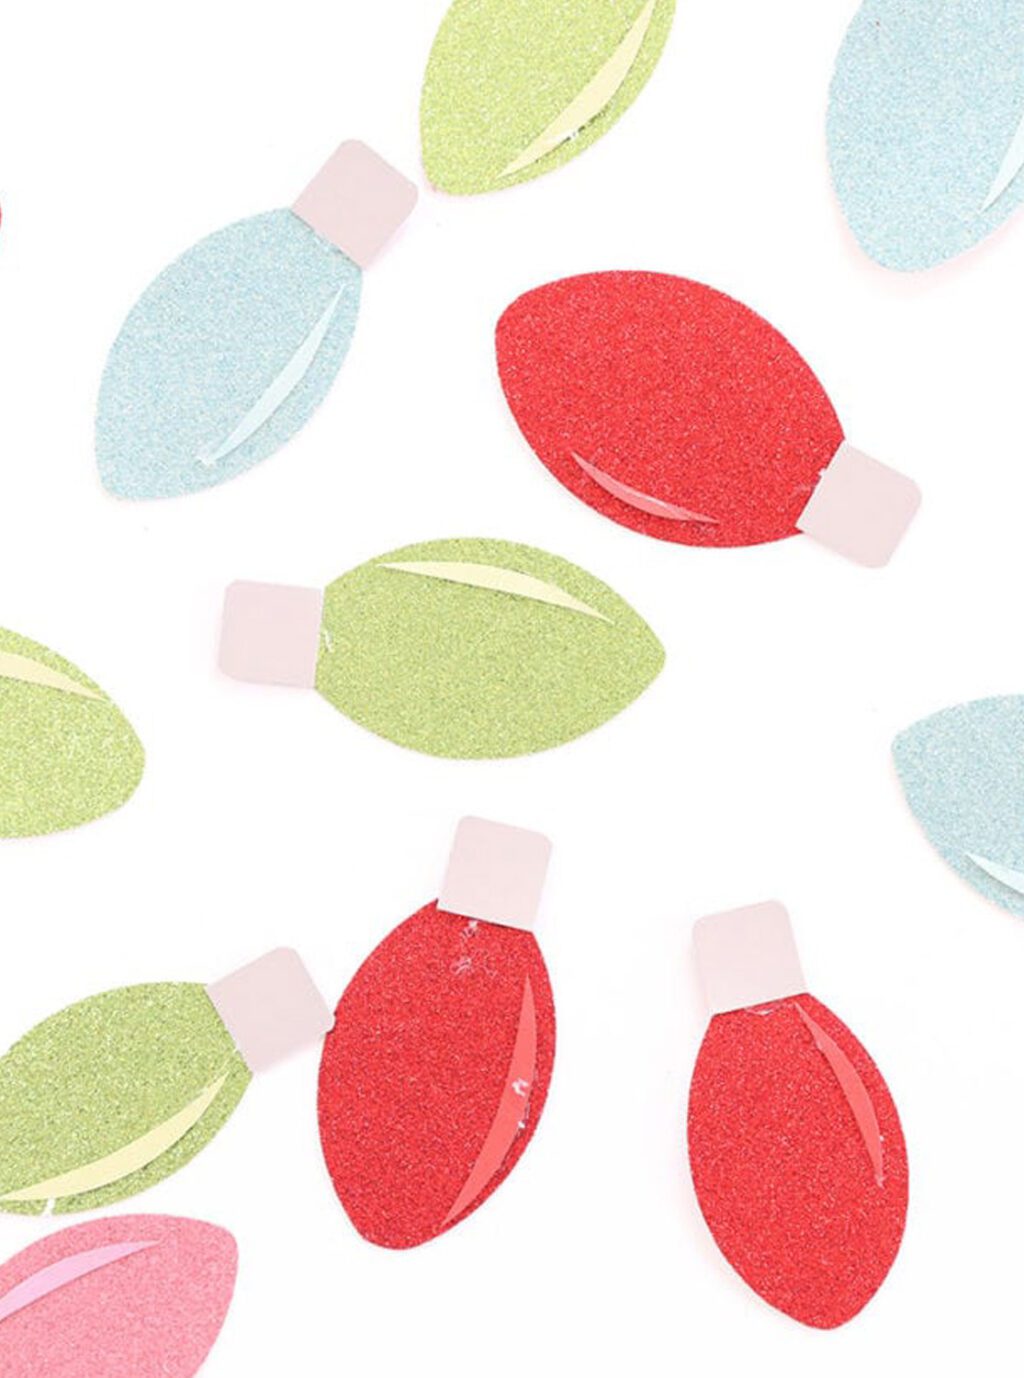
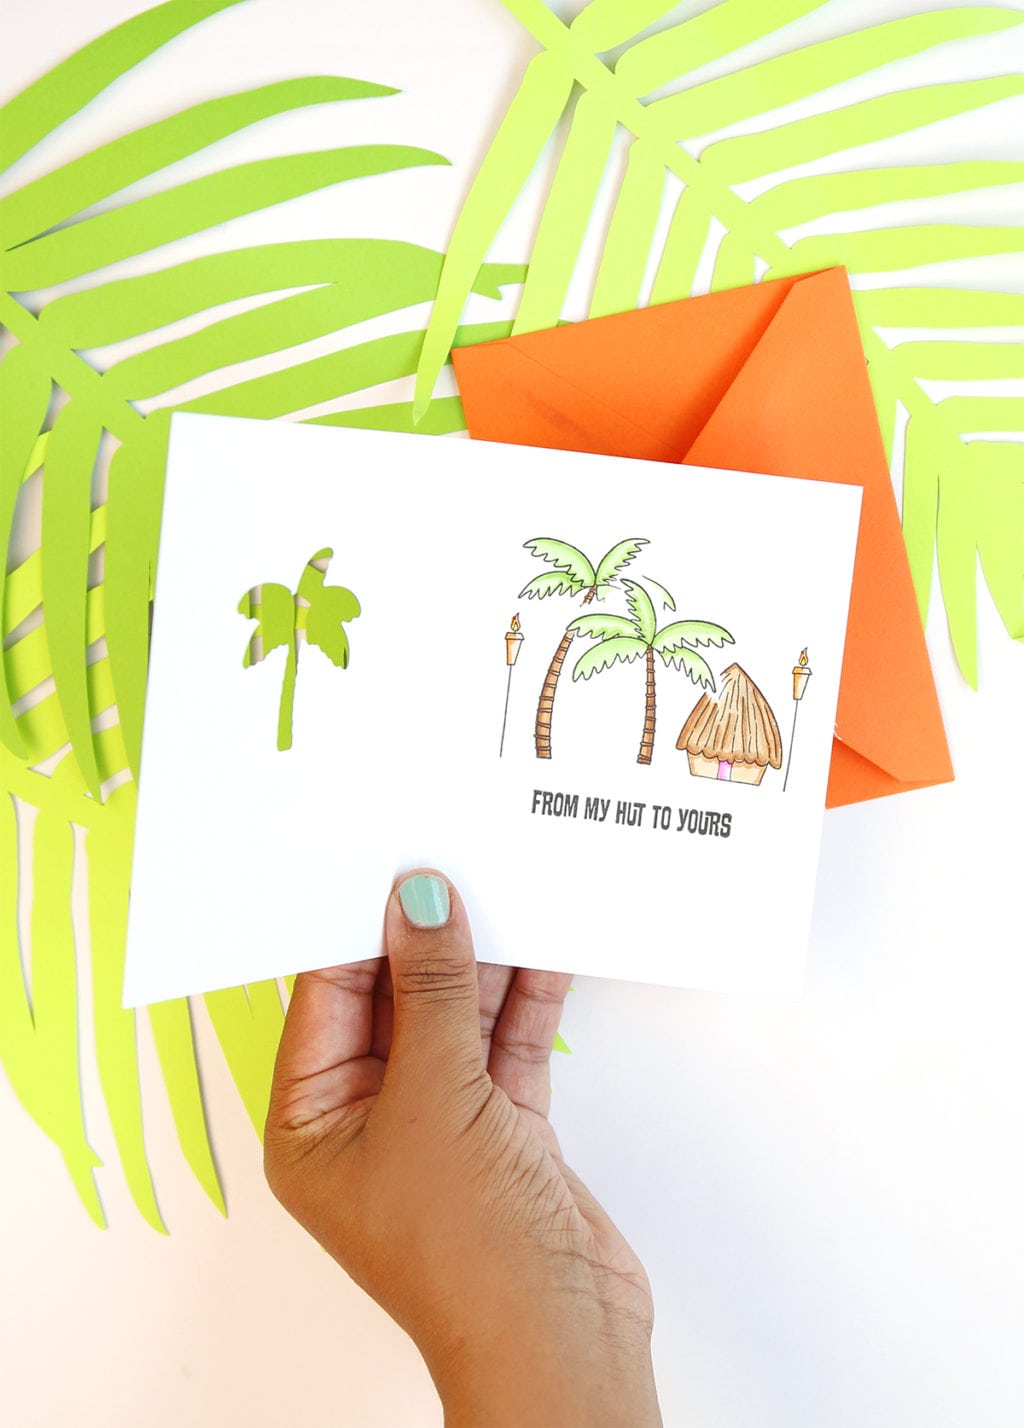 I like to call these cards “inside-out stationery” because they pack such a punch when you open them up. Once you get the hang of this really simple technique, you can have a great time with stamps and dies. I’d love to see what you come up with! Share you own inside-out creations on Instagram and tag @damasklove so I can see!
 Here’s hoping you’re inspired to create a few pretty pieces of stationery for your stash! It’s not hard to do and you will definitely put them to good use!
Thanks to My Favorite Things for generously providing the product used in today’s post! All projects, photos and stories are all my very own!


пин ап зеркало – пинап казино
apotek pa nett [url=https://apotekonlinerecept.com/#]apotek online recept[/url] Apoteket online
Kamagra Oral Jelly kaufen: Kamagra Original – Kamagra kaufen ohne Rezept
http://apotheekmax.com/# Online apotheek Nederland met recept
Kamagra Oral Jelly [url=https://kamagrapotenzmittel.shop/#]Kamagra online bestellen[/url] Kamagra kaufen ohne Rezept
Kamagra Oral Jelly kaufen: Kamagra kaufen – Kamagra online bestellen
https://apotheekmax.com/# Online apotheek Nederland met recept
https://apotheekmax.shop/# de online drogist kortingscode
Apotheek Max: Online apotheek Nederland zonder recept – Online apotheek Nederland zonder recept
https://apotekonlinerecept.shop/# Apotek hemleverans recept
http://apotekonlinerecept.com/# Apotek hemleverans recept
Online apotheek Nederland met recept [url=https://apotheekmax.com/#]Apotheek online bestellen[/url] online apotheek
Kamagra Original: Kamagra kaufen – Kamagra Gel
http://kamagrapotenzmittel.com/# Kamagra Gel
online apotheek: online apotheek – ApotheekMax
https://apotekonlinerecept.com/# apotek online
https://apotheekmax.shop/# de online drogist kortingscode
Apoteket online: apotek online recept – apotek online recept
Kamagra kaufen [url=http://kamagrapotenzmittel.com/#]Kamagra kaufen[/url] Kamagra Gel
Beste online drogist: de online drogist kortingscode – Betrouwbare online apotheek zonder recept
http://apotekonlinerecept.com/# apotek online recept
Navigating the Medicaid spend-down process requires professional assistance to avoid mistakes. Experienced Medicaid planners offer essential guidance.