Of all the questions I get on the blog, this one is the most frequent:
“What do you use to get your colorful backdrops for photos?”
Well, friends – I’m about to answer that very question and you should prepare yourself to be slightly underwhelmed by just how easy and not fancy it is…
Paint and wood.
That’s it.
I used to use solid colored wrapping paper but found that it gets wrinkly and warped resulting in a pretty unattractive background. Painted wood on the other hand stands up to wear and tear …and when you get sick of the color, just paint over it.
So, today, before we head into the weekend, I’m sharing a few of my favorite paint tips for all you crafters, creatives and bloggers like me. Aaaaand, instead of showing you how I paint my solid color backdrops (which would be a sad, sad one-step tutorial…as in Step 1: Paint the wood…Step 2: there is no Step 2.), I’m painting my own oversized mural that you’ll be seeing more of in upcoming posts.
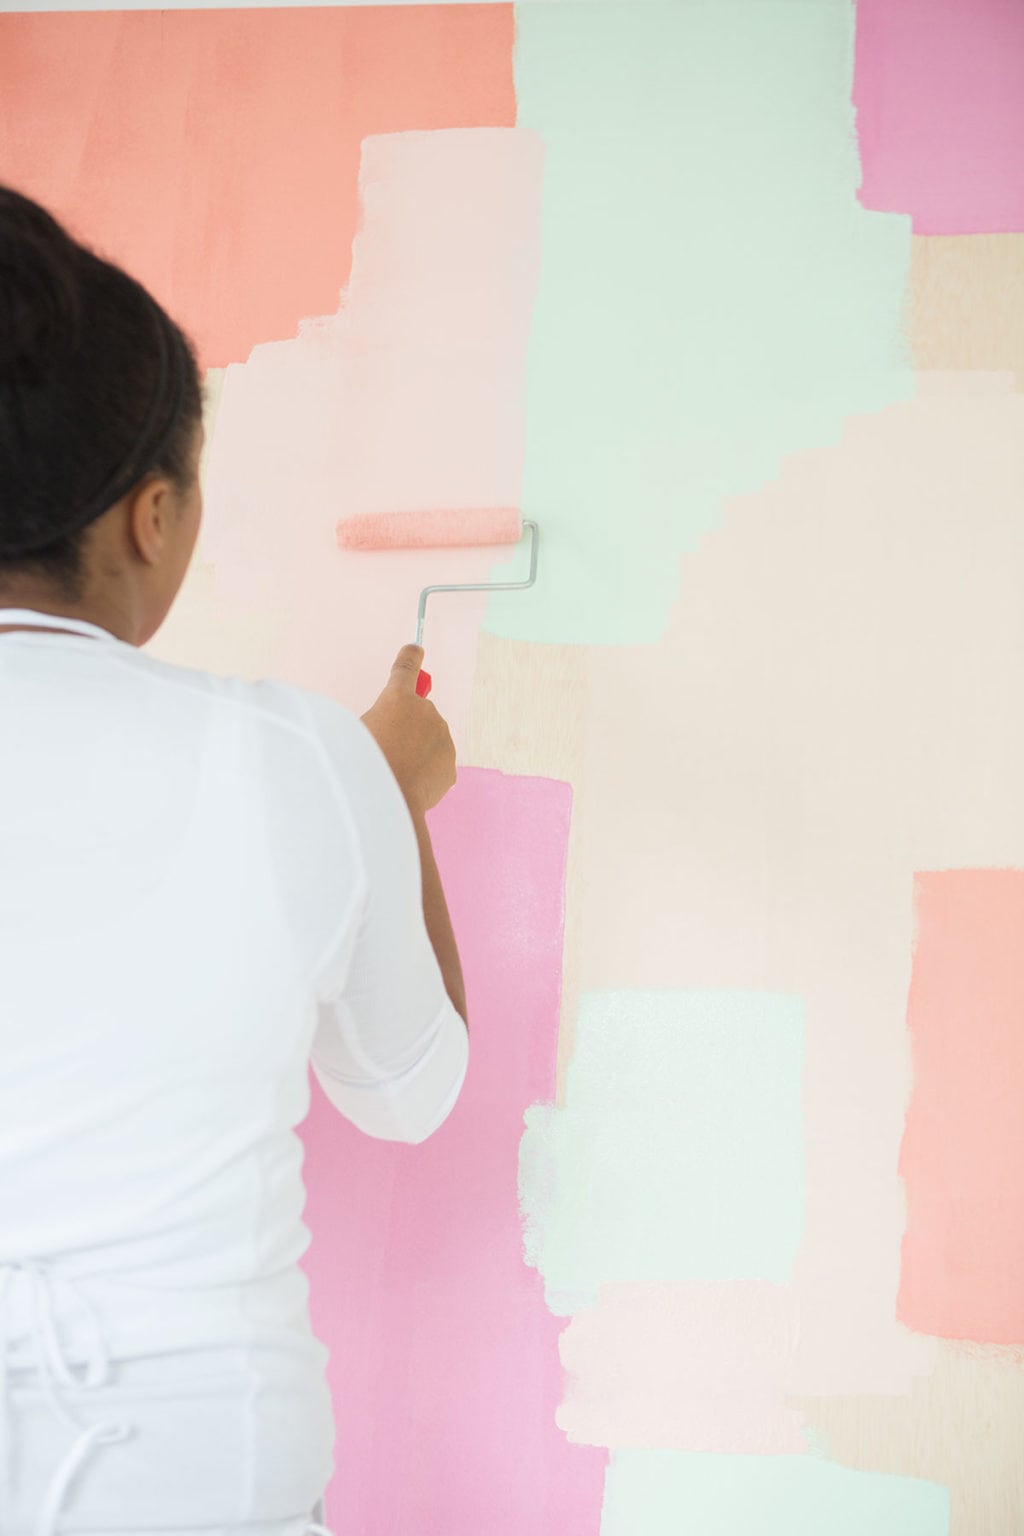
If there is one thing we bloggers love, it’s a good mural. We can stand in front of it, take a million photos and post them on Instagram. Afterall, Instagram is the meaning of life. Fact.
Well – if you don’t live in a mural-ridden city, you may want make your own.
TIPS FOR PAINTING YOUR OWN BACKDROP
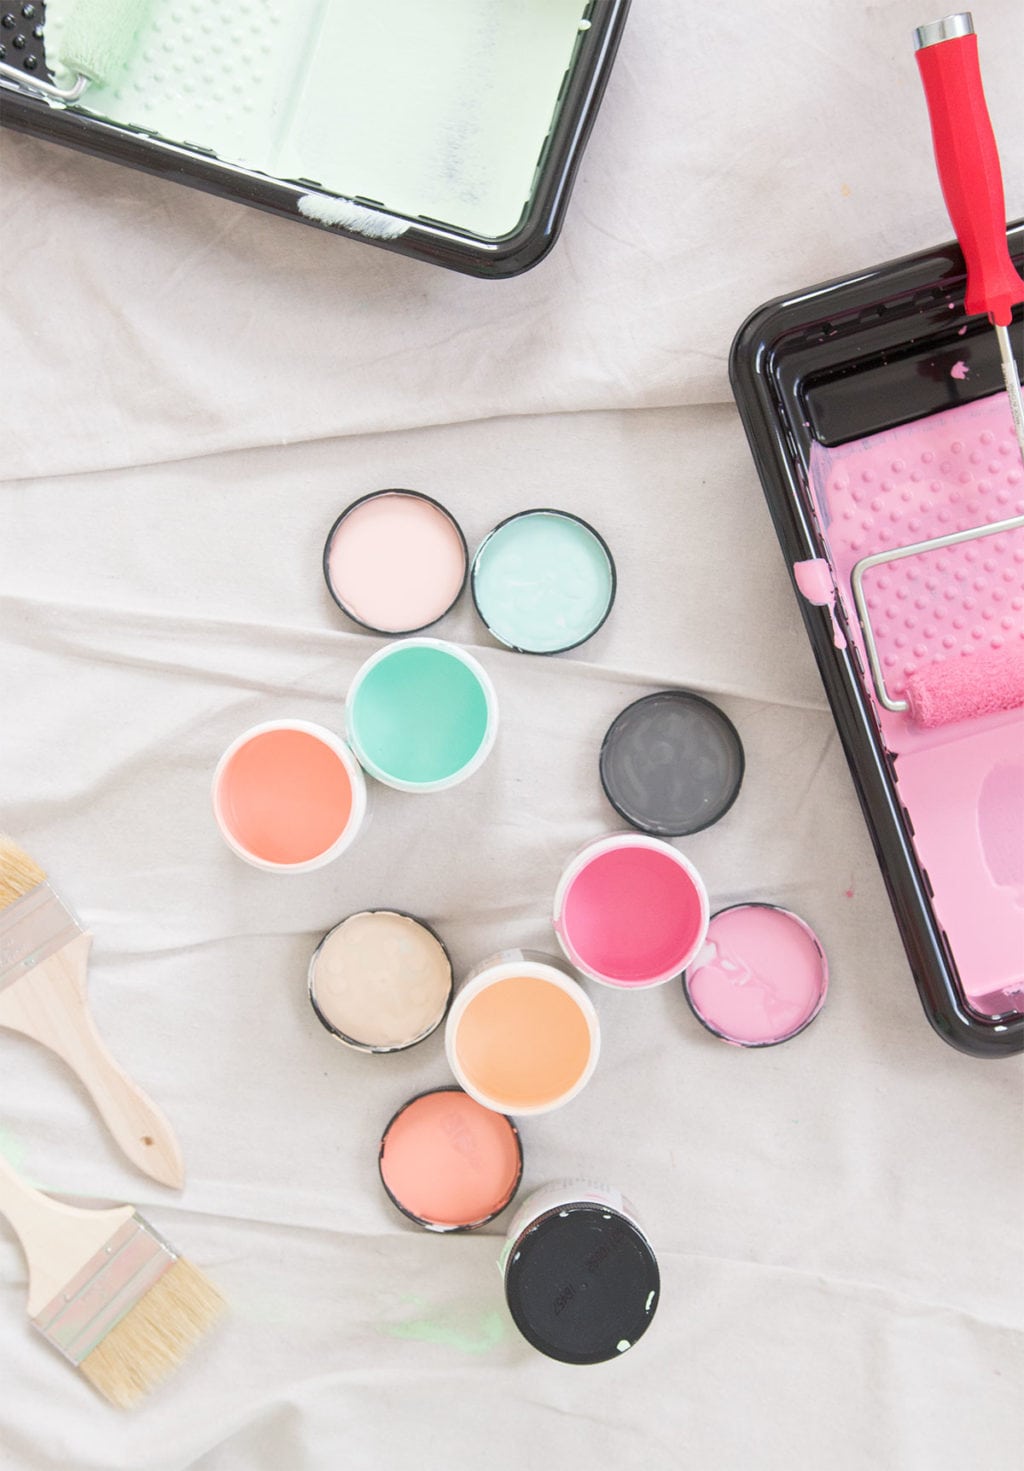
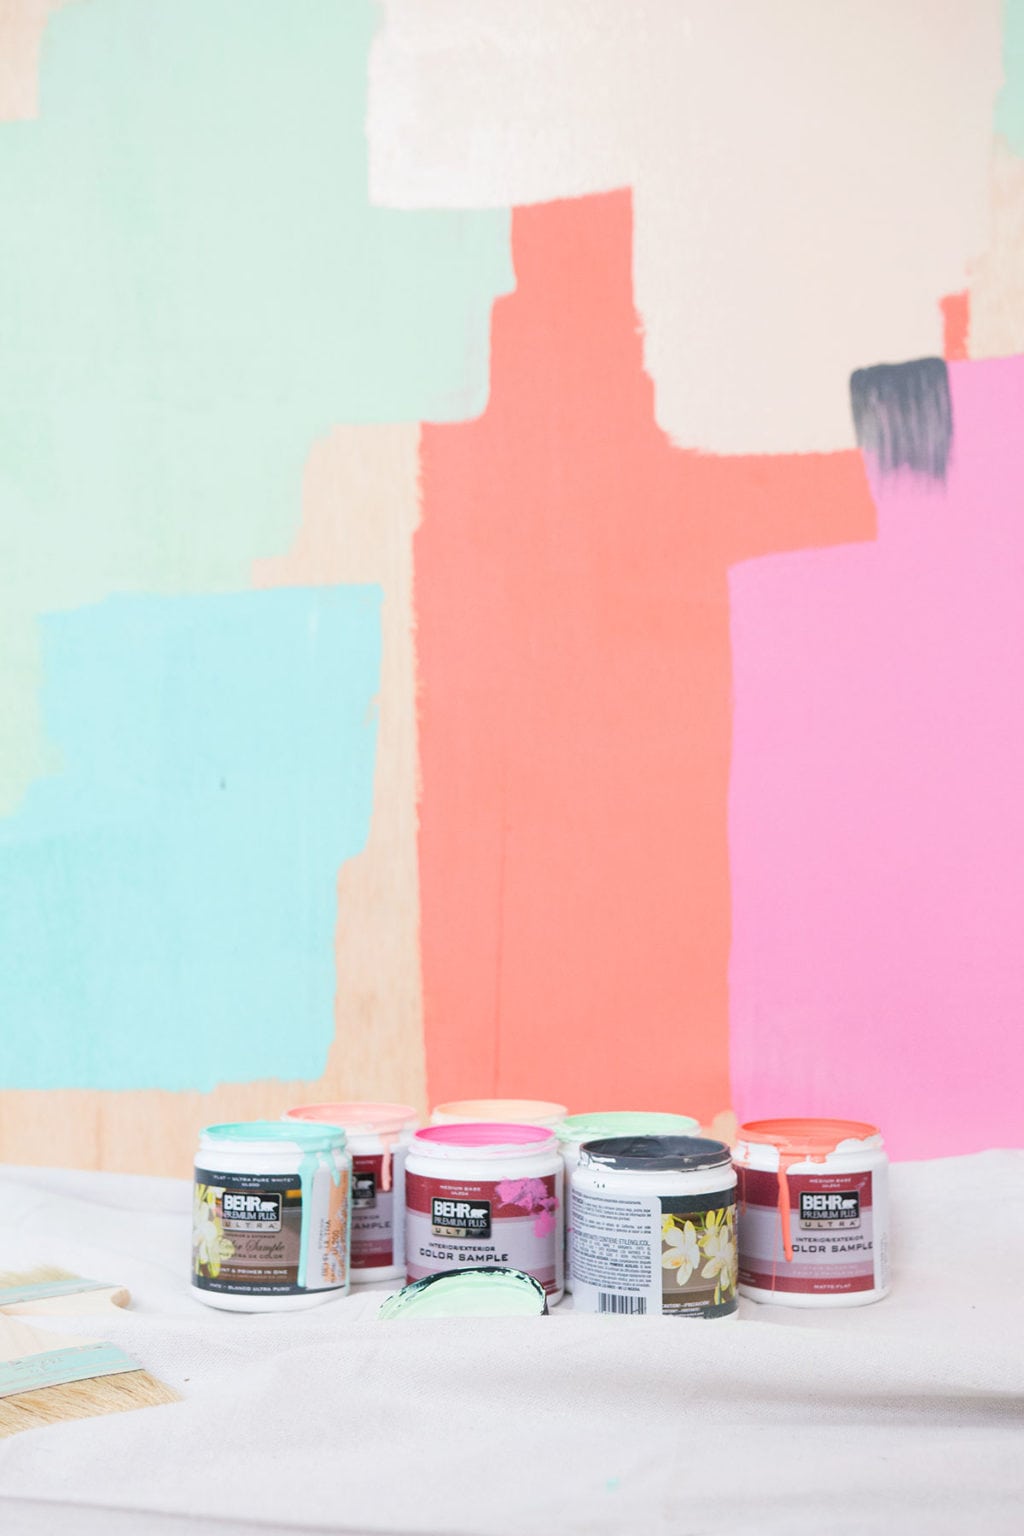
- What will you be photographing on it?! If you’ll be shooting small projects a 24×24” piece of ¼” thick plywood will do the job! If you’ll be shooting larger projects, opt for something bigger – 36”x48”. If you want a life size mural – grab a 4ft x 8ft piece of ½” plywood. That’s what I used for this mural
- Use sample cans. They are affordable and if you don’t love the color, you’ve only lost a small investment.
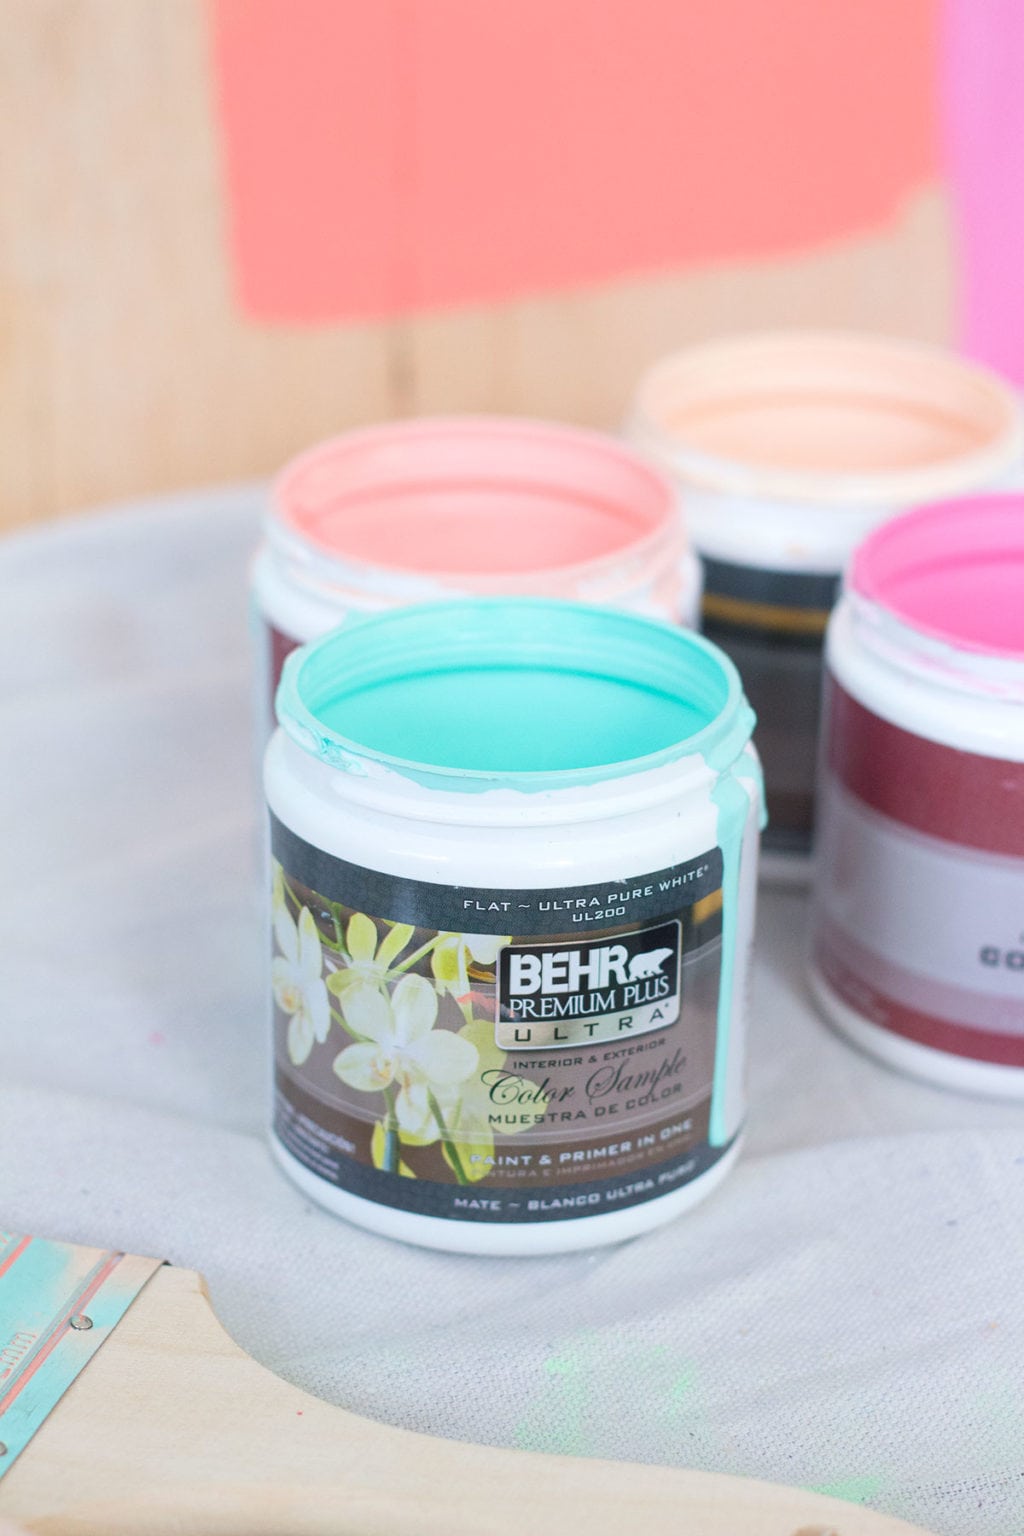
- For this project and my other photo backdrops, I use Behr Premium Plus Ultra.The sample cans are inexpensive (only $3 at The Home Depot) and the coverage is great. You see all those random abstract sections of my mural? Each one is just a single coat and I layered them easily without any show-through.
- If you’re making a mural – stick with abstract strokes…that way there’s no pressure to be perfect!
- Use a combination of paint brushes and paint rollers. The change in texture makes your mural more interesting
- Use a flat paint! It won’t give you any weird glare or reflection in your photos and it dries quickly , which is perfect for impatient crafters like me.
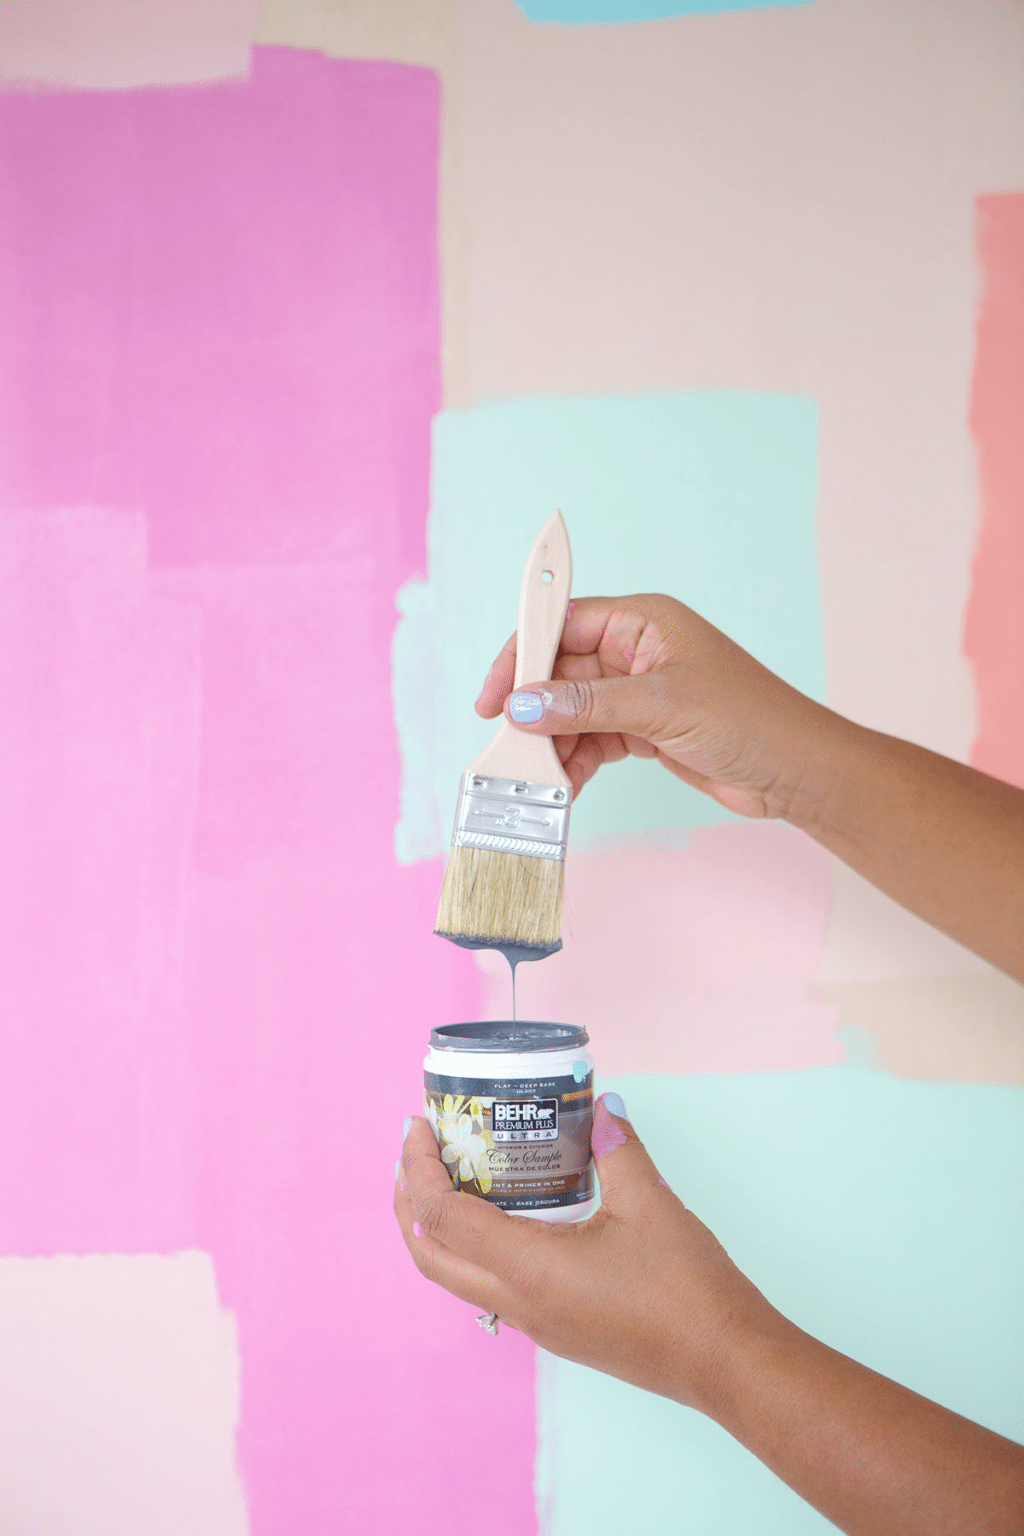
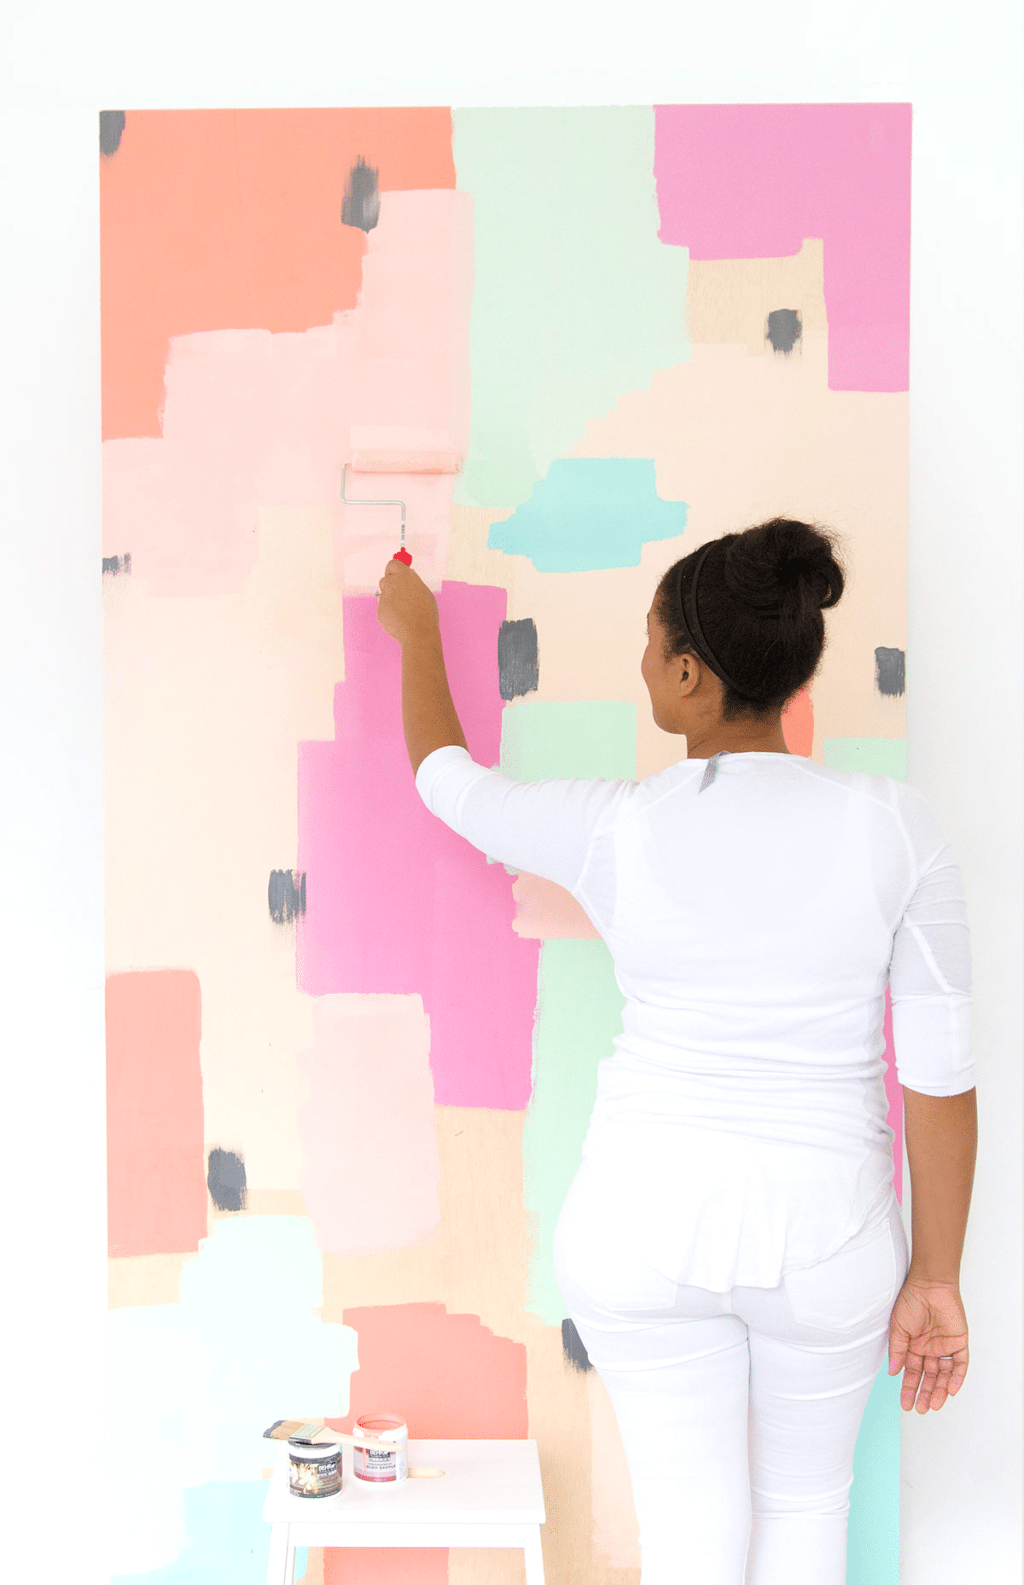
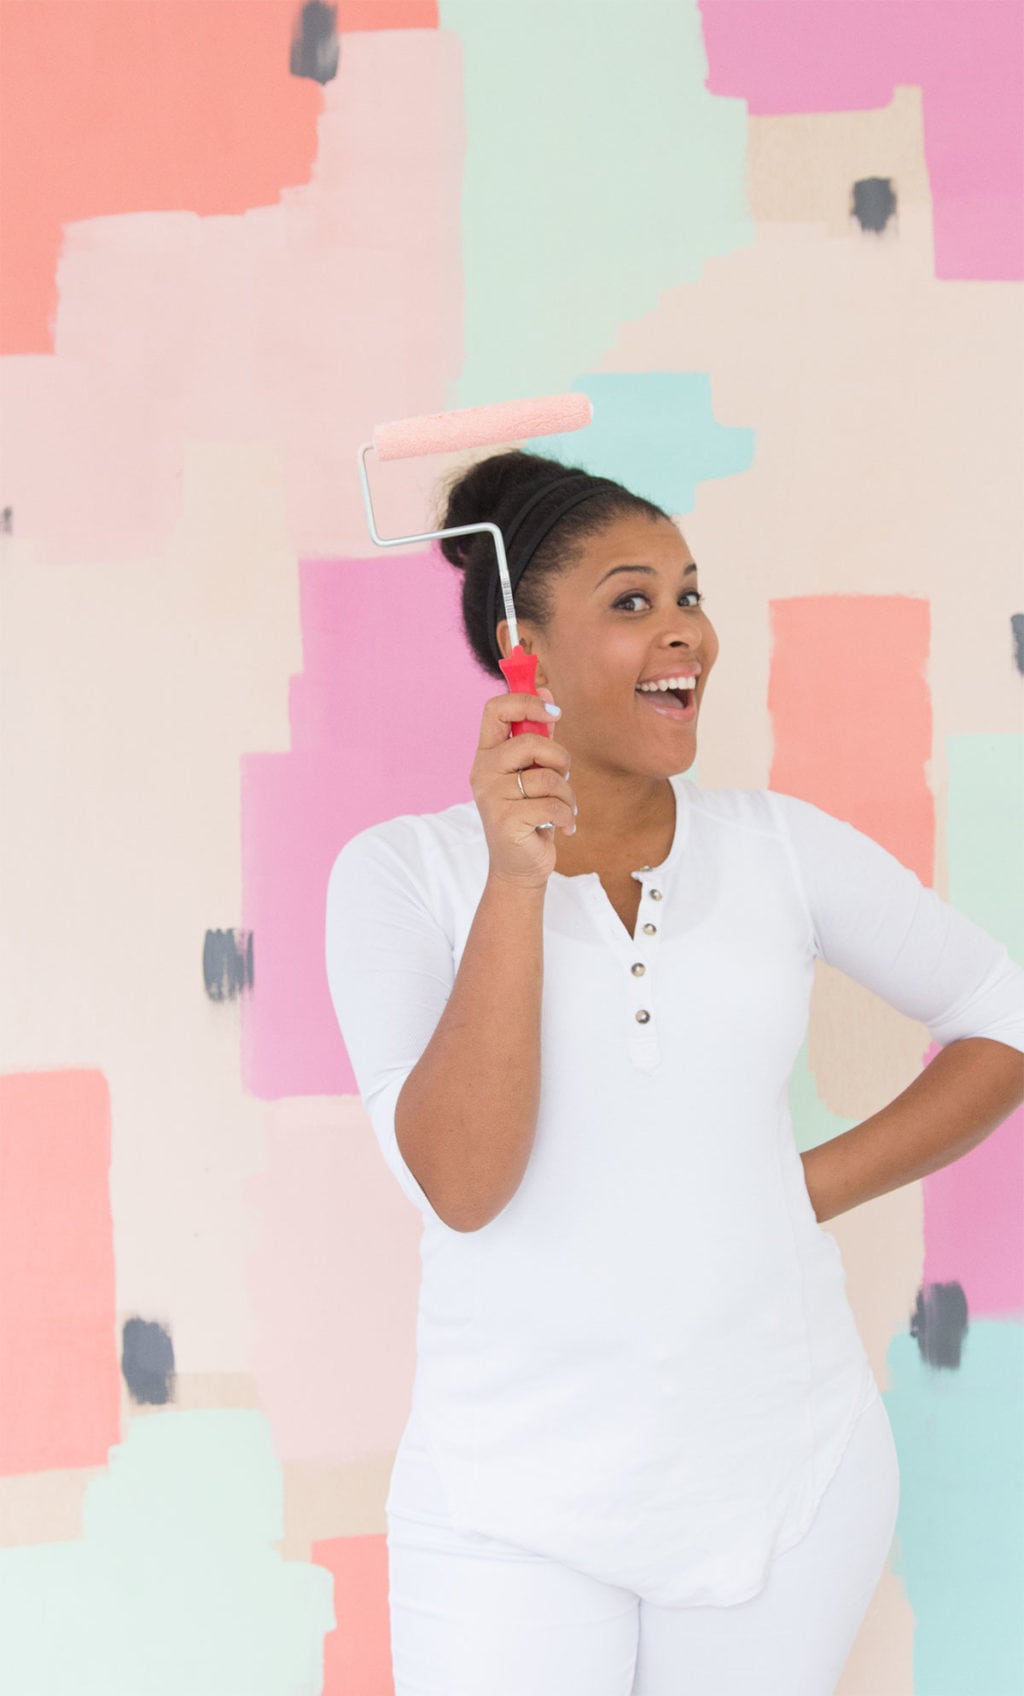
Last step – Pose! With a large 4ft x 8ft piece of plywood, you can create a large mural that is perfect for selfies!
My mural colors: Behr Premium Plus Ultra in Chilled Mint, Guava Jelly, It’s a Girl, Sherbet Fruit and Pumpkin Essence (clearly I have a thing for paint with food names!) Head over to BEHR.com to check out these and the other five bajillion BEHR colors.
I’m so excited to have partnered with Behr to bring you these fun and easy paint tips. Now, get up and go make your own mural! I can’t wait to see it!



I used to be suggested this web site by way of my cousin. I am no longer sure whether or not this put up is written by him as nobody else know such certain approximately my trouble. You are incredible! Thank you!
Hi my friend! I wish to say that this post is awesome, nice written and include approximately all vital infos. I would like to see more posts like this.
Along with every thing that appears to be building throughout this specific subject material, all your opinions are generally very exciting. Even so, I am sorry, because I do not subscribe to your whole strategy, all be it exciting none the less. It looks to me that your commentary are generally not entirely justified and in actuality you are your self not really thoroughly certain of your argument. In any event I did appreciate reading it.
It is indeed my belief that mesothelioma can be the most fatal cancer. It has unusual properties. The more I really look at it a lot more I am certain it does not work like a real solid tissue cancer. In the event that mesothelioma is really a rogue viral infection, then there is the prospects for developing a vaccine along with offering vaccination for asbestos exposed people who are at high risk involving developing long run asbestos relevant malignancies. Thanks for sharing your ideas on this important ailment.
Howdy, i read your blog occasionally and i own a similar one and i was just curious if you get a lot of spam remarks? If so how do you reduce it, any plugin or anything you can recommend? I get so much lately it’s driving me crazy so any assistance is very much appreciated.
Thank you for the sensible critique. Me and my neighbor were just preparing to do some research on this. We got a grab a book from our local library but I think I learned more from this post. I’m very glad to see such great information being shared freely out there.
Hey! I just wanted to ask if you ever have any problems with hackers? My last blog (wordpress) was hacked and I ended up losing months of hard work due to no back up. Do you have any methods to prevent hackers?
Thanks for the suggestions about credit repair on this site. The thing I would advice people is always to give up this mentality that they’ll buy today and pay back later. As being a society we tend to do that for many things. This includes vacation trips, furniture, as well as items we’d like. However, you must separate the wants from all the needs. When you are working to improve your credit score actually you need some sacrifices. For example it is possible to shop online to save cash or you can click on second hand shops instead of expensive department stores for clothing.
When I originally commented I clicked the “Notify me when new comments are added” checkbox and now each time a comment is added I get three e-mails with the same comment. Is there any way you can remove people from that service? Thanks!
WONDERFUL Post.thanks for share..extra wait .. ?
Hi, Neat post. There’s a problem together with your site in internet explorer, would check this? IE still is the market leader and a huge element of people will pass over your great writing because of this problem.
I think this is one of the most vital information for me. And i am glad reading your article. But want to remark on few general things, The website style is wonderful, the articles is really great : D. Good job, cheers
Thanks for discussing your ideas. I’d also like to convey that video games have been ever evolving. Modern tools and inventions have assisted create sensible and fun games. These kinds of entertainment games were not really sensible when the real concept was first being attempted. Just like other styles of know-how, video games as well have had to evolve through many generations. This itself is testimony towards fast growth and development of video games.
Great experience with an expert Dentist Wellington who truly listens and explains everything clearly.
This post is very helpful. For those living in Innaloo and facing plumbing issues, don’t hesitate to contact the team at scarboroplumbing.com.au – truly the best Plumber Innaloo I’ve used.