Question
(said in my best Dwight Schrute voice):
When was the last time you made an emergency trip to Michael’s for Fun Foam?
A. What’s fun foam?
B. Why would I ever go to Michael’s?
B. Why would I ever go to Michael’s?
C. Never
D. Yesterday. After you got off work…in hopes of finding the colors you needed for the project that you already sketched out.
I know it sounds crazy but it’s true!
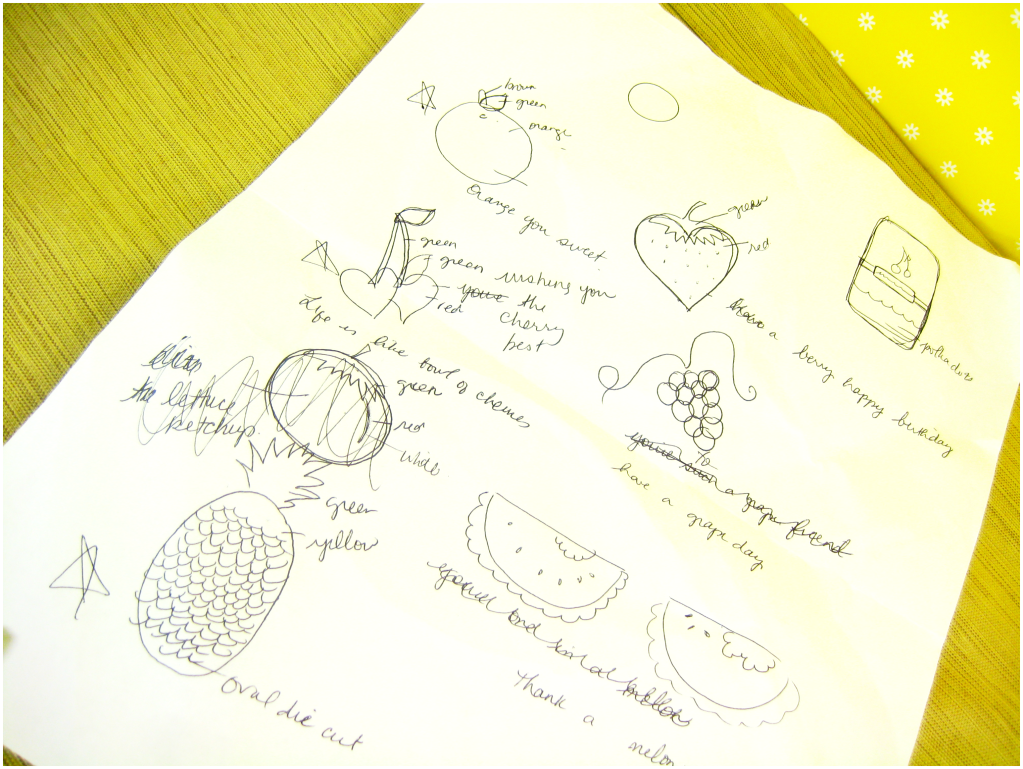
And here’s the sketch to prove it.
(I sketched my ideas while I sat on the train on my way to Michaels!)
Papertrey Ink is to blame for my new love of Fun Foam.
This week’s Make-It-Monday challenge is all about fun foam and die cutting the foam to create fun embellishments for any paper crafting project.
The idea for my project was inspired by PTI’s Fruitful stamp set. I’ve owned this set for a while, but haven’t used it yet.
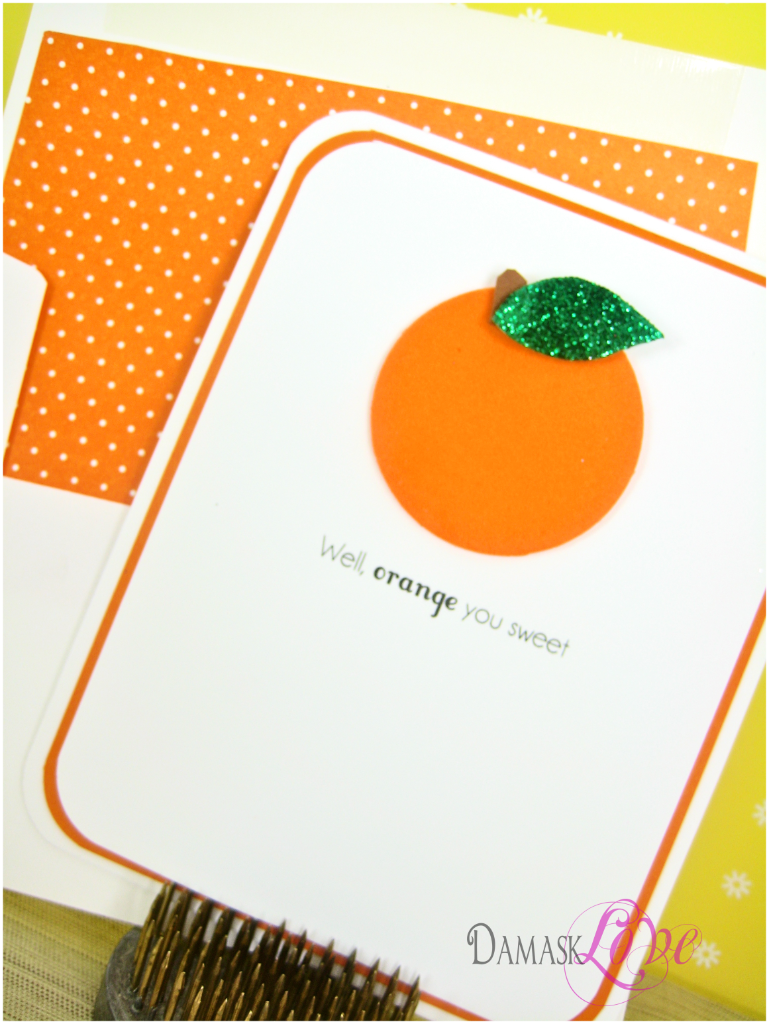
I thought it would be cool to use fun foam to create simple fruit shapes.
Before I unveil the finished products, I am compelled to share one thing:
Since WHEN was fun foam such a popular product!?!?!
Before yesterday, I was oblivious to this stuff. Then, I walked into Michael’s and there is an ENTIRE aisle that is solely dedicated to Fun Foam!!! It comes in every possible shape, color and size you could possibly want. I was amazed!
Now that I’ve shared my amazement – let’s take a look at my simple fun foam cards!
**Beware – LOTS of photos and commentary**
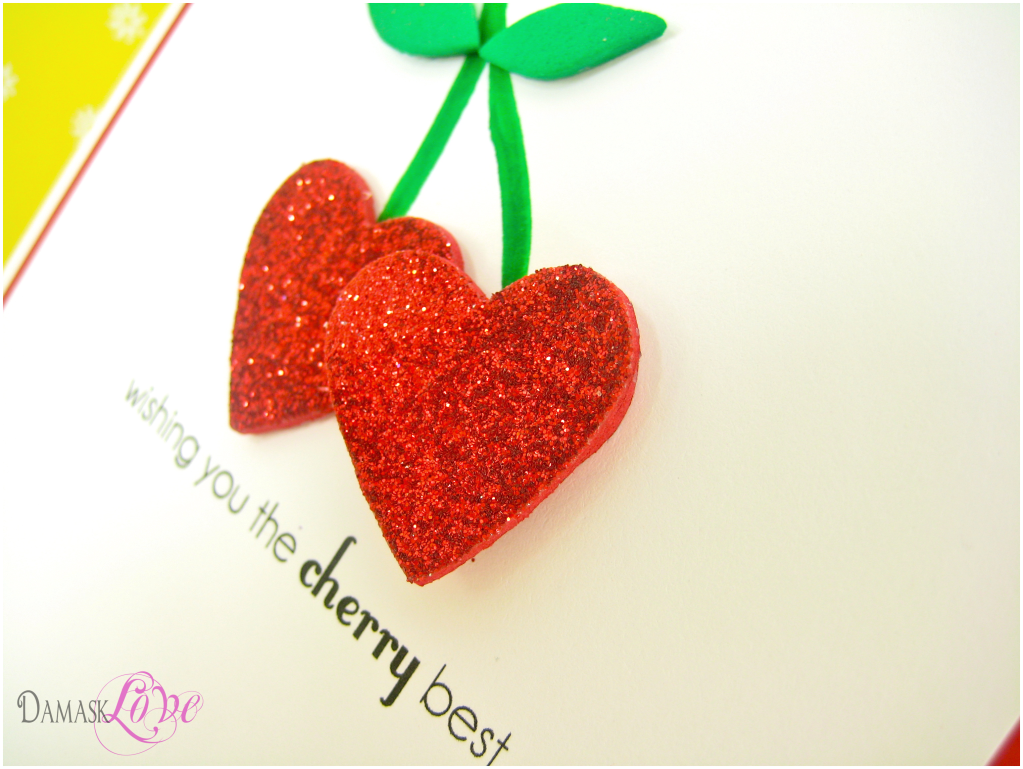
I started with these sweet cherries. I used the PTI Heart Prints die and created my own punny sentiment.
To add some sparkle to my cherries, I used a technique featured in last week’s Make It Monday Challenge.
Before die cutting the fun foam, I covered it with strips of Scor-tape and added glitter. This was a super simple way to dress up the fun foam.
If you’ve been following my blog, you know that I have an affinity for card sets. I just love making a complete set of cards – they are especially great for gift giving!
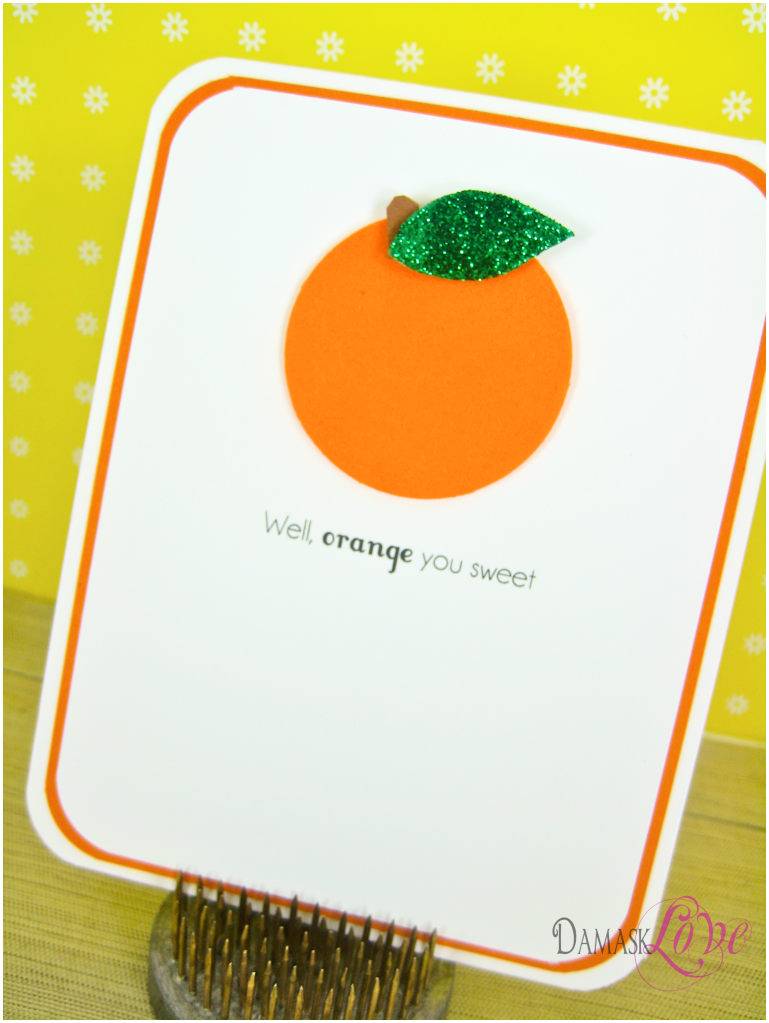
I kept the fruit theme going with a few more cards, each with it’s own fruity sentiment.
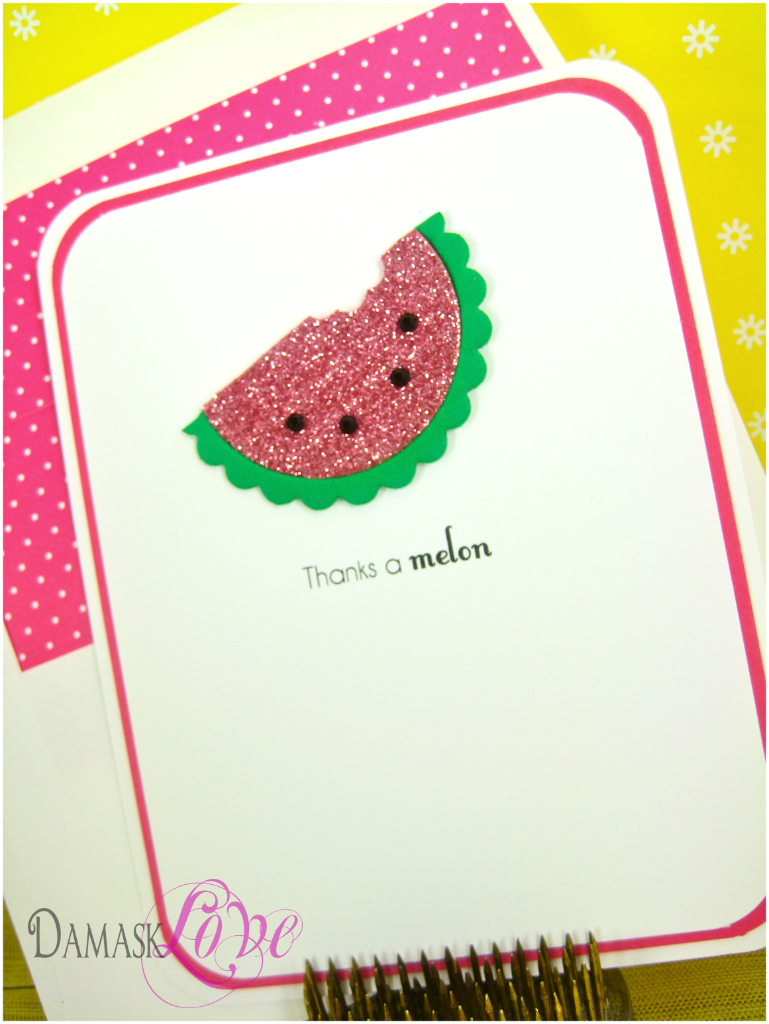
And what’s a set of cards without a set of coordinating, lined envelopes!
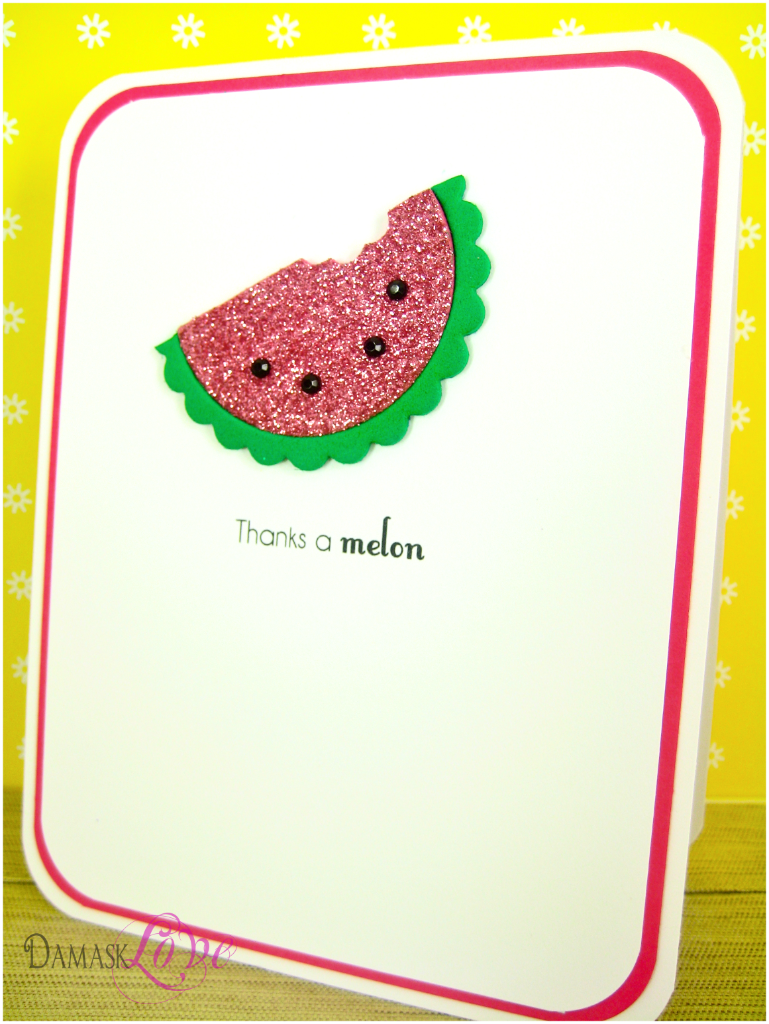
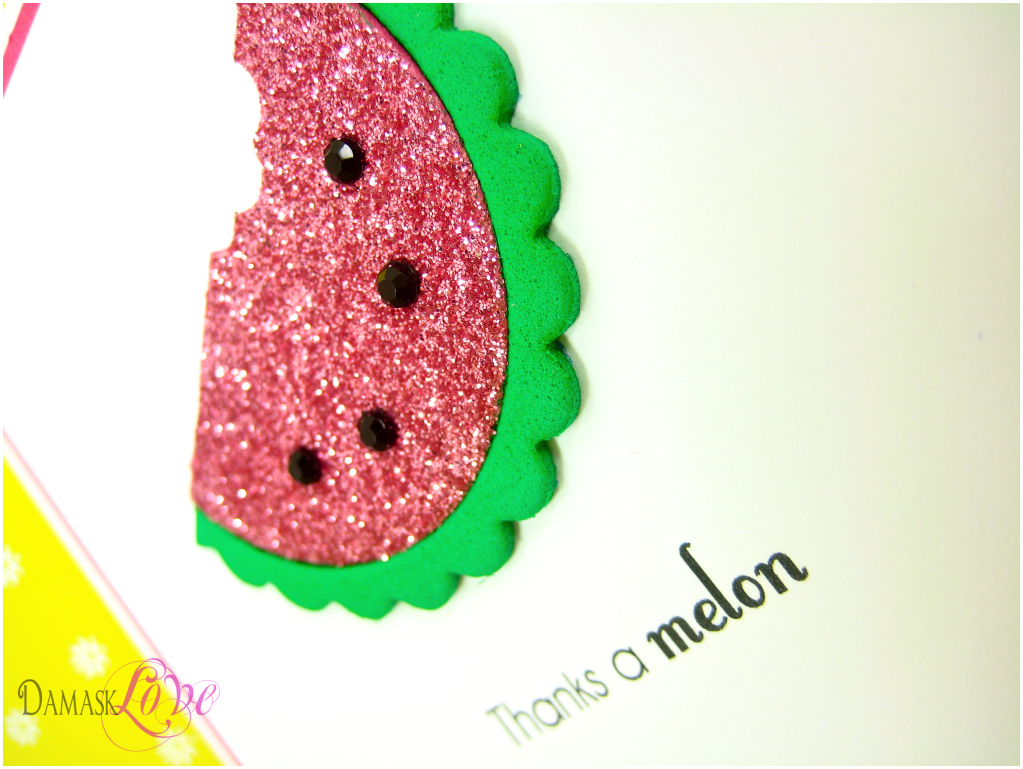
Next up – a sweet little watermelon that I created by using the PTI 1.75″ Limitless Layers dies. I also used a Cuttlebug die to cut out a little “chomp” in the watermelon – SO DARN CUTE!
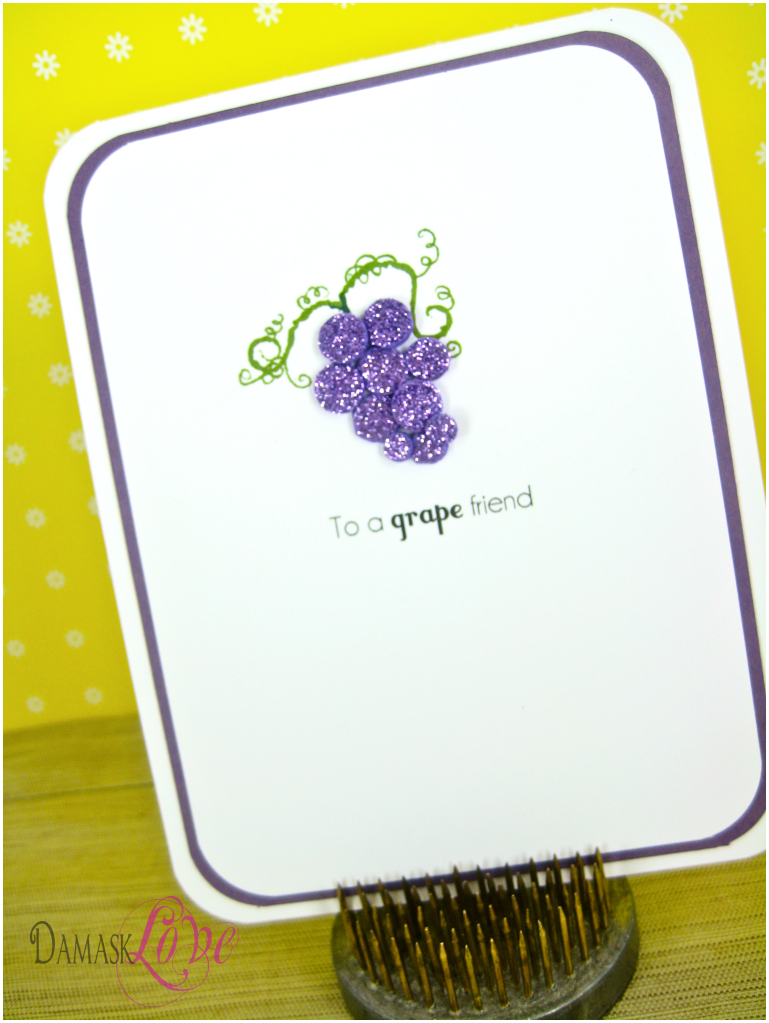
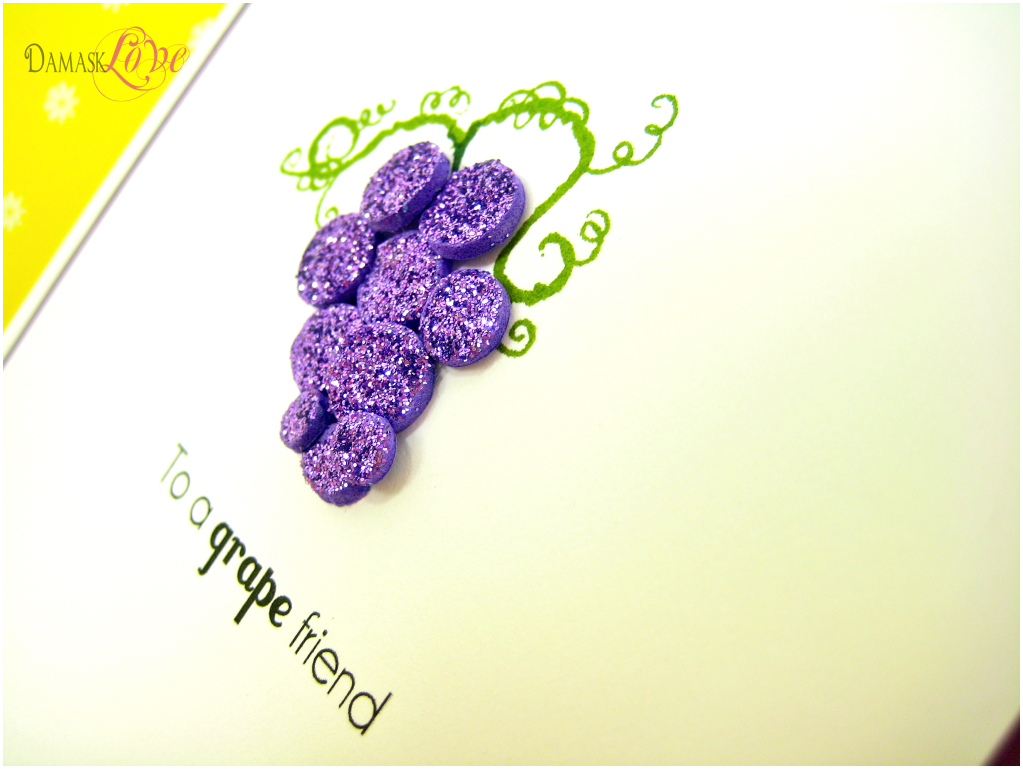
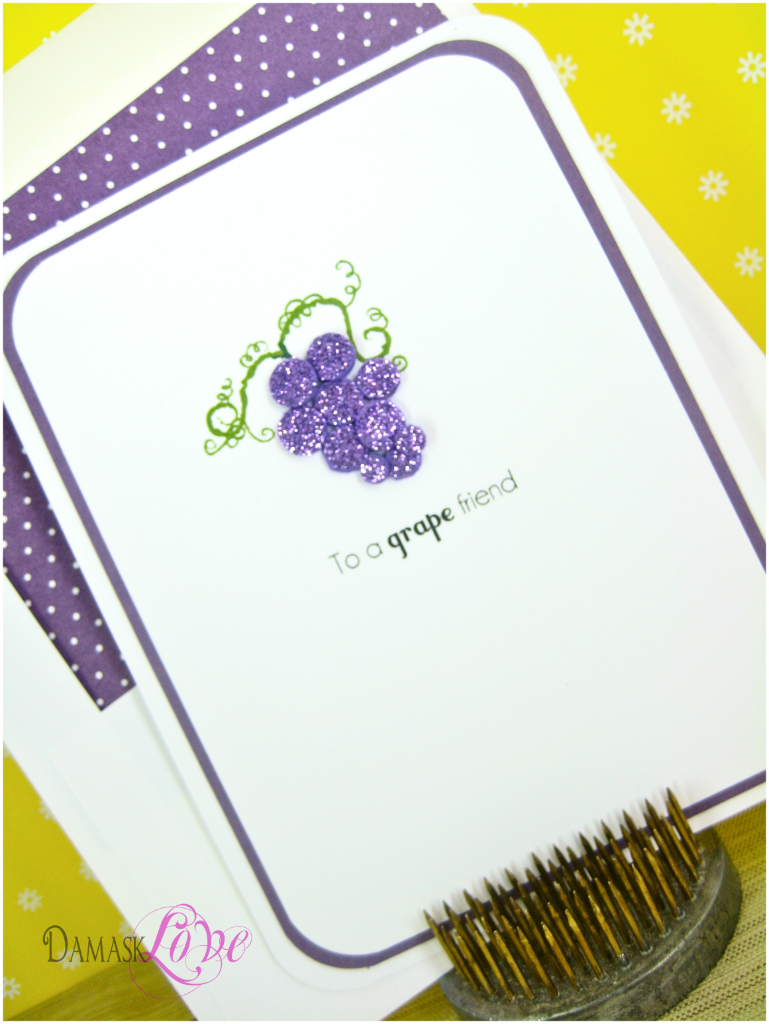
My last fun foam fruit card features a cute little bunch of grapes.
I don’t own a die that is small enough to cut out the individual grapes, so I used these precut foam flowers that I found at Michael’s.
I popped out the center of the purple flowers and since they were already adhesive on one side, it was easy to add glitter to the tiny little circles.
I just love how these turned out – and I’m especially proud of the sentiments. My corny side was very useful in coming up with those!
Thanks for stopping by for some Damask Love and have a wonderful day!
Supplies (All Papertrey Ink unless otherwise noted):
Wishing you the cherry best:
Stamps: none
Paper: Stamper’s Select white, Pure Poppy, 2008 Bitty Dot Basics patterned paper
Ink: none
Other: MS Word (for sentiment), Martha Stewart glitter, Fun Foam, Tombow Watercolor marker (for cherry stem), corner rounder
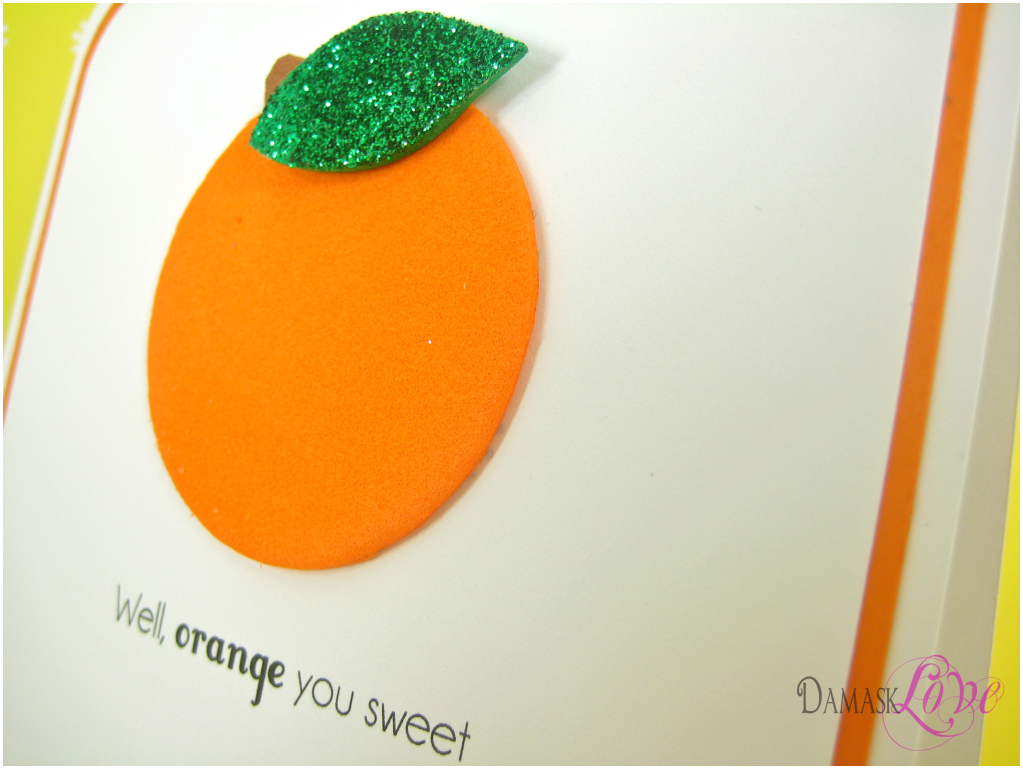
Well, orange you sweet:
Stamps: none
Paper: Stamper’s Select white, Orange Zest, 2008 Bitty Dot Basics patterned paper
Ink: none
Other: MS Word (for sentiment), Martha Stewart glitter, Fun Foam, corner rounder
Thanks a Melon:
Stamps: none
Paper: Stamper’s Select white, Raspberry Fizz, 2008 Bitty Dot Basics patterned paper
Ink: none
Other: MS Word (for sentiment), Martha Stewart glitter, Fun Foam, black adhesive rhinestones, corner rounder
To a grape friend:
Stamps: Fruitful (grape leaves)
Paper: Stamper’s Select white, Plum Pudding, 2008 Bitty Dot Basics patterned paper
Ink: Vivid dye ink (olive green)
Other: MS Word (for sentiment), Martha Stewart glitter, Fun Foam Flowers from Michael’s, Fun Foam, corner rounder




The answer is A, B, and C if you’re Andrew. This was a grape project though. You’re a peach.
Very creative use of fun foam!!! Isn’t it sad that we made a mad dash to the craft stores to buy this stuff simply after reading/watching this video? Well, I almost forgot to meet my hubby because I was making a bee-line to Michael’s after work! 🙂
You are just too darn cute! This card set is divine. Each day I think to myself “How is Amber possibly going to top herself?” And then, sure enough, you do! Bravo! Gladys eat your heart out! 😉
Amazing! These cards are so sweet and cute. I would have loved to seen a picture of the 4 of them together. Love the way coordinating projects look all grouped together!
Amber, you have such a great imagination — to start drawing your ideas way before you even have all your supplies. And you can draw too — reminds me of when Mish and Dawn sketch their ideas. Your cards are so cute. I have fun foam and have been using it with the BBII dies but before yesterday’s MIM I never even thought of die cutting anything but flowers nor stamping with it. Thanks for your fruit inspirations.
**June**
These punny cards are the sweetest thing- EVER! I love all the bits of glittery goodness to tie together even further!
whow awesome project…love it
Amber, these are all fantastic! I love the simplicity and the glitz. And to think that during my weekly trips to Michael’s (gotta use those coupons!) I usually ignore the fun foam aisle. Well, not any longer! TFS!
where is the steak fun foam? i thought we were grilling some beef today?
Wow! These are so cute and fun! I love the matching lined envelopes, and your sentiments are perfect!
Such a wonderful set of cards!! Very creative and the sentiments work perfectly!
These are so cute and SWEET, what an awesome set of cards!!
OMGoodness, Amber!! This set is adorable!!! Your ideas are awesome!!
These are so stinkin’ cute! I love the clean lines that make the fruit pop.
Awesome, Amber! Michael’s must be having a real run on fun foam–I’ve been there too!!! Love your creative take on fruit. The cards are just adorable!
These are amazing! Congrats on the shout out from PTI!
*Giggle* These are AWESOME!! Love your clever punny sentiments, and the bit of glitz you’ve added to your projects! WOW! 🙂
OMG! This is a great card set! Thanks fro the inspiration and the laugh.
So darn adorable. I loved the grapes, great color. You are so talented.
FABULOUS! I LOVE the creativity! Every one of these cards is just great! You did an amazing job!
Amy
What sweet cards! Who knew fun foam could look so good on cards! You did a fabulous job.
Aren’t you the cutest? Fruits and fun foam – now that’s fresh!
Absolutely awesome cards!!!! I love them all!
You rock, Amber! Congrats on being featured twice, too – wow! I’m always inspired when I visit your blog, and this was surely no exception.
Love ’em! Your punny creativity is awesome!
Holy moses, way beyond cute and punny and fantastic!!!
Congratulations! Love all the bright colors and your sentiments are sooo cute.
oh are you kidding me?! these are absolutely adorable. and the sparkle on top is brilliant. what a great extra bit of pop! (i have to ask, how do the beautiful edging?) and the envelopes just put them over the top.
These are brilliant!! Fabulous sentiments–love the font style you used for them too!!
Oh I love fun foam! Been using it..well forever I think..it all started when the boys were young and it was always something I could use to add 3D, put glitter on to really change the look..or for kids cards the look is perfect. I have even used it on a gift bag..couldn’t find one age appropriate..so I dragged out my fun foam and went to town!!! Even put his name on it haha. Everyone loved the bag and just had to know where I got it..they knew it had to of been pricey! I buy the containers after kids school break time and holidays when it’s just dirt cheap! I also use the sheets..which you can also find glittered already woohoo!! and I run it through my dies, esp spellbinders to get an exact pop up shape..and with the colors I can match it to card..so you don’t see the white 3D foam dots..and on intricate cuts…life saver!
Fun foam….not for kids anymore!!!
Have a great day!
Jackie
gacha168