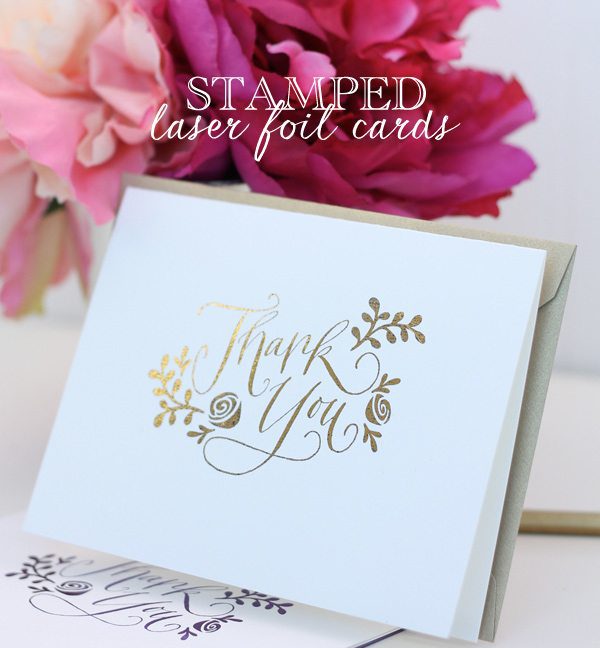
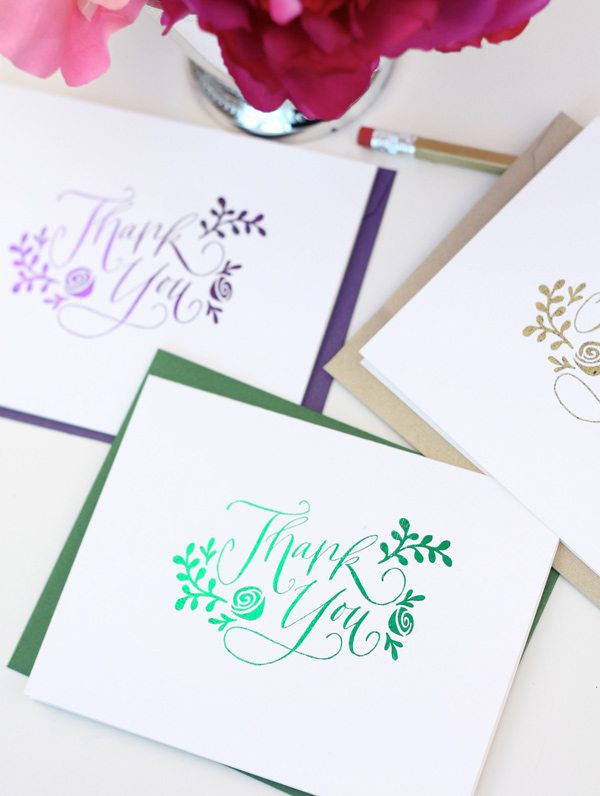
Day two of The Foil Files and this one is so fun. Me thinks you’re gonna love it more than that time you had breakfast for dinner…because we all know that breakfast for dinner is the best thing in life.
The inspiration for this post came from Shae via Twitter, who told me that she’d love to see the Damask Love take on foil stamping. Well, Shae – here it is! I hope this is what you had in mind!
Foil stamping is nothing more than applying metallic foil…usually gold or silver …to paper. If you are a seasoned stamper, you are familiar with heat embossing – a technique that allows you to achieve a similar foiled look. Today I’m going to walk you through the real deal – how to create simple foil stamped stationery at home using heat reactive foil transfer sheets. The process is not difficult at all, but you will need a few specialty tools:
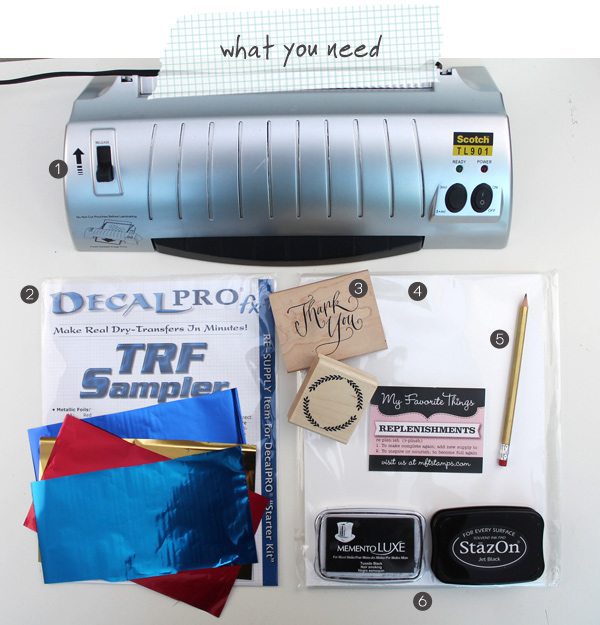
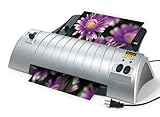
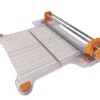
{1} A Laminator: Here’s the deal. When I was a kid, I was absolutely obsessed with the laminator in my elementary school classroom. I wanted to laminate every damn thing in sight. So a few years ago, I went ahead and gave into my childhood love of laminators and bought one of my own. Turns out they are really affordable. I’ve used it to make all sorts of stuff – and for this project it’s a must have. I own THIS one and love it. It’s compact and lightweight and works great for my needs.
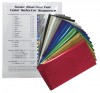
{2} Toner Reactive Foil: Chances are you don’t have this on hand, but it’s another must have for this project. I suggest purchasing the Starter Pack which contains 19 different colors of foil and each piece measures 8″ x 36″ – plenty of foil to make a grillion cards! This foil is designed to react with an ingredient contained in laser toner. Once placed on the toner and when heat is applied, the foil transfers over to your design. Keep scrolling and you’ll see what I mean!
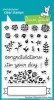
{3} Stamps: You’ll need stamps to create your design. I prefer woodblock stamps for this project, since they give a really crisp impression. If you opt for clear stamps, just make sure you use a good pigment ink.
{4} Cardstock: The beauty of this technique is that you can get a beautiful foil design on pretty much any color cardstock. You’ll want to be sure the cardstock is smooth, though – otherwise the foil will not apply smoothly. My recommendation is to start with the My Favorite Things Smooth White Cardstock. I tried several types of cardstock and this one gave the best finished product. The My Favorite Things Kraft Cardstock also works beautifully with this technique. It’s the only kraft cardstock that I could find that left a smooth foil impression.
{5} A pencil. Pretty sure you have one of those
{6} Ink. If you are stamping with woodblock stamps, I recommend Staz-on ink in Jet Black. If you are stamping with clear stamps, I recommend Memento Luxe Ink in Tuxedo Black.
{7} not pictured: A folded card
{8} not pictured: a good paper trimmer.
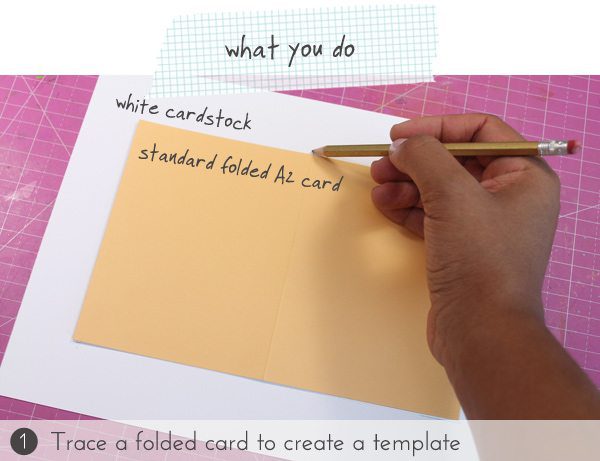
You’ll want to start by creating a template for stamping your card design. Do this by simply tracing the edge if a folded notecard. Also , make small tick marks at the fold of the card. This will help you later when it’s time to score.
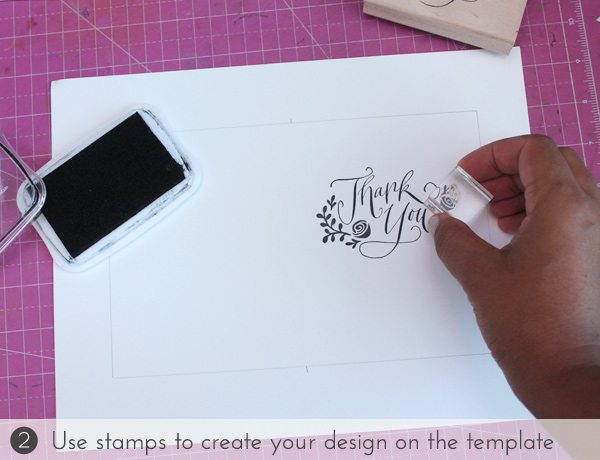 Now, stamp your design onto the right side of your template. Those tick marks will help here since you can visualize where the fold of your final card will be.
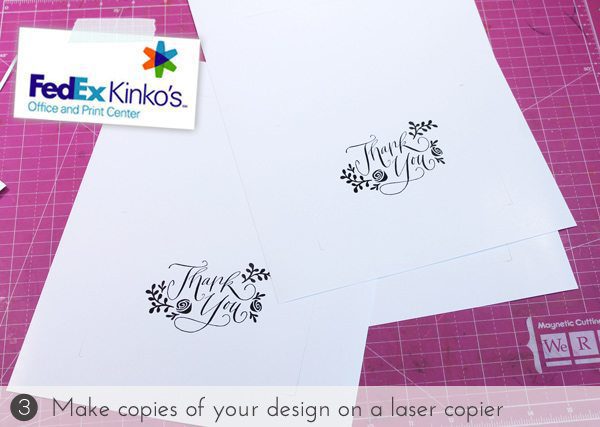 Walk (or drive) yourself over to the nearest Kinkos and make laser copies of your design. Do not erase your pencil lines before copying…you’ll need those!
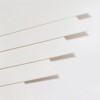
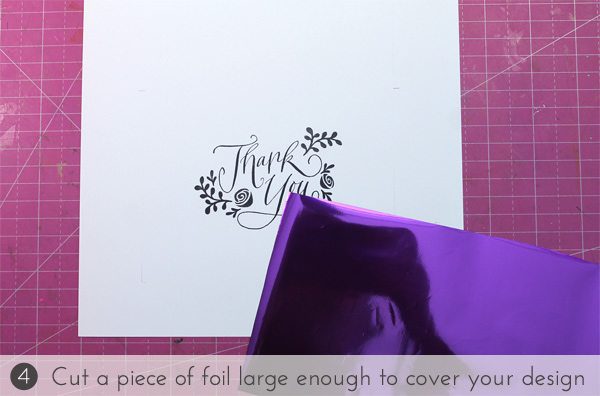 Trim a piece of the toner reactive foil so that it is large enough to cover your design. It does not need to cover the entire paper.
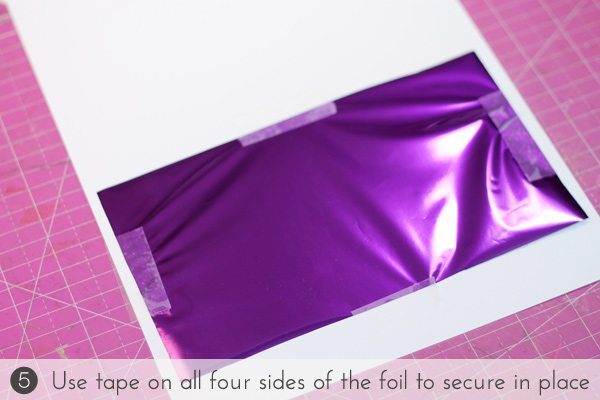 Tape the foil onto the laser copied design. I opted to place my tape outside the edges of the card to avoid any scarring or residue that the tape might leave once I peeled it off.
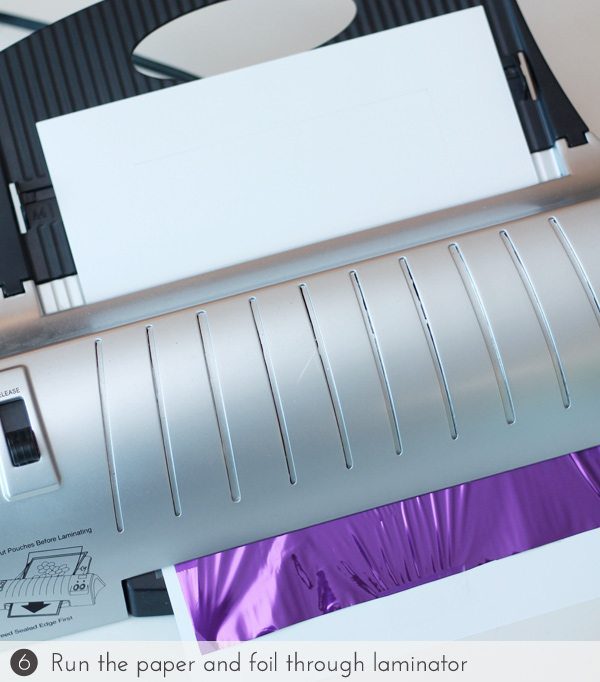 Make sure your laminator is on and ready to go, then simply place the paper and foil through the machine and let it do it’s work. I like to run mine through twice just to be sure enough heat is applied.
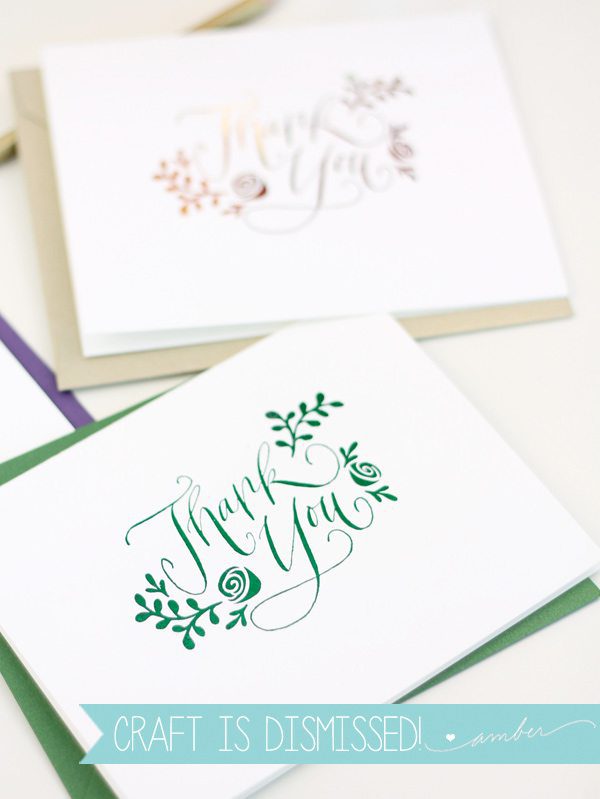
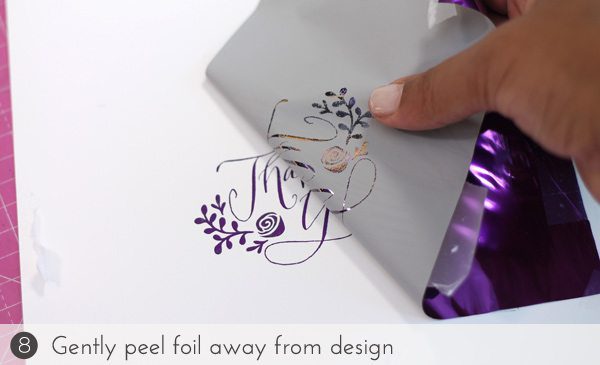 This is the fun part! Peel away the foil and you’ll see the magic happen! The foil will adhere to the design and you’ll see the negative image left in the foil.
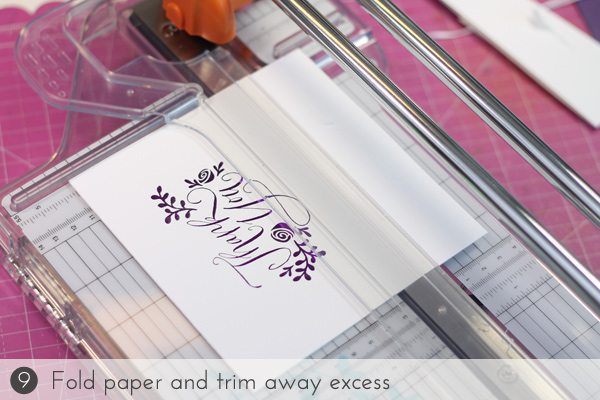 Last up – use those tick marks to score and fold the paper in half. Then use the pencil lines to trim the card down to size. Done!
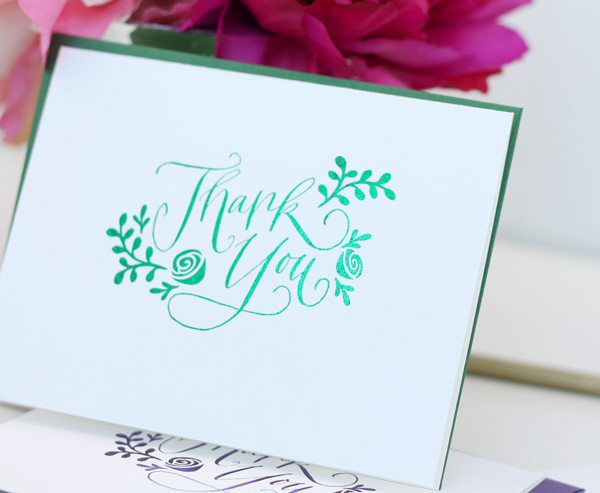
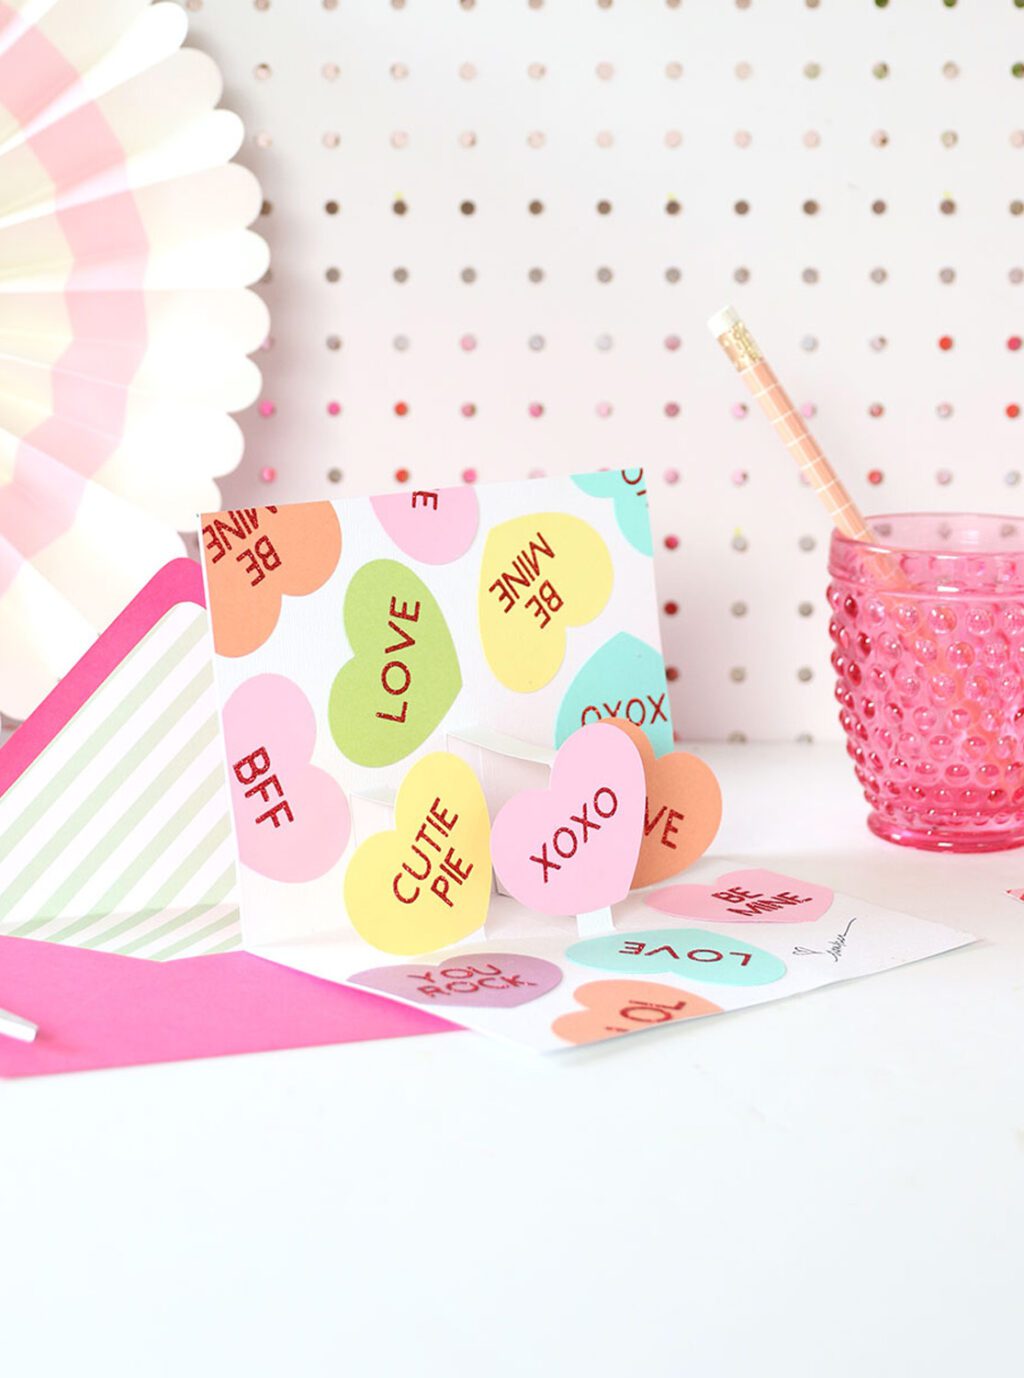
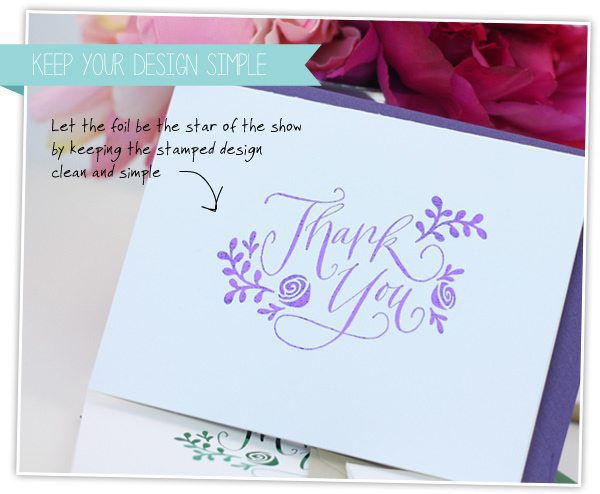 Once you’ve created one design, you can easily duplicate it with several different colors of foil. Just make a bunch of copies of your design and have fun playing with all the colors available.


https://apotekonlinerecept.shop/# Apotek hemleverans recept
Apotheek Max [url=http://apotheekmax.com/#]Apotheek online bestellen[/url] online apotheek
Online apotheek Nederland met recept: Online apotheek Nederland met recept – Online apotheek Nederland met recept
Apotek hemleverans idag: apotek online – apotek online recept
https://kamagrapotenzmittel.shop/# Kamagra Oral Jelly
https://kamagrapotenzmittel.com/# Kamagra kaufen ohne Rezept
ApotheekMax: Online apotheek Nederland zonder recept – Beste online drogist
http://apotheekmax.com/# online apotheek
Kamagra Oral Jelly kaufen: Kamagra online bestellen – Kamagra online bestellen
Apoteket online [url=https://apotekonlinerecept.shop/#]apotek online[/url] apotek pa nett
https://kamagrapotenzmittel.shop/# Kamagra kaufen
Kamagra Original: Kamagra Gel – Kamagra Oral Jelly kaufen
https://apotheekmax.shop/# Betrouwbare online apotheek zonder recept
http://apotekonlinerecept.com/# Apotek hemleverans idag
apotek pa nett: Apotek hemleverans idag – apotek online