You made it to Day Three! Thanks for hanging out with me! Today is probably my favorite of the series because we get to talk about letterpress. I’m mildly obsessed with letterpress. I’ve been known to pick up a letterpressed card and just run my hand over it, feeling the texture of it…and now that I type that, it sounds completely creepy.
Without further adieu – let’s get to the video!
[ylwm_vimeo height=”400″ width=”600″]59544314[/ylwm_vimeo]

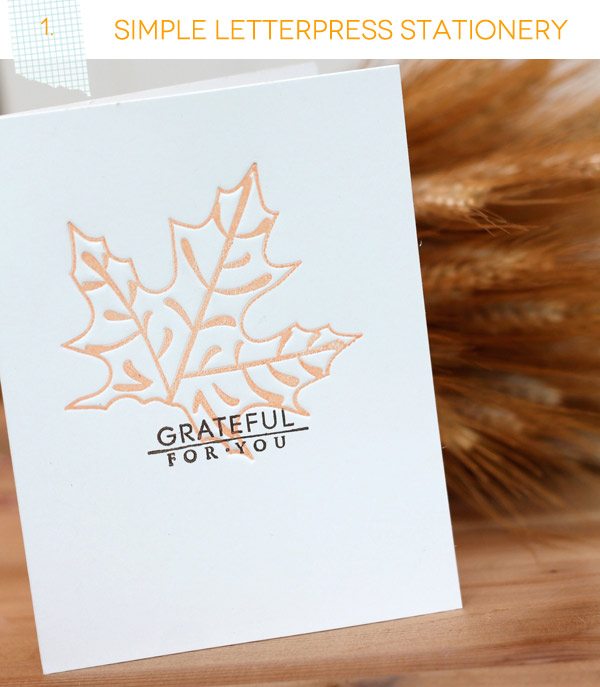
As you saw in the video, it was incredibly easy to create this card design using the Fuse. To me, letterpress is all about adding intricate detail to simple designs. I think this card captures that pretty well.
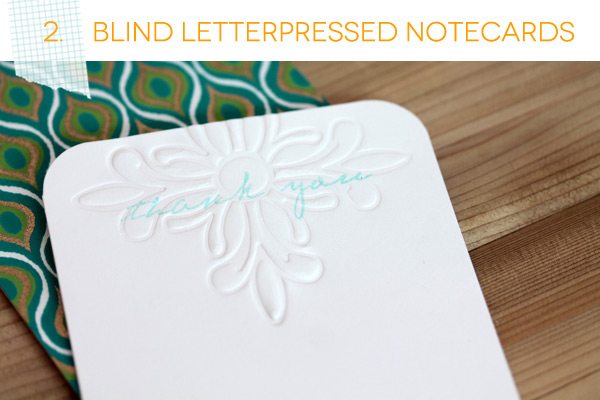
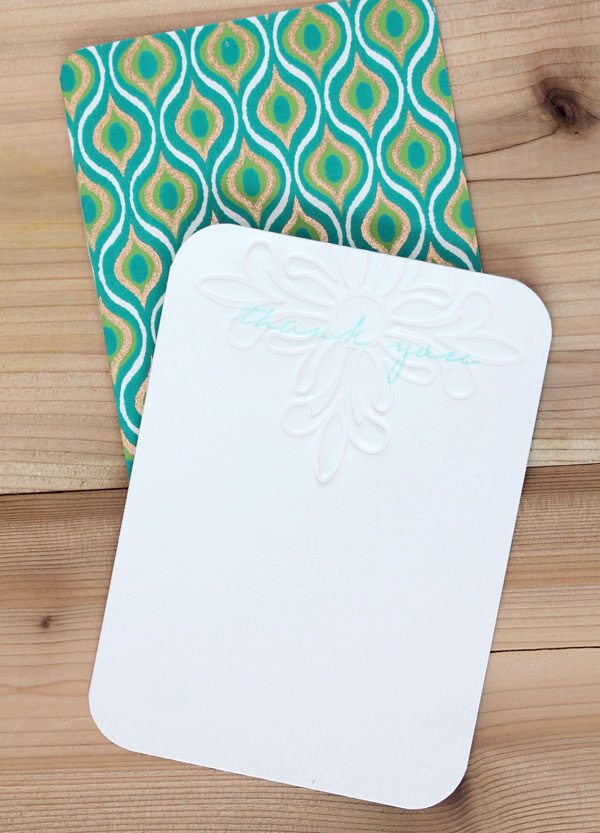
Ahh..the lazy girl’s solution to letterpressing…and therefore…it is perfect for me! Blind letterpressing is so beautiful and incredibly simple with the Fuse. No ink. No mess. Just paper and the letterpress plate. So simple and the results are stunning. For this flat
notecard, I added wrapping paper to the back to add character to the otherwise simple design.
SUPPLIES
Fiskars Element Medium Design Set | Papertrey Ink Inside & Out Thank You Stamp Set | Wrapping Paper from Paper-Source.com (not available online)
SUPPLIES
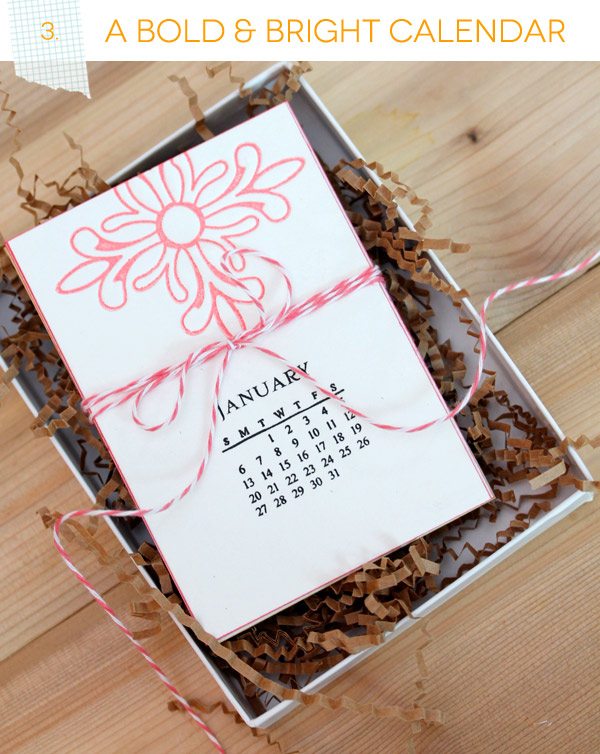
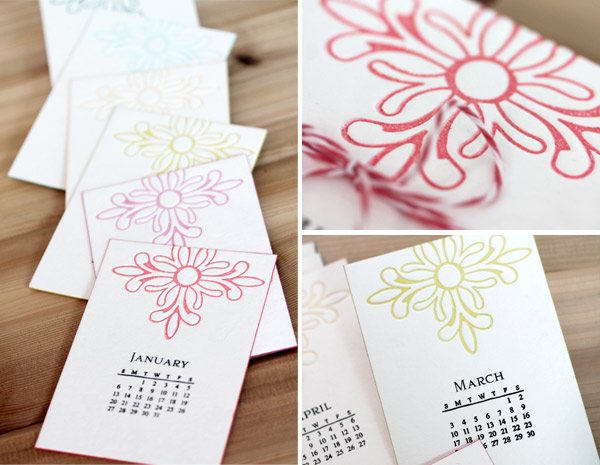
Fiskars Element Medium Design Set | Lifestyle Crafts Letterpress Paper | Close to My Heart Calendar Set (retired)
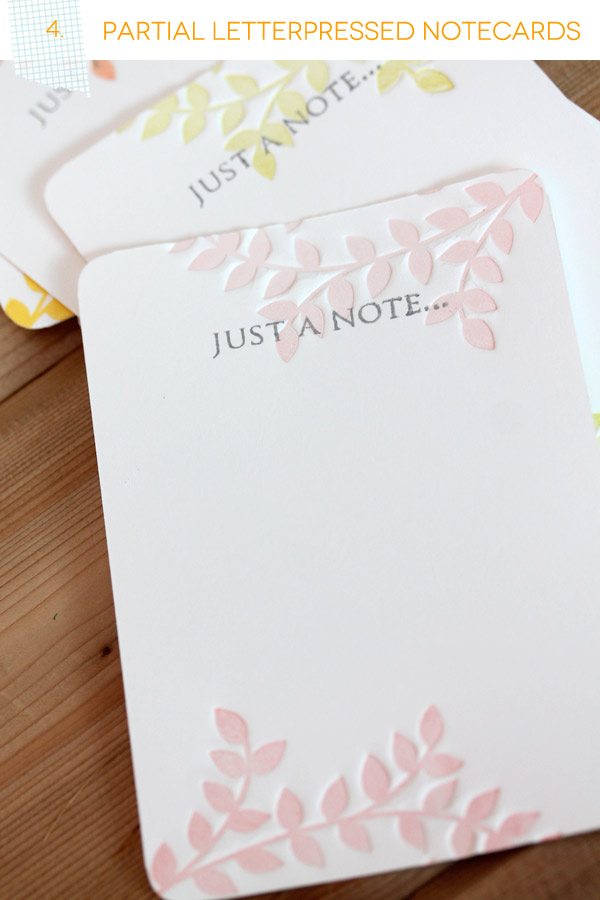
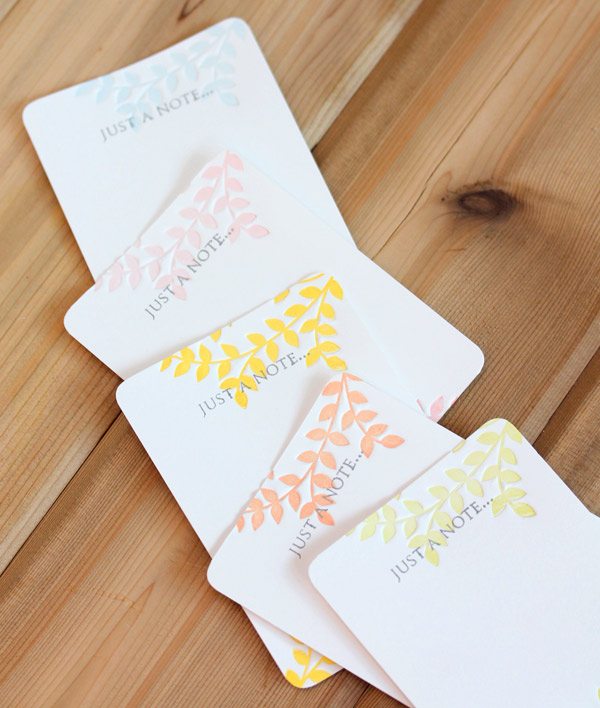
Of all the sets available, the leaf impression plate is my fave! It’s perfectly my style and I found tons of uses for it. On this card, I letterpressed the top and bottom of a 4bar notecard to create this set of springtime stationery. By letting the design hang off the edge of the paper, I achieved a partial impression of the image.
SUPPLIES
Fiskars Circle Medium Design Set
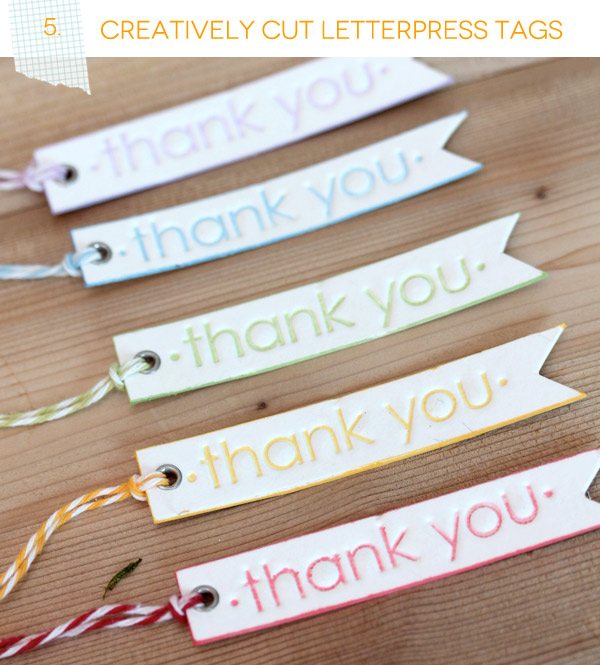
My hope is that Fiskars will add more contemporary motifs to their line of letterpress plates. I’m also hoping to see them roll out some individual sentiments. Until then, I came up with a creative way to make tags by simply trimming around the sentiment. I used one of the plates that is included in the starter kit. After running it through the machine to get the impression, I trimmed around the sentiment to create cute little banner tags!

- Tomorrow, we’ll take a break from this series to have our second installment of “The Non-Photographers Guide to Blog Photos” – see you there.
- If you are interested in growing your blog or reaching out to sponsors or companies, Altitude Summit is offering a great class this Thursday, February 14 at 11am PST. The class is called “Tough Love: What Brands Really Think About Your Blog.” It is taught by Natalie Bowman of Bing and she is fantastic! I’ll be taking the class for a second time to refresh my memory. OH …and did I mention…it’s FREE! Go sign up and we can spend some time learning together!





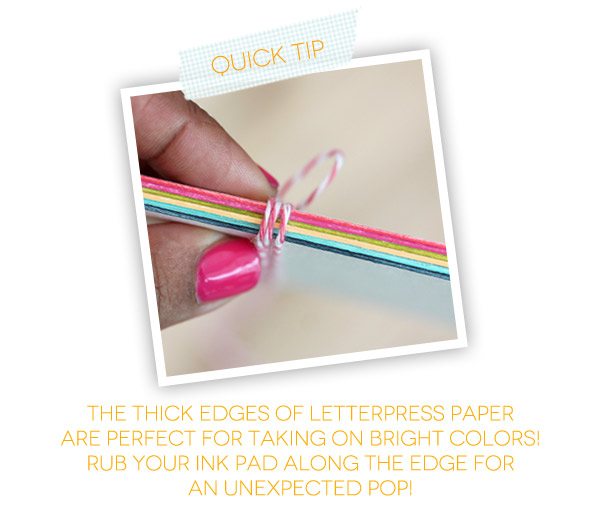
What an informative post! I’ve used a marker for edging. I never thought to use an ink pad before!
Amber, do you know if Fiskars has any plans to put the ‘letters’ in letterpress? Any plates with letters or words?
Thanks for a great series.
This series is fantastic and your projects are super amazing! Very professional!! I love your tip for inking the edges and the wrapping paper backing!
I’m so excited! We’ll be taking the ALT class together! I’ll be distracted around 11:20 (I gotta teach the kiddos how to make valentines), but I’m looking forward to saying hello! Three ALT classes in one week, anther one today! Love their classes and love your series!
Keep up the fab content! It’s a fun treat coming here every day
Hi Amber,
I am so blown away with your projects! So much, that I’m considering buying this machine…what a great effect it has on letterpress paper with the right ink…WOW! Thanks so much for another wonderful video 🙂
Great projects and video and tips!
Fabulous once again! Your work is so beautiful and has such a professional “polish”. 🙂
I love this series and particularly love what your created today. I honestly had never given letter pressing much thought, but now I am dying to try this for myself! Thanks for sharing the great info.
Hi Amber – I tried to leave this message after video #4 but the comment section would not open. Anway – the videos have been great!! I have seen the machine in stores but have never had a real look at just what it can do, Thanks so much! I may have to add it to my wish list.
i dont know what the heck was going on with the comments on that post! ARGH! Thanks so much for commenting here though. I am glad you liked the series! It was a lot of fun to do. Now I need another product to play with!
Hello I have liked your pages ,watch your video ,and love them all ,so many ideas ,
The biggest project i did was making wedding invites WHEWWWww i only had he simple scissors ,cutter ,and templates stencils etc ,Would have loved to had all the new gadgets that are out today ,
I love using the edge of an ink pad to color the edges of paper. It is much faster than using a sponge. I’m all about doing things quicker and simpler. This machine certainly does that with style!
Love “Damask Love!” I liked Fiskars and Damask Love and commented on my biggest paper project…working on table decorations and backdrops for our choral department’s “Dinner Theatre”. We did hundreds and had so much fun!!
WOW FISKARS REALLY GETS what we need Im impressed w/your projects & ideas—wow I’d love to try it out; learn its versatility & kick the quality up in my projects! I can only wish we had this for our 1st mass creative mailing of Baby Shower invites years ago!! 😉 I will add to my wishlist!
Hi,
great ideas!!!!
you can only use the fiskar plates for die cuts with this Fiskar Fuse machine? if there are others can you tell me the names or brands or how to find them?
Looking for expert guidance on protecting assets while qualifying for Medicaid? As experienced elder law attorneys near me, our team at Ohio Medicaid Lawyers provides specialized legal assistance with Medicaid planning, estate planning, and asset protection strategies. We help seniors understand medicaid eligibility income charts and navigate the complex 5-year lookback period. Visit our website for comprehensive information about Ohio medicaid income limits 2024 and schedule a consultation with a trusted elder care attorney who can safeguard your future.
The intersection of estate planning and Medicaid qualification requires specialized expertise. Experienced elder law professionals offer integrated guidance.