You don’t even know how hard it’s been to sit on this project! It all started when I created THIS easy paper wall art for the Joann Fabric & Craft Stores blog. I immediately started thinking of all the ways you could make a paper rosette. So here we are, in the land of paper rosettes masquerading as summer fruits and I think we will all agree that these rosettes are some of the cutest pieces of paper crafted goodness to ever hit the internet. I might be a little biased, thought.
Without any further adieu let me introduce you to my good friends, pineapple, cherry, peach and strawberry. Together they are DIY summer fruit paper rosettes and you can make them all with a few basic tips and tutorials Here we go:

SUPPLIES:
To make these DIY summer fruit paper rosettes, there are a few tools that will come in handy to make your crafting easier…especially since, you’ll want to create a bunch of these for your next party!
- a scoring board
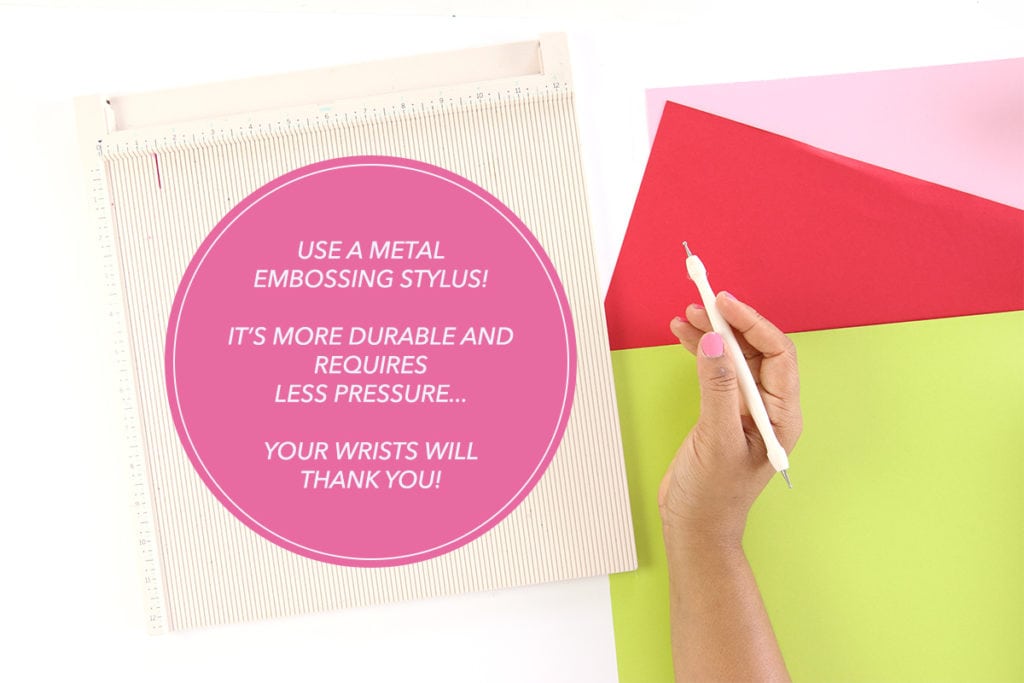
- a metal embossing stylus
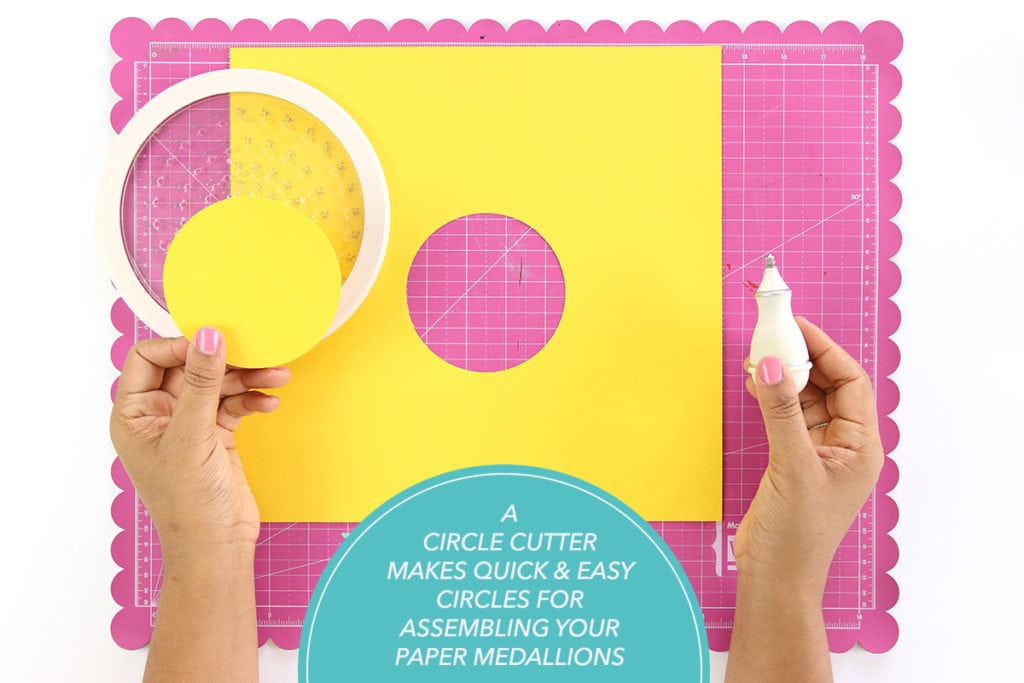
- a circle cutter
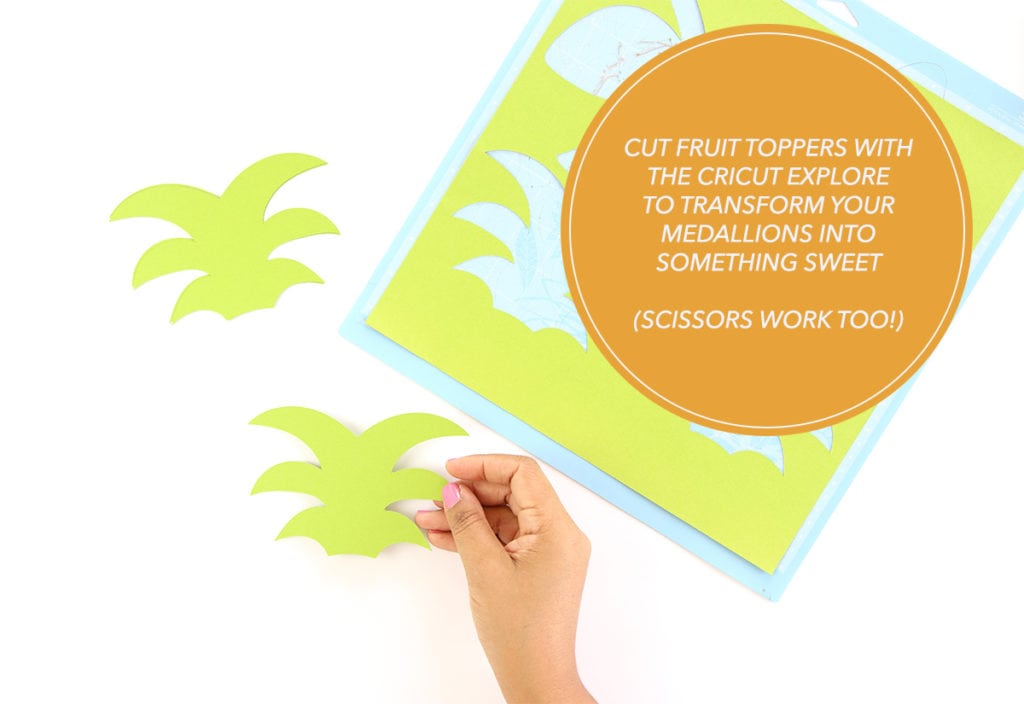
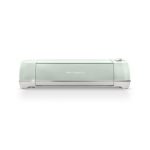
- a Cricut Explore…scissors will work too

Check out this video to see exactly how easily you can create a pineapple rosette! Then come back and see how you can create a few more summer fruits.

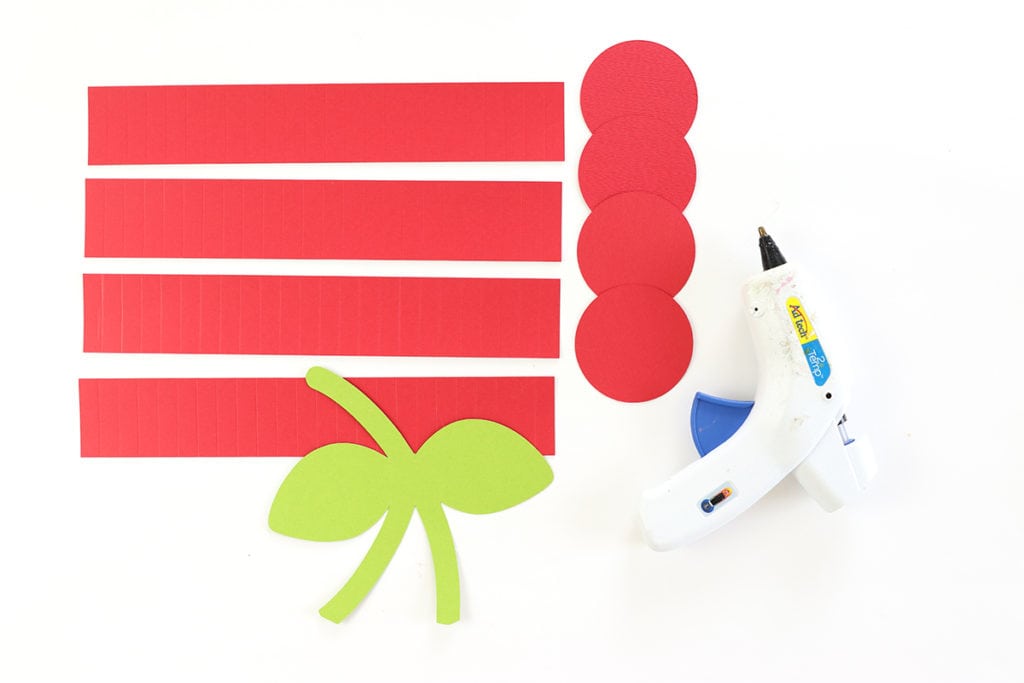
You’ll need:
- Four strips of 2″ x 12″ red cardstock, scored at 1/2″ intervals
- 3″ circles cut from red cardstock
- a hot glue gun
- one green cherry stem cut using the Cricut Explore or using scissors

STEP ONE
Fold two strips of paper and attach with hot glue

STEP TWO
Create a rosette with the scored strips of paper then close the rosette with a red circle on each side. Repeat steps one and two to create a second red rosette

STEP THREE
Use a hot glue gun to attach the red rosettes to the paper cherry stem.

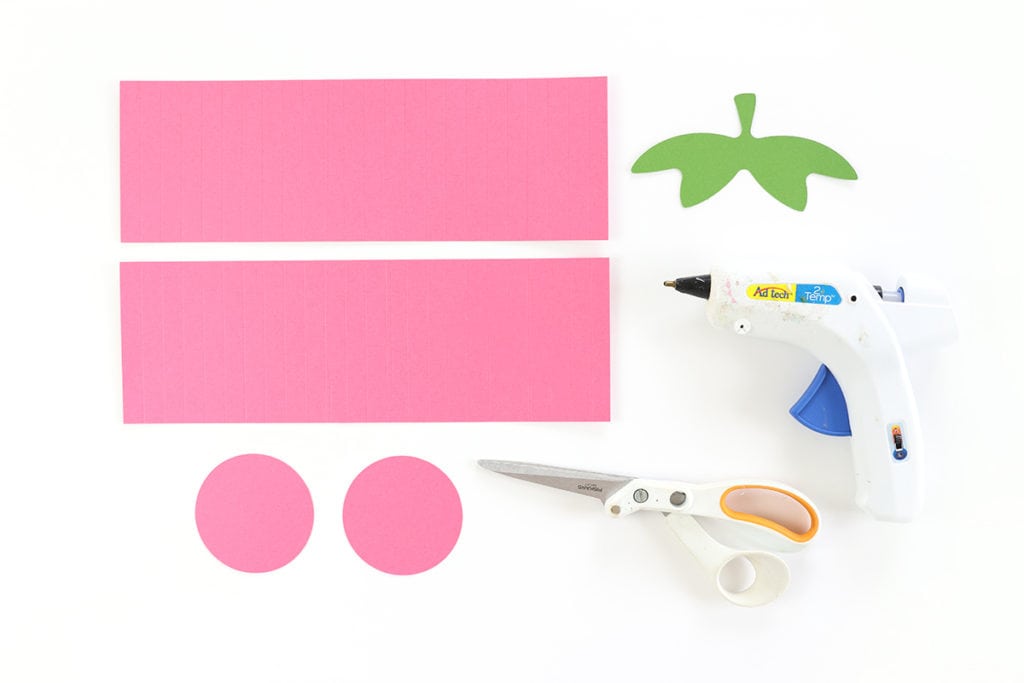
You’ll need:
- two 4″ x 12″ pieces of pink cardstock
- two 3″ circles cut from pink cardstock
- scissors
- a hot glue gun
- Green strawberry topper

STEP ONE:
Put the two piece of scored paper together, with wrong sides facing each other. Use scissors to cut a wave as shown
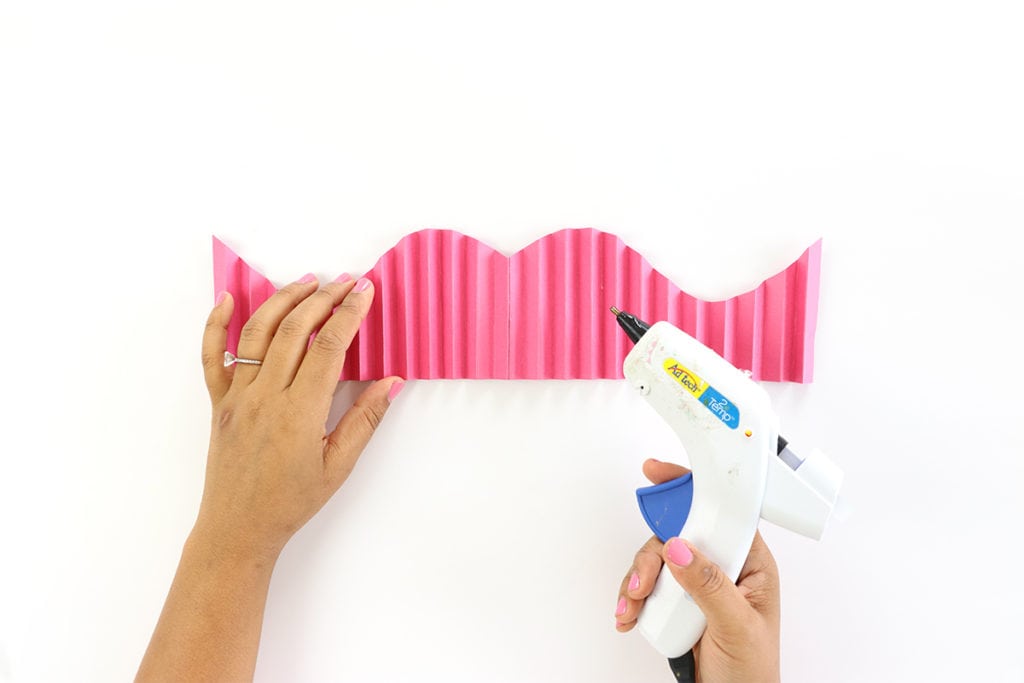
STEP TWO:
Fold the accordion folds then use a glue gun to adhere the strips as shown above.

STEP THREE:
Glue the other ends of the strips together and flatten to create a heart shaped rosette! Glue the circles on the front and back (not pictured) then add a strawberry topper (not pictured).
Note: Play around with the wave shape to create shorter, fatter heart shapes. By doing this you can also create a peach or nectarine just like I did!



Which of the DIY summer fruit paper rosettes is your fave?! Come back tomorrow and learn how to create orange slices and watermelon wedges…all with paper rosettes!








Online apotheek Nederland zonder recept: Betrouwbare online apotheek zonder recept – de online drogist kortingscode
https://kamagrapotenzmittel.com/# Kamagra Gel
Kamagra kaufen [url=https://kamagrapotenzmittel.shop/#]Kamagra Oral Jelly kaufen[/url] Kamagra online bestellen
Kamagra kaufen ohne Rezept: Kamagra Oral Jelly – Kamagra kaufen
http://apotekonlinerecept.com/# apotek online recept
Kamagra Oral Jelly kaufen: Kamagra Oral Jelly kaufen – Kamagra kaufen
ApotheekMax: online apotheek – Apotheek online bestellen
apotek pa nett [url=https://apotekonlinerecept.com/#]apotek pa nett[/url] Apotek hemleverans recept
http://apotheekmax.com/# Beste online drogist
apotek pa nett: apotek online – Apotek hemleverans idag
Betrouwbare online apotheek zonder recept: online apotheek – Apotheek online bestellen
https://kamagrapotenzmittel.shop/# Kamagra Oral Jelly
apotek pa nett: apotek pa nett – Apoteket online
Kamagra kaufen [url=https://kamagrapotenzmittel.shop/#]Kamagra online bestellen[/url] Kamagra Original
One more thing. I believe that there are several travel insurance web pages of trustworthy companies than enable you to enter holiday details and have you the quotes. You can also purchase the particular international travel cover policy online by using your own credit card. Everything you should do is usually to enter your own travel particulars and you can be aware of the plans side-by-side. Just find the program that suits your finances and needs and then use your bank credit card to buy that. Travel insurance online is a good way to begin looking for a trustworthy company for international travel cover. Thanks for discussing your ideas.
One thing is the fact that one of the most frequent incentives for utilizing your cards is a cash-back or maybe rebate offer. Generally, you’ll have access to 1-5 back for various expenditures. Depending on the credit card, you may get 1 back on most expenditures, and 5 again on expenses made in convenience stores, gasoline stations, grocery stores as well as ‘member merchants’.
I loved as much as you’ll receive carried out right here. The sketch is attractive, your authored material stylish. nonetheless, you command get bought an nervousness over that you wish be delivering the following. unwell unquestionably come more formerly again as exactly the same nearly a lot often inside case you shield this increase.
Don’t ignore, report this site.
There are some attention-grabbing closing dates on this article but I don?t know if I see all of them middle to heart. There is some validity however I will take hold opinion until I look into it further. Good article , thanks and we would like more! Added to FeedBurner as well
After examine just a few of the blog posts in your website now, and I actually like your approach of blogging. I bookmarked it to my bookmark website checklist and will likely be checking again soon. Pls take a look at my web site as effectively and let me know what you think.
Wow that was strange. I just wrote an incredibly long comment but after I clicked submit my comment didn’t appear. Grrrr… well I’m not writing all that over again. Anyhow, just wanted to say superb blog!
Together with almost everything that seems to be developing within this specific area, many of your opinions are generally rather stimulating. Having said that, I beg your pardon, because I do not subscribe to your whole suggestion, all be it refreshing none the less. It appears to everybody that your opinions are actually not completely rationalized and in fact you are yourself not even wholly certain of the point. In any case I did enjoy examining it.
I?ll immediately grab your rss feed as I can not find your e-mail subscription link or e-newsletter service. Do you’ve any? Please let me know so that I could subscribe. Thanks.
Thanks for your publication. One other thing is the fact individual states in the United states of america have their unique laws of which affect householders, which makes it very hard for the the nation’s lawmakers to come up with a whole new set of recommendations concerning foreclosures on people. The problem is that a state has got own laws which may have interaction in an unfavorable manner when it comes to foreclosure plans.
This is very interesting, You’re a very skilled blogger. I’ve joined your feed and look forward to seeking more of your great post. Also, I have shared your web site in my social networks!
I have realized that over the course of building a relationship with real estate managers, you’ll be able to get them to understand that, in most real estate deal, a commission is paid. In the long run, FSBO sellers really don’t “save” the fee. Rather, they try to earn the commission by way of doing a good agent’s task. In doing this, they invest their money as well as time to complete, as best they will, the obligations of an realtor. Those obligations include getting known the home by marketing, representing the home to willing buyers, creating a sense of buyer urgency in order to make prompt an offer, scheduling home inspections, controlling qualification inspections with the lender, supervising repairs, and facilitating the closing.
I also believe that mesothelioma cancer is a rare form of many forms of cancer that is often found in those people previously familiar with asbestos. Cancerous tissue form inside the mesothelium, which is a safety lining that covers the majority of the body’s organs. These cells usually form in the lining of the lungs, abdomen, or the sac which encircles one’s heart. Thanks for giving your ideas.
Thanks for your post. Another element is that just being a photographer requires not only trouble in taking award-winning photographs but also hardships in getting the best digicam suited to your needs and most especially issues in maintaining the grade of your camera. This is very correct and apparent for those photographers that are directly into capturing the actual nature’s engaging scenes – the mountains, the forests, the particular wild or perhaps the seas. Going to these amazing places surely requires a dslr camera that can surpass the wild’s tough area.
Wow, incredible blog layout! How long have you been blogging for? you made blogging look easy. The overall look of your site is wonderful, as well as the content!
Thanks a lot for sharing this with all folks you really realize what you are speaking approximately! Bookmarked. Please also talk over with my site =). We will have a link alternate agreement among us!
I know this if off topic but I’m looking into starting my own weblog and was curious what all is needed to get set up? I’m assuming having a blog like yours would cost a pretty penny? I’m not very web smart so I’m not 100 positive. Any tips or advice would be greatly appreciated. Kudos
There may be noticeably a bundle to find out about this. I assume you made certain good points in features also.
I’m not sure exactly why but this weblog is loading very slow for me. Is anyone else having this problem or is it a problem on my end? I’ll check back later and see if the problem still exists.
Thanks for your useful article. One other problem is that mesothelioma is generally the result of the breathing of dust from asbestos fiber, which is a very toxic material. It can be commonly viewed among employees in the structure industry who may have long experience of asbestos. It can also be caused by moving into asbestos insulated buildings for years of time, Genetics plays a huge role, and some folks are more vulnerable towards the risk in comparison with others.
I really appreciate this post. I?ve been looking all over for this! Thank goodness I found it on Bing. You’ve made my day! Thank you again
One more thing. I do believe that there are many travel insurance sites of respected companies than enable you to enter your holiday details and obtain you the prices. You can also purchase the international travel cover policy on the web by using your credit card. Everything you should do would be to enter all travel specifics and you can be aware of the plans side-by-side. Only find the program that suits your budget and needs and use your bank credit card to buy the idea. Travel insurance on the web is a good way to take a look for a dependable company for international holiday insurance. Thanks for sharing your ideas.
I was recommended this website by my cousin. I am not sure whether this post is written by him as no one else know such detailed about my trouble. You are wonderful! Thanks!
Thanks for your useful post. Through the years, I have come to be able to understand that the actual symptoms of mesothelioma are caused by this build up associated fluid involving the lining on the lung and the chest muscles cavity. The infection may start from the chest place and multiply to other limbs. Other symptoms of pleural mesothelioma cancer include weight reduction, severe respiration trouble, vomiting, difficulty ingesting, and inflammation of the neck and face areas. It really should be noted that some people existing with the disease never experience almost any serious signs or symptoms at all.
I’m curious to find out what blog platform you are using? I’m having some minor security problems with my latest blog and I would like to find something more safeguarded. Do you have any solutions?
Great website. Lots of useful information here. I?m sending it to a few buddies ans additionally sharing in delicious. And of course, thank you to your sweat!
I was wondering if you ever considered changing the layout of your site? Its very well written; I love what youve got to say. But maybe you could a little more in the way of content so people could connect with it better. Youve got an awful lot of text for only having 1 or two pictures. Maybe you could space it out better?
whoah this blog is fantastic i love reading your posts. Keep up the good work! You know, a lot of people are searching around for this info, you could aid them greatly.
I would also like to add if you do not actually have an insurance policy or perhaps you do not participate in any group insurance, you may well benefit from seeking the assistance of a health broker. Self-employed or individuals with medical conditions usually seek the help of the health insurance specialist. Thanks for your writing.
Howdy! I simply wish to give an enormous thumbs up for the great data you’ve got here on this post. I will be coming again to your weblog for more soon.
excellent post, very informative. I wonder why the other specialists of this sector do not notice this. You should continue your writing. I’m sure, you’ve a great readers’ base already!
I’m not that much of a online reader to be honest but your sites really nice, keep it up! I’ll go ahead and bookmark your site to come back later. Many thanks
Ресурс пропонує користувачам огляди онлайн казино з бонусами та практичні поради для ставок. Інформація подана просто і зрозуміло, з поясненнями стратегій та нюансів гри. Тут можна знайти багато корисних матеріалів про вибір ігор і способи збільшення шансів на виграш. Ознайомитися можна на сайті https://dimplast.com.ua
This post is very helpful. For those living in Innaloo and facing plumbing issues, don’t hesitate to contact the team at scarboroplumbing.com.au – truly the best Plumber Innaloo I’ve used.