I’ve gotten a ton of your emails about the Silhouette Mint Stamp Maker, so let’s get to it!
There are three reasons to DIY:
- You will make people happy with your handmade goods.
- It’s cheaper to DIY than to buy, and even when it isn’t – who cares!
- DIY allows you to create customized anything. You can make a personalized tee for a friend. You can decorate a party in with your kid’s favorite colors. You can make things with curse words and sassy sayings.
I’m not ashamed to say that number three is a big part of my motivation. Potty mouthin’ is a habit of mine and when I can add a little sass to my crafts…well…I’m gonna do it.
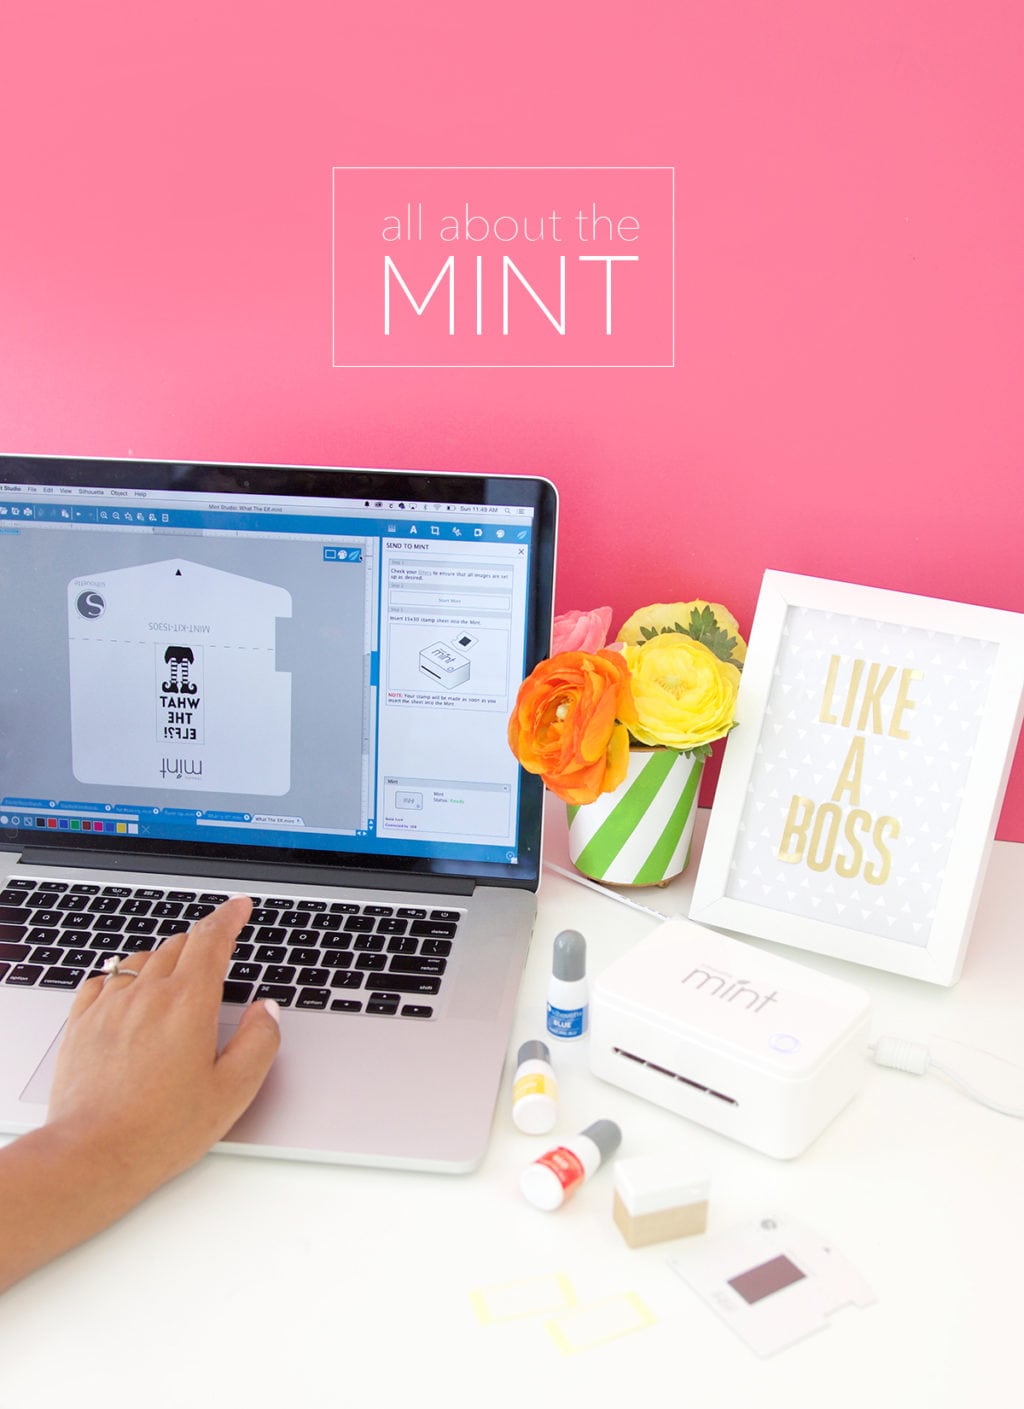
The Silhouette Mint is one of the newest crafting machines on the scene and you guys have been chomping at the bit to get all the deets about this machine. I’m here to break it down for you in super duper detail. Before we tackle today’s DIY, howsabout I give you all the information you need about this machine:
What the heck is a Silhouette Mint?
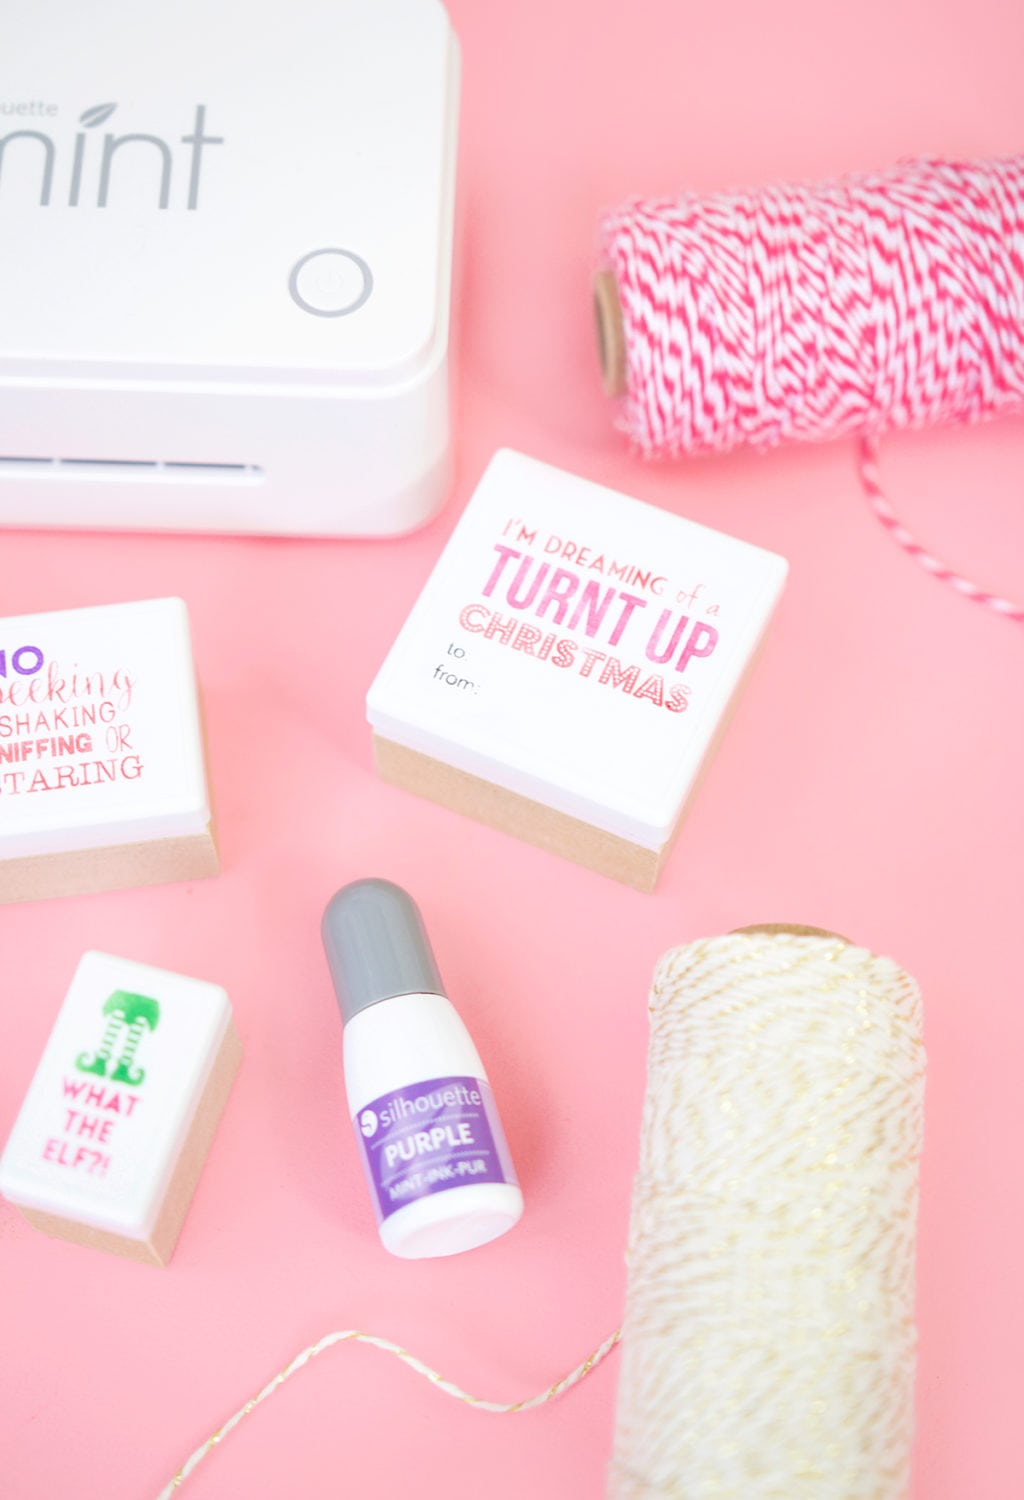
The Mint is a little machine – slightly smaller than a Chipotle burrito (with chicken, corn salsa and guac). It uses heat to etch custom stamp designs into little pieces of rubber. Each design takes about ten or fifteen seconds to etch.
How much is this Chipotle burrito sized machine?
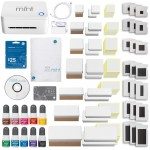
Okay. Listen up. The Mint ain’t cheap. It will cost you about $100. Matter of fact, if you hop over to Amazon right this second, you can snag it for $99.99 with Prime shipping which is the cheapest I’ve seen it for. If you are feeling like Daddy Warbucks, you can grab the big mamma jamma kit which includes the machine, all seven sizes of stamp blanks and stamp blocks, all ink colors as well as a $25 Silhouette Store credit. The value is better on this larger kit.
What do I get for that much money?
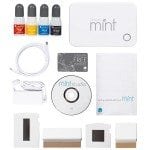
With the Starter Kit, you will receive the Mint Stamp Maker machine along with all the cords you need to power it and connect it to your computer. You’ll also get four bottles of ink, the Mint software CD, and two sizes of stamp blocks with their coordinating rubber stamps blanks. You’ll also get a free month of access to the Silhouette Store where you can grab images to turn into stamps.
Is it worth my money?
If you are a stamper, crafter, maker, shaker, generally awesome person – yes, the Mint is worth your money. For $99.99 you’ll be able to make two stamps off the bat, which might sound pricey but you’ll typically pay $40 for a custom stamp, and you’ll have to wait a couple weeks for it to arrive. Ain’t nobody got time for that. And if you get the bigger kit, your price per stamp goes to about $35 and you’ll be able to make seven stamps from the start. You’ll also have the machine at your disposal and can make a ton more custom stamps by ordering additional stamp kits and stamp pad blanks.
What size stamps can I make?
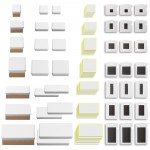
You can make seven different sized stamps: 11mm x 15mm, 15mm x 30mm, 15mm x 60mm, 30mm x 30mm, 30mm x 60mm, 45mm x 45mm (my favorite size) and 45mm x 90mm.
How the heck do I use it?
Keep scrolling, sister friend. I’ve got a sweet tutorial coming up to answer this one for you.
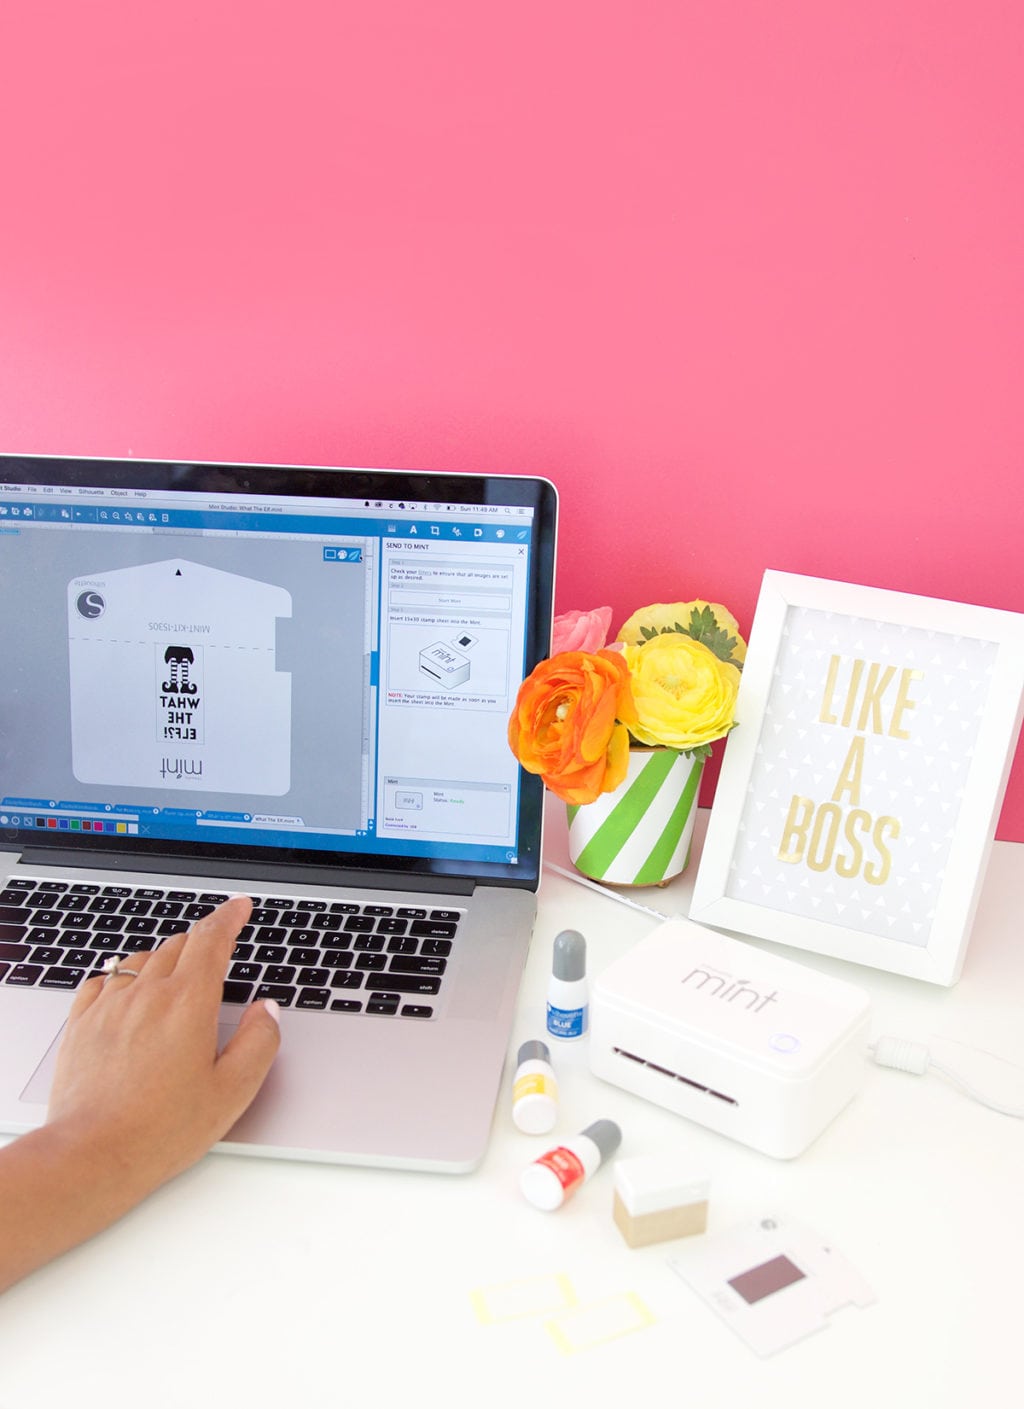
- To use the Mint, you’ll need to start by downloading the software. Then you’ll be able to design your own stamp using fonts that you already have on your computer. You can also import your own designs. When designing your stamp, I recommend using fonts that are fairly thick so that you can get a good impression when it comes time to start stamping
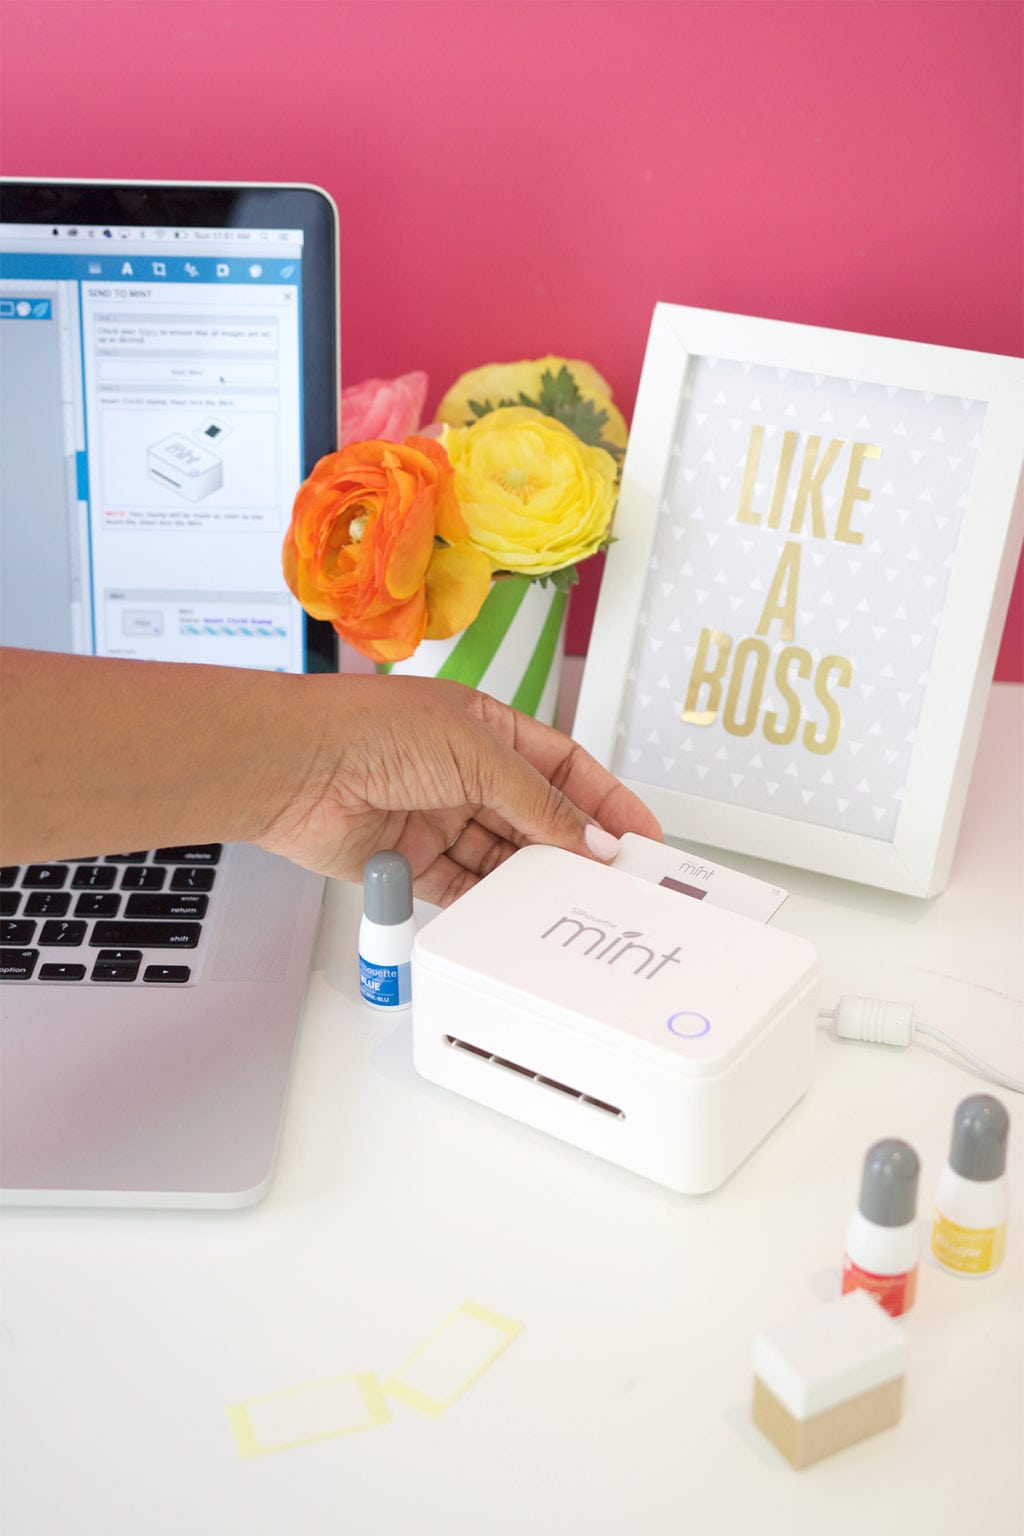
- Click the “Send to Mint” button and feed the stamp blank into the back of the machine as shown.
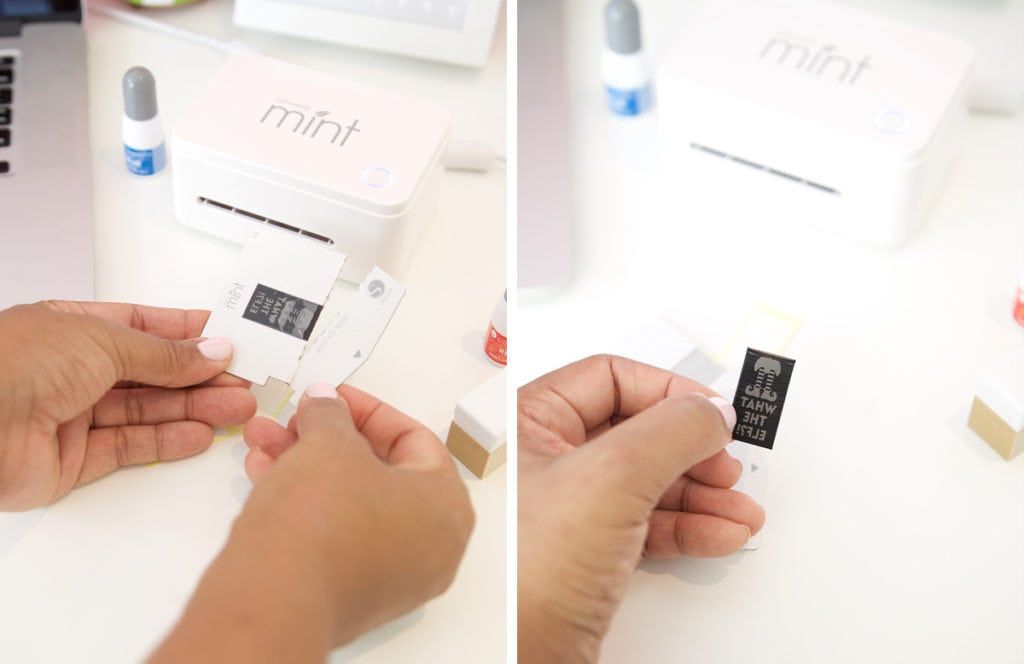
- Once the machine is done etching the design into the stamp, Tear off the excess cardboard and remove the rubber stamp
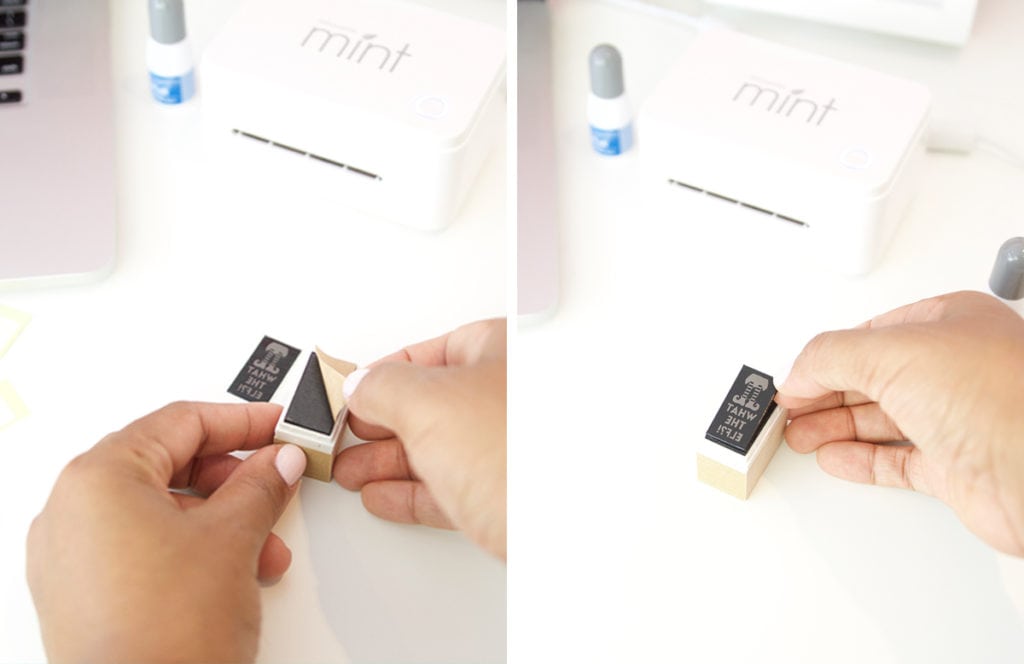
- Now, grab the stamp block and peel off the adhesive covering and adhere the newly etched stamp directly onto the adhesive.

- Now you can add ink! Squeeze the ink bottles directly onto the stamp and allow the stamp to sit for 5-10 minutes so that the ink can be absorbed.
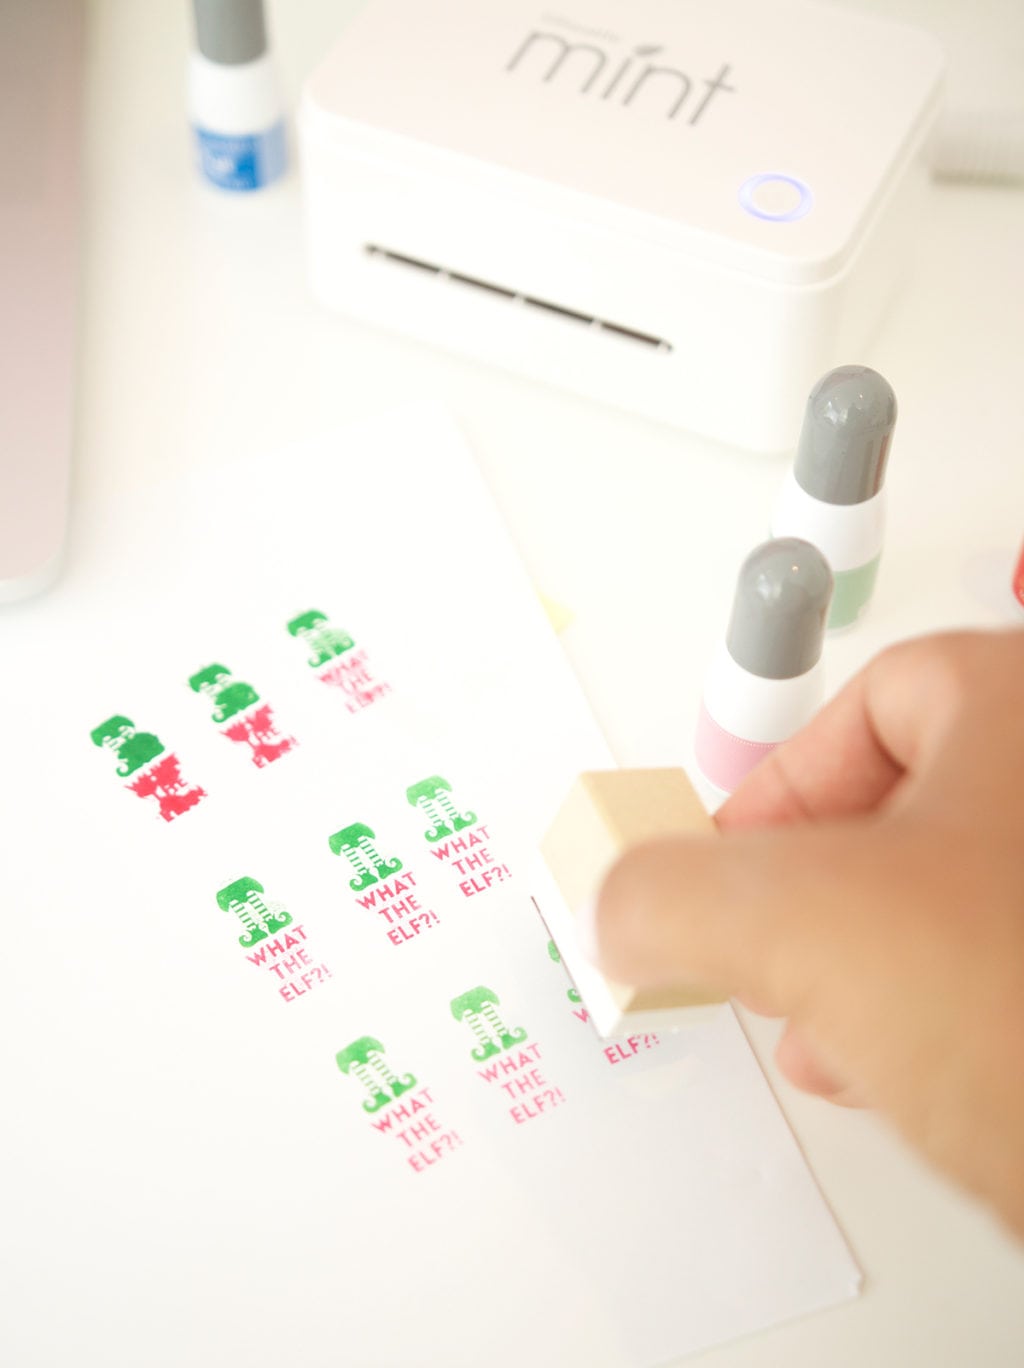
- Once the ink has absorbed, begin stamping on a piece of scrap paper. Your first impressions will be blotchy and will look terrible and you might freak out and think you’ve done something wrong. Well, you haven’t. Just keep stamping to remove that excess ink and after 5 or so impressions, you’ll start seeing your clean design.
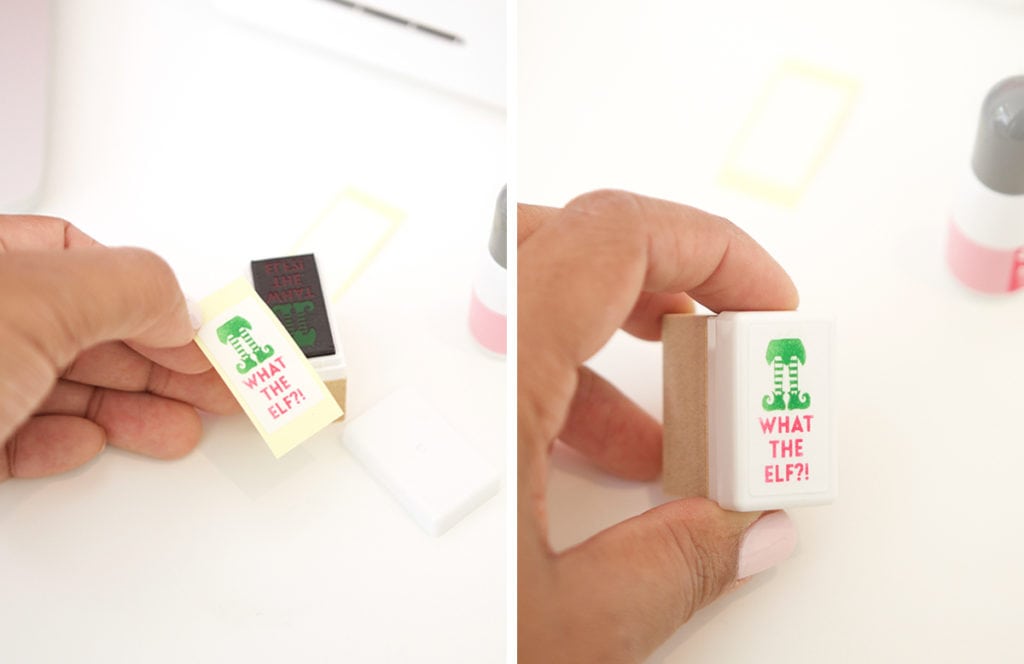
- Now you can stamp the label that comes with your stamp kit to be sure you know what your stamp says.
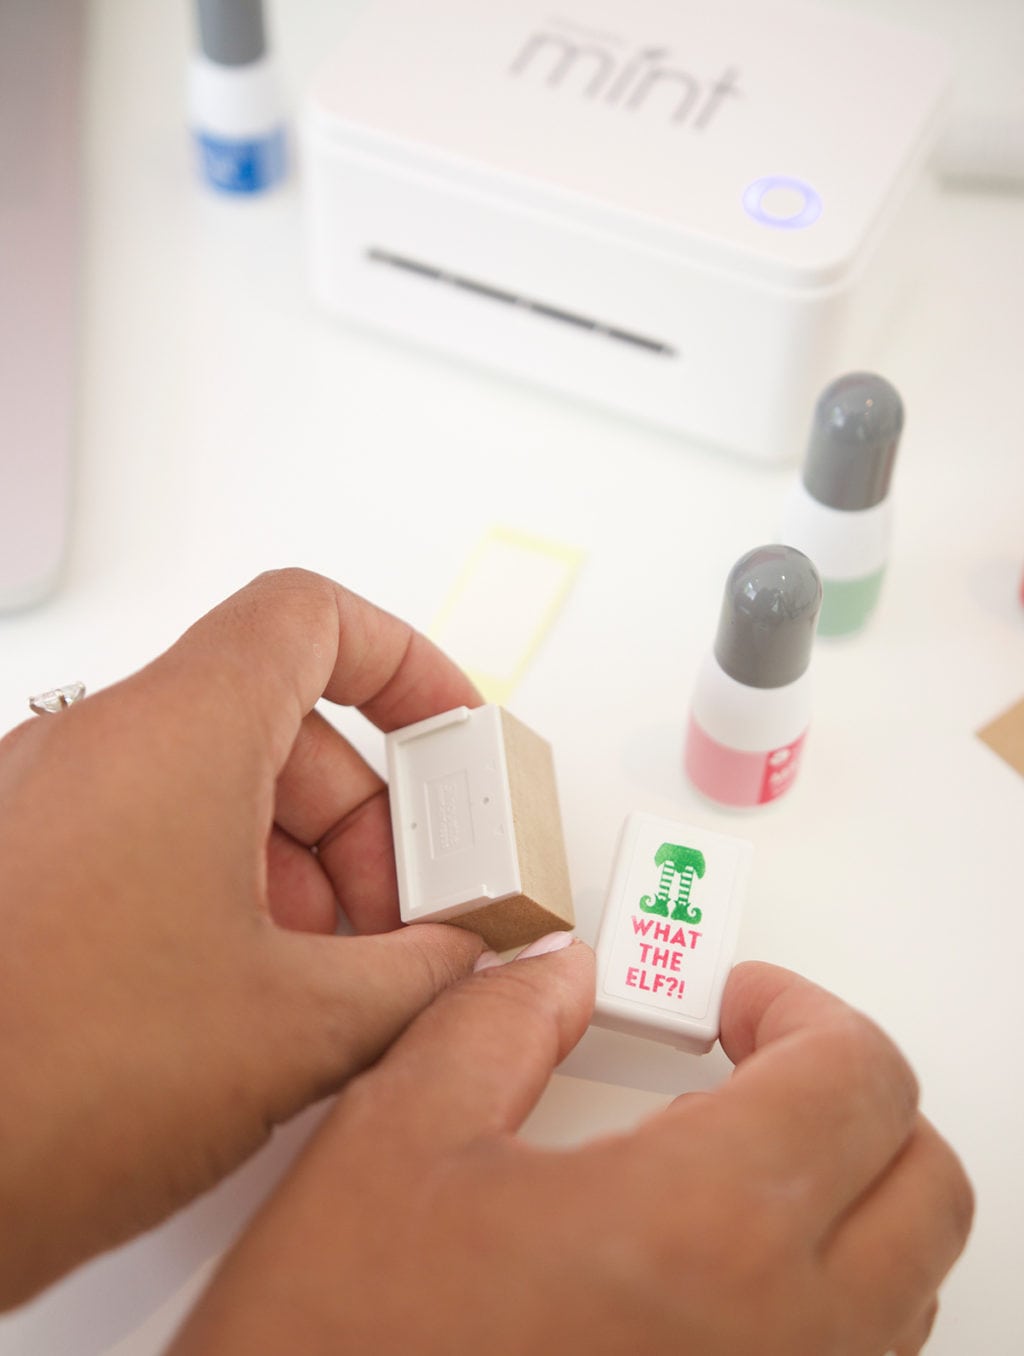
- And here’s the cool part! You can slide that stamp off the block! This means you only need to buy one block per size of stamp you make since you can switch them out.
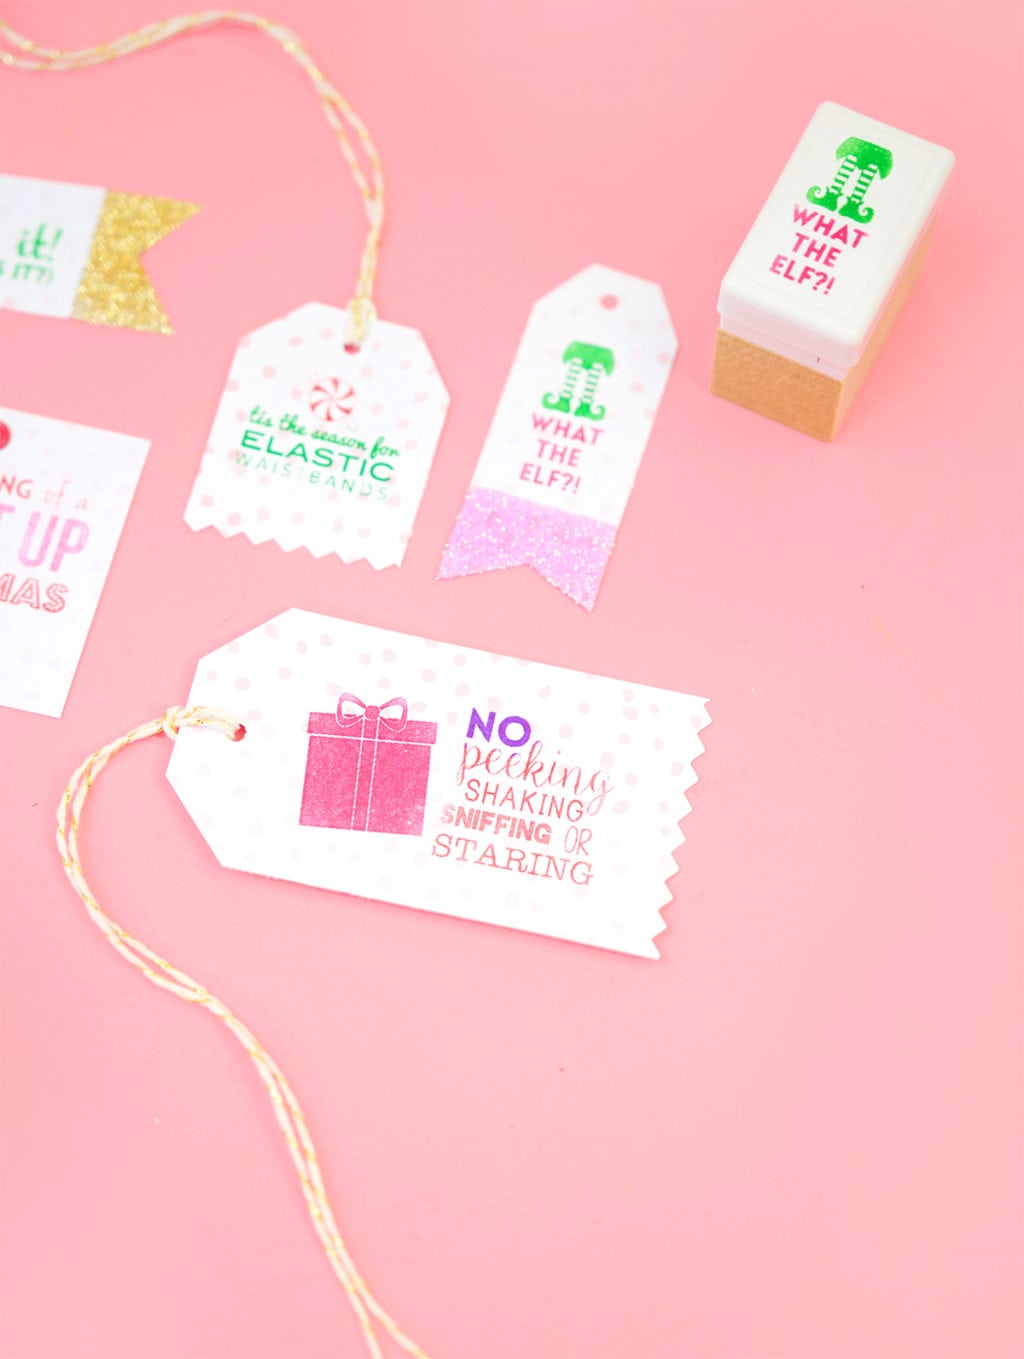
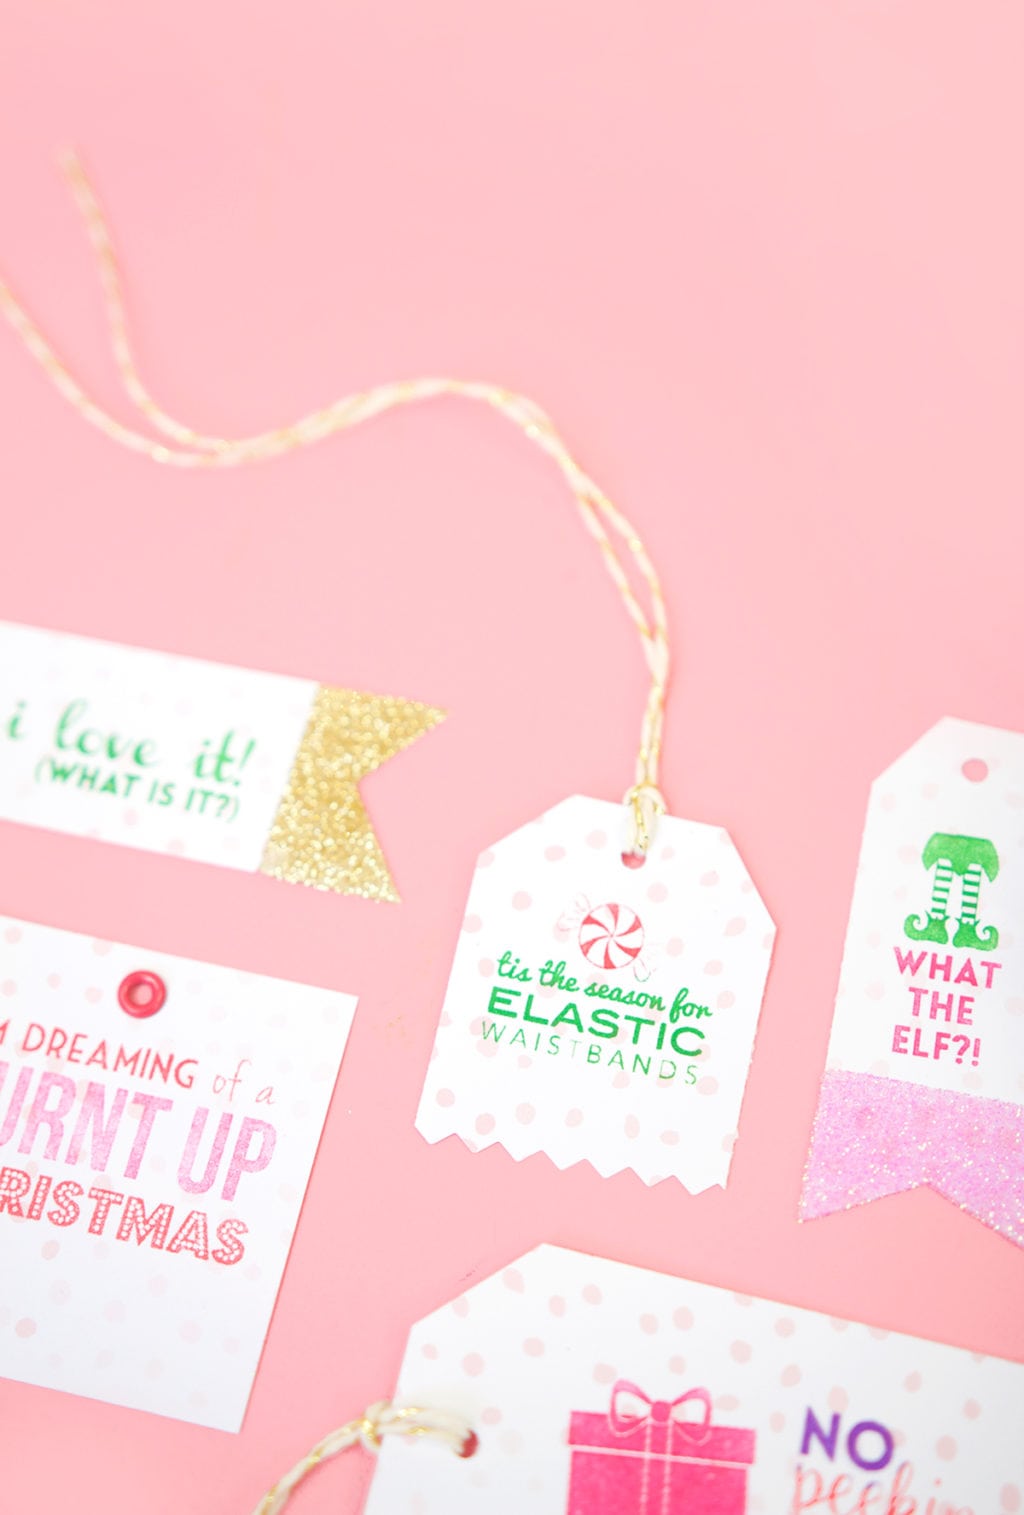
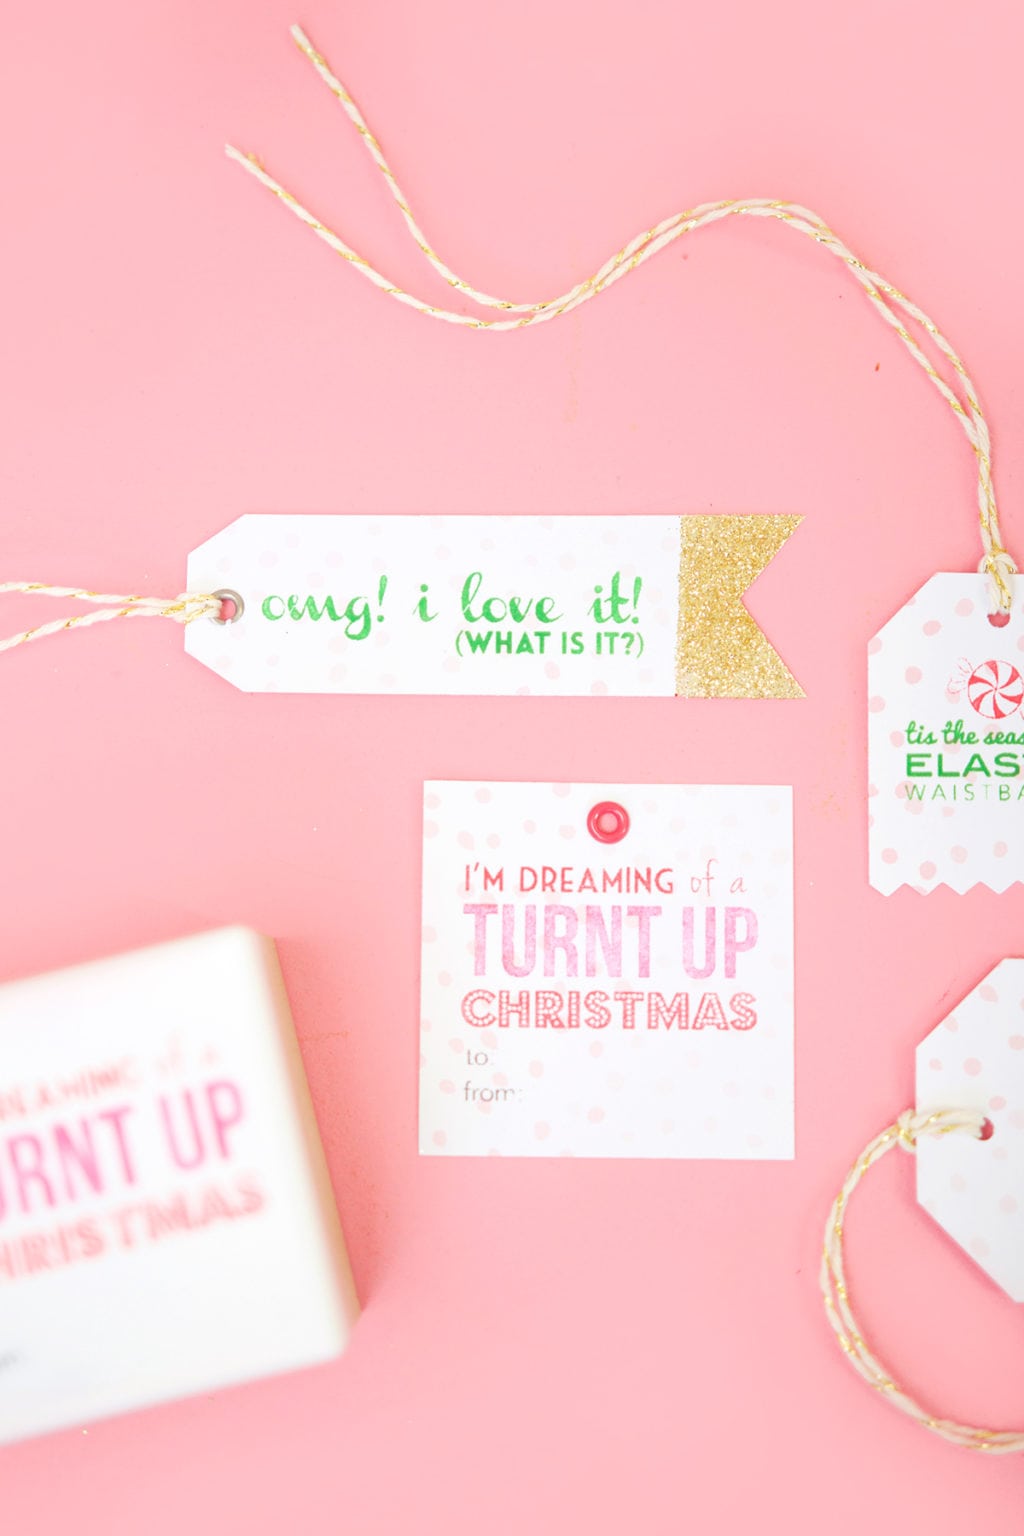
Now let’s talk about the cool things you can make with this machine! For me, I am SO excited to finally make snarky stamps that I can’t find anywhere. For you, you may want to make personalized stamps for an upcoming event or maybe you want to create stamps for each of your kids. I can pretty much guarantee that after one run with the Mint, you’ll be unstoppable. They print out so doggone quickly that you can make a ton of stamps in just a few minutes. With Christmas around the corner, I used my Mint to make a bunch of funny holiday tags.
Okay – now it’s your turn to ask the questions! Let me know what questions you have about the Mint and I’ll be sure to give you an answer. And while you’re at it, tell me what phrase YOU would make with your custom stamp maker!


Kamagra Oral Jelly [url=https://kamagrapotenzmittel.shop/#]kamagra[/url] Kamagra kaufen ohne Rezept
https://apotekonlinerecept.com/# apotek online recept
Apotek hemleverans recept: apotek online – Apotek hemleverans recept
https://apotekonlinerecept.shop/# apotek online recept
http://apotheekmax.com/# Apotheek online bestellen
apotek pa nett [url=https://apotekonlinerecept.shop/#]Apotek hemleverans idag[/url] Apoteket online
apotek online: Apotek hemleverans idag – apotek pa nett
https://apotheekmax.shop/# ApotheekMax
https://apotekonlinerecept.shop/# apotek online
Kamagra kaufen: Kamagra kaufen ohne Rezept – Kamagra kaufen
https://kamagrapotenzmittel.shop/# Kamagra Original
http://apotheekmax.com/# Apotheek Max
Apoteket online [url=https://apotekonlinerecept.shop/#]apotek online recept[/url] Apotek hemleverans recept
https://kamagrapotenzmittel.com/# Kamagra Oral Jelly kaufen
apotek pa nett: apotek online recept – apotek pa nett
https://kamagrapotenzmittel.shop/# Kamagra Gel
https://apotheekmax.shop/# Beste online drogist
ApotheekMax: de online drogist kortingscode – Beste online drogist
online apotheek [url=http://apotheekmax.com/#]de online drogist kortingscode[/url] Online apotheek Nederland met recept