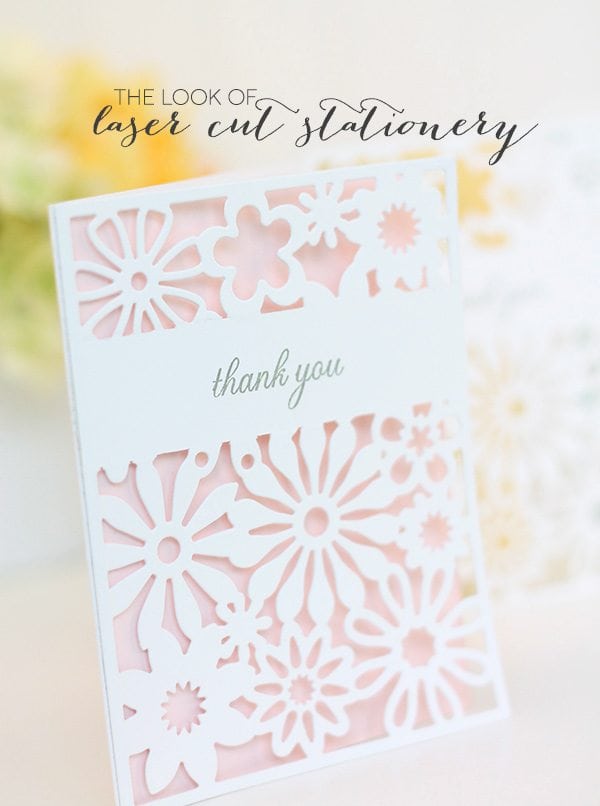
Any stationery obsessed person is familiar with the awesomeness of laser-cutting. The intricate cuts draw you in and make you stare only to be ripped away by the price tag which is usually somewhere between Bentleys and bankruptcy…well maybe not that bad…but they are usually a pretty penny, especially if you want more than one.
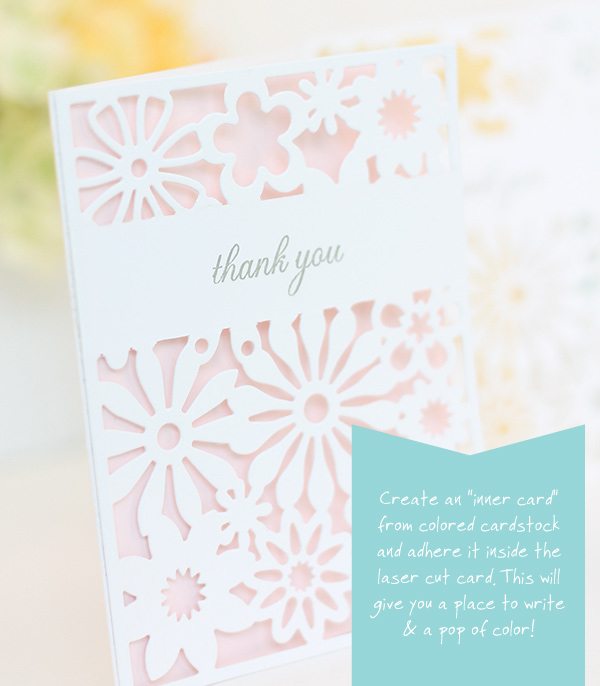
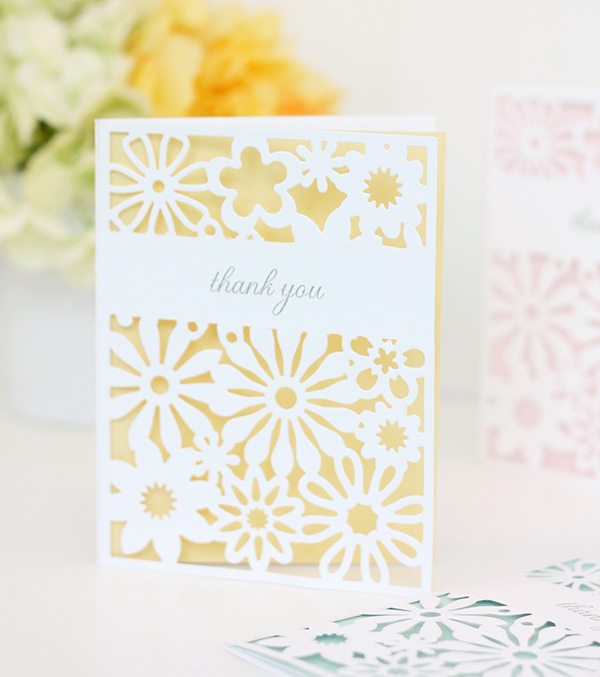
Turns out that with a little creative die cutting and with the right supplies, you can re-create the look of laser-cutting at home…and honestly, even if you don’t own ANY of these supplies already, it would probably be cheaper to stock up on them now than to purchase the real deal.
I’ve put together a video to show you exactly how this is done – and at only two minutes and some change, you won’t need to spend much time learning this easy technique.
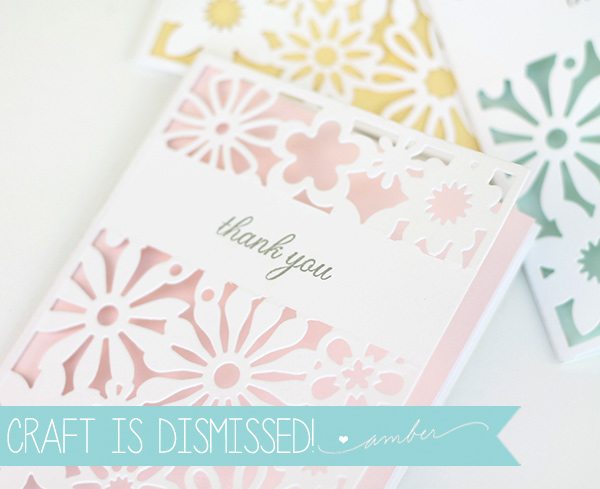
So what do you think of these pretty pastels cards? They’re great for spring, right?!







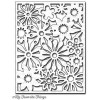
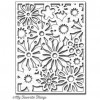



Oh, Amber! You really know my craftlife so well. I own several of these cover plates from Papertrey Ink and was looking for a simple stationery set to send out. Thank you! Hopefully after my homework I’ll have time to play in the studio. TFS! 😀
This is soooo very pretty, must have this die!!!! Thank you!
Love love love this technique and that gorgeous die!! You can also use it to make a stencil!! I’m so getting this die!!
That is awesome! I have to try this this weekend when I have “me” time.
Wow, that is amazing! I love your tutorials. You are a good teacher!
GORGEOUS!!!
Enough said!
Thanks for sharing
Susan
Genious! I love it! TFS
Such nice cards! Thanks for sharing.
Stunning and so elegant!
Quick question ….. won’t the writing show through the stencil – or do you just write behind the sentiment strip?
LOVE!!!!
Absolutely gorgeous! I’m in love and in awe of how easy this is to create!
Far above my skill-set, but very beautiful.
Knocking it out of the park AGAIN! Love.
Love it; A set of these would make a wonderful gift. Can’t wait to get the die and get to work. TFS your creativity!!
This is awesome! Thanks so much for the tutorial!!
This is beautiful! Love your blog – when do we get to find out that you won that BH&G blog contest?
“…somewhere between Bentleys and bankruptcy”
I get such a kick out of your commentary. Thanks for the chuckles and for pointing out this gorgeous die.
Such nice cards!
I am new to your blog and I love your videos already. Thanks for sharing.
Lovely cards, Amber! Thanks for sharing this fun way to get the look of Laser cuts!!
These are just gorgeous! Love them to pieces!
Love, love, love this technique. Laser all the way!
Tout simplement magnifique! Thanks for sharing..
Genius Amber! These are so so pretty – have to have a try at this technique!
That is brilliant, Amber. I LOVE that idea and you’ve inspired me to try it myself. 🙂 Thank you for sharing your creativity!
thanks so much! I just finished trying this technique! I don’t have this die, but the Anna Griffin ones worked really good too. didn’t have this tape either, so I used painter’s and doubled up on it…and it worked great! thanks again!!
thanks so much! I love these cards you made!! they are beautiful!! I just finished trying this technique! I don’t have this die, but the Anna Griffin ones worked really good too. didn’t have this tape either, so I used painter’s and doubled up on it…and it worked great! thanks again!!
These cards are so lovely! I love the look of the pale colors behind the detailed cover – AWESOME! Looks like I’ve got another die cut in my future!
LOVE this!
So pretty – and not tricky at all ;oP
I am not having good luck with leaving the space for the greeting. How do you know how far to put the die thro’ the big shot to have the blank space? Someone said in previous comment they used 2 layers of painters tape. Why would that be? Thanks for any help-I love the die cut!
Where can I get the die?