
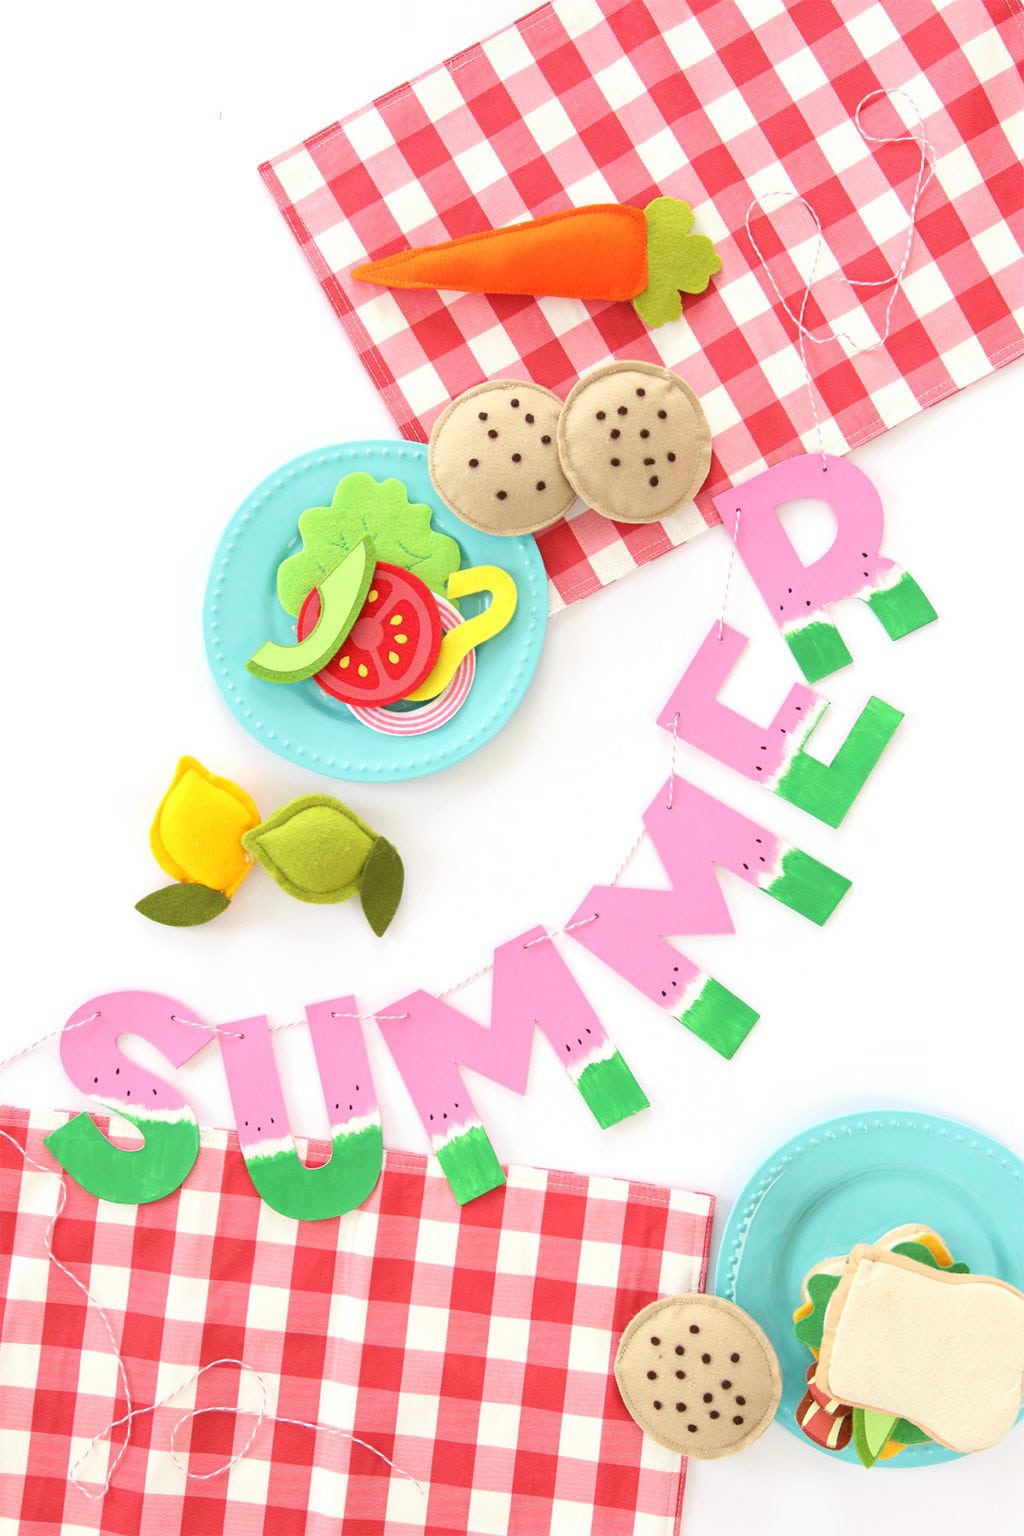
Let’s start with a quick lesson on chipboard for anyone who’s unfamiliar. Chipboard is a thick, paper crafting material. Sorta like cardboard. A little thicker than the stuff used to make your cereal box. It’s great for crafting because it makes for sturdy, durable projects. Problem is – chipboard only comes in a few colors, namely brown, white and…well…I think that’s it. It certainly doesn’t come in pink…so I’m here to remedy that. Today we’re going to make our own DIY chipboard letters for summer. Essentially, we’re just layering identical pieces of cardstock until it’s thick like traditional chipboard.
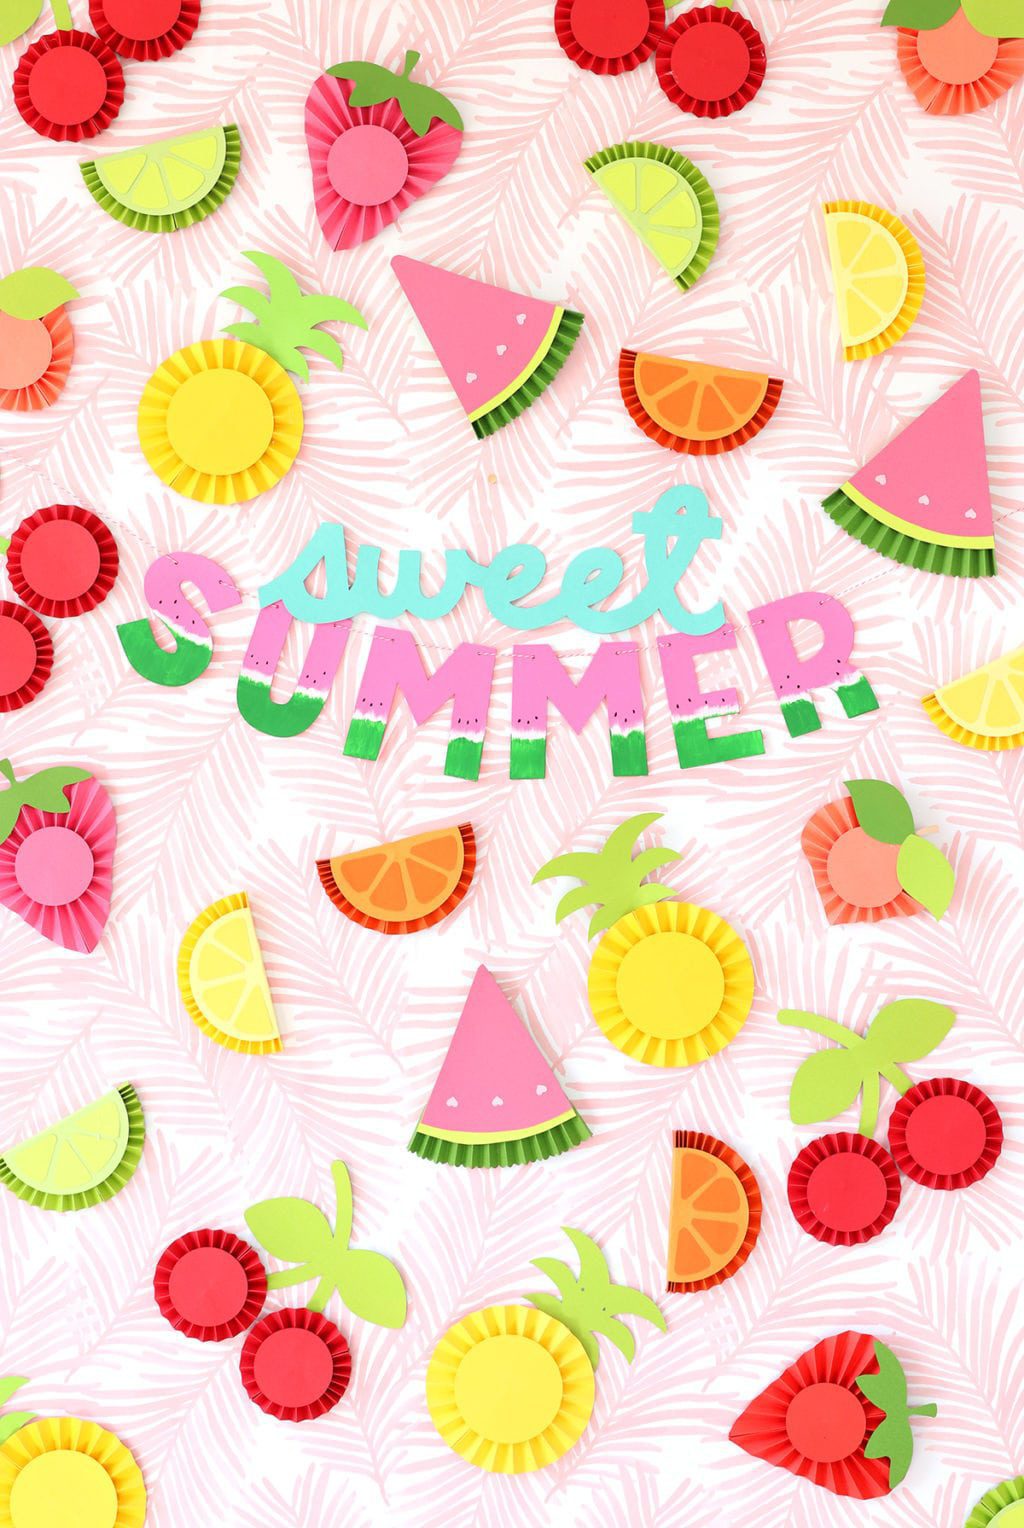
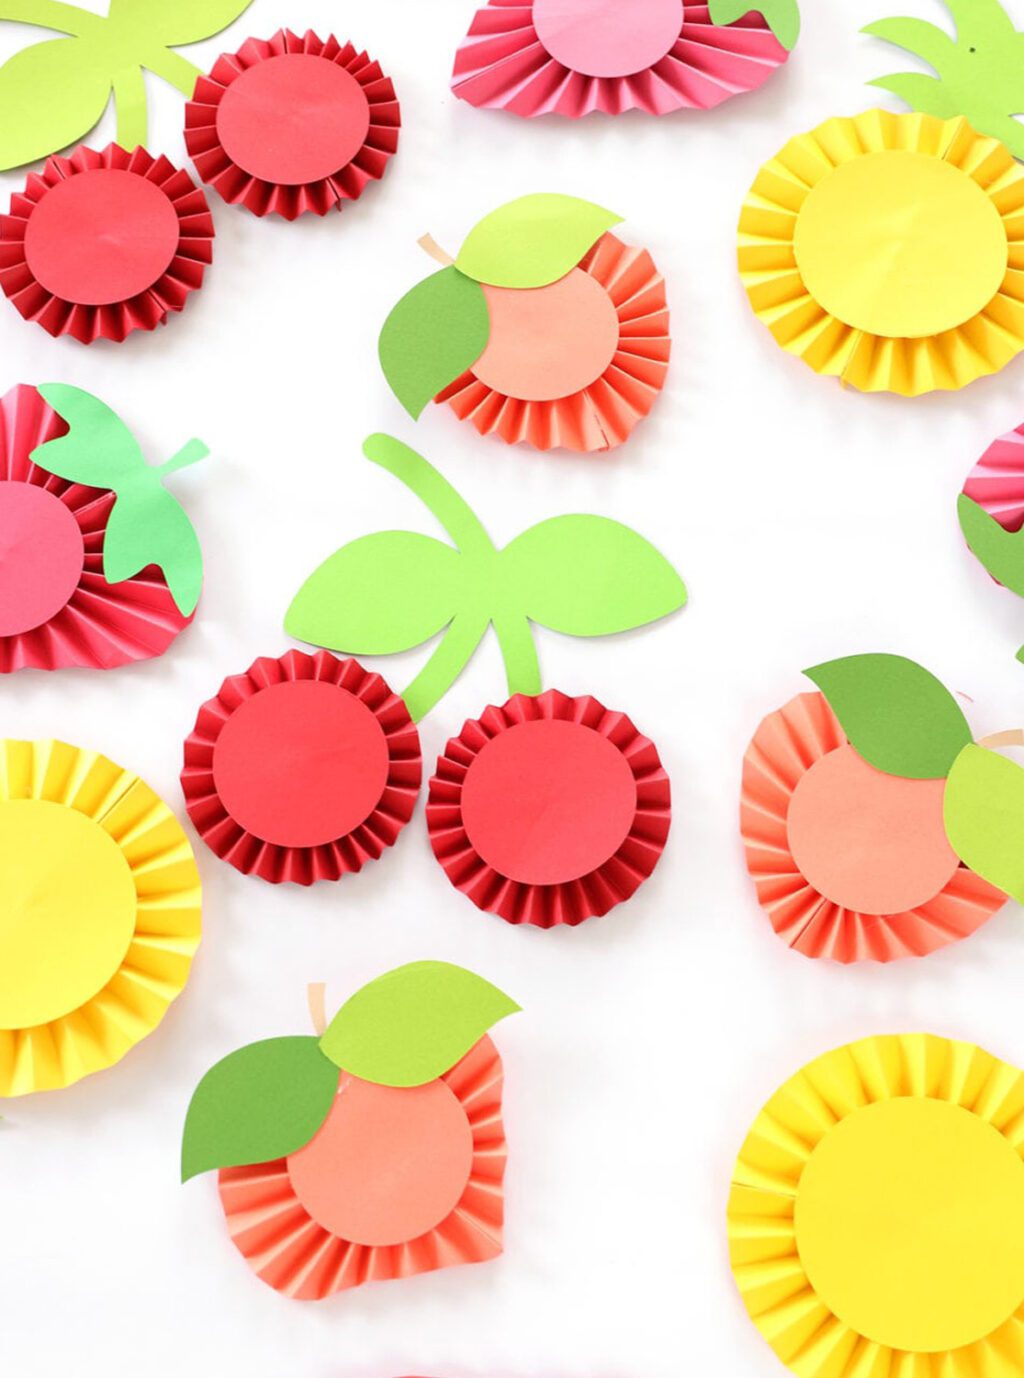
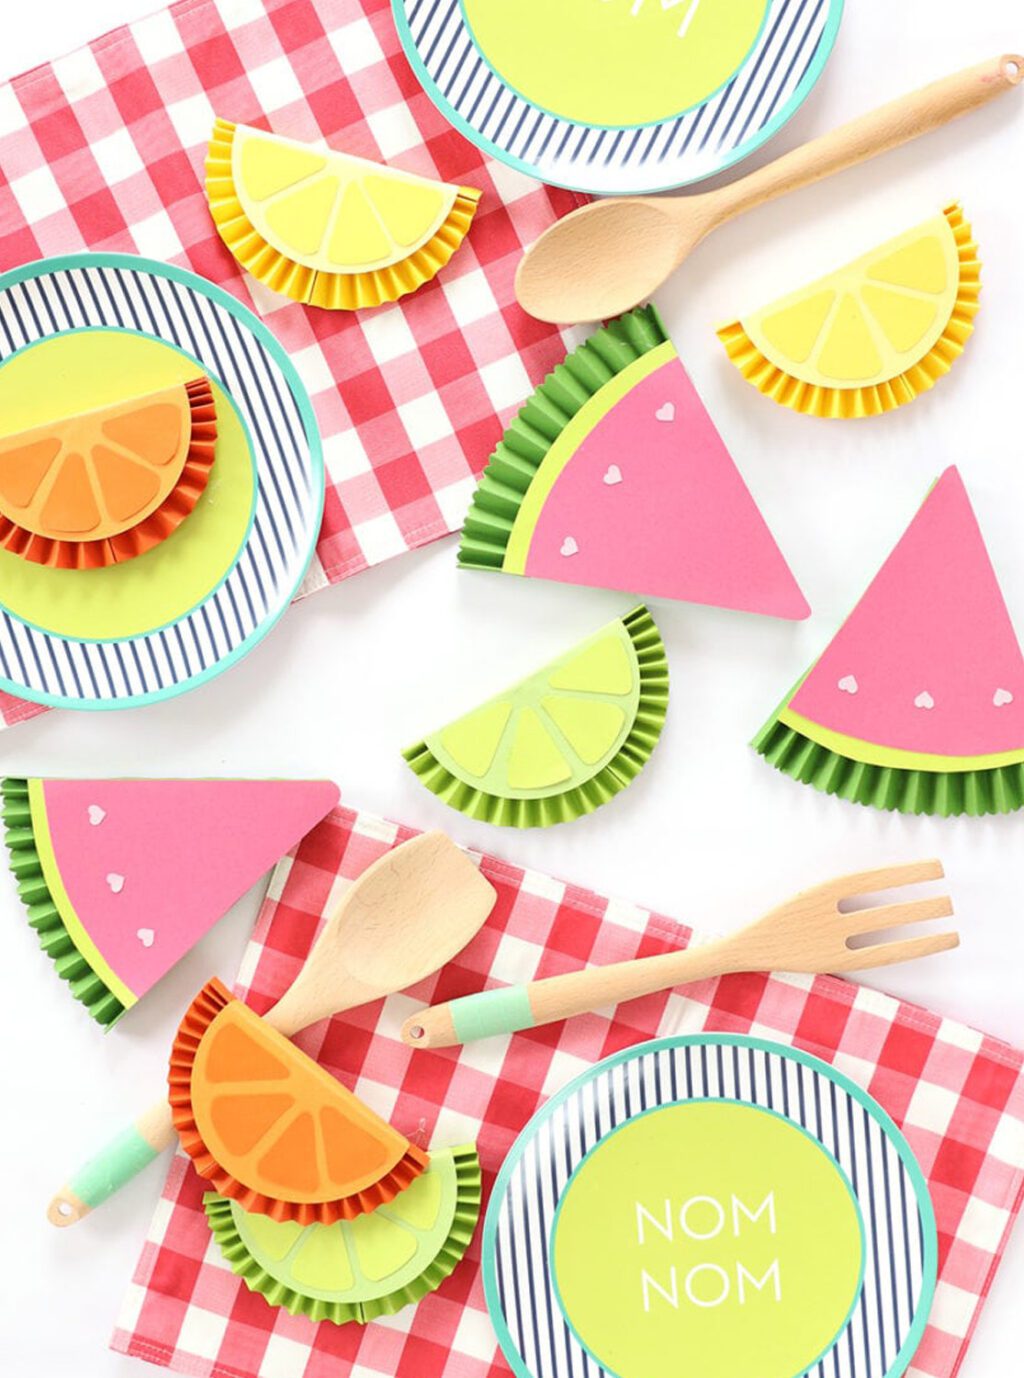
In the spirit of last week’s medallion fruit, we’re going to quickly and easily give our chipboard letters a watermelon makeover. Let’s do it!
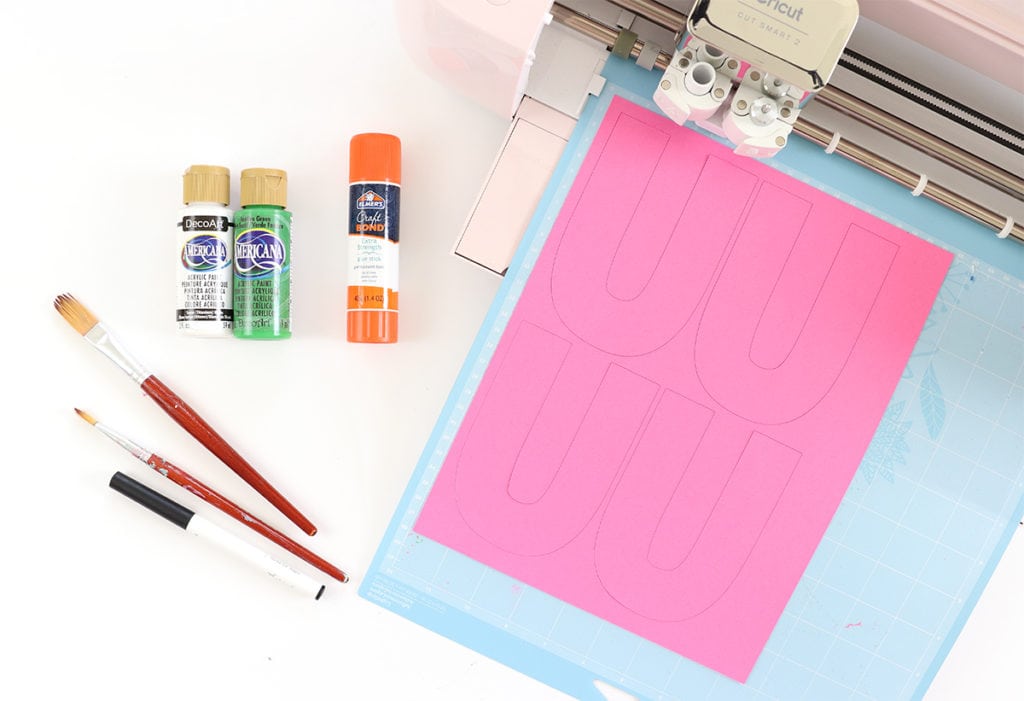
- Cricut Explore – this is a great way to quickly cut identical letters. Since we’ll be layering the letters, it’s important that they be exactly the same shape and size, which is easy to do with the Explore. The Cricut Joy Xtra is also perfect for this project. If you want to recreate my “Summer” banner project, simple block letters such as Cricut Sans font work best.
- Extra Strength Glue Stick
- Paint brushes
- green and white craft paint
- a black fine tip pen
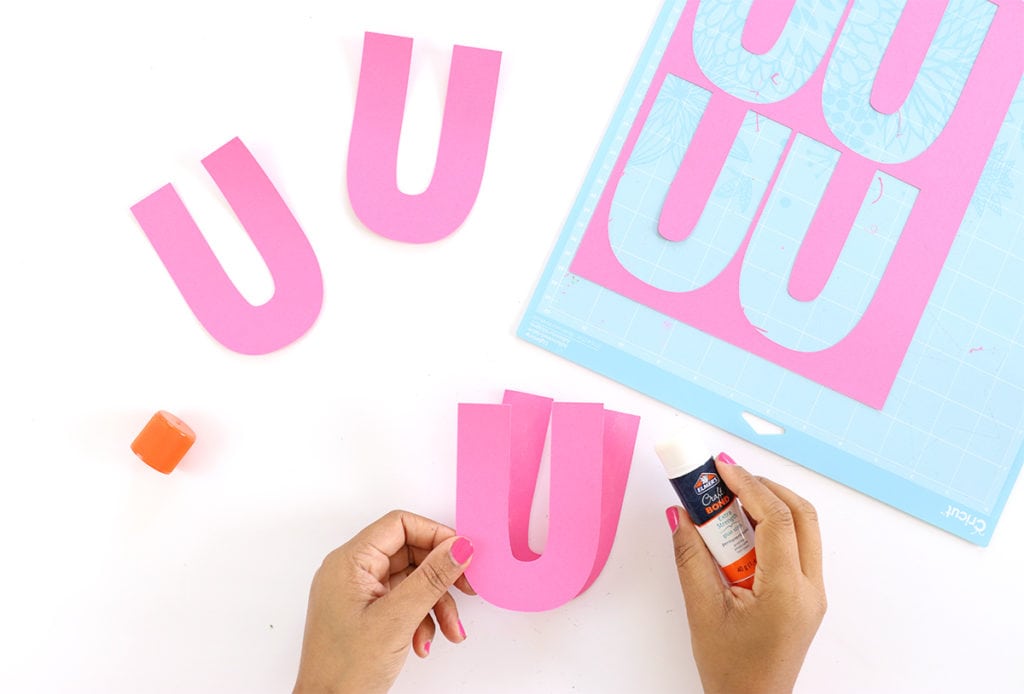
STEP ONE
Use the glue stick to adhere four of each letter together – one on top of the other.
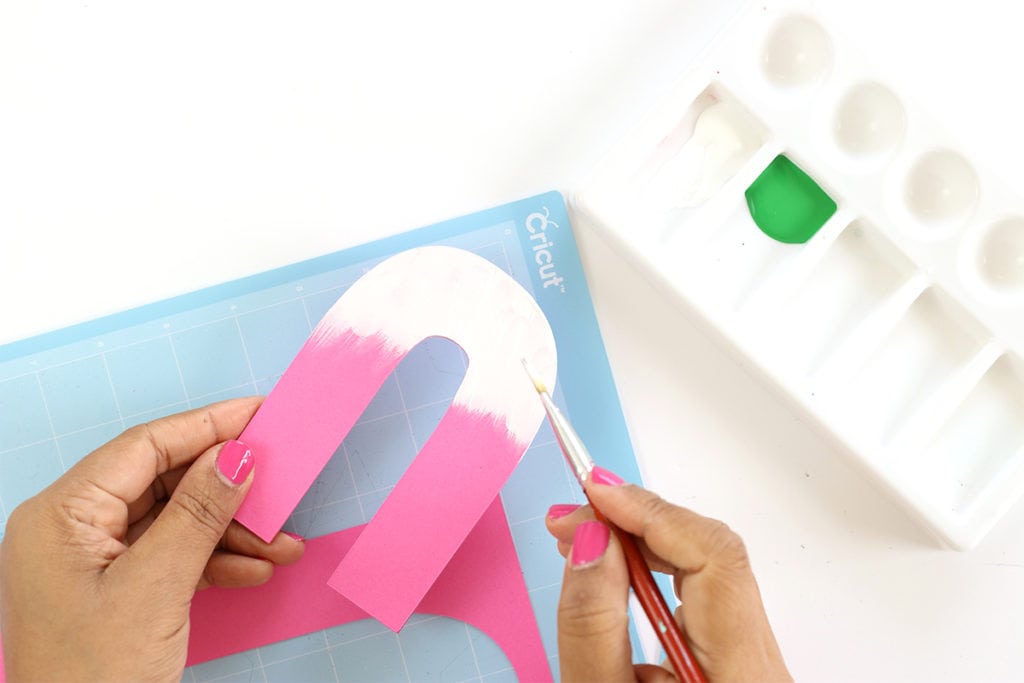
STEP TWO
Once the layers are adhered, add white paint to the bottom of each letter.
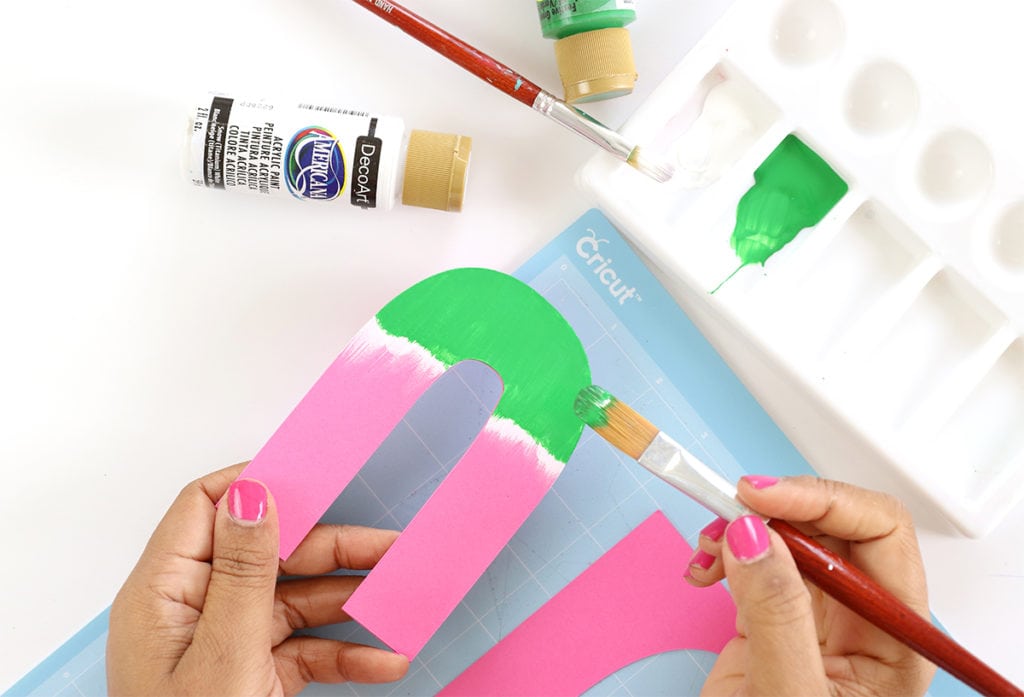
STEP THREE
Once the white paint has dried, add a layer of green paint, making sure that some of the white is still showing
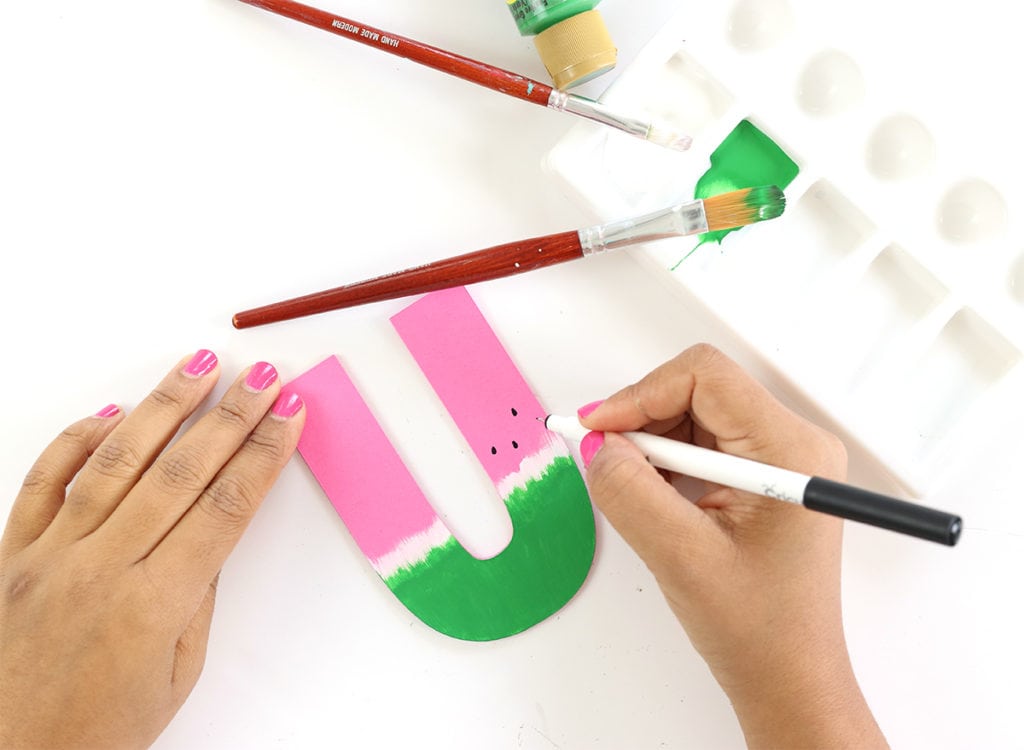
STEP FOUR
Use the black pen to add a few “seeds”
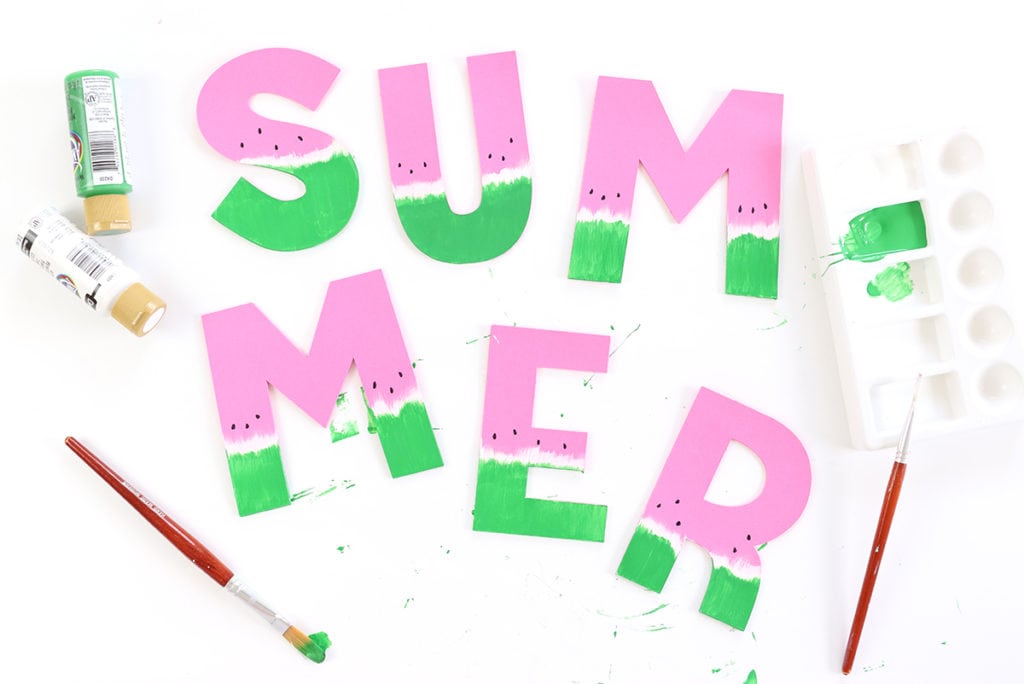
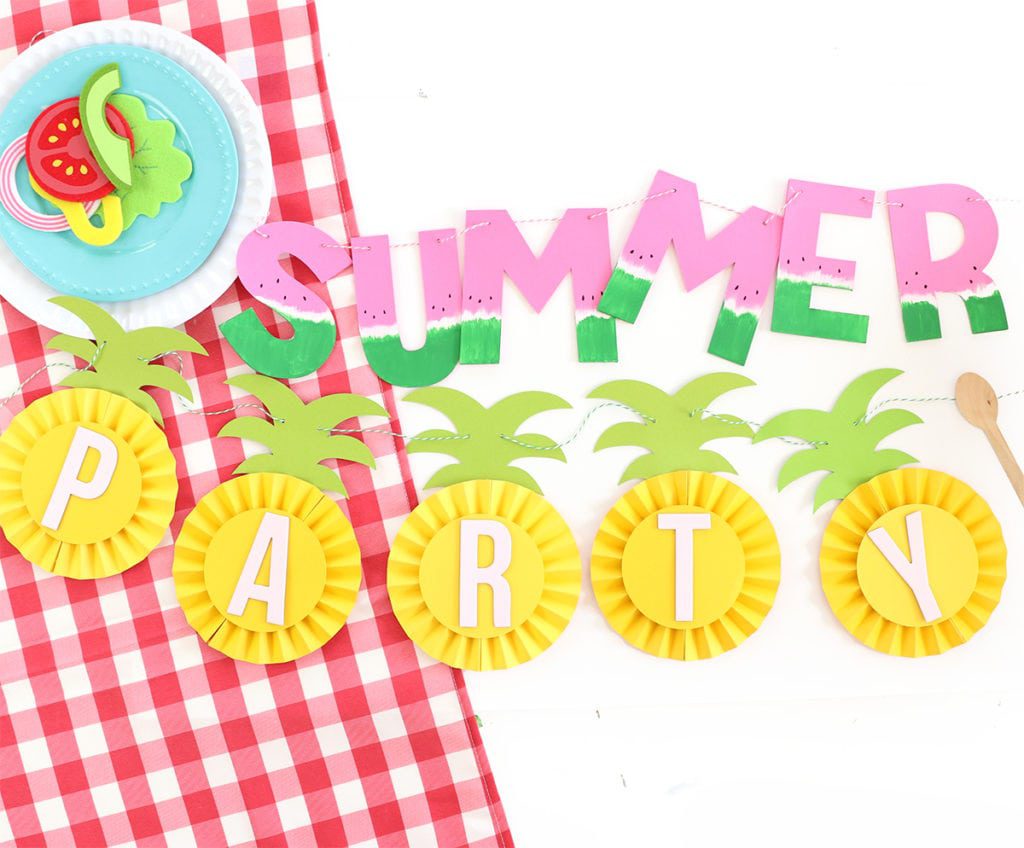
These letters will be a HIT at your next summer picnic or party. Combine them with the pineapple banner I made in THIS video for an incredibly fruity backdrop!
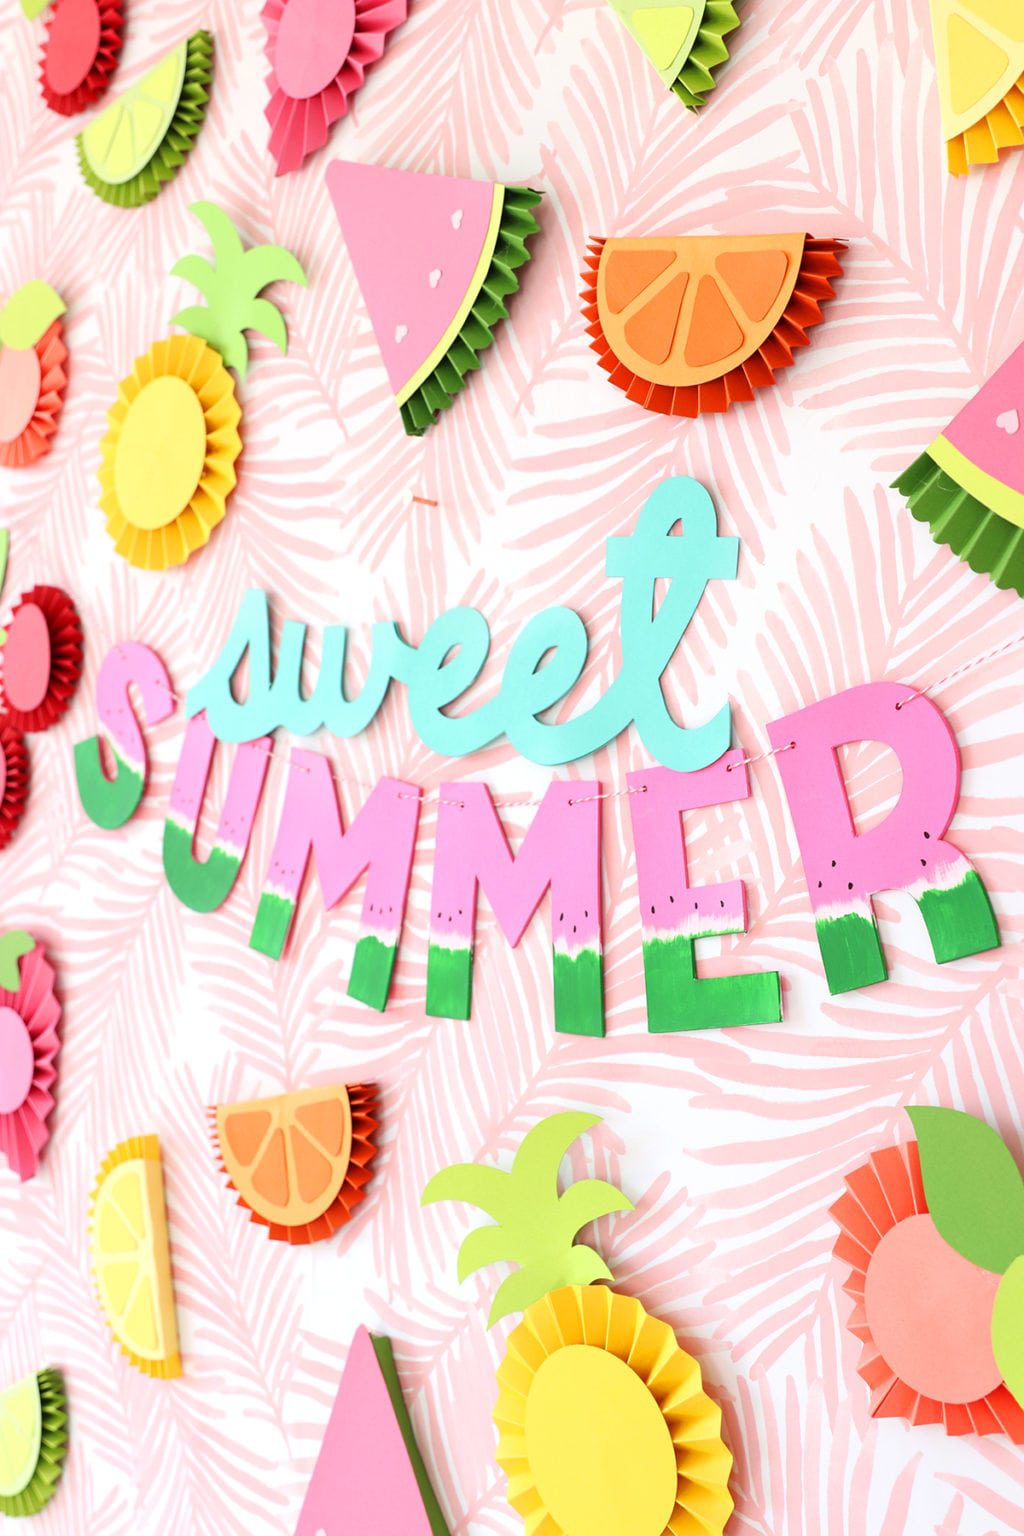

These DIY chipboard letters are such a fun way to add a bright summer touch to a creative project or home decoration. I especially like how simple materials can be turned into something colorful and personalized without requiring complicated crafting techniques. https://pacific-spin.ca The letters could easily be customized with different paints, patterns, or seasonal embellishments, making them a great activity for both kids and adults. It’s a nice example of how a little creativity can transform basic supplies into a cheerful summer decoration.
This is such a clever workaround when you want the sturdiness of chipboard but need more color options. I’d use casho bet to follow the layering process and see how many cardstock pieces are needed to get the right thickness. Making the letters from scratch also seems like a great way to match them perfectly to a summer color palette.
I occasionally make room for a little personal downtime, and browsing Megaperya can be a simple way to switch gears.
I appreciate you sharing your thoughts. Once I’m done catching up on posts, I occasionally visit Megaperya Games to switch things up.