This post contains affiliate links.
Let’s talk leathuhhhhhhhh. Specifically, let’s talk about how the heck you should cut leather using your Cricut Explore…because you should cut leather with your Cricut Explore, you really, really….really should!
Your Cricut Explore will cut over 60 materials, but leather is my fave so today I’m taking you to school and giving you the precise play by play on how to use your machine to cut leather. Follow along and you’ll have everything you need to create your own leather projects – like a personalized monogram leather keychain. Are you ready? Because craft is now in session!
HOW TO CUT LEATHER WITH CRICUT EXPLORE
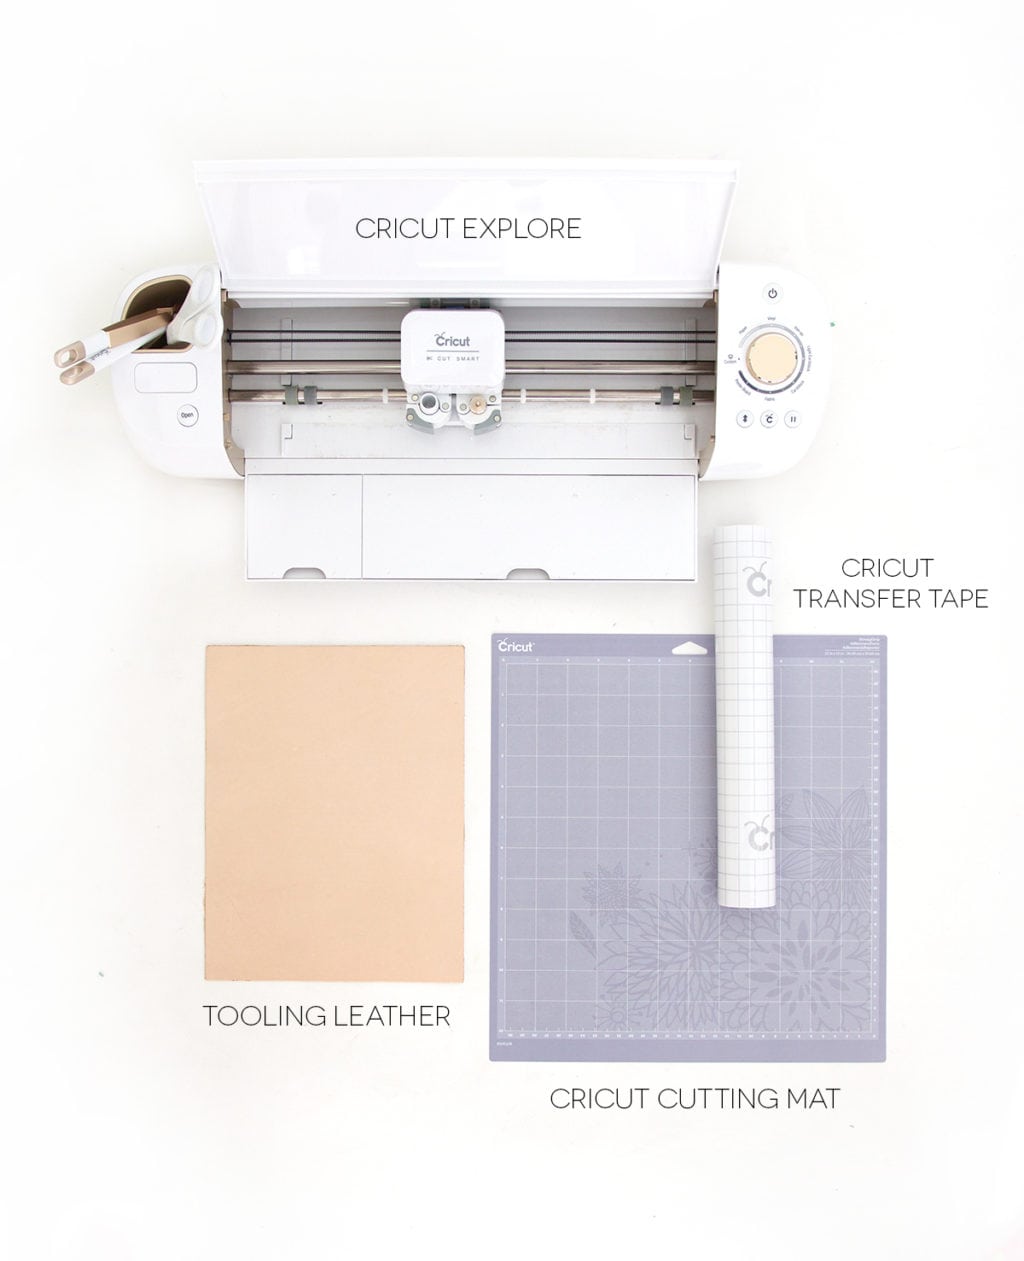
To cut leather with a Cricut Explore, you’ll need to have:
- a Cricut Explore Air or Cricut Explore One
- Cricut Transfer Tape
- Cricut Cutting Mat
- Tooling leather (this is my go to type of leather for crafting, because it’s sturdy and cuts beautifully, but you can use other types of leather as well for this project).
[ninja_form id=6]
Before we tackle the technique, here’s a quick rationale for how to cut leather with Cricut Explore. In most cases, with most other materials, you will place the material directly onto the cutting mat. In the case of leather (and other fibrous materials for that matter), do not…I repeat, do not, place your material directly onto the cutting mat. This will quickly ruin the cutting mat and your precious dollars will be wasted.
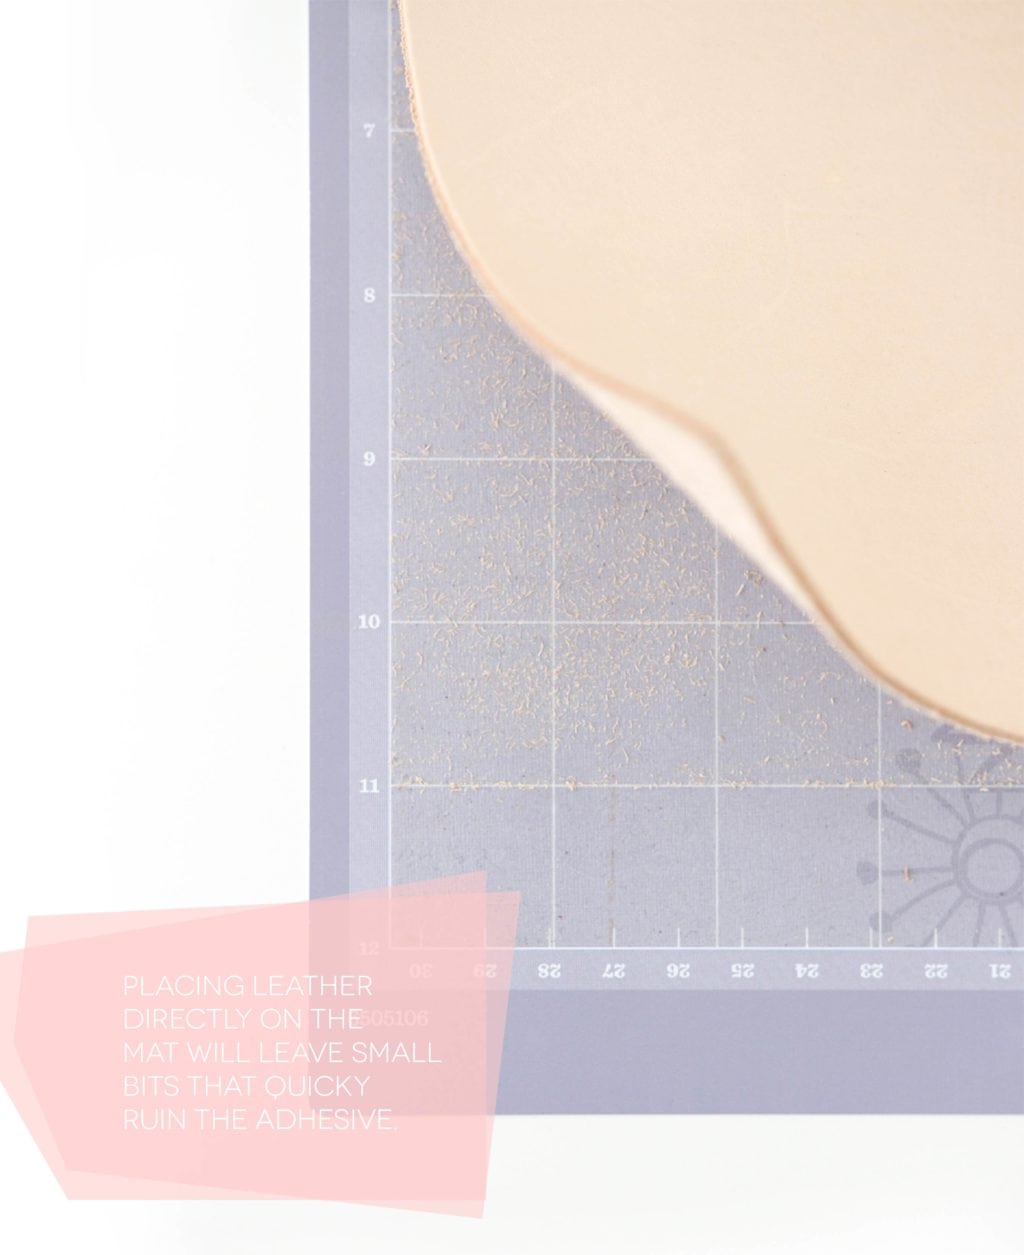
Instead, we’re going to use the Cricut Transfer as a buffer between the leather and the cutting mat. It’s a simple, quick adjustment that will save you money and frustration.
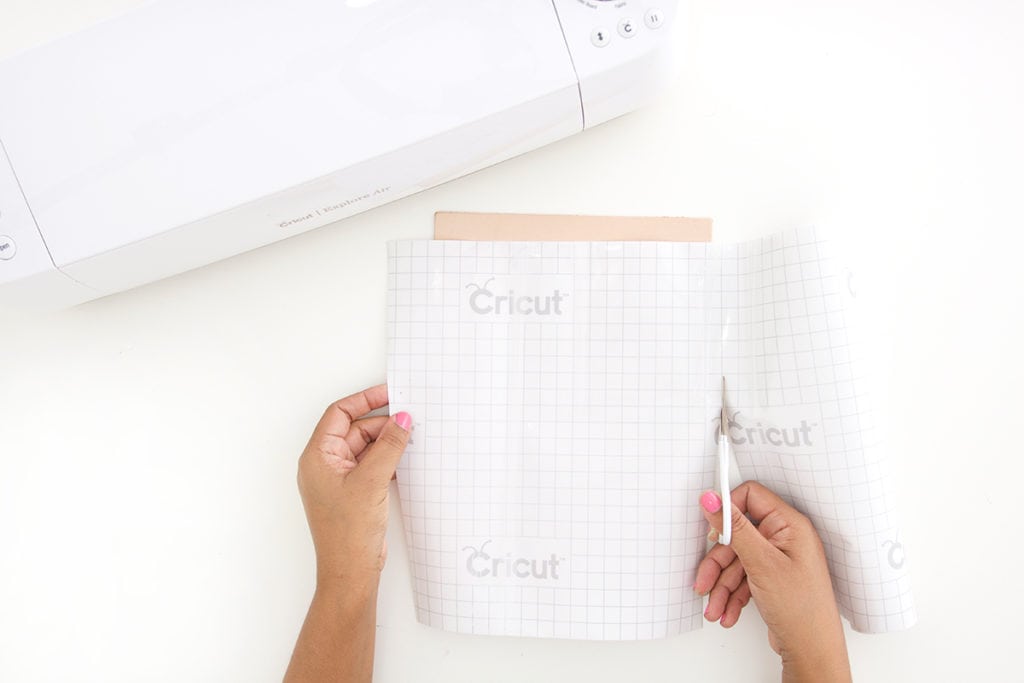
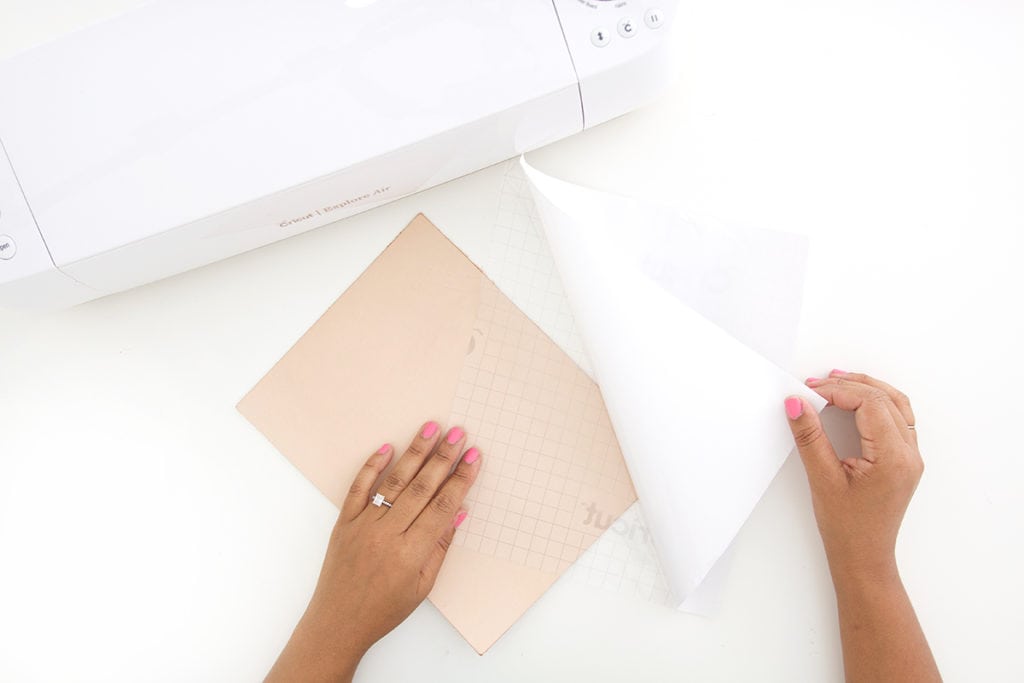
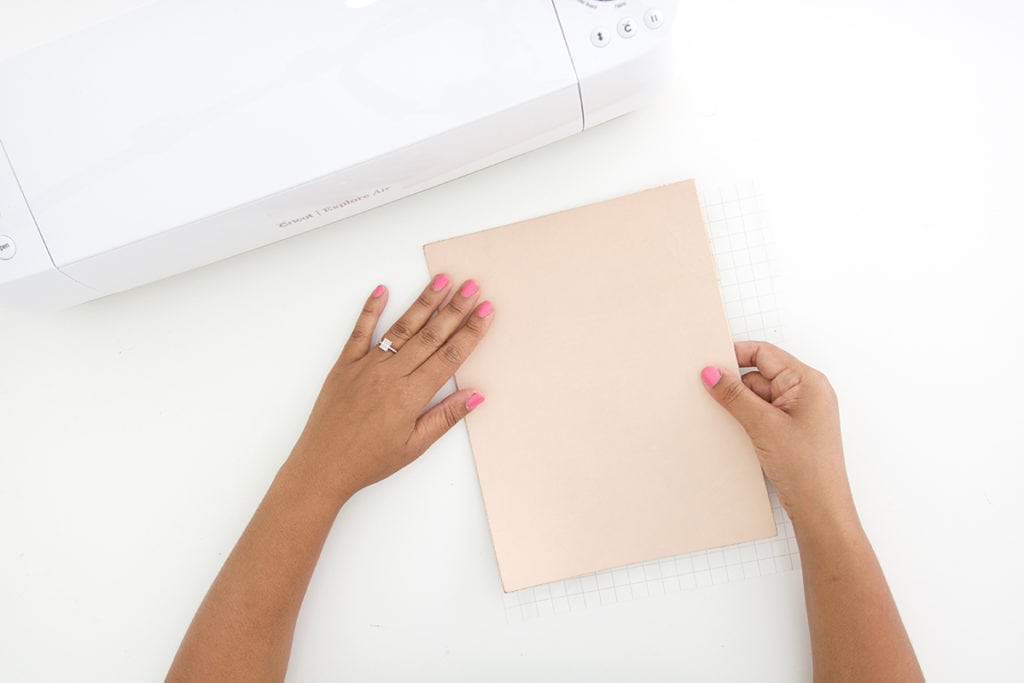

Cut the transfer tape to the size of your leather, then adhere the transfer tape to the back of the leather. Last, place it onto the cutting mat with the transfer tape serving as a buffer.
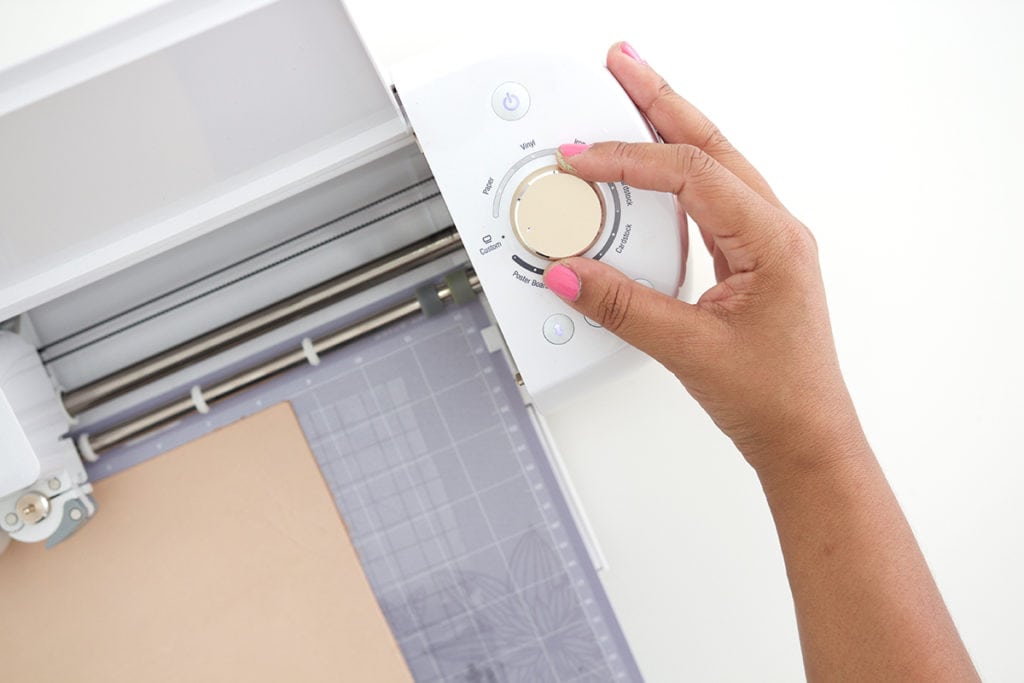
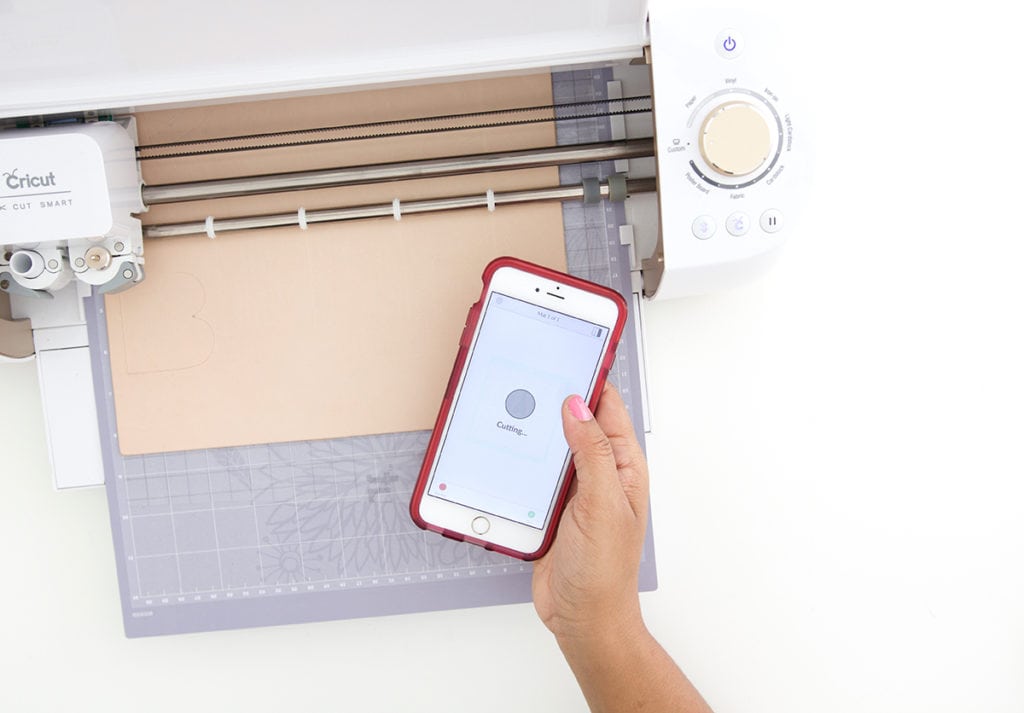
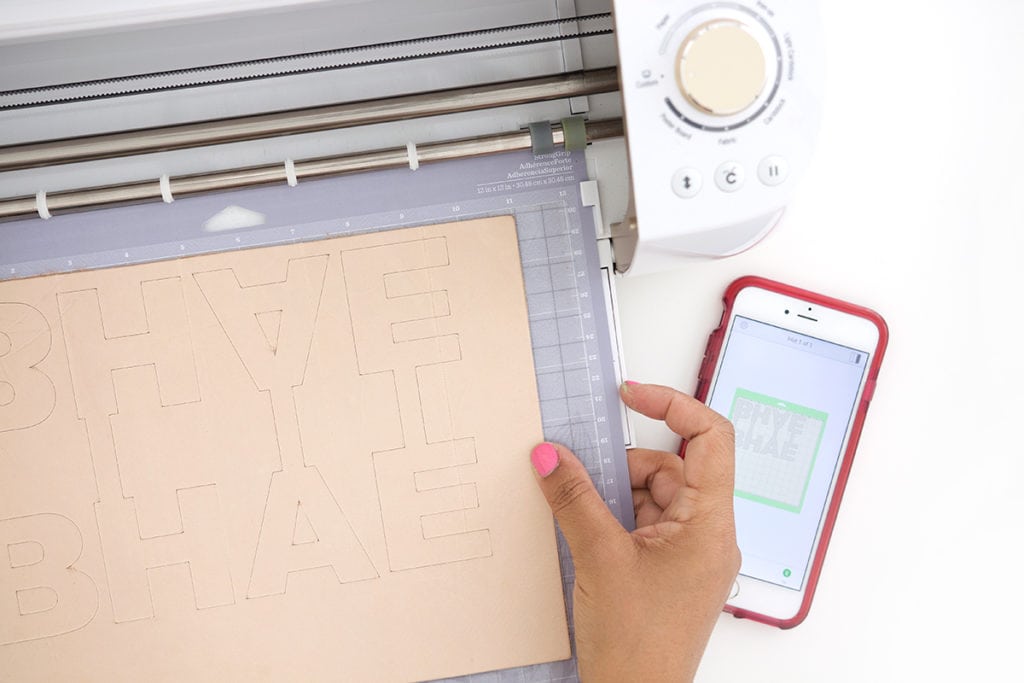
Once you’ve loaded the leather into your machine, be sure to turn the dial to “Custom” where you will then be able to select “Heavy Leather” from the drop down menu.
For my project, I a few leather keychains by using my own fonts along with free shapes from Cricut Design Space. I simply created to letters, mirrored one of the letters, then welded them together with a rectangle shape.
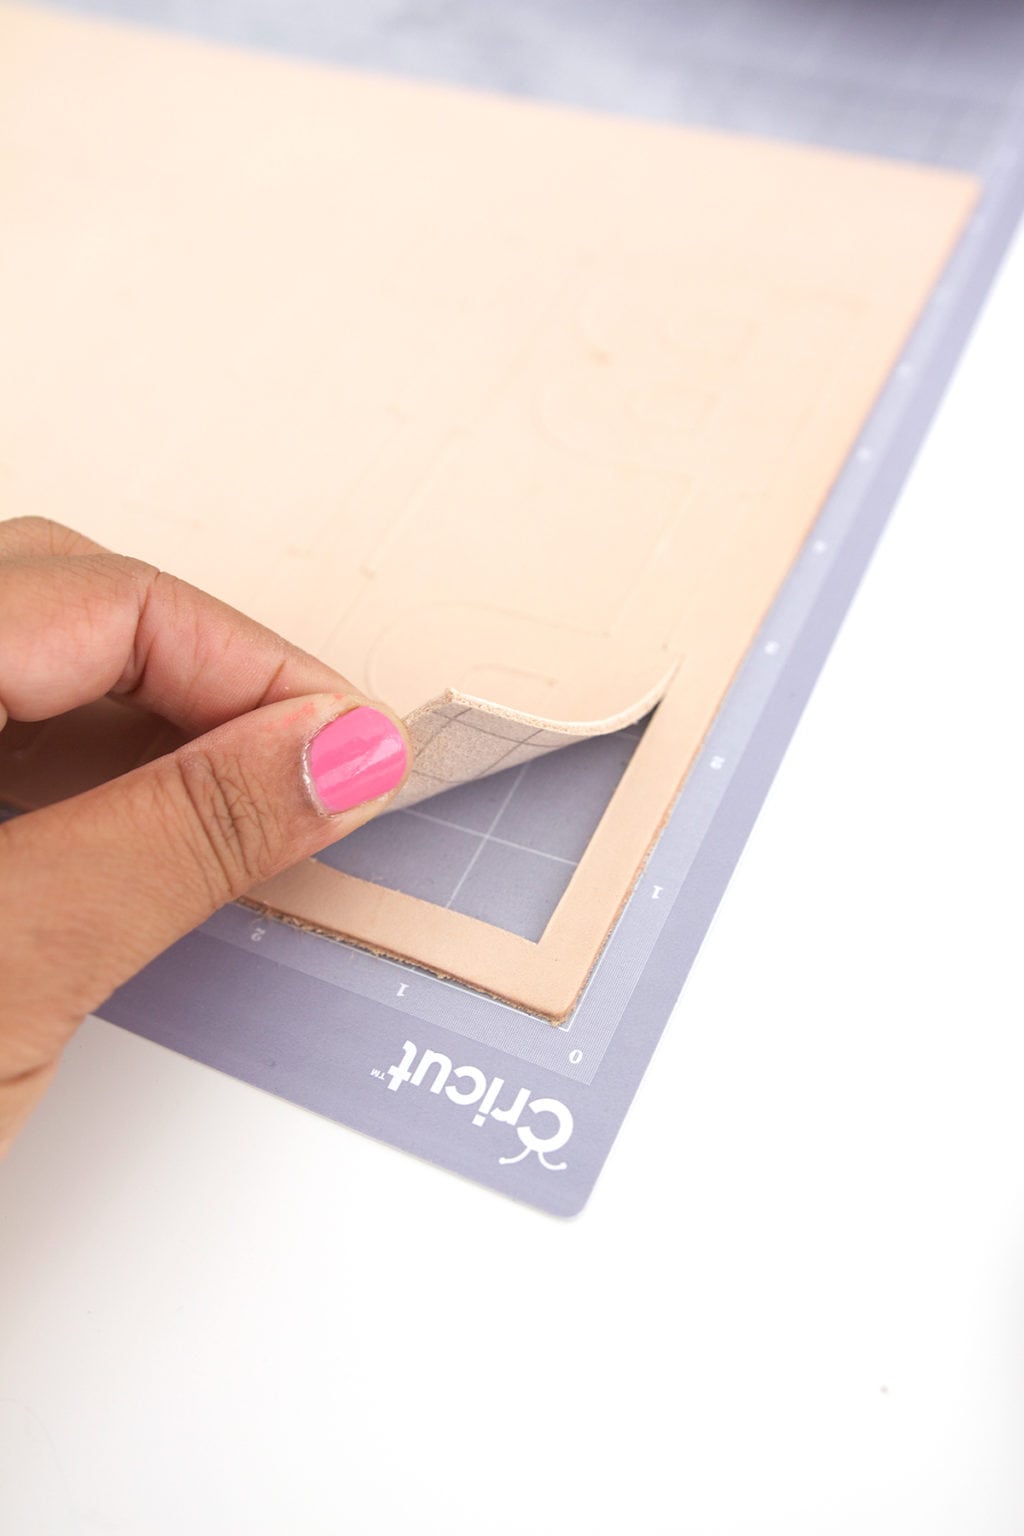
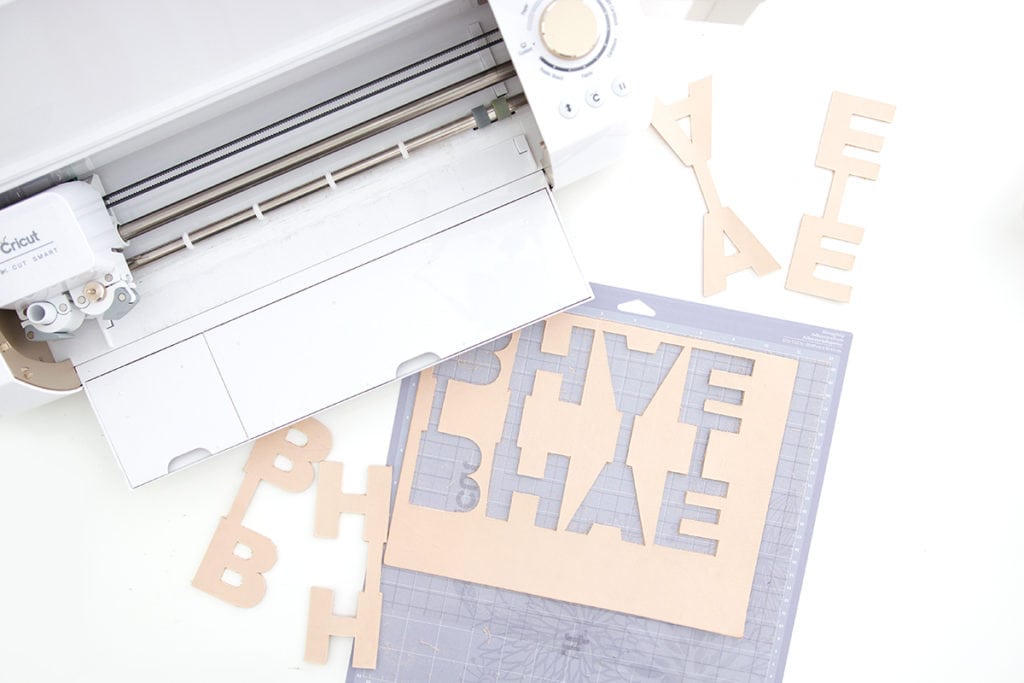
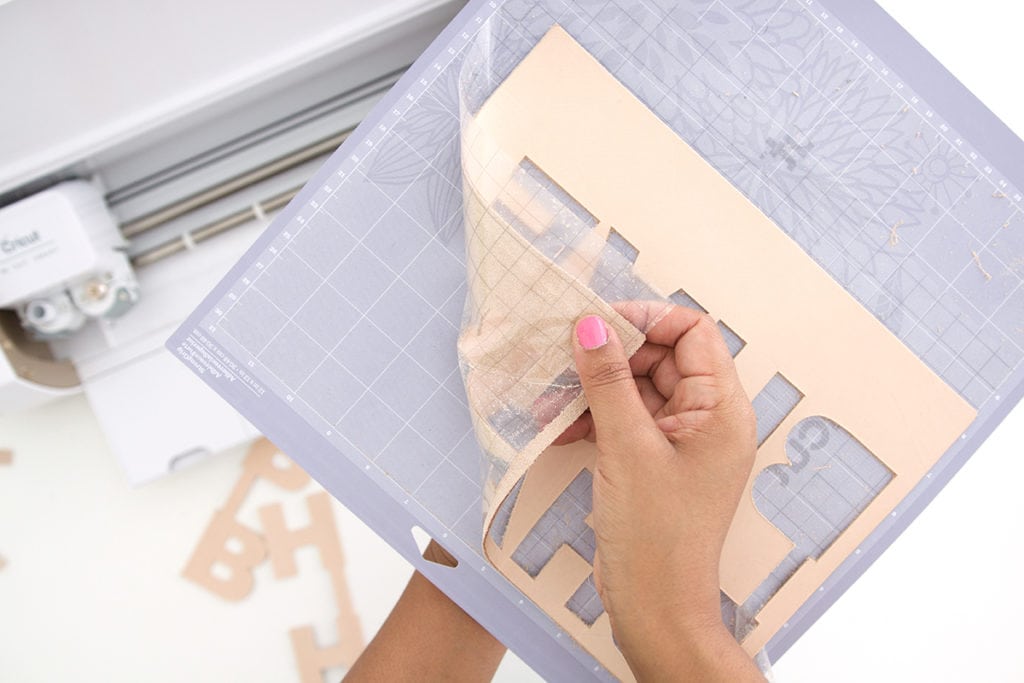
Once the cutting is done, you’ll be able to peel back the transfer tape and reveal a clean cutting mat beneath. No more little leather bits ruining your cutting mat!
HOW TO MAKE A LEATHER KEYCHAIN
Now that you’ve cut your leather, it’s time to assemble the keychains!
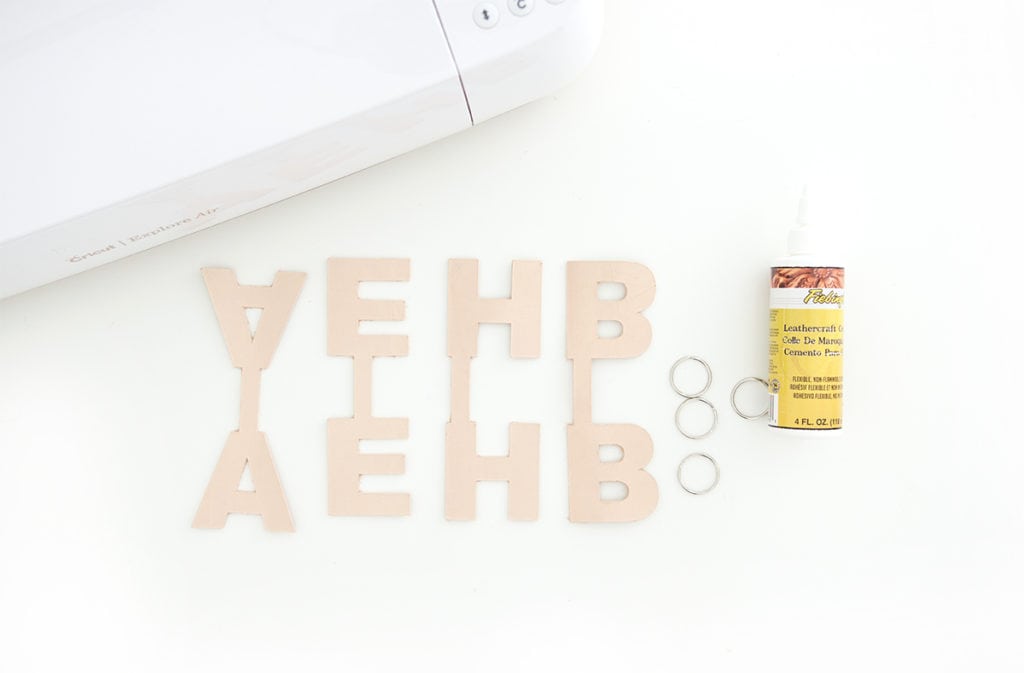
You’ll need:
- Leather monogram shapes
- keyrings
- leather glue
- bull clips (not pictured)
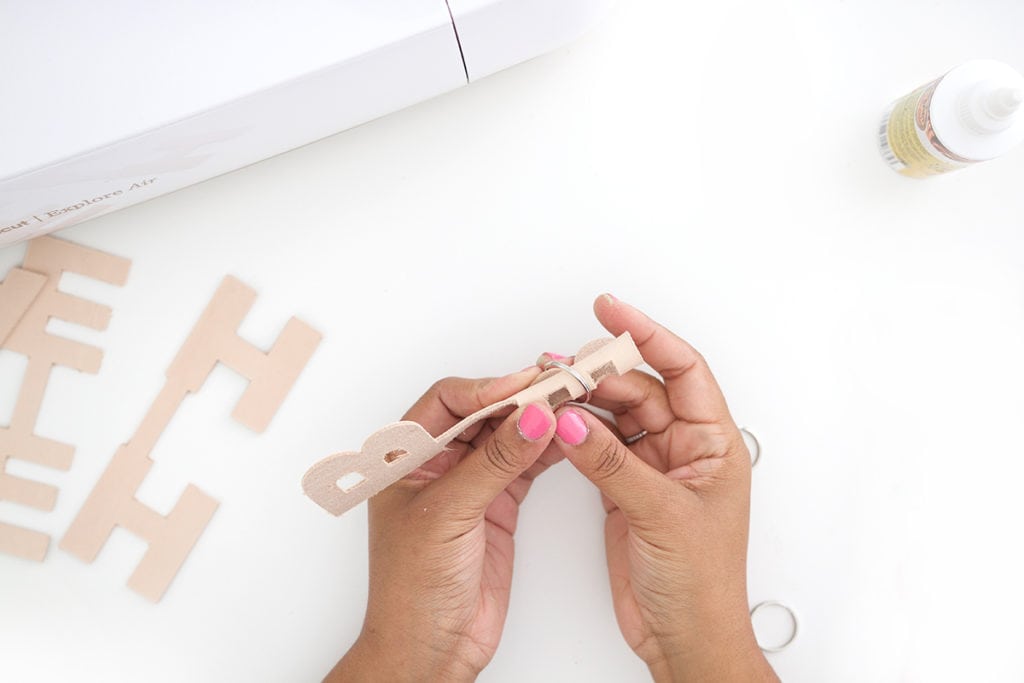

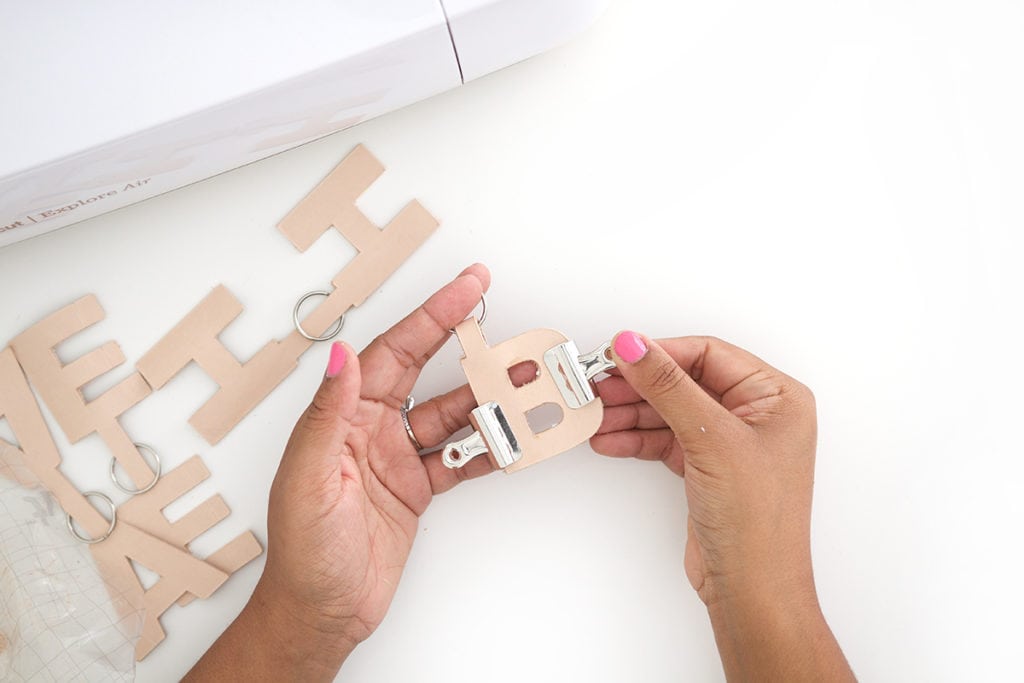
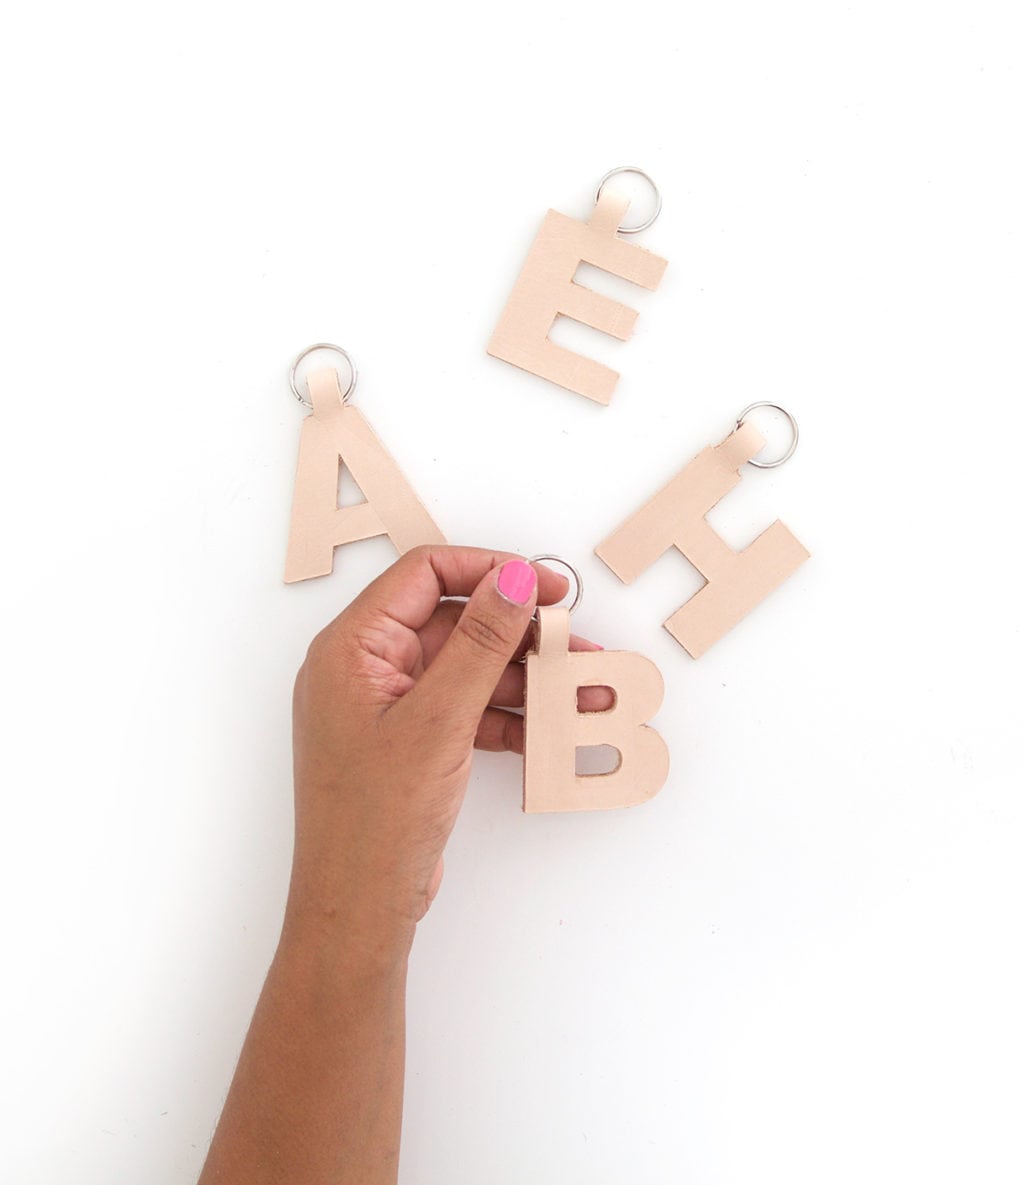
Thread one side of leather monograms through the key ring, then bend the leather in half and glue each side together with leather glue. Use bull clips to hold the sides together until the glue has fully dried.
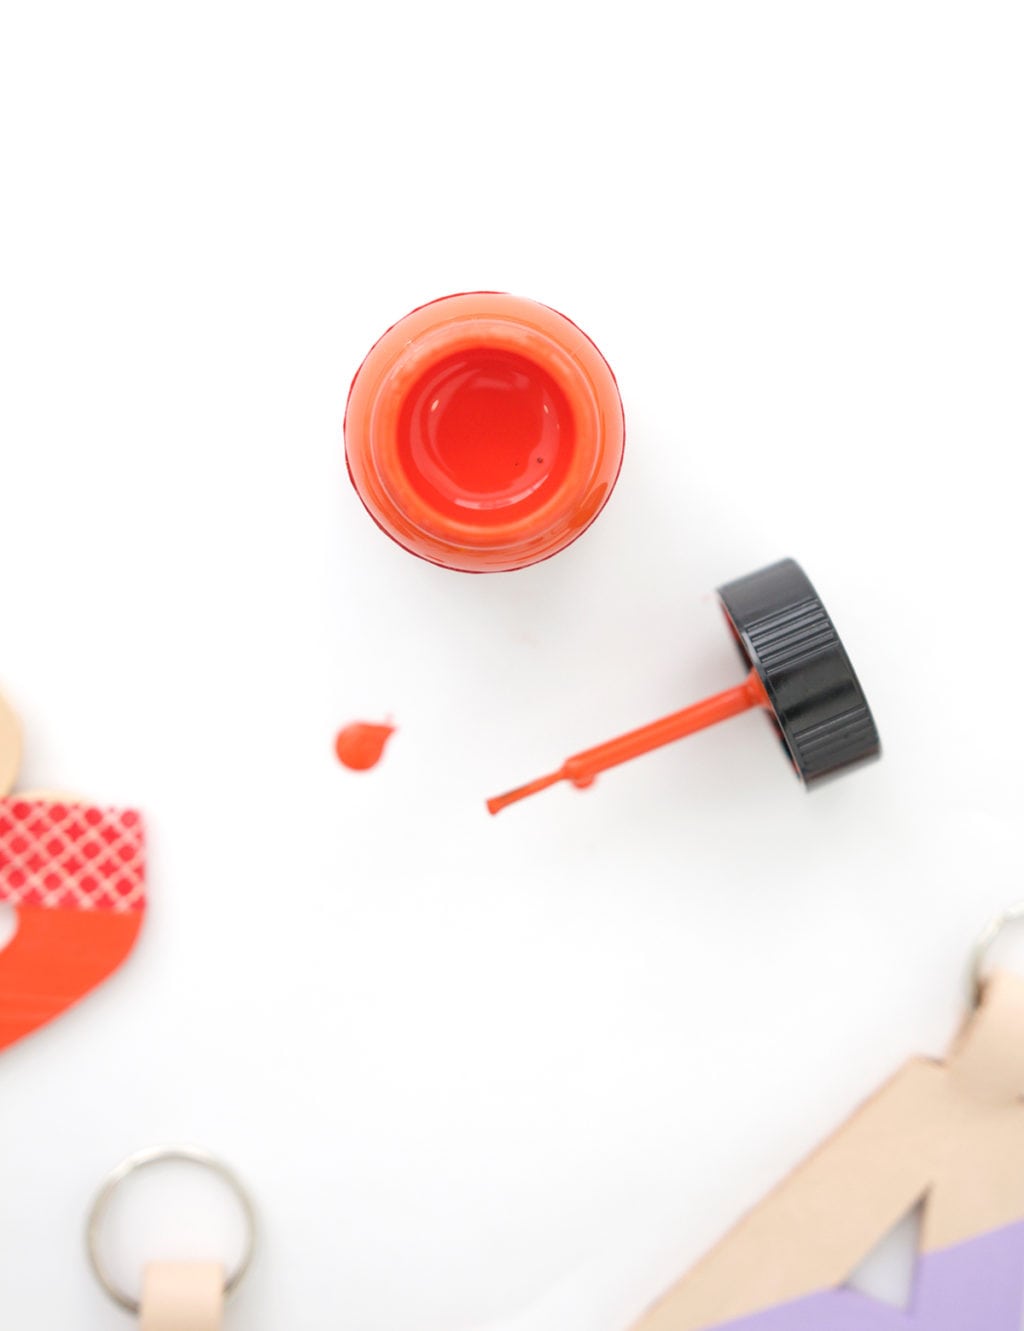
Last up, is the fun part. Add a little color to your key chains with acrylic leather paint. I created a color-dipped effect by taping off a diagonal strip with washi tape.
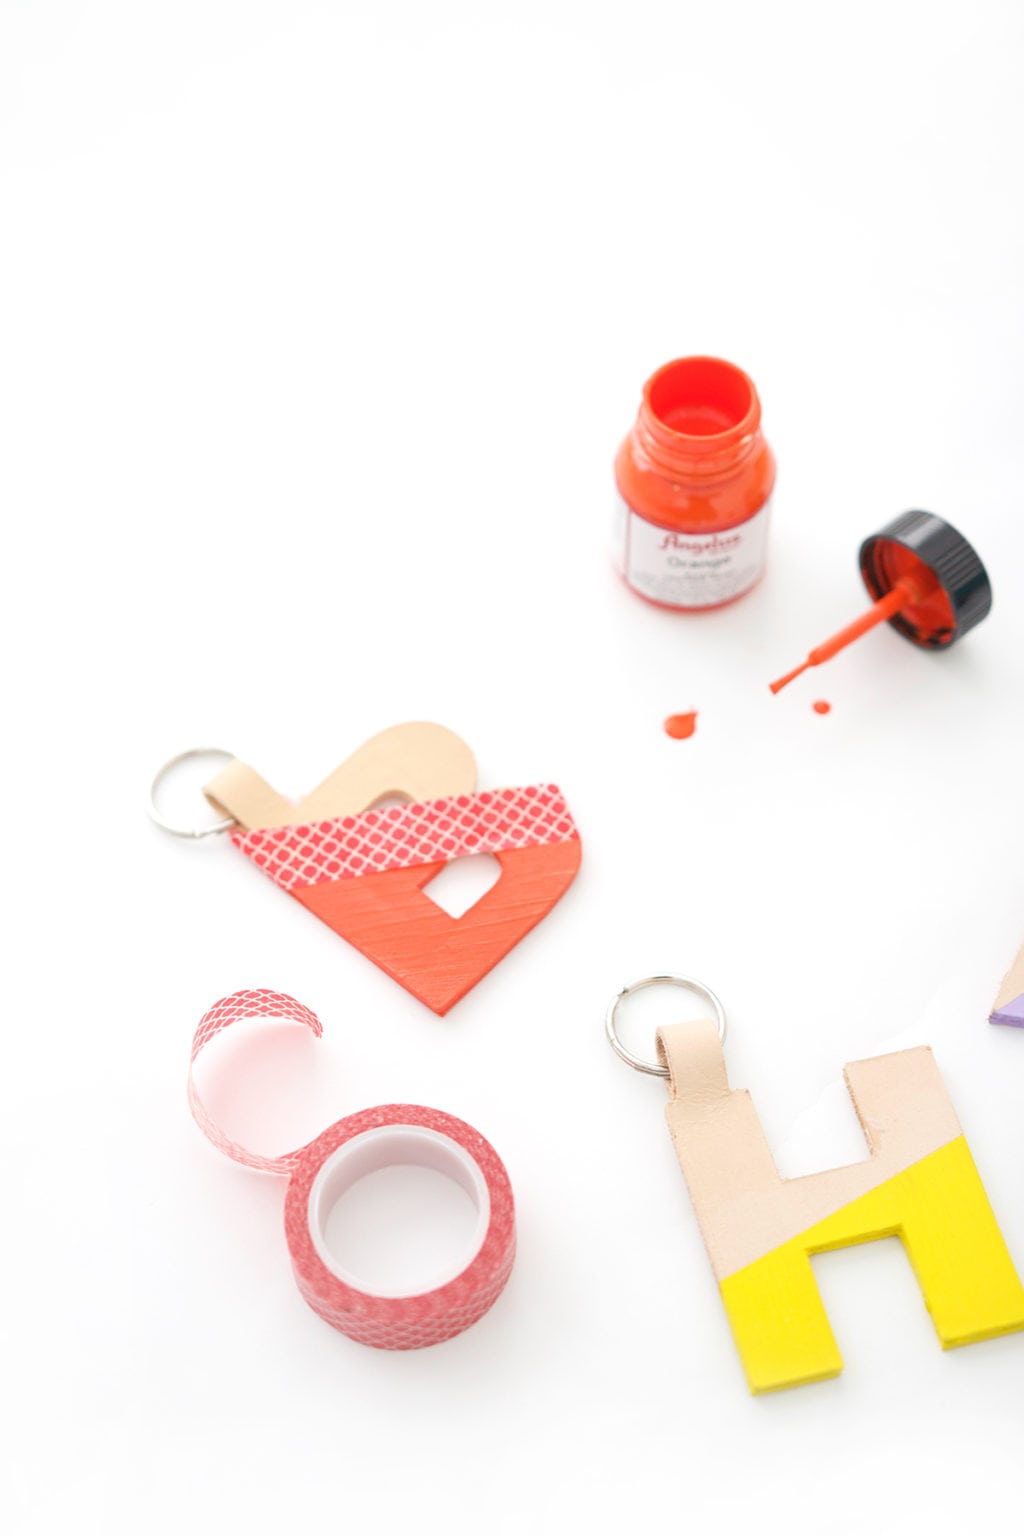
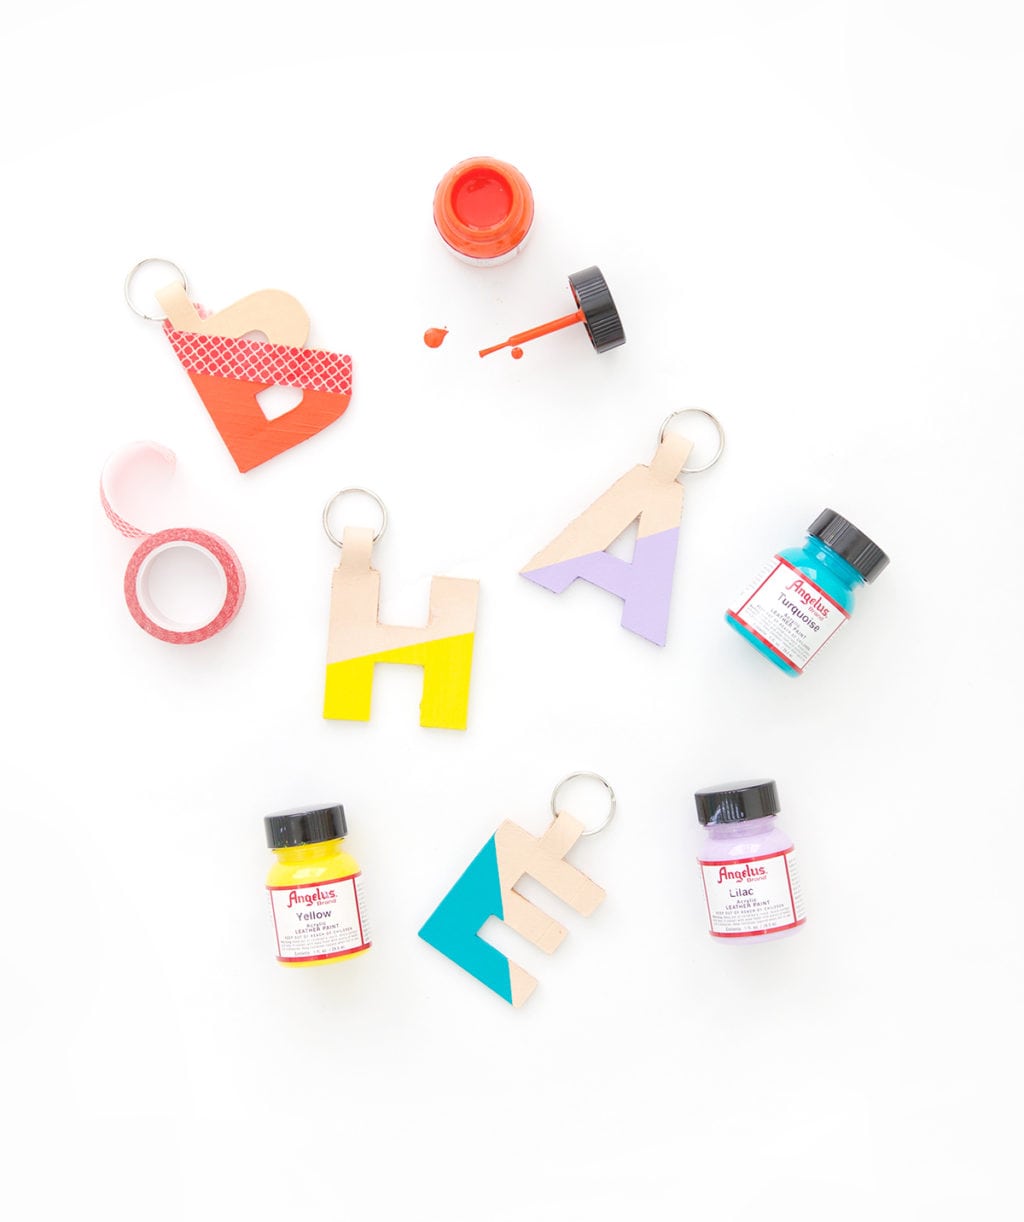
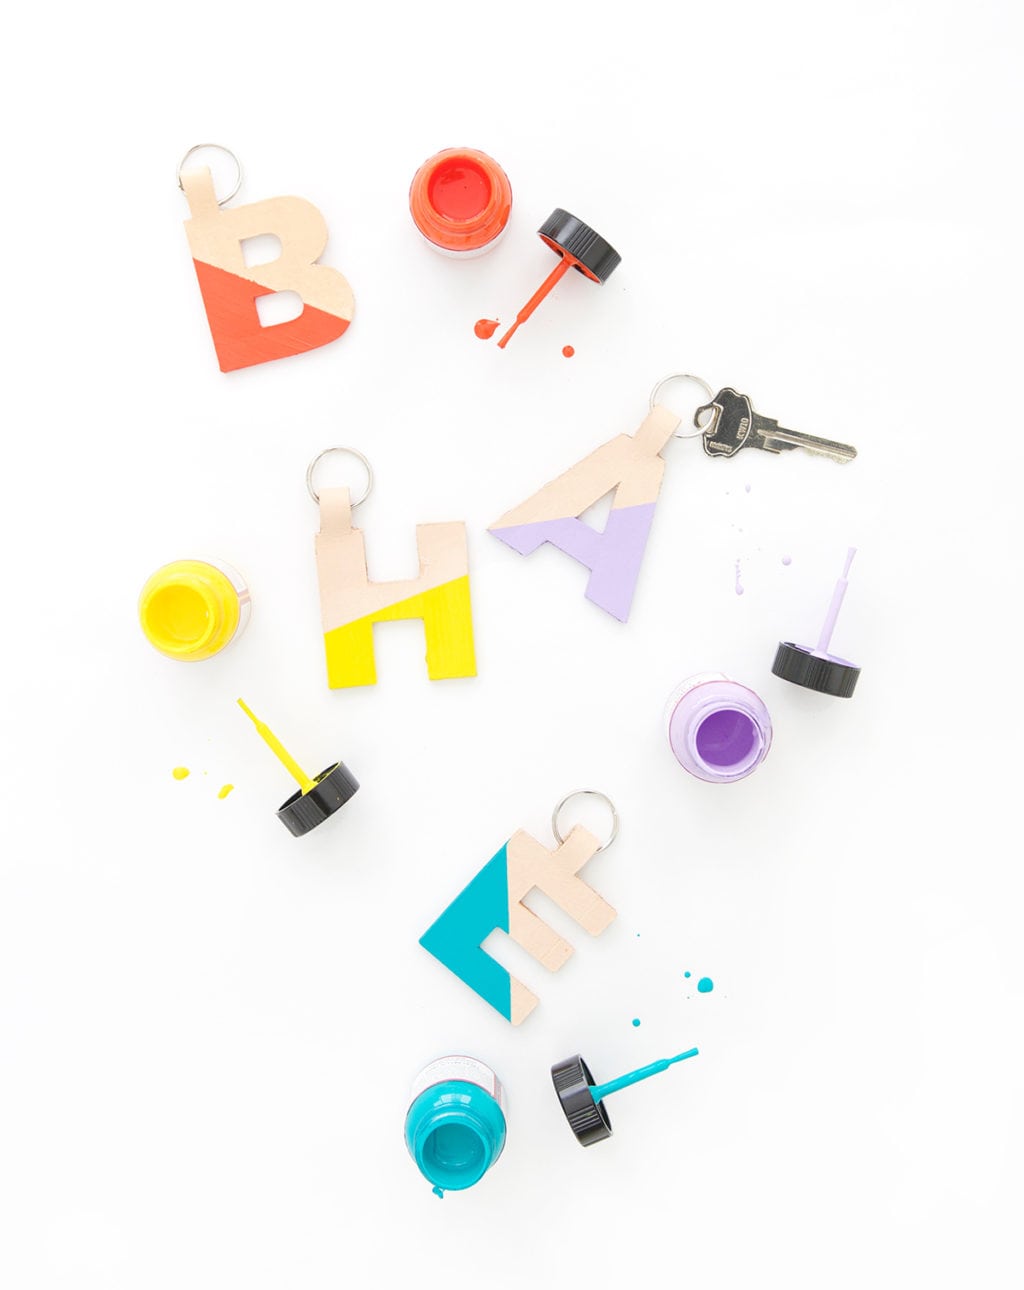
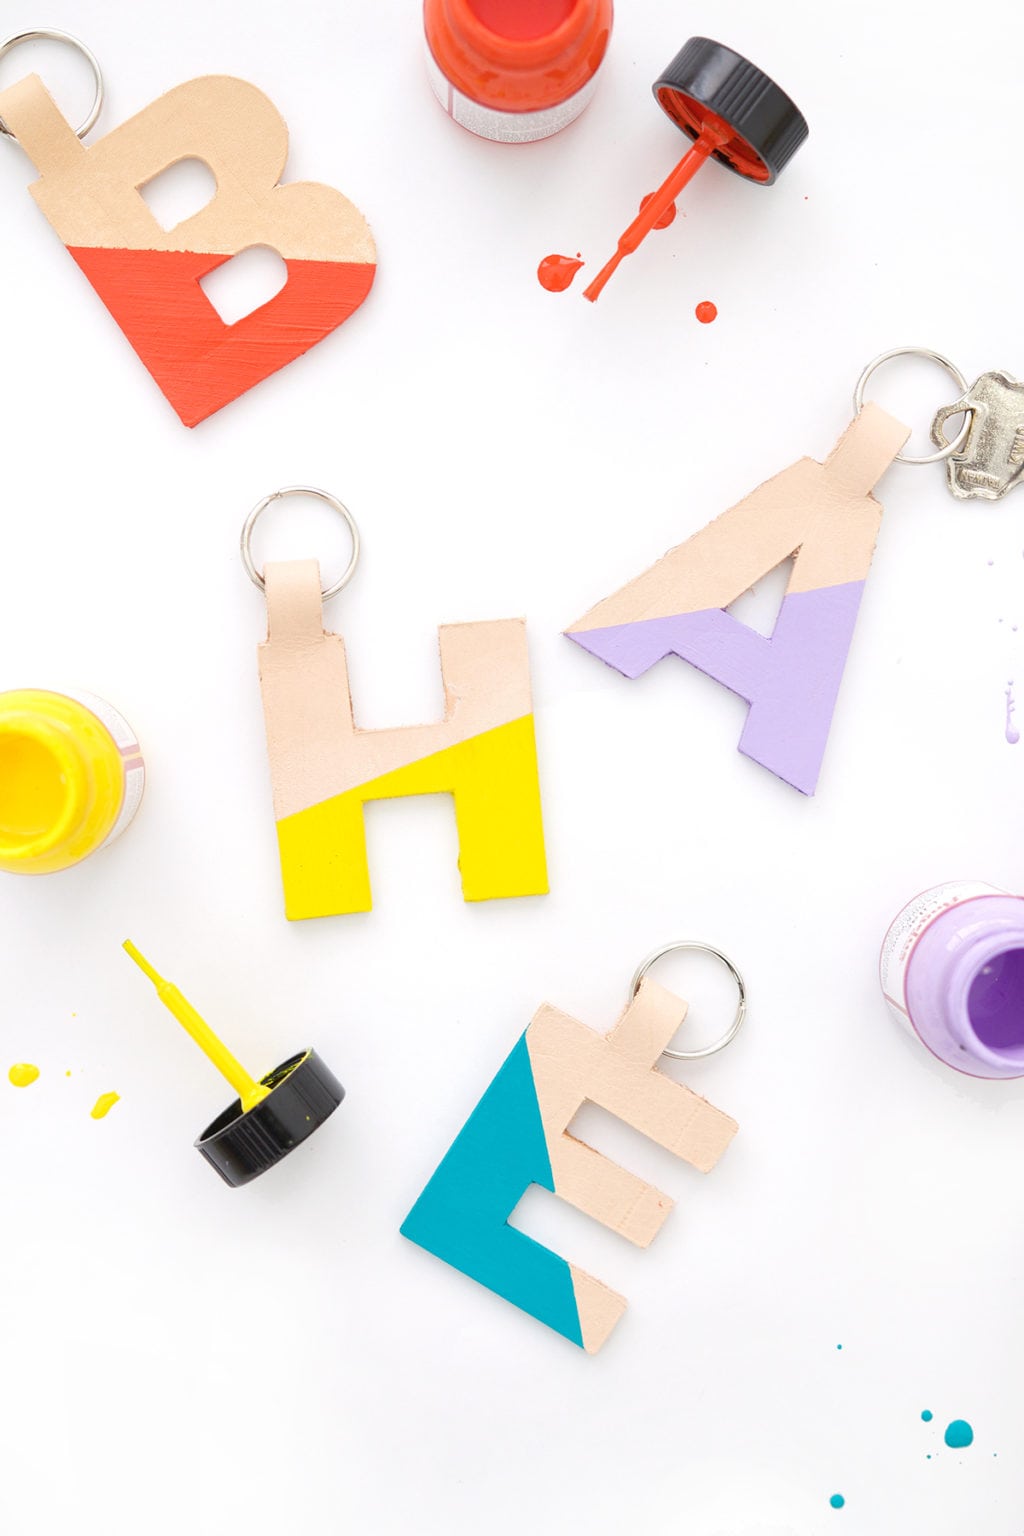
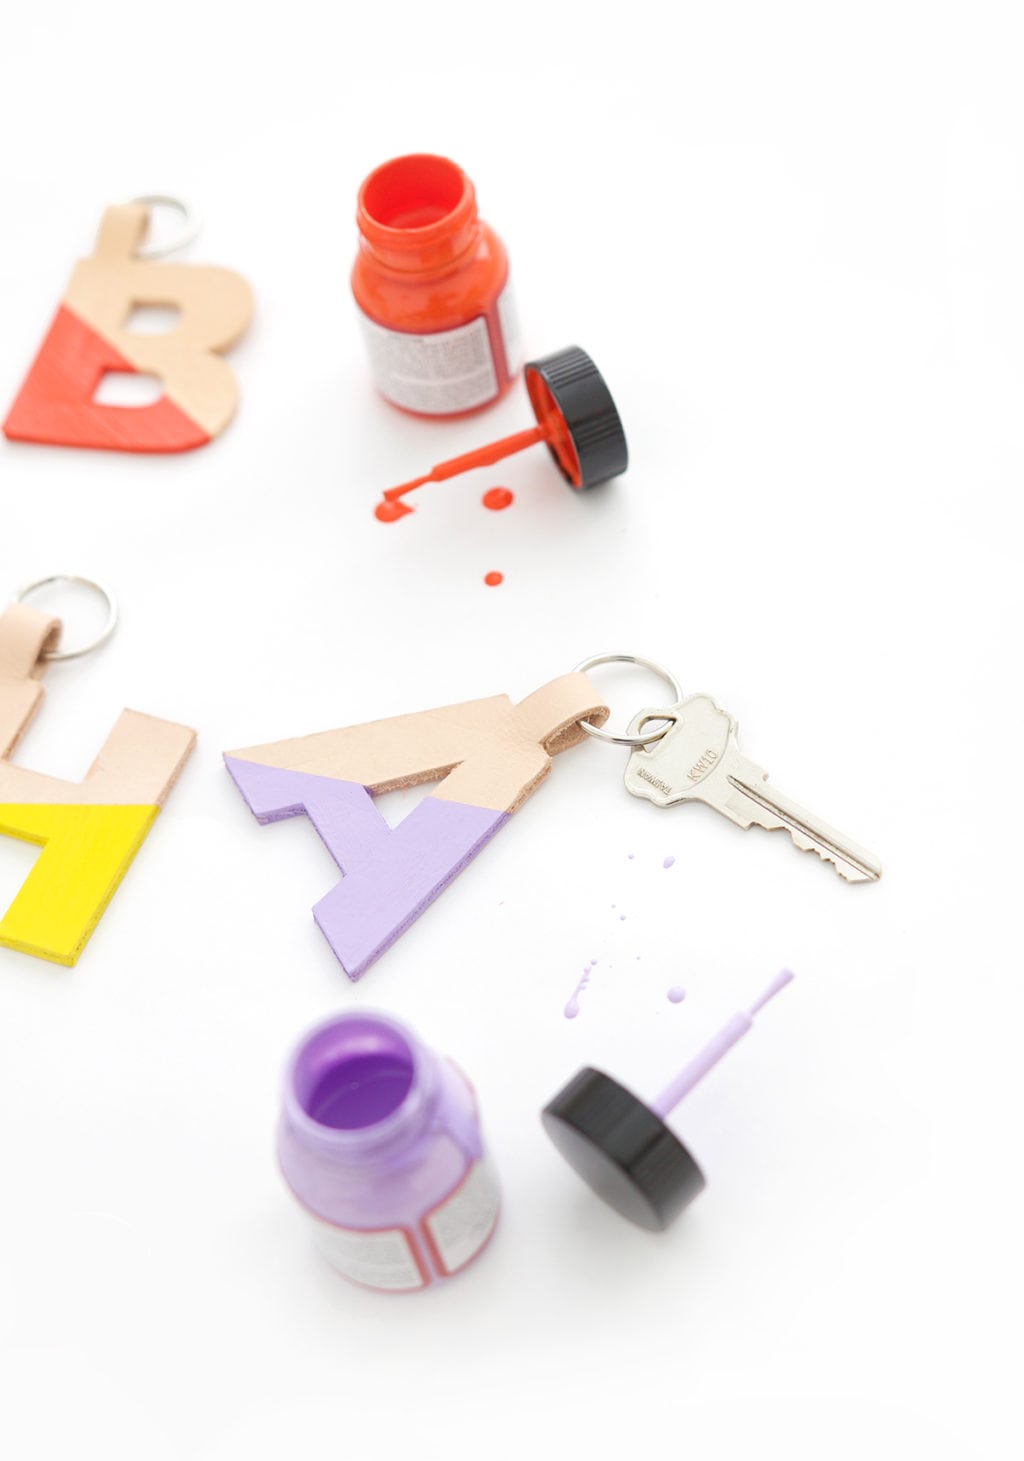
And now you know how to cut leather with Cricut Explore! So easy – so cool and so fun.




Your post is great. it rends me more owner info. I will follow your next posts, keep posting quality articles.
canadian pharmacies that deliver to the us
https://expresscanadapharm.shop/# Express Canada Pharm
onlinecanadianpharmacy 24
Looking for expert guidance on protecting assets while qualifying for Medicaid? As experienced elder law attorneys near me, our team at Ohio Medicaid Lawyers provides specialized legal assistance with Medicaid planning, estate planning, and asset protection strategies. We help seniors understand medicaid eligibility income charts and navigate the complex 5-year lookback period. Visit our website for comprehensive information about Ohio medicaid income limits 2024 and schedule a consultation with a trusted elder care attorney who can safeguard your future.
Game Athlon is a popular online casino offering dynamic gameplay for gamblers of all backgrounds.
The casino features a extensive collection of slots, live casino tables, card games, and betting options.
Players have access to fast navigation, stunning animations, and easy-to-use interfaces on both desktop and smartphones.
http://www.gameathlon.gr
GameAthlon takes care of player safety by offering trusted payment methods and transparent outcomes.
Bonuses and loyalty programs are constantly improved, giving members extra opportunities to win and have fun.
The customer support team is on hand day and night, assisting with any issues quickly and efficiently.
GameAthlon is the ideal choice for those looking for entertainment and big winnings in one trusted space.
You can find a vast selection of trusted medicines to suit your health requirements.
This website provides speedy and reliable order processing right to your door.
All products comes from licensed manufacturers for guaranteed authenticity and compliance.
Easily browse our online store and place your order with just a few clicks.
If you have questions, Pharmacy experts will guide you whenever you need.
Prioritize your well-being with our trusted medical store!
https://www.apsense.com/article/842145-nizagara-100mg-the-complete-user-s-guide.html
Teknik potong kulit dengan Cricut ini keren banget, hasilnya rapi dan bisa dipakai untuk banyak proyek DIY. Ngomong-ngomong soal eksplorasi dan kreativitas, aku jadi teringat satu cerita Asosiasi Driver Ojol Temukan Rahasia Maxwin Mahjong Ways, Banyak yang Panen Rezeki. Sama-sama dari ide sederhana, tapi bisa ngasih dampak besar kalau ditekuni!