You knew it was coming. Or maybe you didn’t, so let me get you up to speed.
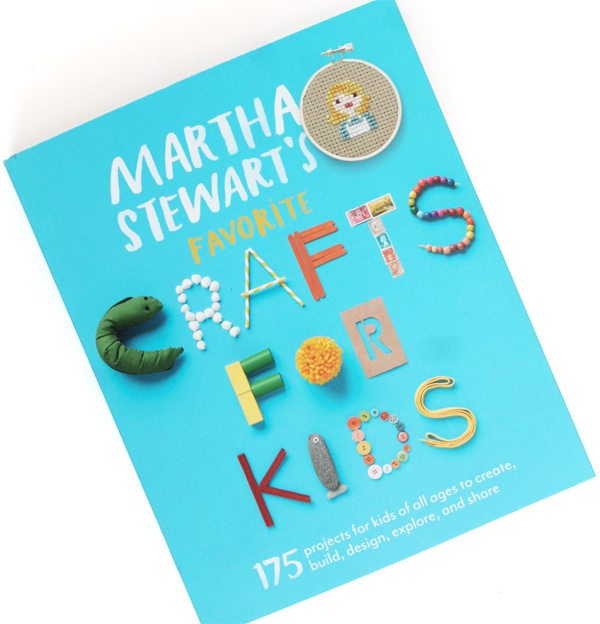
Each month, Martha Stewart Living sends over a box filled with fun crafting goodies and my job is to put ’em to use however I’d like. This month was a little different than most because instead of a bunch of supplies, my box contained this…
“Crafts for Kids” is a chock full o’ ideas for keeping kiddos busy. Perfect for rainy days or even better…all those summer days ahead of us. Now…I don’t have any munchkins running around this house quite yet, so I decided to take add a grown-up spin on one of the crafts in the book.
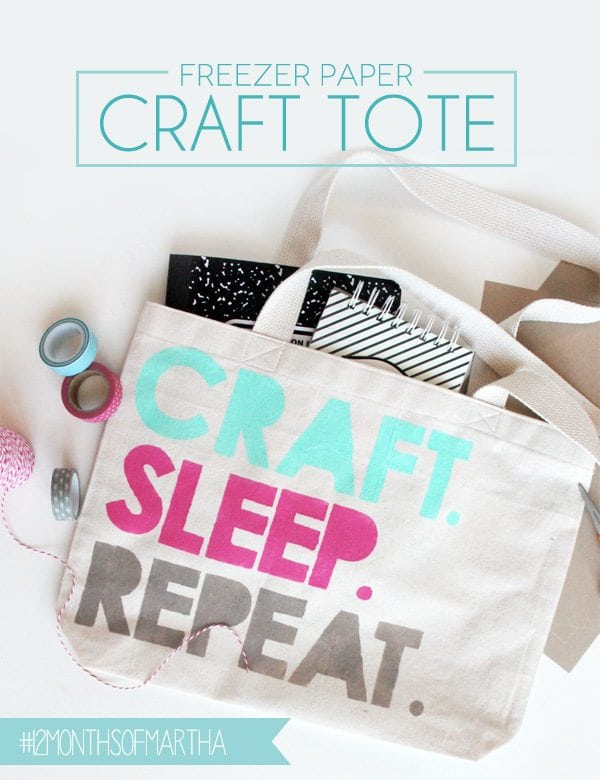
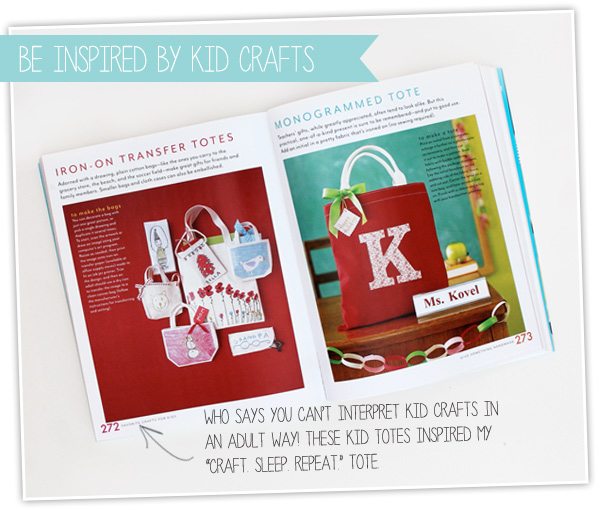
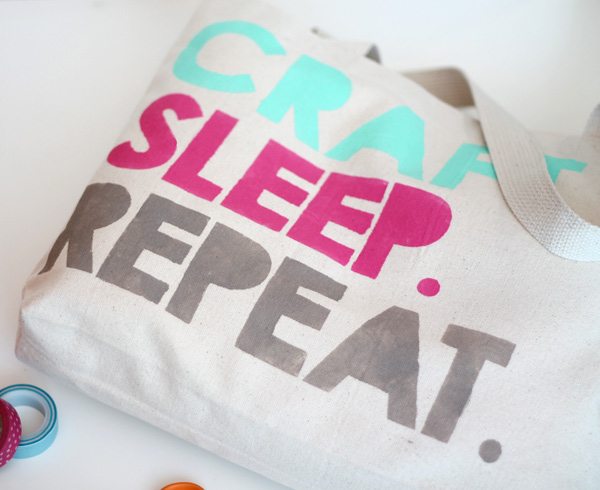
The book actually contains several ideas for creating customized canvas totes…which is exactly where I got the idea to create a sassy craft tote using acrylic paint and freezer paper. Now…many of you are likely very familiar with using freezer paper as a stencil but this was my first time doing it. It’s super easy to do.
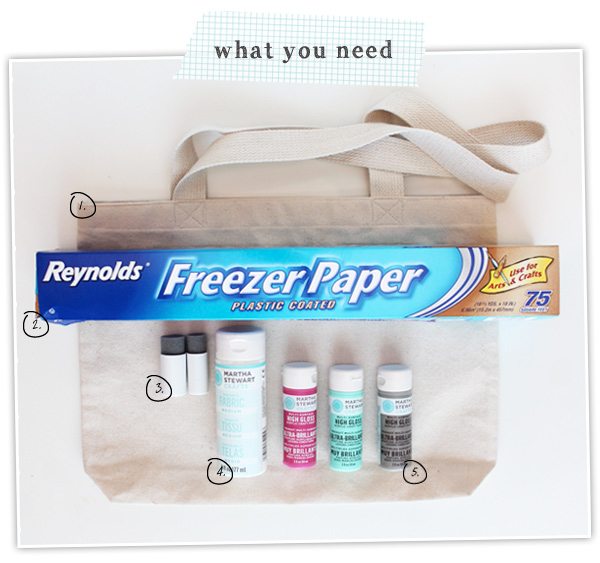
{1} A canvas tote bag. You can grab these at most craft stores…or you can pull out your very best sewing skills and make your own! Believe it or not, I sewed this tote using a yard of canvas fabric I had. It took every ounce of my sewing ability…but I did it!
{2} Freezer paper available in the paper section of your grocery store.
{3} Sponge daubers
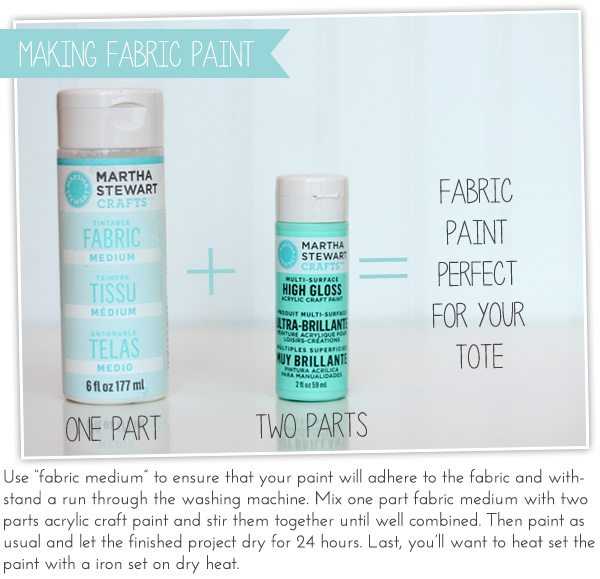
{4} Martha Stewart Fabric Medium available in the acrylic paint section of your craft store.
{5} Martha Stewart Acrylic Paint in your choice of colors.
Not Pictured:
{6} Alphabet letter dies. I used Clear & Simple Stamps Large Print Alphabet Dies
 {1} With the plastic side facing down, die cut the letters from freezer paper.
{2} Arrange the words onto the canvas bag surface
{3} Using your iron the DRY setting (no steam!) iron the words into place until they are well adhered to the canvas surface
{4} Use a dabbing motion with the dauber to apply the paint.




Thanks Amber! You always the coolest ideas!
Love it!!
Thank you so much for the step by step tutorial on this fun project! Your tote bag is FAB!!!!!!!!!!
Looks brilliant, Amber 🙂 Fabulous tutorial too – thank you!
Adorable!!! I love using freezer paper as stencils on fabric – so much fun!! (also works to send muslin through your color printer…just cut, iron, print…love!)
Amber, this is my favorite way to personalize “team” t-shirts or sweat shirts for school spirit, when my kids were in school. For such a simple thing, it’s a great way to design your own stuff. Love your craft bag!
I’ve never even thought of this before! Ooh, I need to make a craft bag.
Have you ever thought about writing an ebook or guest authoring on other blogs?
I have a blog based on the same subjects you discuss and would really like to have
you share some stories/information. I know my subscribers
would enjoy your work. If you’re even remotely interested, feel free to shoot me an e-mail.
Can I use wax paper instead? Or maybe regular printing paper? I can’t find any freezer paper around here 🙁
Love this! Haha 😀 I’ll save this for an in-between-bigger-projects moment. Positive winds and craft on! 😉
Your style is so unique compared to other folks I have read stuff
from. Many thanks for posting when you’ve got the opportunity, Guess I’ll just
book mark this site.
Looking for expert guidance on protecting assets while qualifying for Medicaid? As experienced elder law attorneys near me, our team at Ohio Medicaid Lawyers provides specialized legal assistance with Medicaid planning, estate planning, and asset protection strategies. We help seniors understand medicaid eligibility income charts and navigate the complex 5-year lookback period. Visit our website for comprehensive information about Ohio medicaid income limits 2024 and schedule a consultation with a trusted elder care attorney who can safeguard your future.