Well, you know from yesterday’s post that I am a lover of banners. So pretty and elegant! I also love a nice one-layer card.
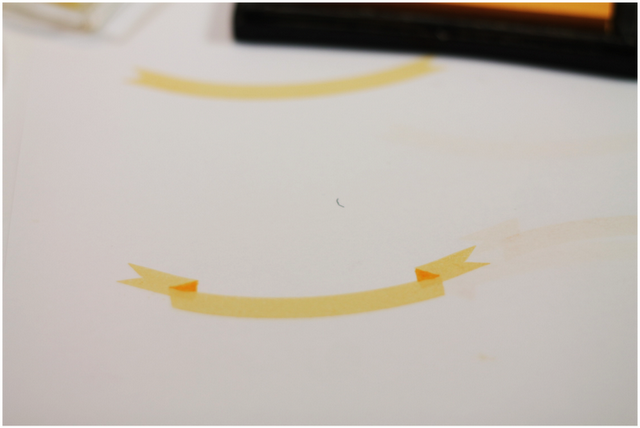
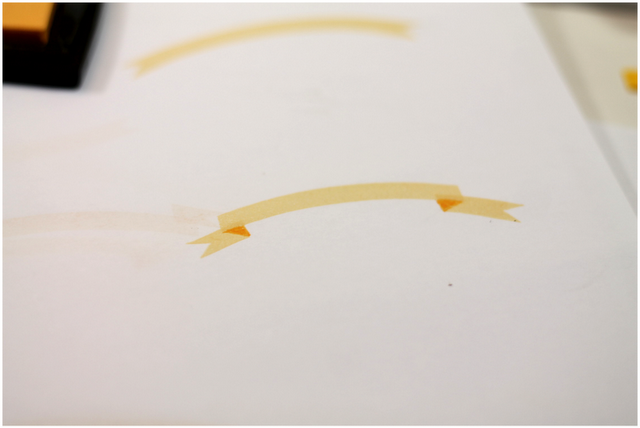
Today I am combining these two loves with a technique that I came up with while sitting at my desk. It’s amazing how creative you can be while reading journal articles and proofreading manuscripts!
First up – take a look at the cards I created with this technique:
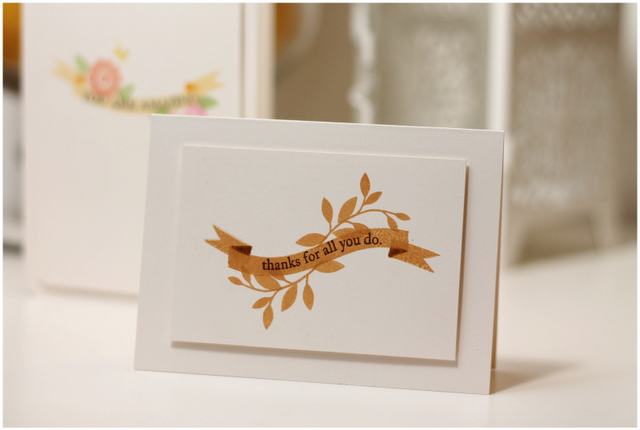
My next design was a bit more elegant, focusing on the beauty of monochromatic brown tones. This would be a great card for a guy!
Hope this technique inspires you to create some one layer banners of your own!
Supplies:
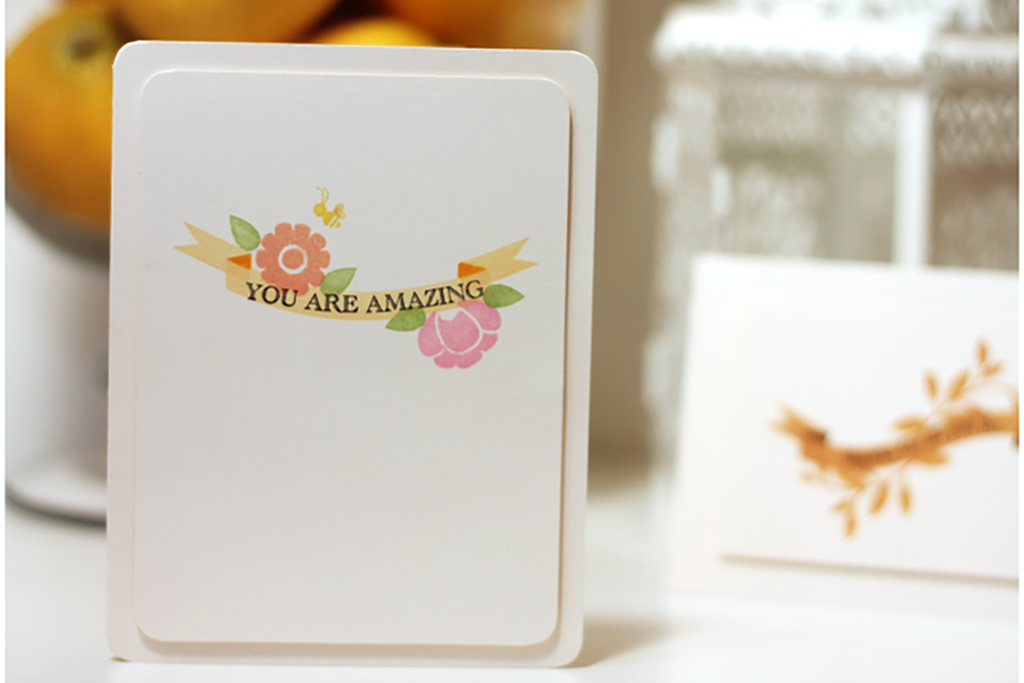
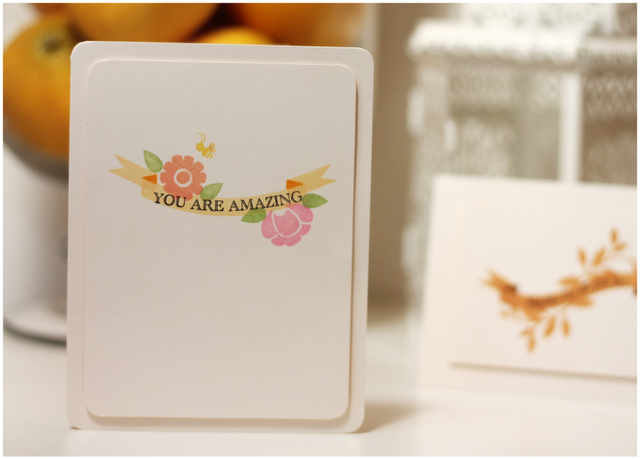
You are Amazing:
Stamps: Clear and Simple Stamps (Flower Buds, Favor Flags, Favor Flags Fillers)
Ink: Impress Fresh Ink (Chamomile, Pink Lemonade, Basil, Mango)
Cardstock: Clear and Simple Stamps (Catwalk Cream)
Thanks for all you do:
Stamps: Clear and Simple Stamps (Favor Flags Fillers); PTI (Turning a New Leaf)
Ink: Impress Fresh Ink (Harvest, Chocolate)
Cardstock: Clear and Simple Stamps (Catwalk Cream)


What a wonderful idea! Thanks for sharing Amber!
OH lovely cards and great tutorial. Would never think to make banners that way 🙂
Beautiful cards ~ and of course GREAT tutorial!!
Oh wow. I am speechless.
beautiful…very clever!
Beautiful and so clever! I’ll have to check my stash for some solid banner stamps. There could be something to use lurking in the middle of the piles…
Very creative. Amber, want to try this today!
Such an awesome and clever idea! Thanks so much for the tutorial. And I love the cards you made too!
So so clever! I would have NEVER thought of this myself. A great technique to have in my back pocket.
As always you’ve been thinking outside the box again and come up with another brilliant idea! But oh no, I’ll have to buy stamp set with banners now!
You are so creative! Great trick. Thanks for the how-to pics. You amazing me!
Holy crap, Amber. These are awesome!
eeek, how clever, Amber 🙂
Love this! Thanks so much for sharing.
All I have to say is that you are a genius. THAT’S ALL.
You are GOOD, Amber! That is such a clever way to make those banner stamps look 3D…awesome! The cards are so beautiful toooo!
Amber thanks for sharing this idea! Never thought about masking from this angle but you have enlightened me! Thanks for sharing your awesome gift and inspiration!