Waaaaaaay back in January, I was in Anaheim, CA – wandering the floor of the Craft & Hobby Association Trade Show. For a girl like me, the CHA Trade Show is the ultimate test of my CADD – Crafter’s Attention Deficit Disorder. Every inch of the place is full of new products and fun make & takes. I came away from the show with a list of favorites that I talked about in THIS post.
Among my list of “Best in Show” were the Plaid Crafts Mod Melts – which I named “Best Tool You Never Knew You Needed” and I totally stand by that title, because this stuff is amazeballs.
Mod Melts and Mod Molds are created by the same lovely genius people who create Mod Podge and they will be exclusively available at Michael’s Craft Stores in late June…but I’m here to give you a little sneaky peek at how they work! Let’s get started!
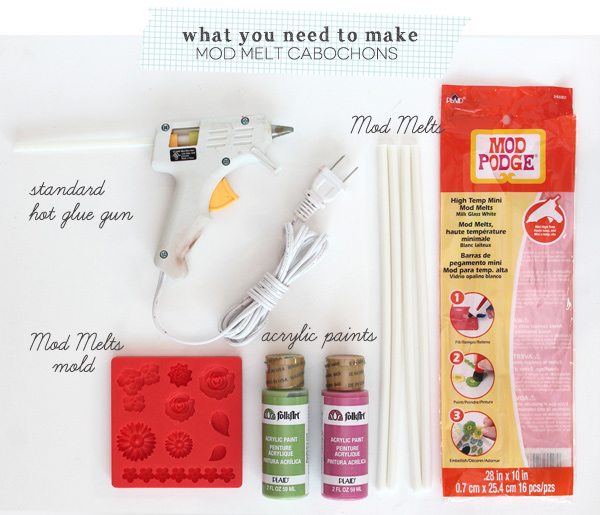
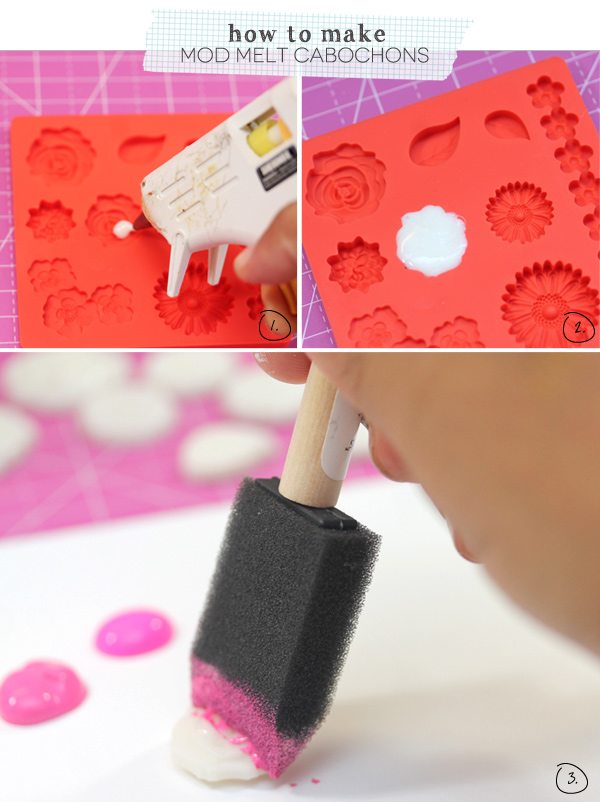
{1} Place a Mod Melts stick into your glue gun and allow it to heat up.
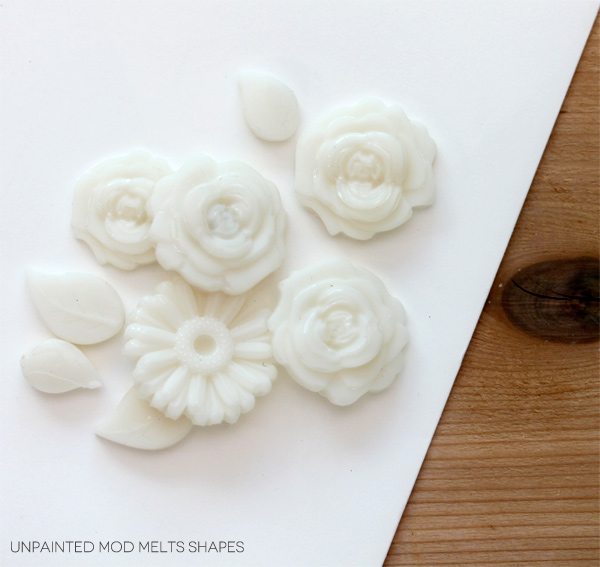
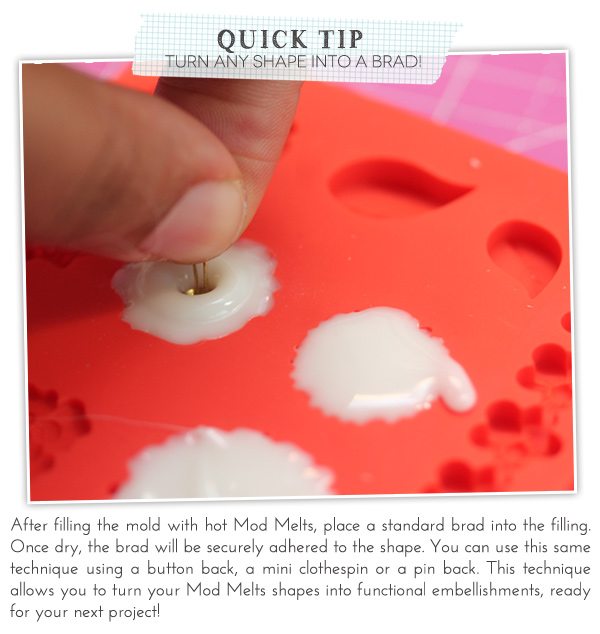
{2} Squeeze out the Mod Melts just as you would hot glue. Fill the mold and allow to rest for five minutes…yes…five minutes! That’s all it takes!
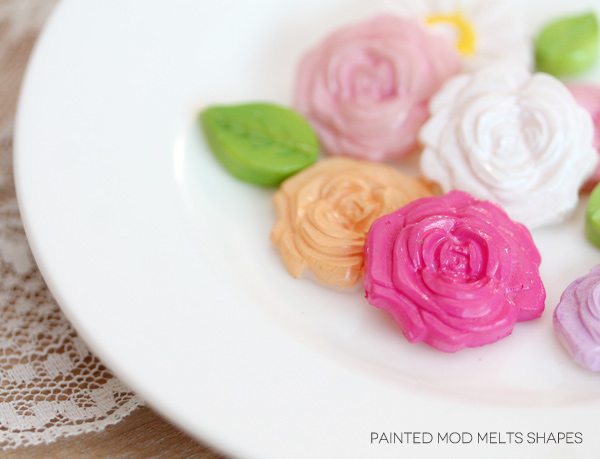
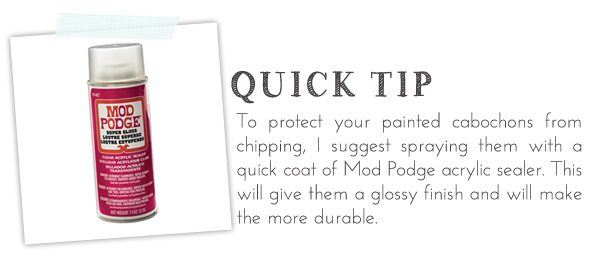
{3} Paint your finished shaped with acrylic paint in your choice of color. I found that a sponge brush worked best for this. Use a dabbing motion with the brush. This will ensure that paint gets into all the little crevices of the shape.
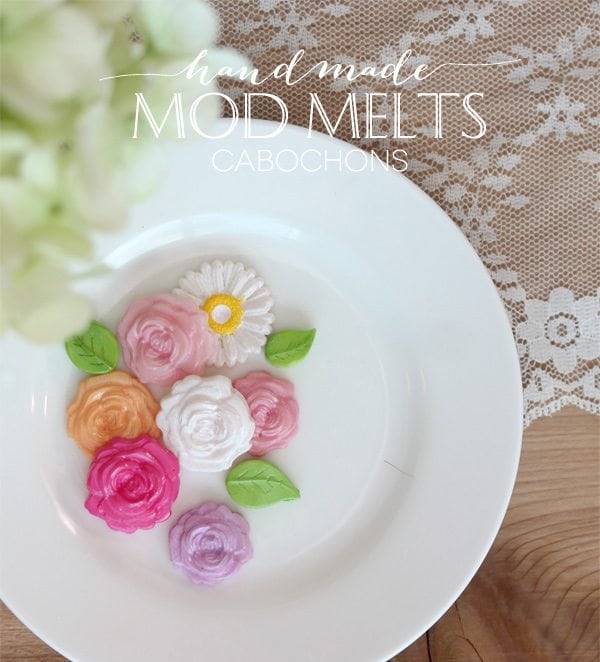
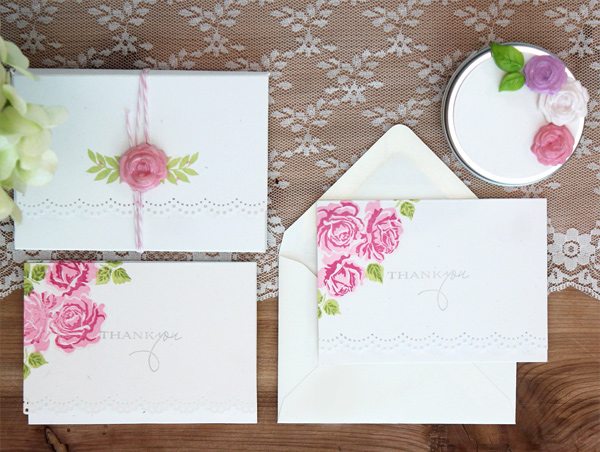
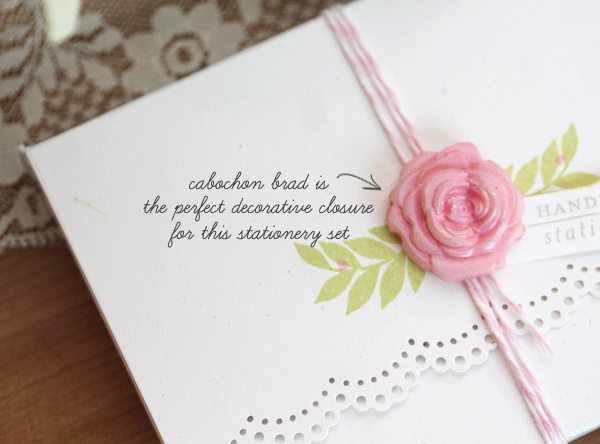
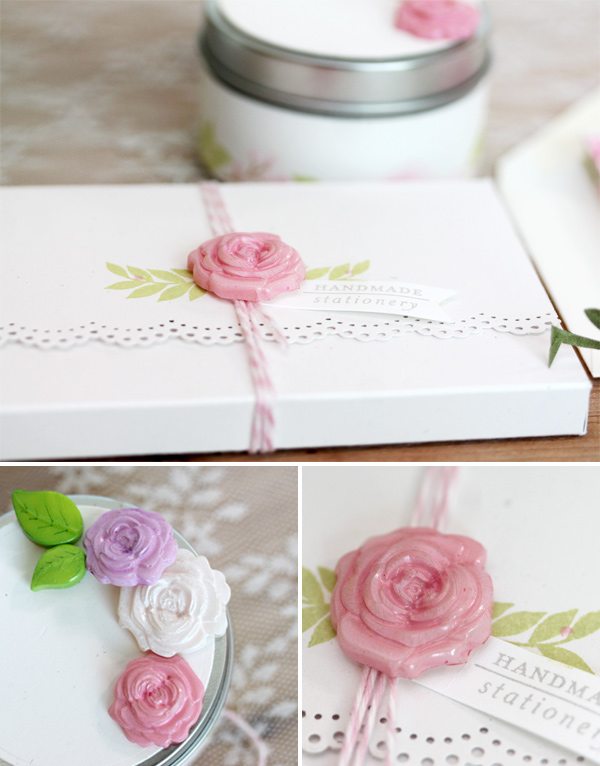
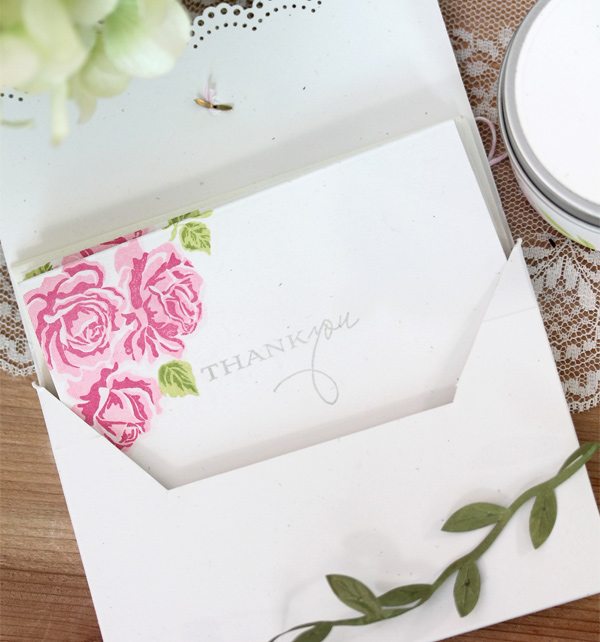
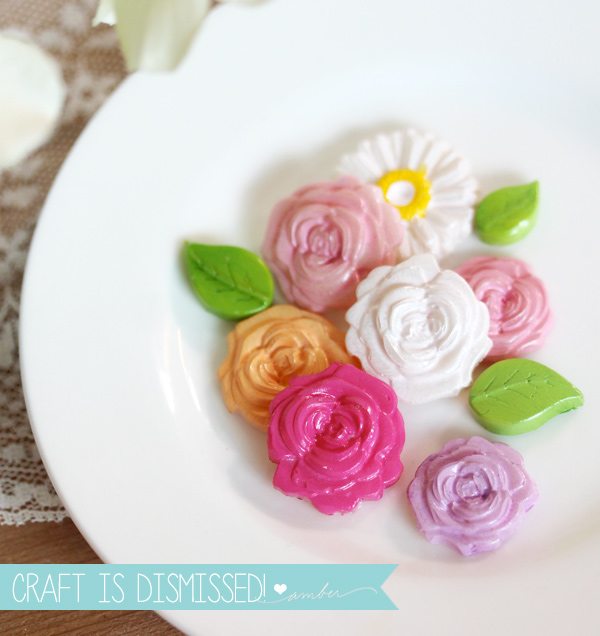
Now it’s time to show you how I used my handmade cabochons. Well, first I just sorta stared at them and admired how pretty they were in a pile together. Feel free to do the same. Once you’ve stopped ogling your creations, there are plenty of ways that you can use them to dress up even the simplest of projects – like this little stationery set I created.
To create the box for this set, I used THIS template, which is easy to follow and great for handmade or store bought cards.
For more inspiration from Plaid Crafts, the creators of Mod Melts, you can follow them on:
Facebook | Twitter | Pinterest |Blog
Disclosure: The post is sponsored by The Blueprint Social. Opinions and project ideas are my own.




https://apotheekmax.com/# Online apotheek Nederland met recept
Kamagra kaufen ohne Rezept [url=https://kamagrapotenzmittel.com/#]Kamagra kaufen ohne Rezept[/url] Kamagra online bestellen
apotek pa nett: Apoteket online – apotek online
Kamagra kaufen ohne Rezept: Kamagra online bestellen – Kamagra kaufen
https://kamagrapotenzmittel.com/# Kamagra kaufen ohne Rezept
http://apotheekmax.com/# Apotheek Max
Kamagra Oral Jelly kaufen: Kamagra Original – Kamagra Original
Kamagra Oral Jelly kaufen [url=https://kamagrapotenzmittel.shop/#]Kamagra Original[/url] Kamagra online bestellen
http://kamagrapotenzmittel.com/# kamagra
Apotek hemleverans recept: apotek online – Apotek hemleverans idag
http://kamagrapotenzmittel.com/# Kamagra online bestellen
apotek online: apotek online – Apotek hemleverans idag
http://apotekonlinerecept.com/# Apotek hemleverans idag
https://apotheekmax.shop/# Apotheek Max
online apotheek [url=https://apotheekmax.com/#]Beste online drogist[/url] Online apotheek Nederland met recept
https://apotheekmax.com/# de online drogist kortingscode
Betrouwbare online apotheek zonder recept: Apotheek Max – Online apotheek Nederland zonder recept
https://apotekonlinerecept.com/# apotek online
http://apotheekmax.com/# Apotheek online bestellen
Apotheek Max: de online drogist kortingscode – Apotheek Max
http://apotekonlinerecept.com/# apotek online