GIRL. FRIENDS. Excuse me while I fangirl over today’s DIY. I am so obsessed with these pretties and they are SO easy to make. Like sooooooo easy to make. Easier than peanut butter and jelly sammiches. Easier than making toast.
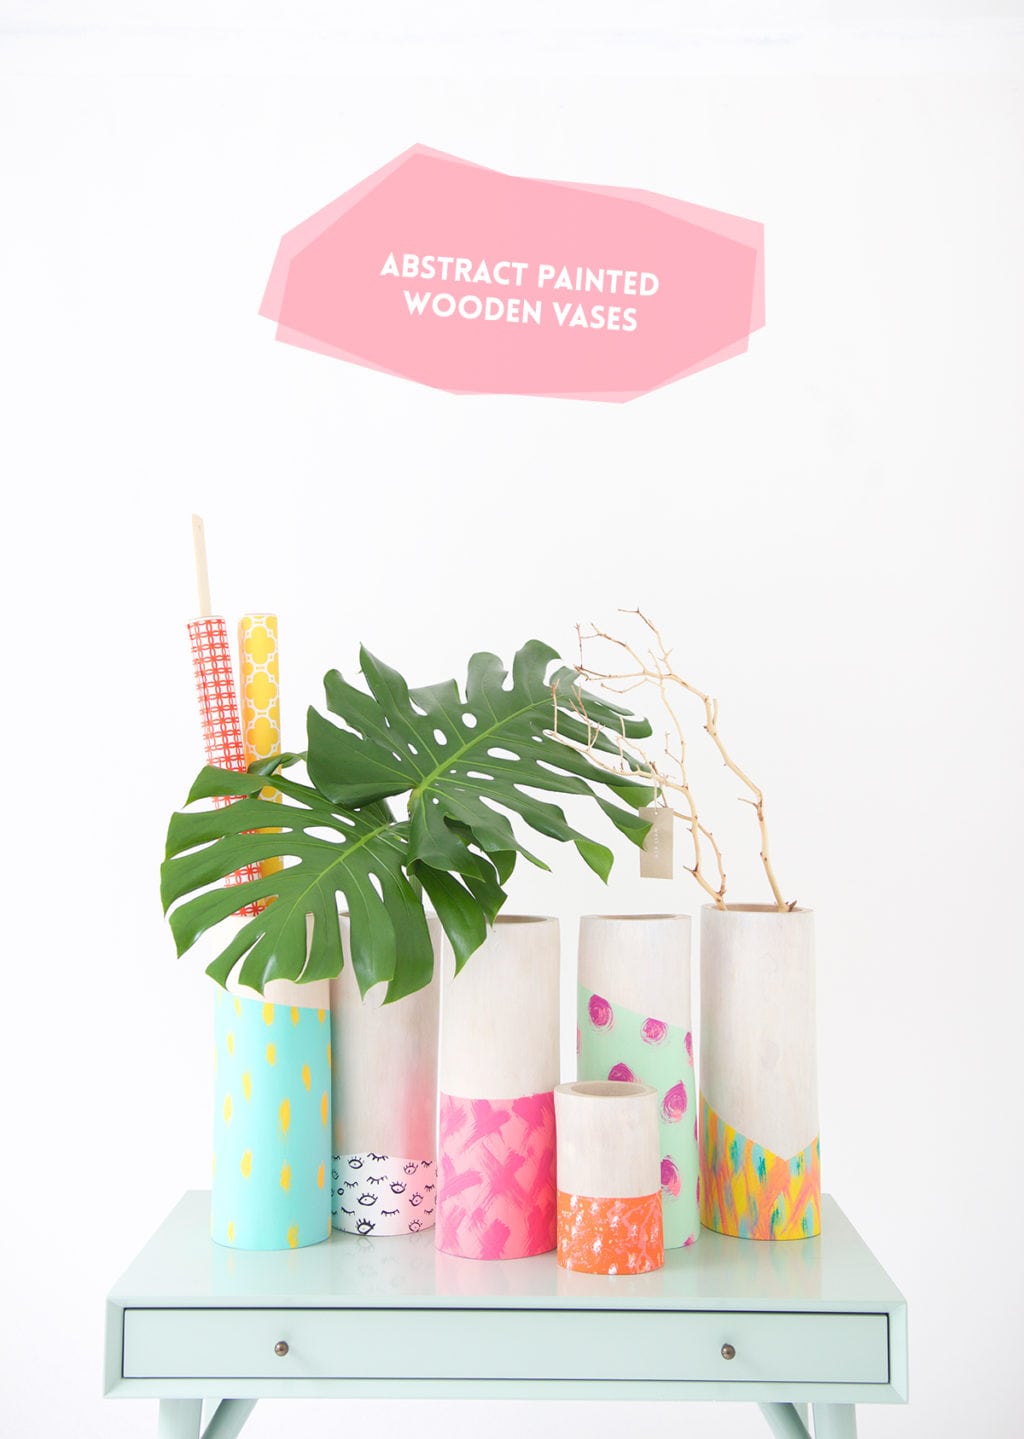
These wooden vases were just screaming for a DIY and with just a little bit of paint and fearless crafting, I turned them into statement pieces.

You’ll need:
- Wooden Vases
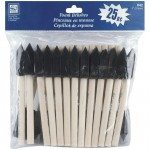
- Chip brushes
- Foam brushes
- Painter’s Tape
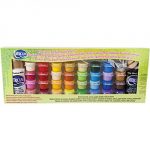
- Paint
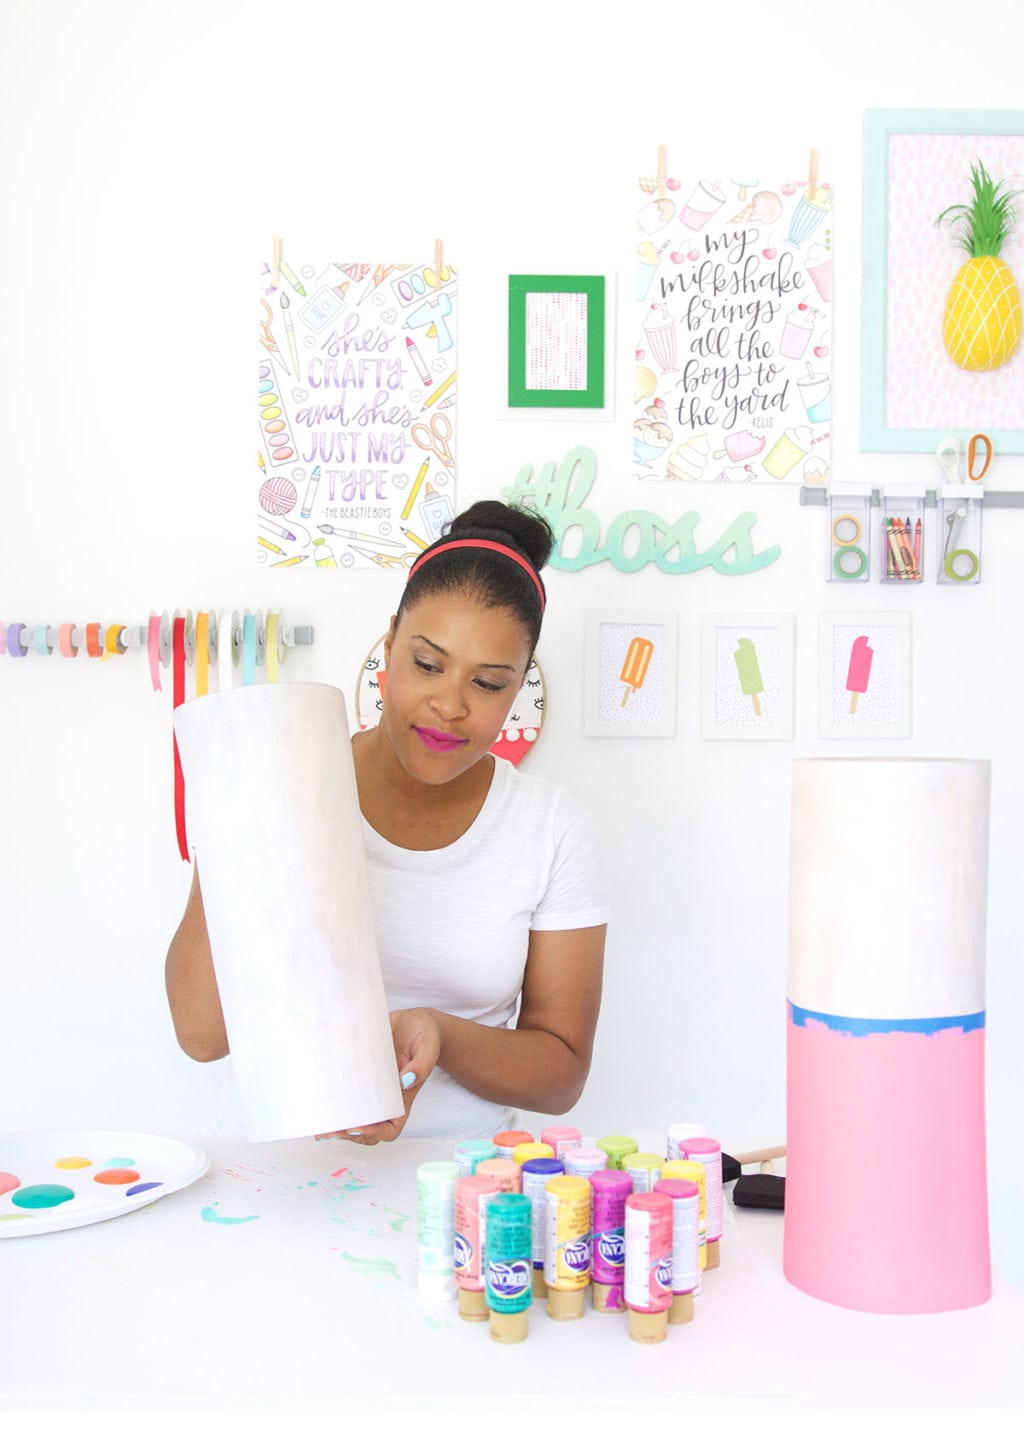
Starting with the blank canvas of a plain wooden vase can be a little bit intimidating, so we’ve filmed a little video to get you excited and ready to DIY your own.
[ylwm_vimeo height=”400″ width=”600″ ]169740499[/ylwm_vimeo]
TIPS FOR PAINTING WOODEN VASES
- Select a variety of paint colors to create your palette and work only with those colors. This way, you’re finished vases still coordinate without being exactly the same.
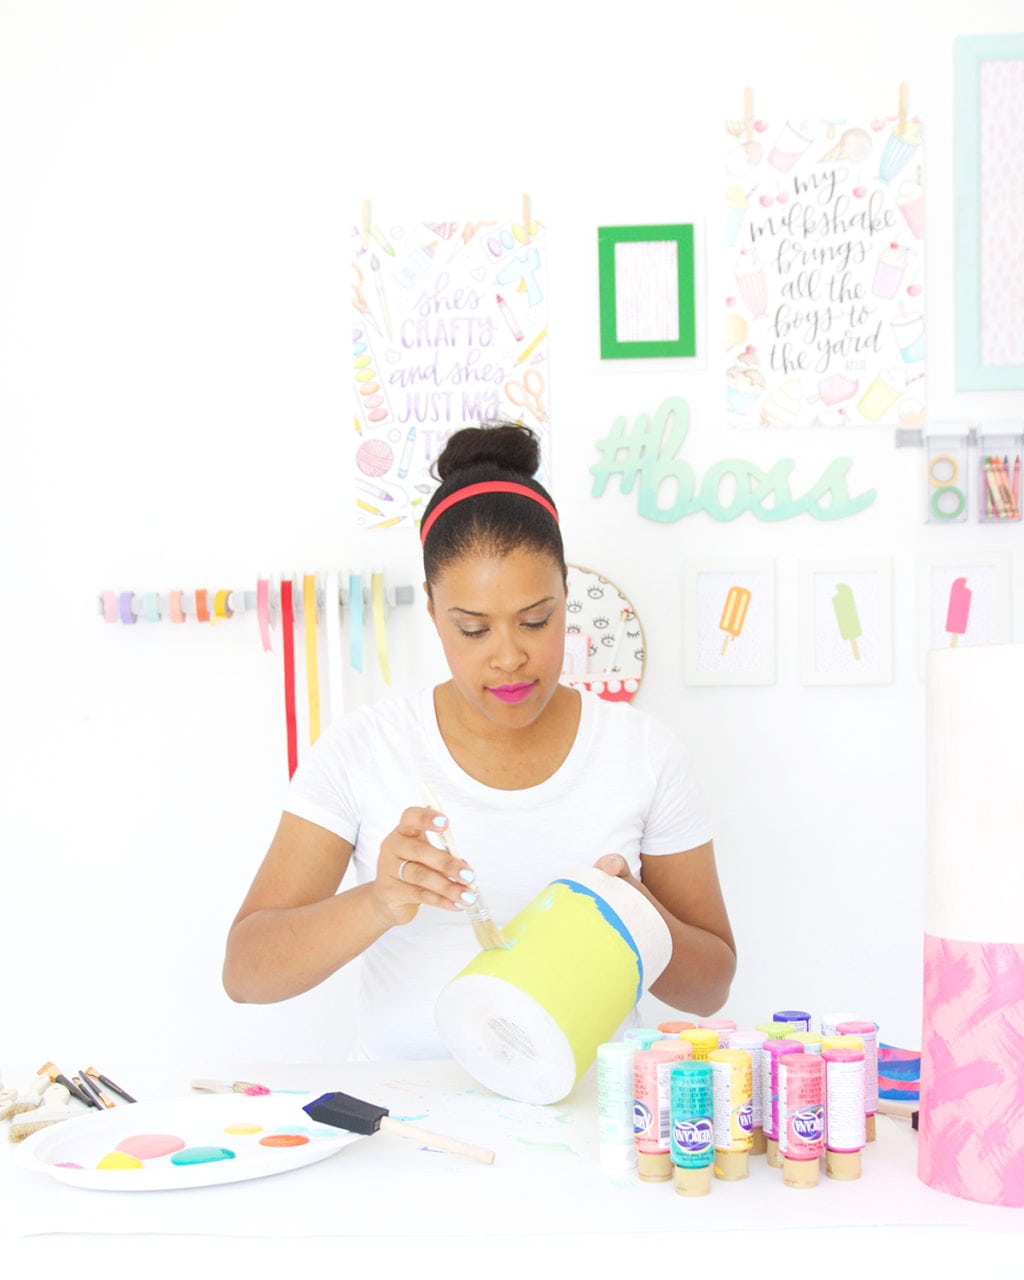
- When using the chip brushes, use the “dry brush” technique. Only dip the tip of the brush into the paint. This will give your textured, streaky strokes that are really cool
- For splatters, use water to thin out the paint before splattering it onto the wooden vase
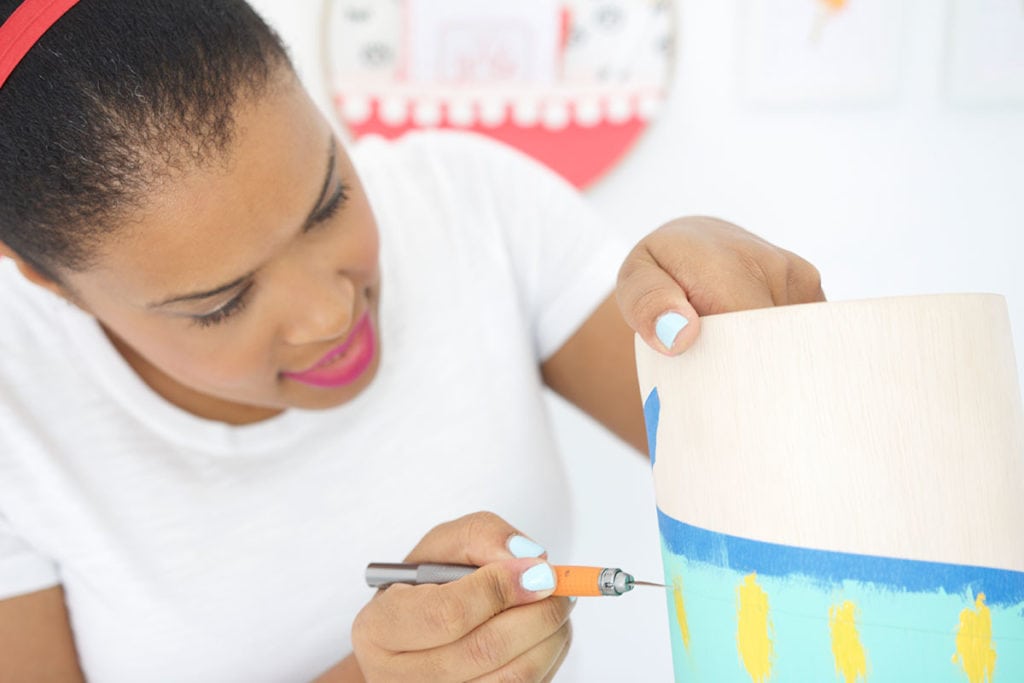
- Run an X-Acto knife around the edge of the painter’s tape. This will give you a clean edge when you peel back the tape




Photography & Videography: Michelle Brener






https://kamagrakopen.pro/# kamagra 100mg kopen
http://generic100mgeasy.com/# buy generic 100mg viagra online
Generic100mgEasy: sildenafil 50 mg price – buy generic 100mg viagra online
http://tadalafileasybuy.com/# Cialis 20mg price
https://generic100mgeasy.com/# Generic 100mg Easy
Tadalafil Tablet: TadalafilEasyBuy.com – TadalafilEasyBuy.com
https://tadalafileasybuy.com/# Tadalafil Easy Buy
http://tadalafileasybuy.com/# cialis without a doctor prescription
cialis without a doctor prescription: Tadalafil Easy Buy – Tadalafil Easy Buy
Generic Tadalafil 20mg price: Tadalafil Easy Buy – Tadalafil Easy Buy
https://kamagrakopen.pro/# Kamagra Kopen
Kamagra Kopen Online: kamagra gel kopen – kamagra 100mg kopen
https://kamagrakopen.pro/# kamagra kopen nederland
TadalafilEasyBuy.com: Cialis without a doctor prescription – cialis without a doctor prescription
https://tadalafileasybuy.com/# cialis without a doctor prescription
https://generic100mgeasy.com/# Generic100mgEasy
Kamagra: kamagra pillen kopen – KamagraKopen.pro
http://tadalafileasybuy.com/# Generic Cialis price
пин ап казино – пин ап
пин ап казино – пин ап зеркало
пин ап казино зеркало – пин ап вход
пинап казино – pinup 2025
пин ап казино зеркало – пин ап казино зеркало
пин ап казино зеркало – пинап казино
Теневой интернет — это скрытая зона онлайн-пространства, куда открывается доступ только через специальные программы, например, через Tor.
Здесь размещаются как легальные, но и запрещенные сайты, например, магазины и различные платформы.
Одной из таких платформ является Блэк Спрут, что специализировалась на продаже различных товаров, среди которых противозаконные продукты.
bs2best актуальная ссылка
Подобные площадки довольно часто работают через анонимные платежи для обеспечения анонимности операций.
При этом, спецслужбы регулярно ликвидируют популярные нелегальные рынки, хотя на их месте возникают другие площадки.
пин ап зеркало – пин ап
пин ап казино официальный сайт – пин ап зеркало
пинап казино – pinup 2025
пинап казино – пин ап вход
пин ап казино – пин ап казино зеркало
pinup 2025 – пин ап казино
apotek online: Apoteket online – Apotek hemleverans recept
Оформление сертификатов в нашей стране является важным этапом легальной реализации товаров.
Этот процесс гарантирует соответствие установленным требованиям нормам и правилам, а это защищает покупателей от фальсификата.
сертификация
К тому же, официальное подтверждение качества облегчает деловые отношения с партнерами и повышает конкурентные преимущества в предпринимательской деятельности.
При отсутствии сертификатов, возможны юридические риски и ограничения при ведении бизнеса.
Таким образом, оформление документации является не просто обязательным, но и важным фактором устойчивого роста компании в России.
https://apotekonlinerecept.com/# Apotek hemleverans idag
apotek online recept: Apotek hemleverans recept – apotek online recept
https://kamagrapotenzmittel.shop/# kamagra
http://apotheekmax.com/# Online apotheek Nederland zonder recept
de online drogist kortingscode: online apotheek – Online apotheek Nederland zonder recept
https://apotheekmax.shop/# Beste online drogist
apotek online: Apotek hemleverans recept – Apotek hemleverans idag
http://apotheekmax.com/# Online apotheek Nederland zonder recept
Betrouwbare online apotheek zonder recept: Apotheek Max – Online apotheek Nederland met recept
https://apotekonlinerecept.com/# apotek online recept
https://apotekonlinerecept.shop/# Apotek hemleverans recept
Ordering drugs from e-pharmacies can be much more convenient than visiting a local drugstore.
There’s no reason to wait in line or stress over closing times.
Online pharmacies let you buy what you need without leaving your house.
Numerous platforms have better prices compared to brick-and-mortar pharmacies.
http://boards.sovnat.info/viewtopic.php?t=29528
On top of that, you can browse alternative medications without hassle.
Fast shipping means you get what you need fast.
Do you prefer ordering from e-pharmacies?
This website, you can discover a great variety of casino slots from top providers.
Visitors can experience traditional machines as well as modern video slots with stunning graphics and bonus rounds.
If you’re just starting out or a seasoned gamer, there’s something for everyone.
money casino
Each title are instantly accessible 24/7 and compatible with laptops and tablets alike.
You don’t need to install anything, so you can get started without hassle.
Platform layout is intuitive, making it simple to find your favorite slot.
Join the fun, and enjoy the excitement of spinning reels!
Here, you can discover a great variety of slot machines from leading developers.
Visitors can try out classic slots as well as feature-packed games with vivid animation and interactive gameplay.
If you’re just starting out or an experienced player, there’s always a slot to match your mood.
play casino
Each title are available 24/7 and designed for laptops and mobile devices alike.
No download is required, so you can start playing instantly.
The interface is easy to use, making it simple to find your favorite slot.
Sign up today, and discover the thrill of casino games!
Самостоятельные девушки — это уникальные личности, которые отстаивают свою свободу.
Они выбирают к осознанному подходу в общении.
Такие девушки часто обладают независимым характером и ясными жизненными установками.
Они не боятся выражать свои взгляды.
https://spaxam.net/
Взаимодействие с ними нередко получается осмысленным.
Они стремятся понимать собеседника и выстраивать глубокие отношения.
Такие девушки вдохновляют окружающих своей подлинностью.
Они движутся своим курсом, не подстраиваясь под внешние ожидания.
Thank you for your sharing. I am worried that I lack creative ideas. It is your article that makes me full of hope. Thank you. But, I have a question, can you help me?
ииии