bloglovinBloglovin iconemailfacebookFacebook iconinstagramInstagram iconlinkedinLinkedIn iconpinterestPinterest iconrssRSS iconsoundcloudSoundCloud icontwitterTwitter iconyoutube bananaBanana graphic bananaleafBanana leaf graphic bird-with-leavesBird with leaves graphic blue-chocolate-popsicleBlue chocolate popsicle graphic blue-popsicleBlue popsicle graphic cactus-flower-topCactus w/ flower top graphic cactus-pink-topCactus w/ pink top graphic cactus-yellow-topCactus w/ yellow top graphic cherriesCherries graphic coconutCoconut graphic coffee-cupCoffee cup graphic firecracker-popsicleFirecracker popsicle graphic flamingoFlamingo graphic frozen-bananaFrozen banana graphic kiwi-popsicleKiwi popsicle graphic kiwiKiwi slice lemon-wedgeLemon wedge graphic lime-wedgeLime wedge graphic orange-popsicleOrange popsicle graphic pineapplePineapple graphic pink-chocolate-ice-cream-popPink chocolate ice cream pop grahpic pink-ice-cream-popPink ice cream pop graphic pink-popsiclePink popsicle graphic pink-sundae-conePink sundae cone graphic pink-swirl-conePink swirl cone graphic pizza-slice-basilPizza slice w/ basil graphic pizza-slice-olivesPizza slice w/ olives graphic pizza-slice-onionsPizza slice w/ onions graphic rainbow-swirl-coneRainbow swirl cone graphic rainbow-waffle-coneRainbow waffle cone graphic strawberriesStrawberries graphic strawberryStrawberry graphic sunSun graphic text-helloHello text graphic text-shine-onShine On text graphic text-yayYay text graphic watermelon-largeWatermelon slice (large) graphic watermelon-smallWatermelon slice (small) graphic

If you are a die hard DIY-er like me, you are constantly seeing things and saying to yourself, ” I can totally make that!” There are even times when it’d be much less expensive for me to go for the store bought version, but even still, there is something about being able to custom create your own gifts that is so very satisfying and rewarding!

Today, you are in luck because I’ve got a DIY project for you that is not only fun, but cost effective as well!

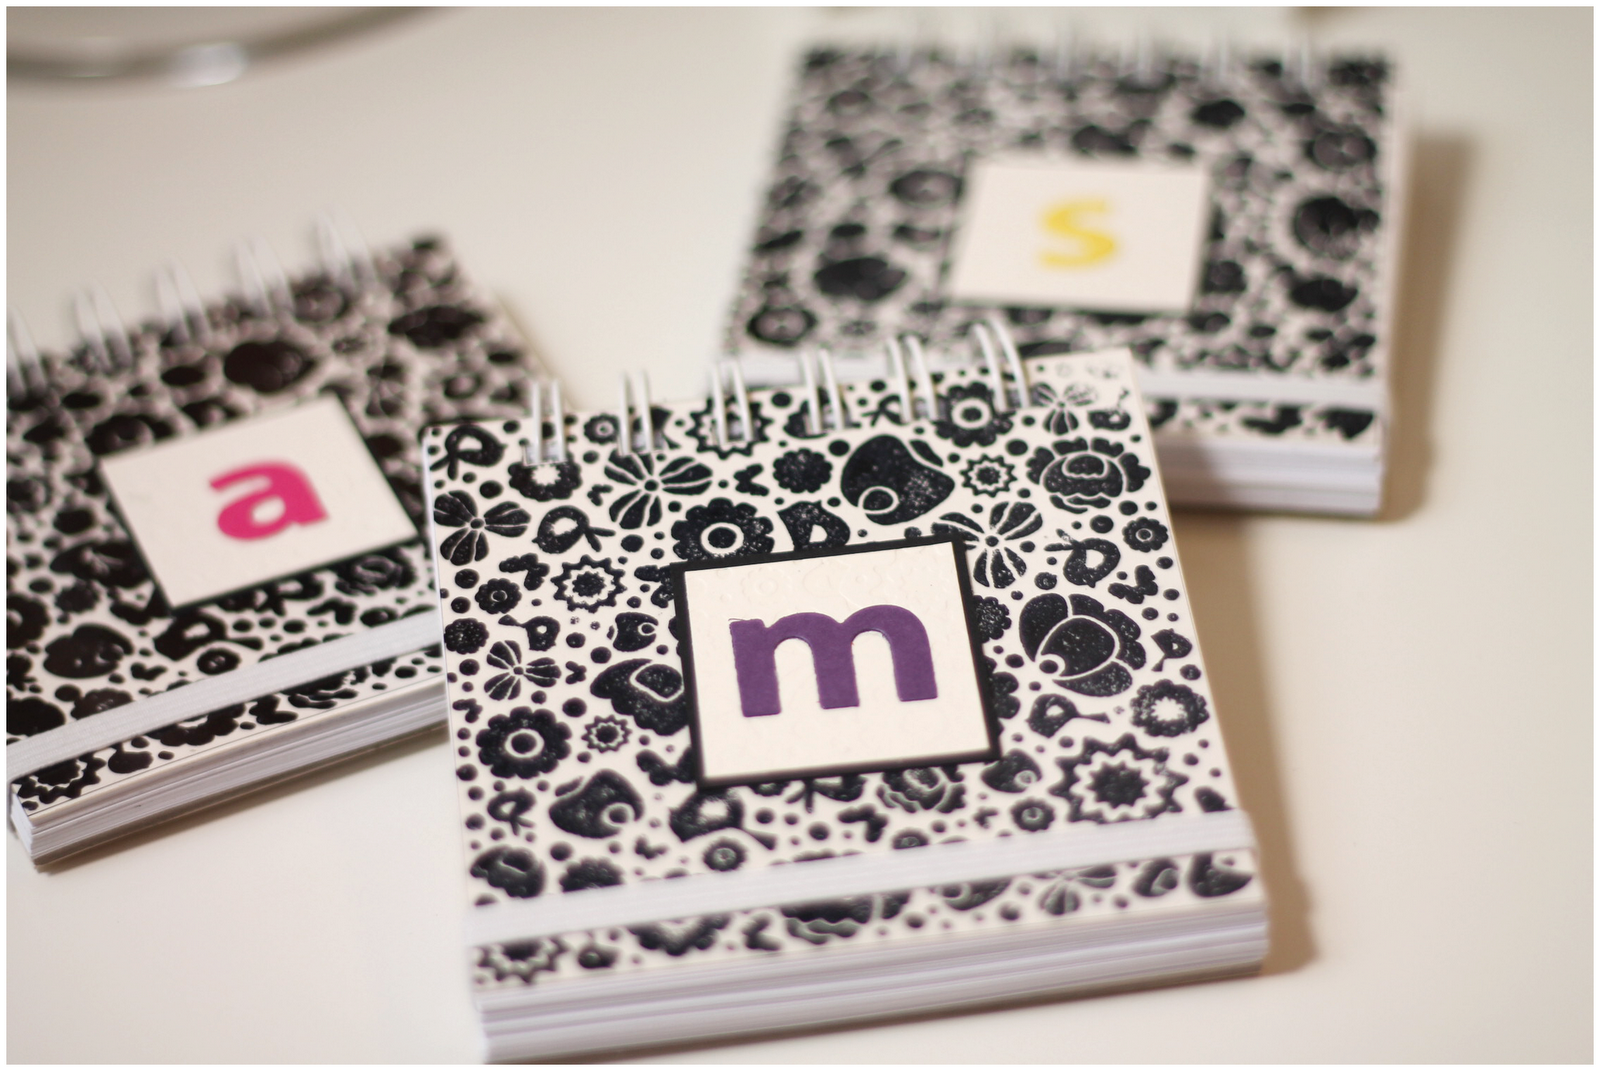
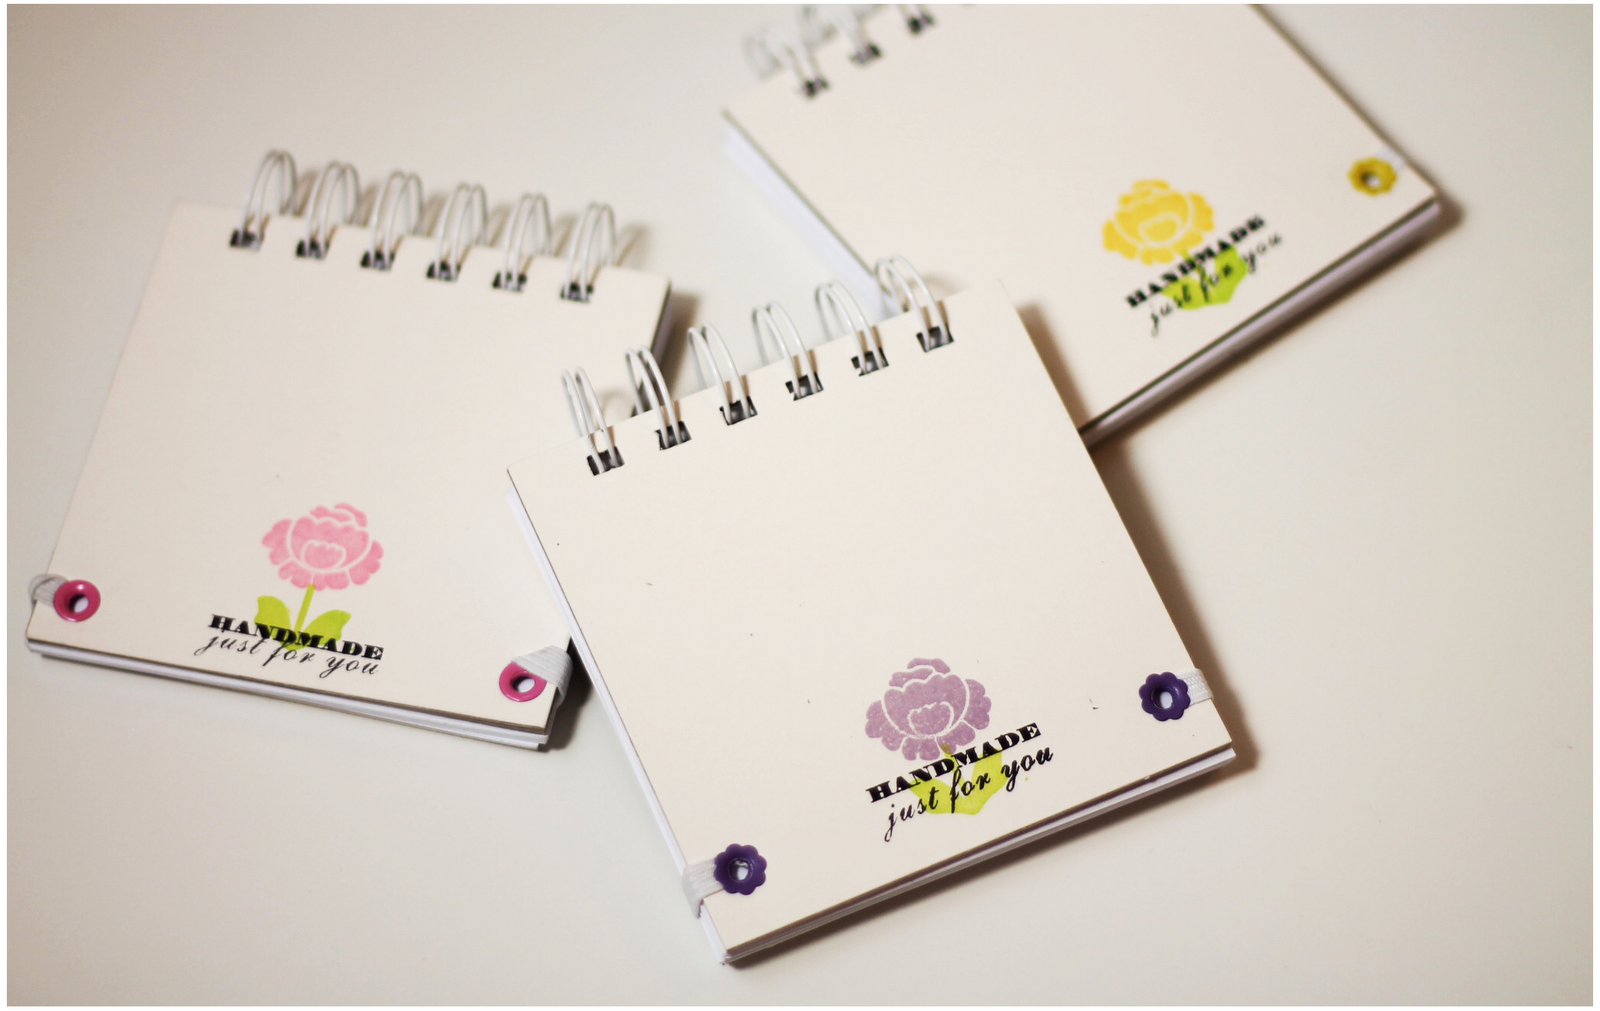
I love the modern, clean look of acrylic and I always fawn over the stylish acrylic overlay scrapbook paper that I find – but at $2.00 -$5.00 per sheet (!!!) – I often pass on it! Using the newly released Flower Buds Collage stamp, I was able to create my own acrylic overlay cardstock and transform it into a stylish, monogrammed notebook!

Along with a few other stamps and supplies, these notebooks are simple to make and are perfect for gift giving.

As always, I’ve got tons of step-by-step photos to walk you through this project – so keep on scrolling for more!

Until Later Loverlies,
AmberKG

Before we get started with the step-by-step photos…here’s a peek at the finished products
*note to self*
 next time you take a photo of monogrammed notebooks – don’t spell out “SAM” with them!
Creating these little books was really simple using the new Floral Buds Collage stamp! I used Staz-On ink to stamp onto a sheet of clear acrylic cardstock that I purchased from Office Depot (it’s basically the same stuff you use for overhead projector transparencies.)
Be careful when you stamp on the clear cardstock – it can be a little slippery and it may take a few tries to get a non-smudgy image.
The next step is to use a heat gun to set the ink. Don’t leave it on too long though!! Just gently wave the heat gun over your stamped image and the ink should be dried in no time.

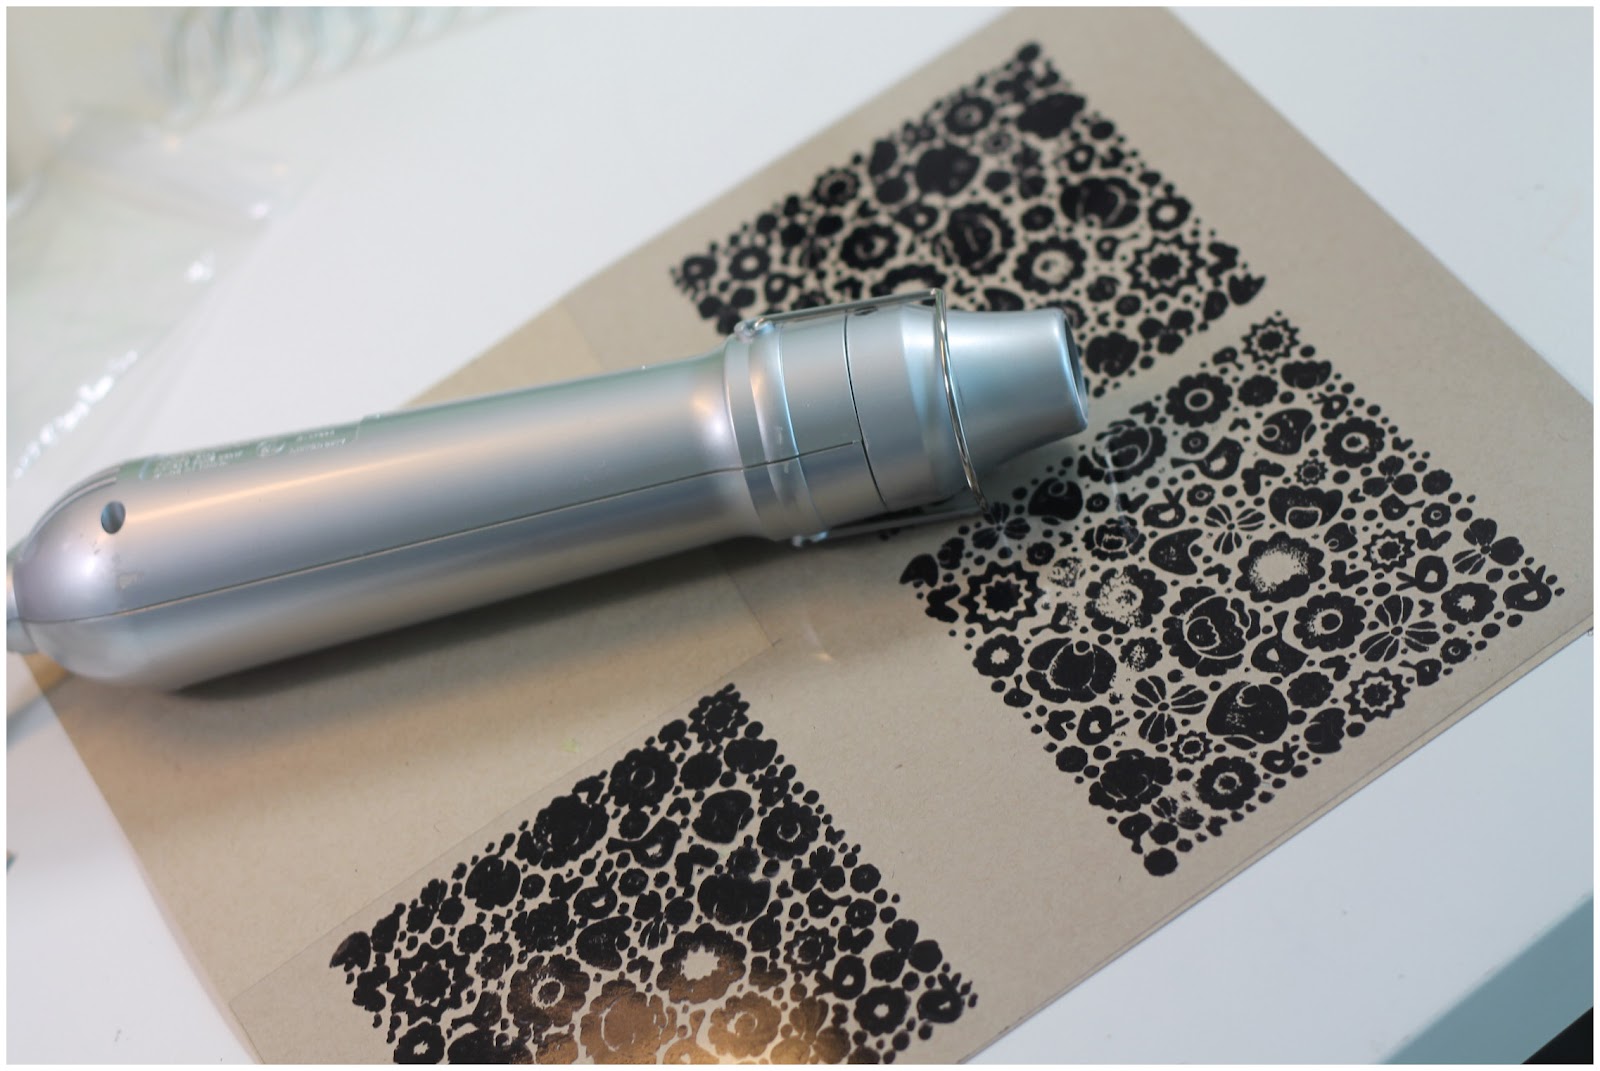
With the ink set, I cut out the background image – which in this case measures 3.75″ square. I also cut out a stack of paper to the same size. Plain ol’ computer paper worked great for this!

For the back of the notebook, I pulled out some chipboard that I had left over from a pad of scrapbook paper. I adhered two squares of chipboard together to give the notebook a stiffer base.

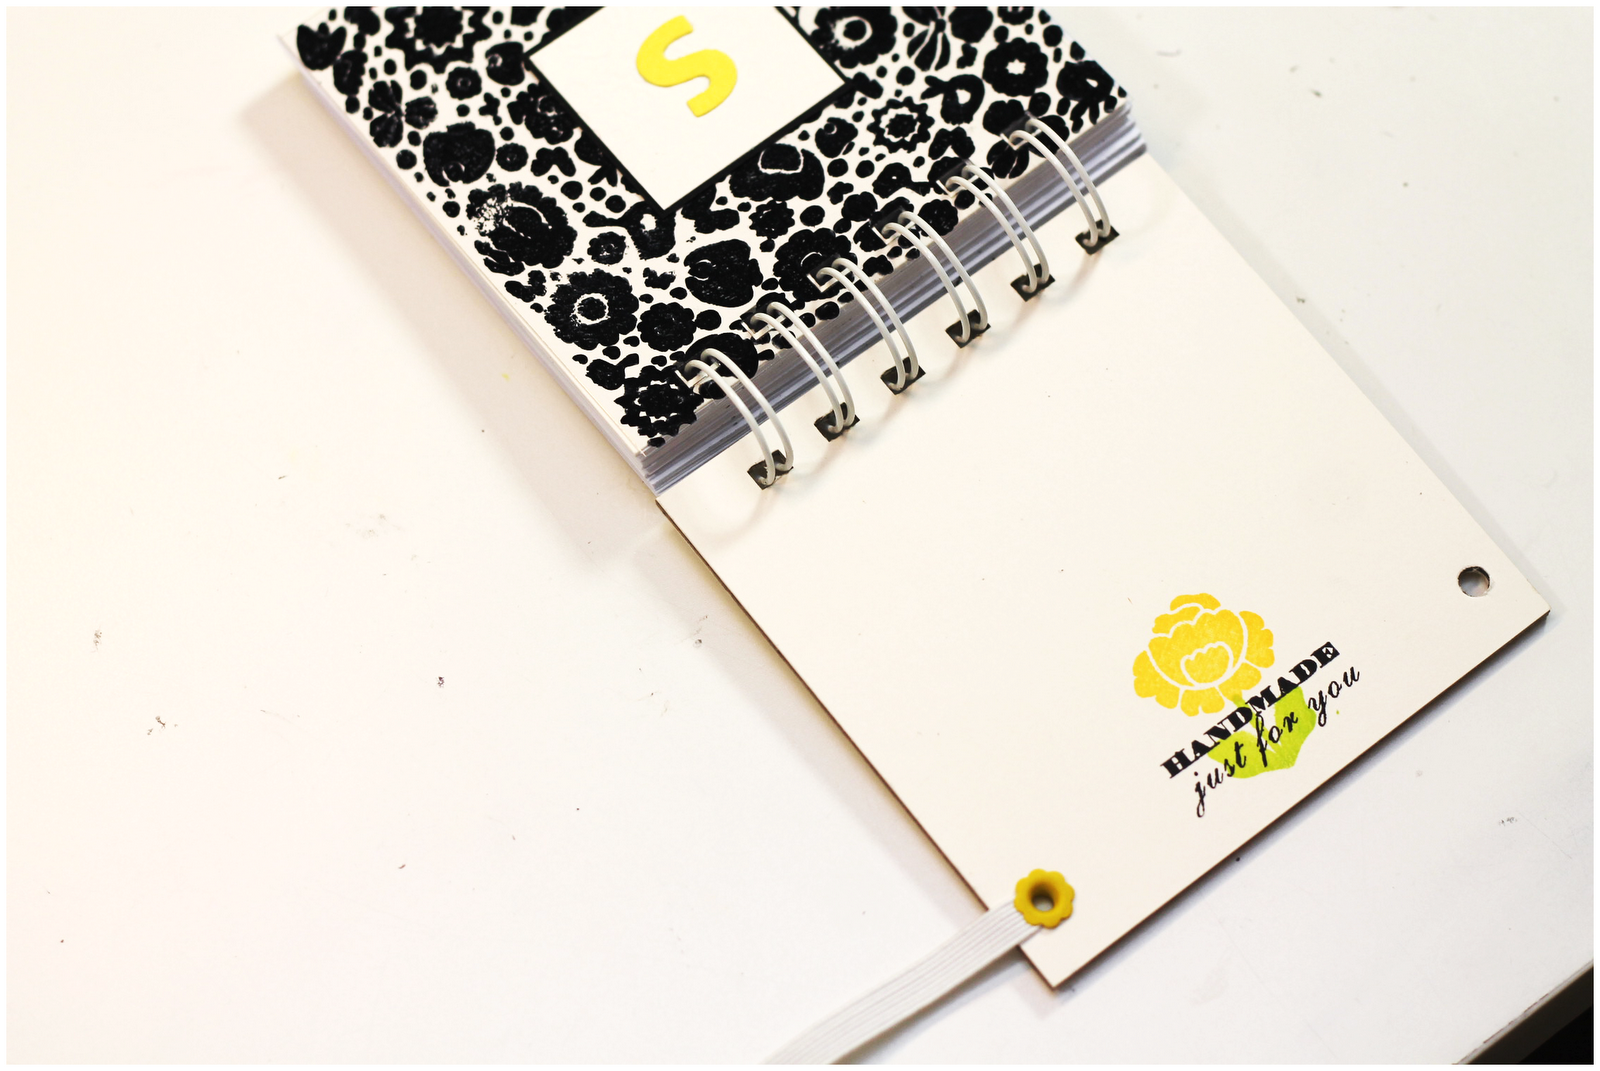
With the pieces adhered, I covered the front and back of the chipboard with On the Catwalk Cream cardstock and stamped the back with images from Floral Buds as well as sentiments from Au Natural Extras and Love Cupid.

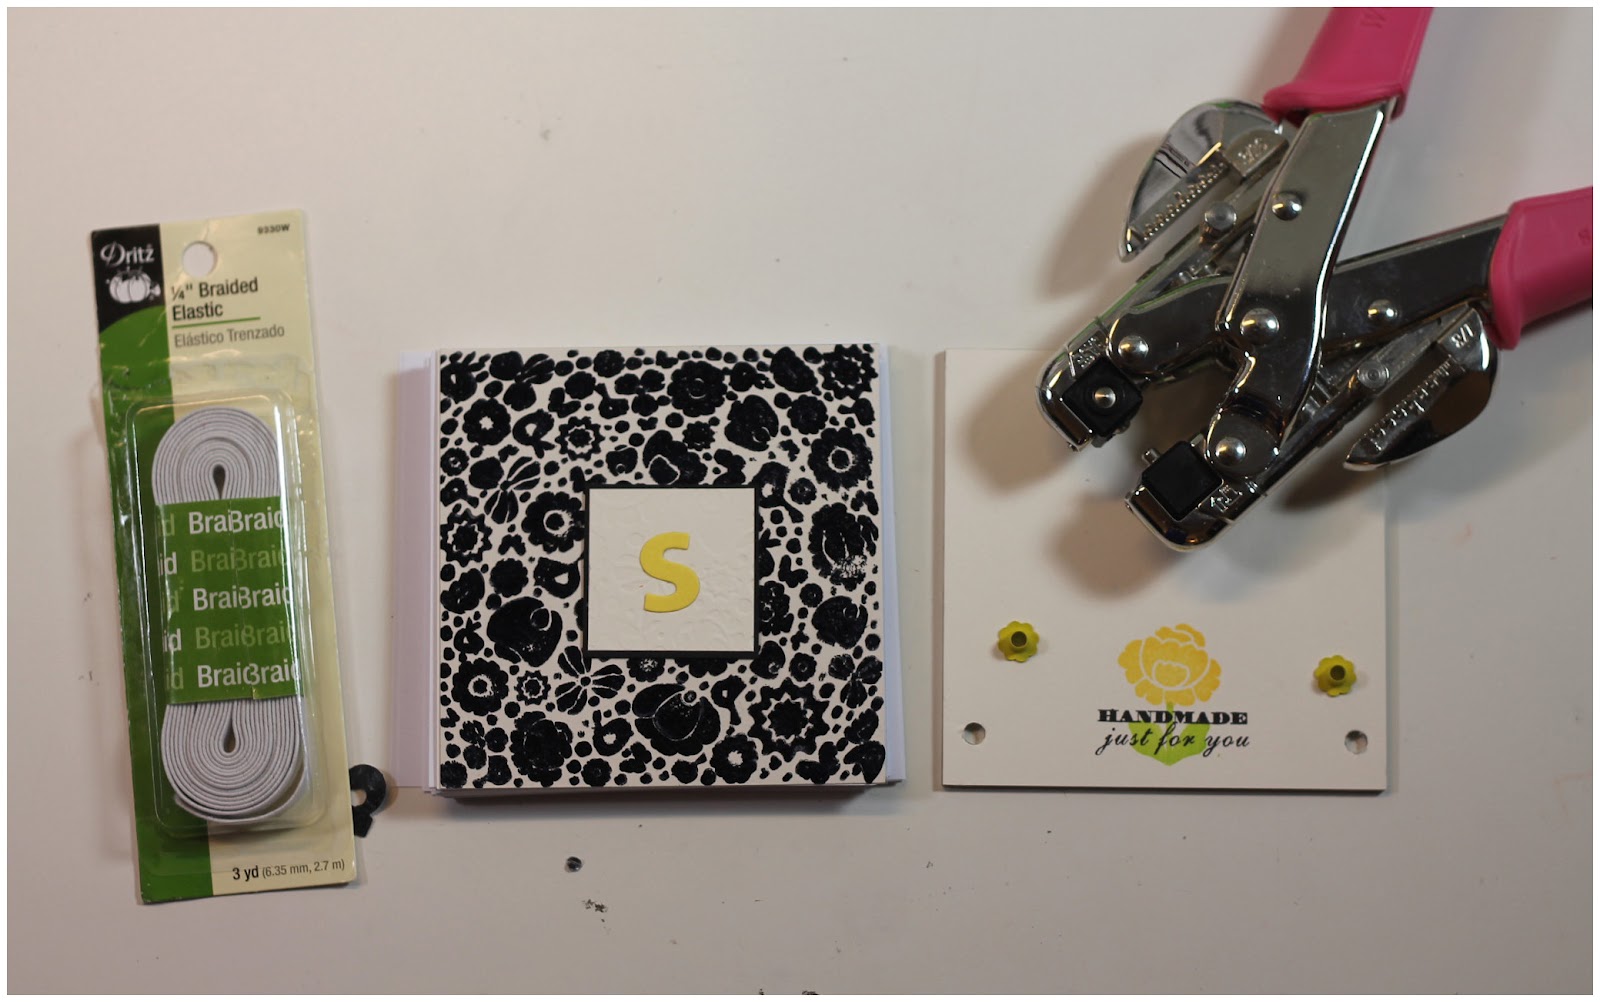
Next up – Assembly! Before binding the notebook, I decided it would be fun to add a little elastic closure as a finishing touch. This was super simple to do and only took a few more tools (i.e braided elastic, eyelets and a Crop-a-dile for fastening the eyelets)

With a length of elastic measured out, I placed the elastic through the eyelet hole, then fastened the eyelet in place.
And with the elastic in place – these notebooks were finished and ready to give away!
Now it’s your turn to play with stamping on acrylic to create your own overlays!
Thanks for stopping by today – have a great weekend!

Keep on crafting with these other posts

58 thoughts on “Style Watch: DIY Acrylic Overlays

  1. kamagra 100mg kopen [url=https://kamagrakopen.pro/#]kamagra kopen nederland[/url] KamagraKopen.pro

  2. Tadalafil Easy Buy [url=http://tadalafileasybuy.com/#]cialis without a doctor prescription[/url] Buy Cialis online

  3. buy generic 100mg viagra online [url=http://generic100mgeasy.com/#]order viagra[/url] Generic100mgEasy

  4. apotek online [url=http://apotekonlinerecept.com/#]Apotek hemleverans recept[/url] apotek online recept

  5. Beste online drogist [url=https://apotheekmax.shop/#]Online apotheek Nederland met recept[/url] online apotheek

  6. Kamagra Oral Jelly [url=http://kamagrapotenzmittel.com/#]Kamagra online bestellen[/url] Kamagra Oral Jelly

Leave a Reply

Your email address will not be published. Required fields are marked *