bloglovinBloglovin iconemailfacebookFacebook iconinstagramInstagram iconlinkedinLinkedIn iconpinterestPinterest iconrssRSS iconsoundcloudSoundCloud icontwitterTwitter iconyoutube bananaBanana graphic bananaleafBanana leaf graphic bird-with-leavesBird with leaves graphic blue-chocolate-popsicleBlue chocolate popsicle graphic blue-popsicleBlue popsicle graphic cactus-flower-topCactus w/ flower top graphic cactus-pink-topCactus w/ pink top graphic cactus-yellow-topCactus w/ yellow top graphic cherriesCherries graphic coconutCoconut graphic coffee-cupCoffee cup graphic firecracker-popsicleFirecracker popsicle graphic flamingoFlamingo graphic frozen-bananaFrozen banana graphic kiwi-popsicleKiwi popsicle graphic kiwiKiwi slice lemon-wedgeLemon wedge graphic lime-wedgeLime wedge graphic orange-popsicleOrange popsicle graphic pineapplePineapple graphic pink-chocolate-ice-cream-popPink chocolate ice cream pop grahpic pink-ice-cream-popPink ice cream pop graphic pink-popsiclePink popsicle graphic pink-sundae-conePink sundae cone graphic pink-swirl-conePink swirl cone graphic pizza-slice-basilPizza slice w/ basil graphic pizza-slice-olivesPizza slice w/ olives graphic pizza-slice-onionsPizza slice w/ onions graphic rainbow-swirl-coneRainbow swirl cone graphic rainbow-waffle-coneRainbow waffle cone graphic strawberriesStrawberries graphic strawberryStrawberry graphic sunSun graphic text-helloHello text graphic text-shine-onShine On text graphic text-yayYay text graphic watermelon-largeWatermelon slice (large) graphic watermelon-smallWatermelon slice (small) graphic

Making your own headband is easier than you think. I promise. I know from experience. You’ll especially love that this is a no-sew headband tutorial which means anyone can do it in a matter of minutes!

Supplies:

Instructions:

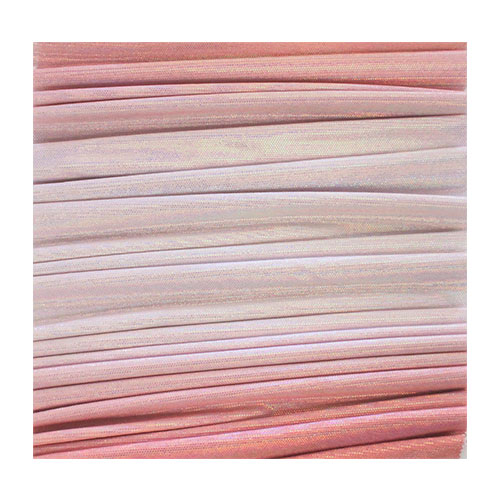
  1. Cut three pieces of fabric to 24 inches x 4 inches
  2. Apply a bead of fabric glue along the right side edge of the fabric as shown
  3. Fold the fabric together, repeat this for all pieces
  4. Once the glue is dry, turn the fabric tube inside out
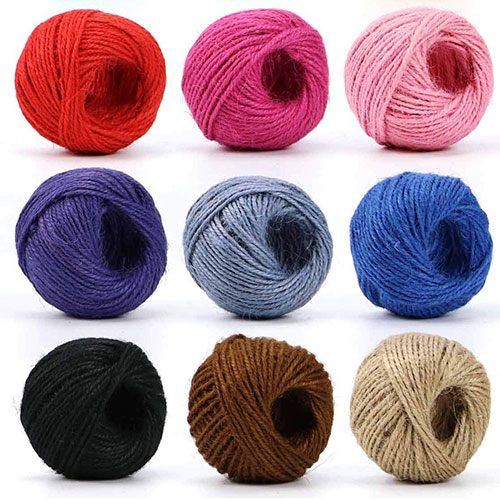
  5. Stack the three pieces of fabric and tie together with string
  6. Loosely braid the fabric and tie off at the other end
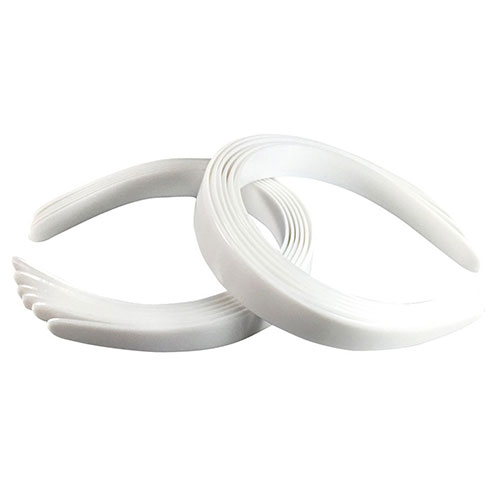
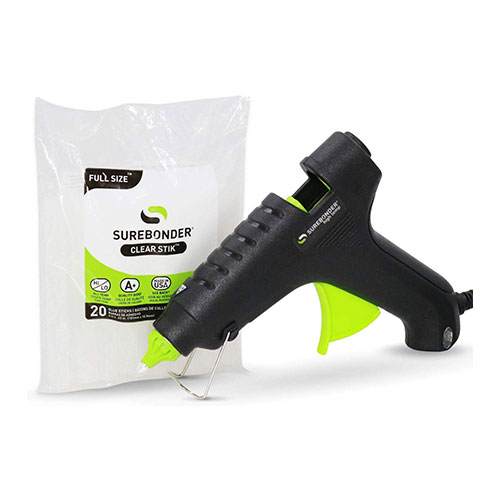
  7. Use hot glue to secure the braided fabric to the headband
  8. Use hot glue and ribbon to finish off the end


Keep on crafting with these other posts

87 thoughts on “How to Make a Braided Headband

  1. ปัจจุบันต้องยอมรับว่าโลกของ เรียกว่าโลกของระบบออนไลน์ sa casino เล่นง่าย น่าเชื่อถือ

  2. และเป็นที่ยอมรับอย่างสูง เพราะเล่นง่าย น่าเชื่อถือ ppslot สามารถได้ตลอดการเดิมพัน ทั้งยังเปิดบริการให้เข้าเล่นได้ 24 ชั่วโมง

  3. มีอัตราจ่ายสูงกับ หวยฮานอยสด ไม่ว่าจะหลักหมื่น หลักแสน เราก็พร้อมจ่าย ไม่มีเบี้ยว ไม่โกงอย่างแน่นอน เพราะเราเป็นเว็บใหญ่ มีมาตรฐาน ฐานการเงินมั่นคง ระบบเสถียร ทุกการใช้งาน ลื่นไหล ไม่มีค้าง ไม่มีสะดุด จนฉุดไม่อยู่ ถูกใจคอหวยอย่างแน่นอน

  4. เพราะเรามีการบริการที่เป็นเลิศ เว็บไชต์สวยงาม ขั้นตอนการเข้า แทงหวย ก็ไม่ยุ่งซับซ้อน ฝาก-ถอน รวดเร็ว ไม่ต้องรอคอยนานให้เมื่อย รีบสมัครเล่นเว็บ แทงหวย กันเข้ามาเลย เราพร้อมบริการคุณ

  5. For the wider headband, cut three strips of velvet that are 25″ long and 4″ wide (and for the smaller headband cut them 25″ long and 3″ wide). Fold your strips in half lengthwise and stack the three strips on top of each other so you can braid them together.To do this, take the headband on one side of your head and flip the underside up so the seam now faces out. You’ll have created a twist. Adjust and scrunch the material to hide the seam now facing upwards and you’re all set! The Twist Headband is the secret weapon of people who have things to do and places to be.
    https://core-ball.org/

  6. If you’re in Dallas and need a reliable electrician, look no further! Our skilled electricians are dedicated to providing top-notch electrical services. Whether you need residential or commercial electrical work, we’ve got you covered. From troubleshooting and repairs to installations and upgrades, we handle it all with precision and efficiency.

    Our team prioritizes safety and compliance with electrical codes to ensure your peace of mind. With years of experience and a commitment to customer satisfaction, we are your go-to Dallas Electrician</a. Contact us for prompt, professional service to keep your electrical systems running smoothly. Trust us for all your electrical needs in the Dallas area!

Leave a Reply

Your email address will not be published. Required fields are marked *

This site uses Akismet to reduce spam. Learn how your comment data is processed.