Back to real life.
After a week in Los Angeles filming Hallmark’s Home & Family, I’m back in Miami, back on the job with way too much work to do. And just in case you think I’m being dramatic here’s a snapshot of what’s brewing in Damask Love Land: Moving into a bigger, better studio (catch me on Instagram Stories for a BTS look), prepping for this weekend’s Grit, Grits & Glitter networking event where I’ll be speaking and teaching a workshop, prepping for August and October’s HSN craft days because there is a TON of brand new product coming out, gathering all my supplies for an upcoming workshop at Wynwood Letterpress, developing a sample Table of Contents for a potential book deal…and, oh yeah…craft up more and more projects for you guys to read! See! I wasn’t kidding. Real life is no joke around here.
With all that’s been happening, I’m thinking we might take a look back at the project that helped me win the Home & Family DIY Star competition. In June, I competed against five finalists for the title of Ultimate DIY Star. We each had a $150 budget to create a Fourth of July themed project. Considering my love of summer picnics, I created a DIY wooden crate picnic basket and painted it with a modern take on stars and stripes. Today, I’m breaking that project down so you can create one of your own.
Not into picnicking? No worries! This picnic basket & picnic table duo can be used for lots of things around the house. Store toys inside and use the table as a place for the kids to play. Fill the basket with movie snacks and use the table as a TV tray. This is a fun project that you’re gonna love!
How to Build a DIY Wooden Crate Picnic Basket

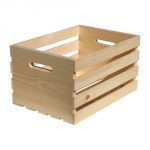
Paint the wooden crate with white paint

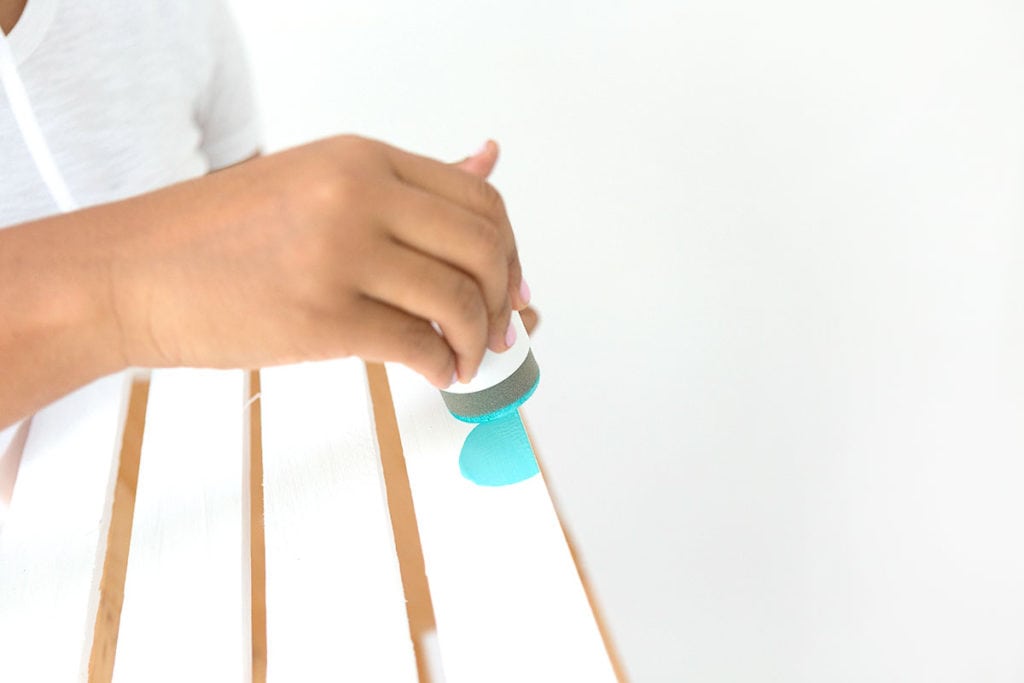
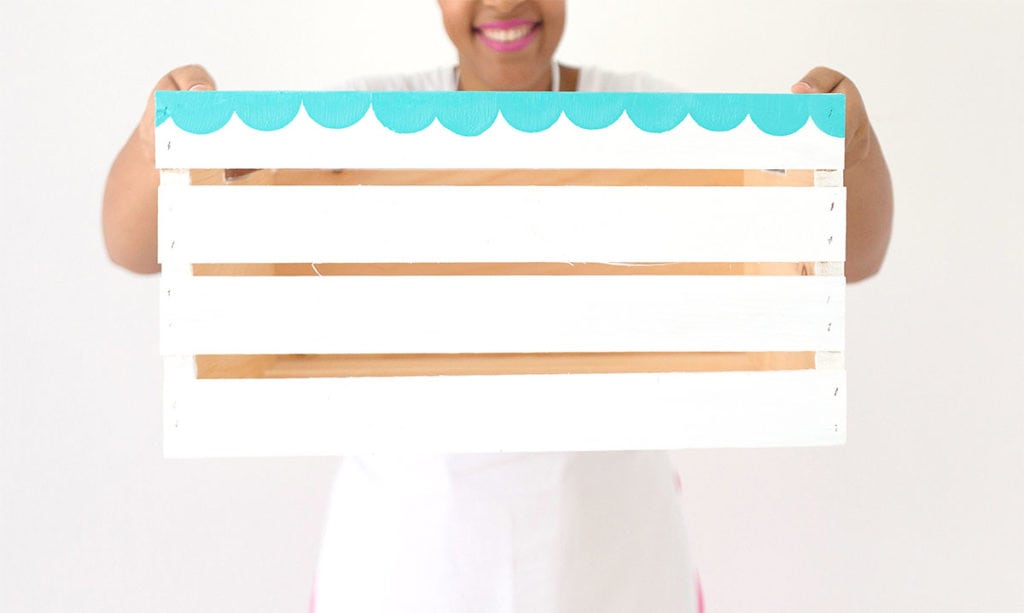
Use a large round foam pouncer dipped in paint to create a scalloped edge along the top of the wooden crate

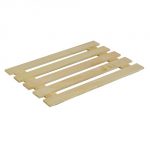
Paint a crate lid with white paint (Note: The solid crate lid that I used for this project is no longer available. You can substitute the slatted crate lid or you can create your own solid lid with a 1/2″ thick piece of pine cut down to 18″ x 13″. Add braces to the underside of the pine so that the lid will stay in place when put onto the wood crate).
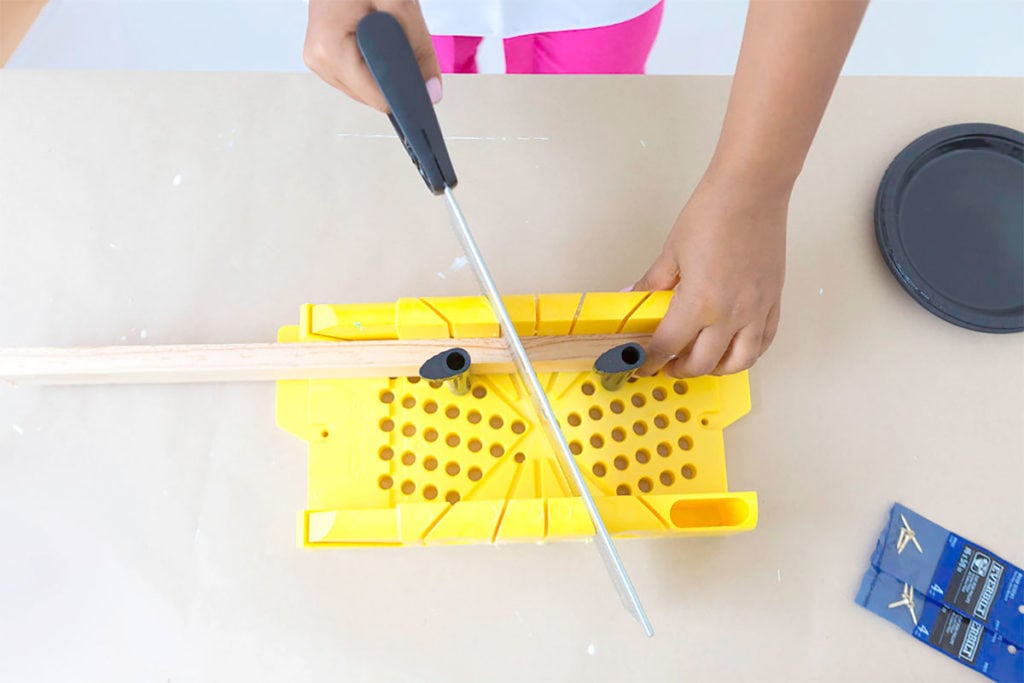
Use a miter box to saw 1″x 1.5″ pine strips at a 22.5 degree angle. Cut each to 13″ long.
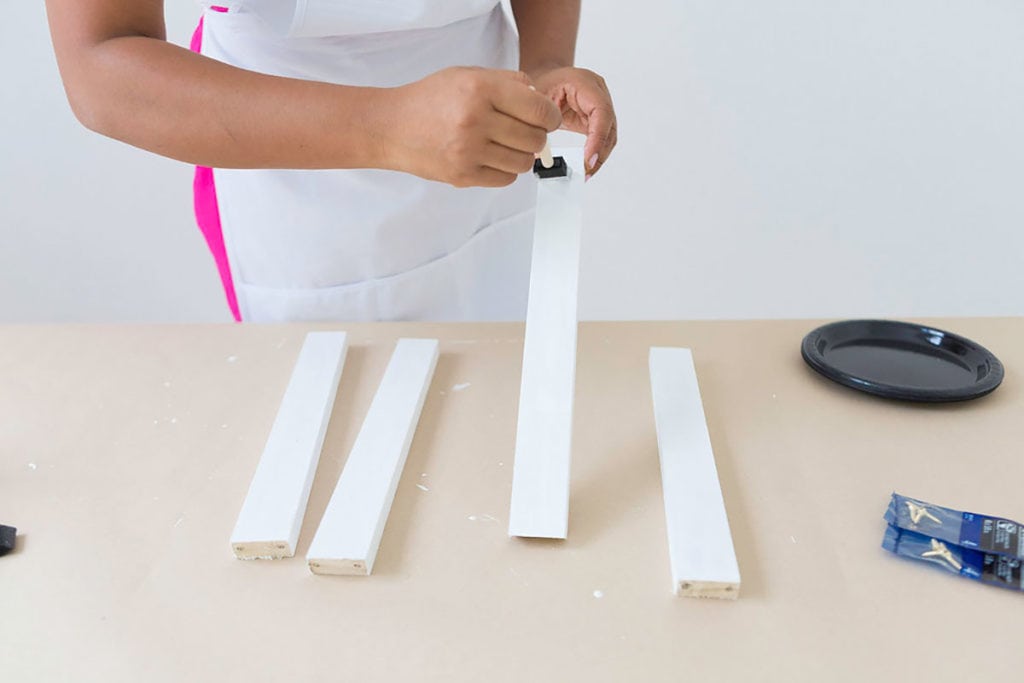
Paint each pine strip with white paint.

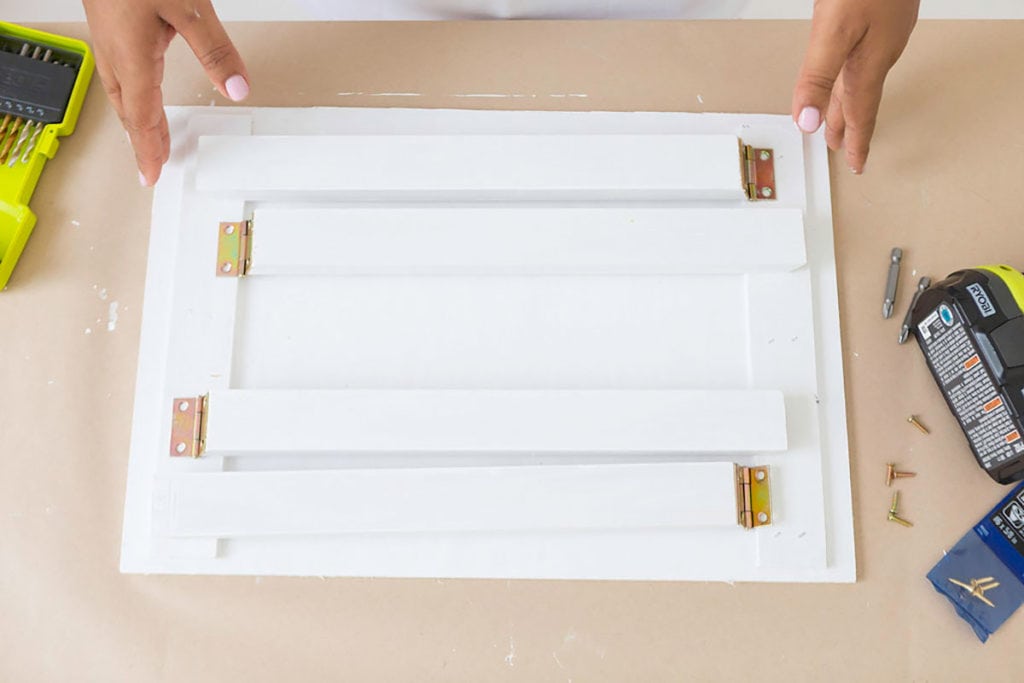
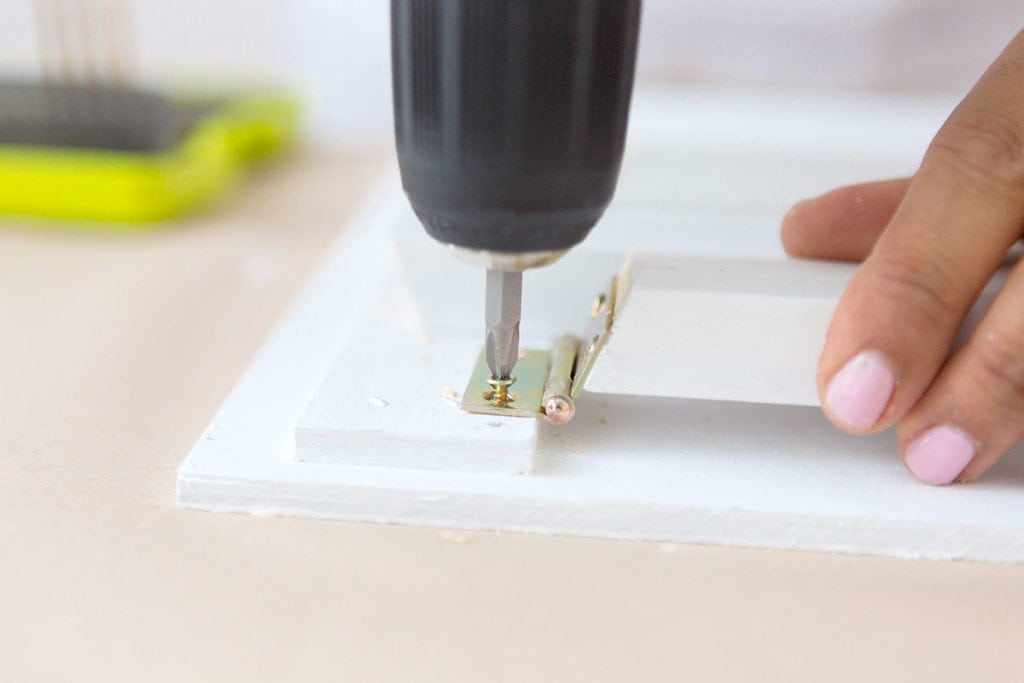

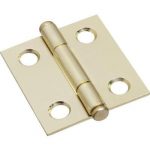
Drill 1.5″ hinges into each pine strip, then arrange the strips on the bottom side of the lid. Drill the other side of the hinge onto the lid.
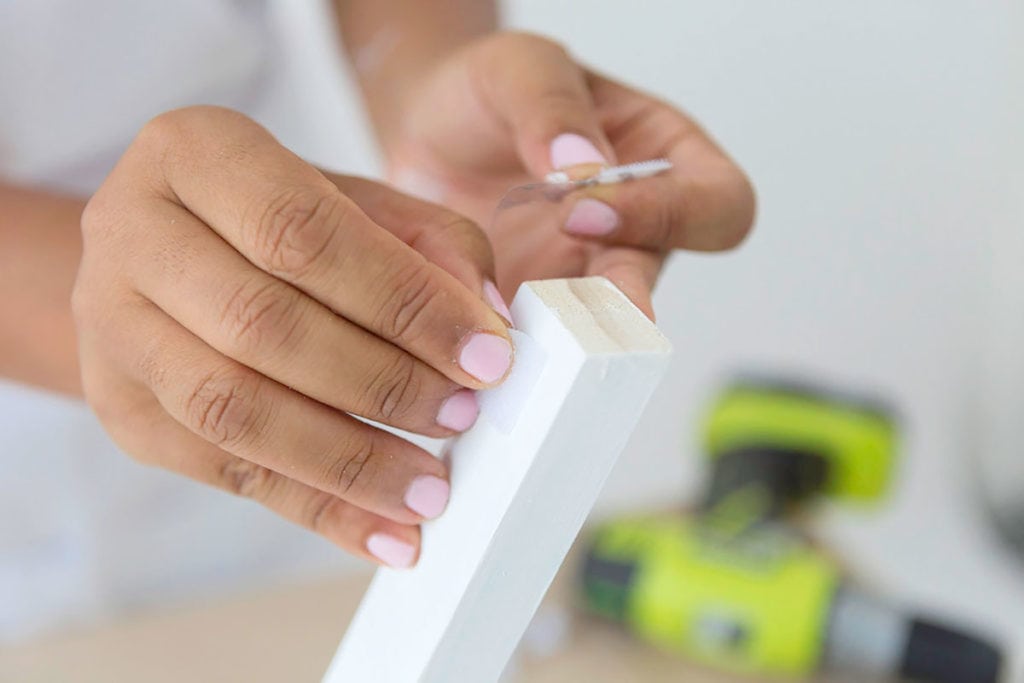
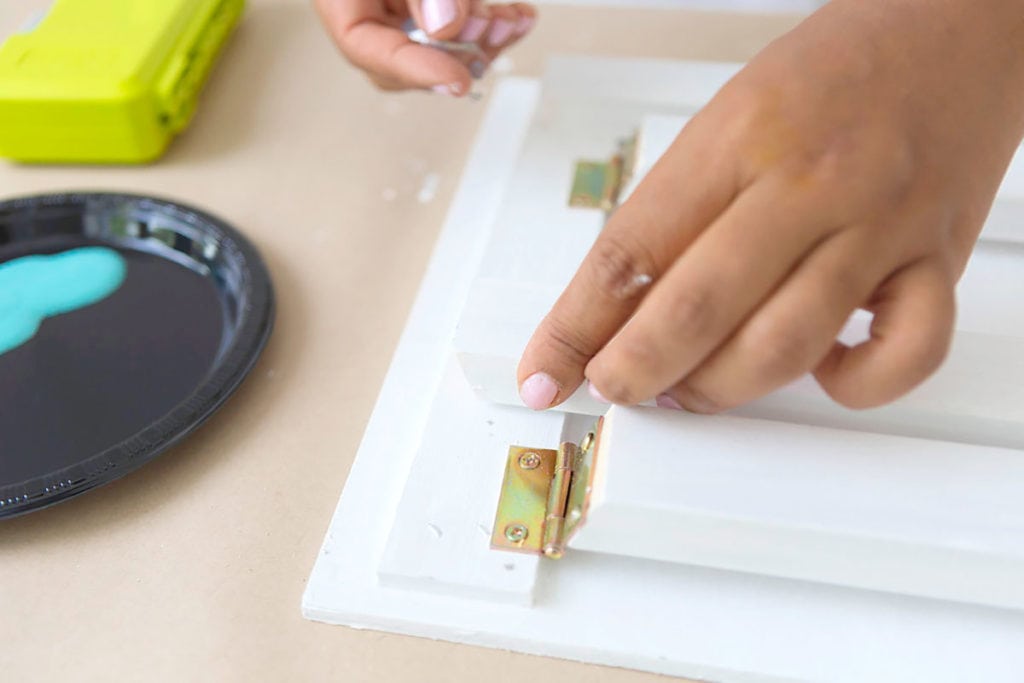

Use sticky-back velcro on each table leg to secure it to the lid. This way, the legs will say put when you are not using the lid as a picnic table.
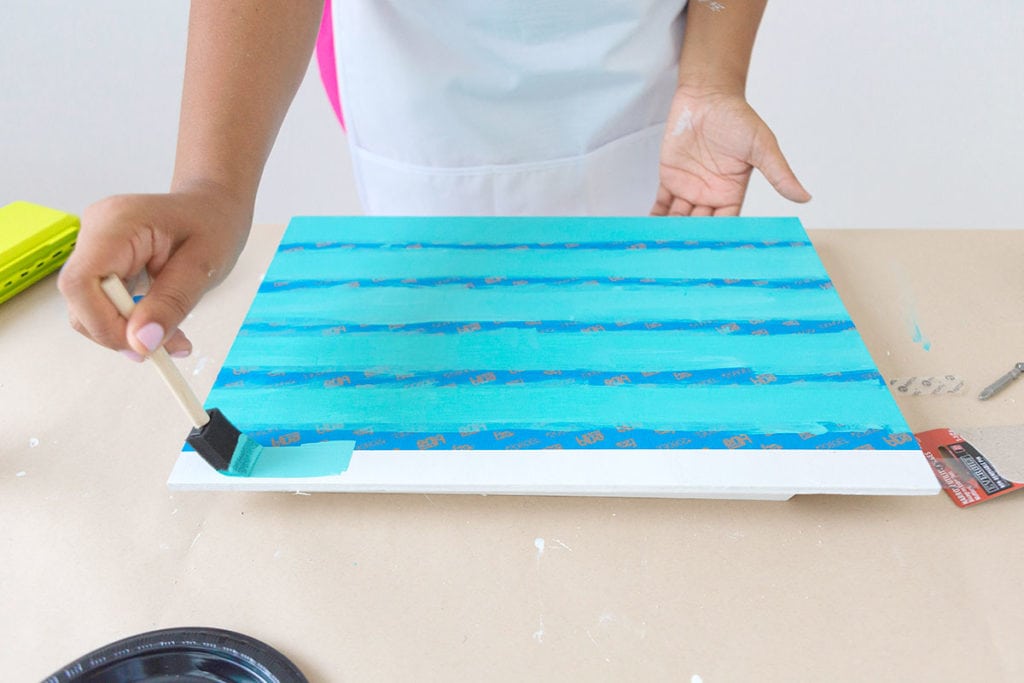
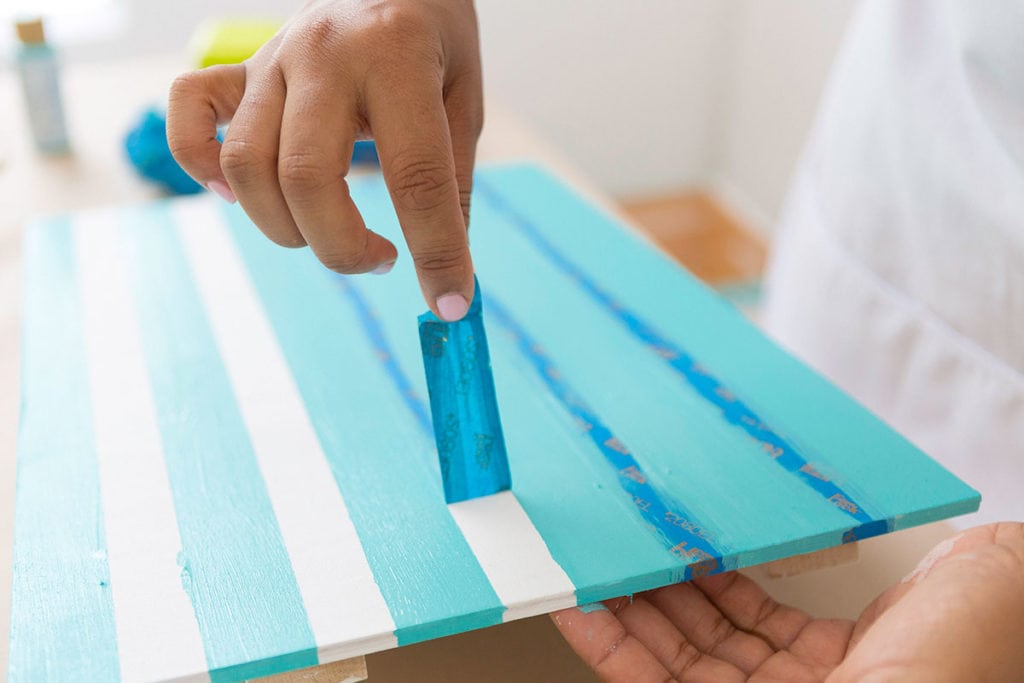
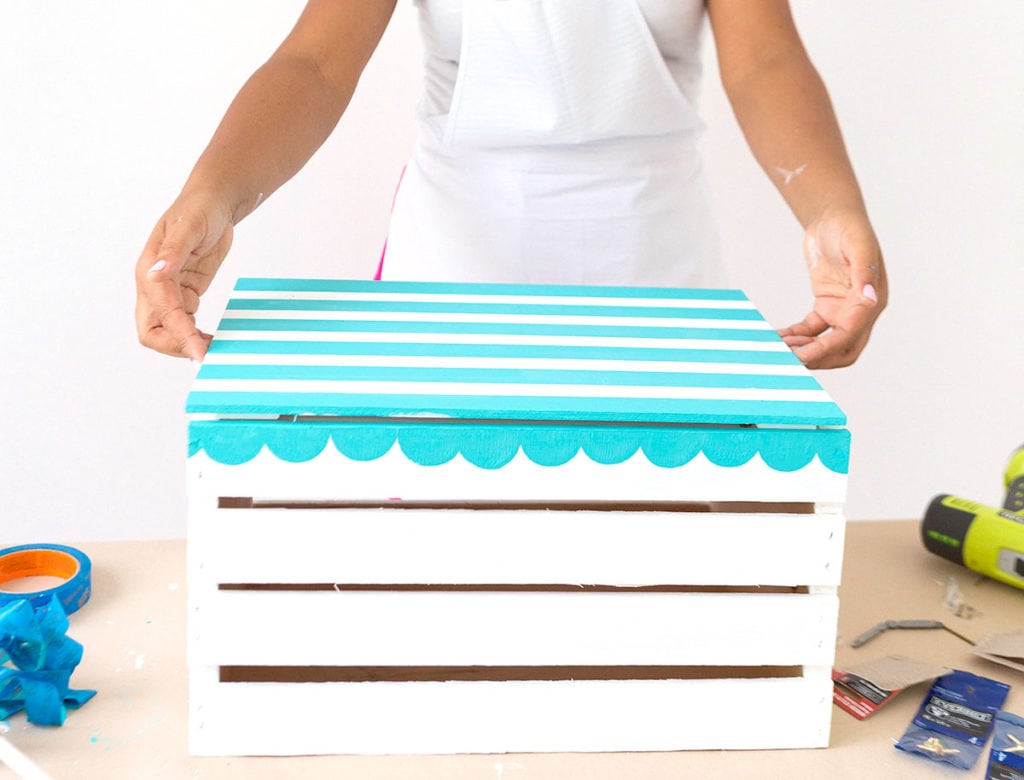
Last up – tape off the lid with painter’s tape to create stripes. Peel back the paint and once dry, place the lid onto the crate and your picnic basket is done!
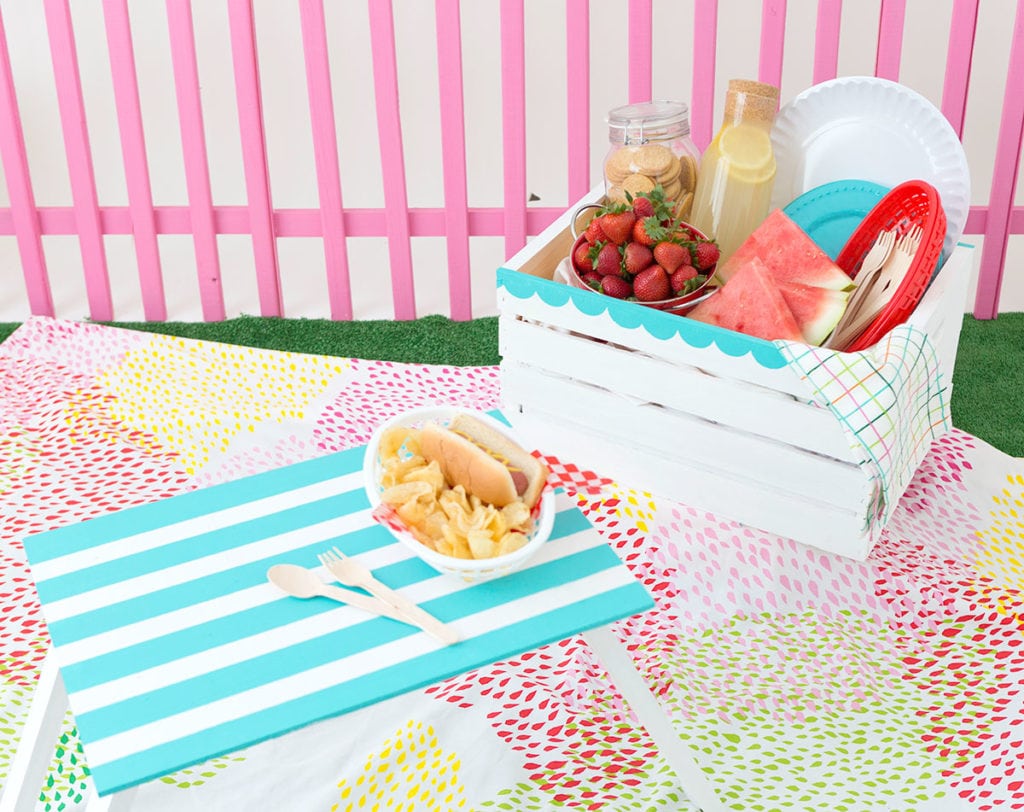
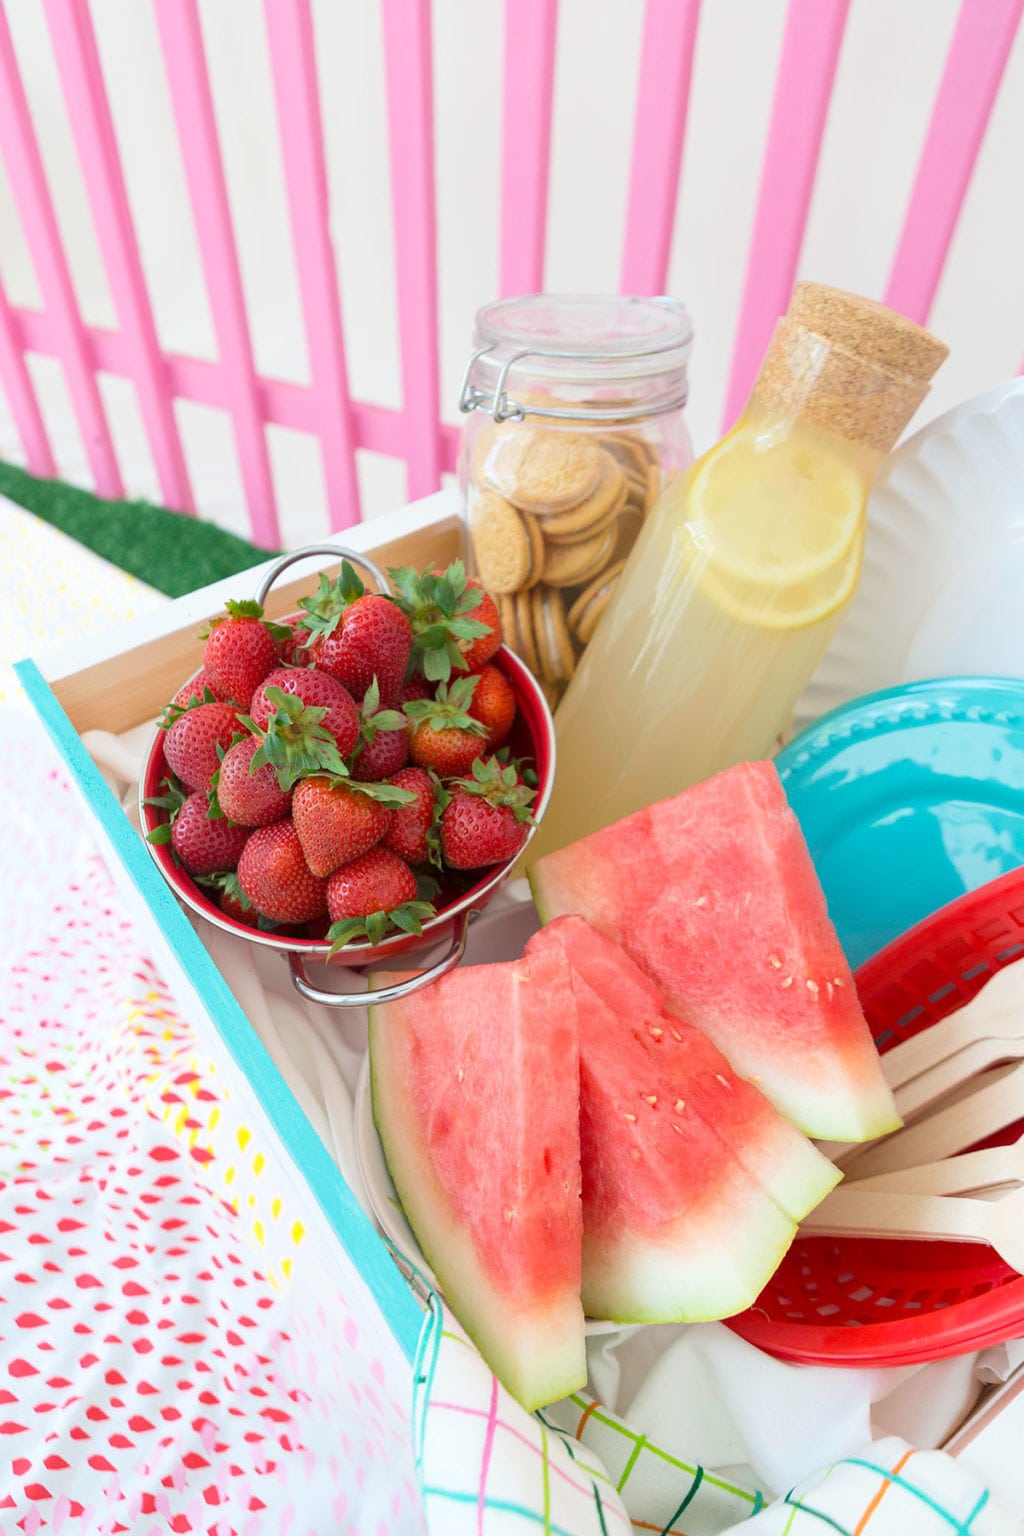
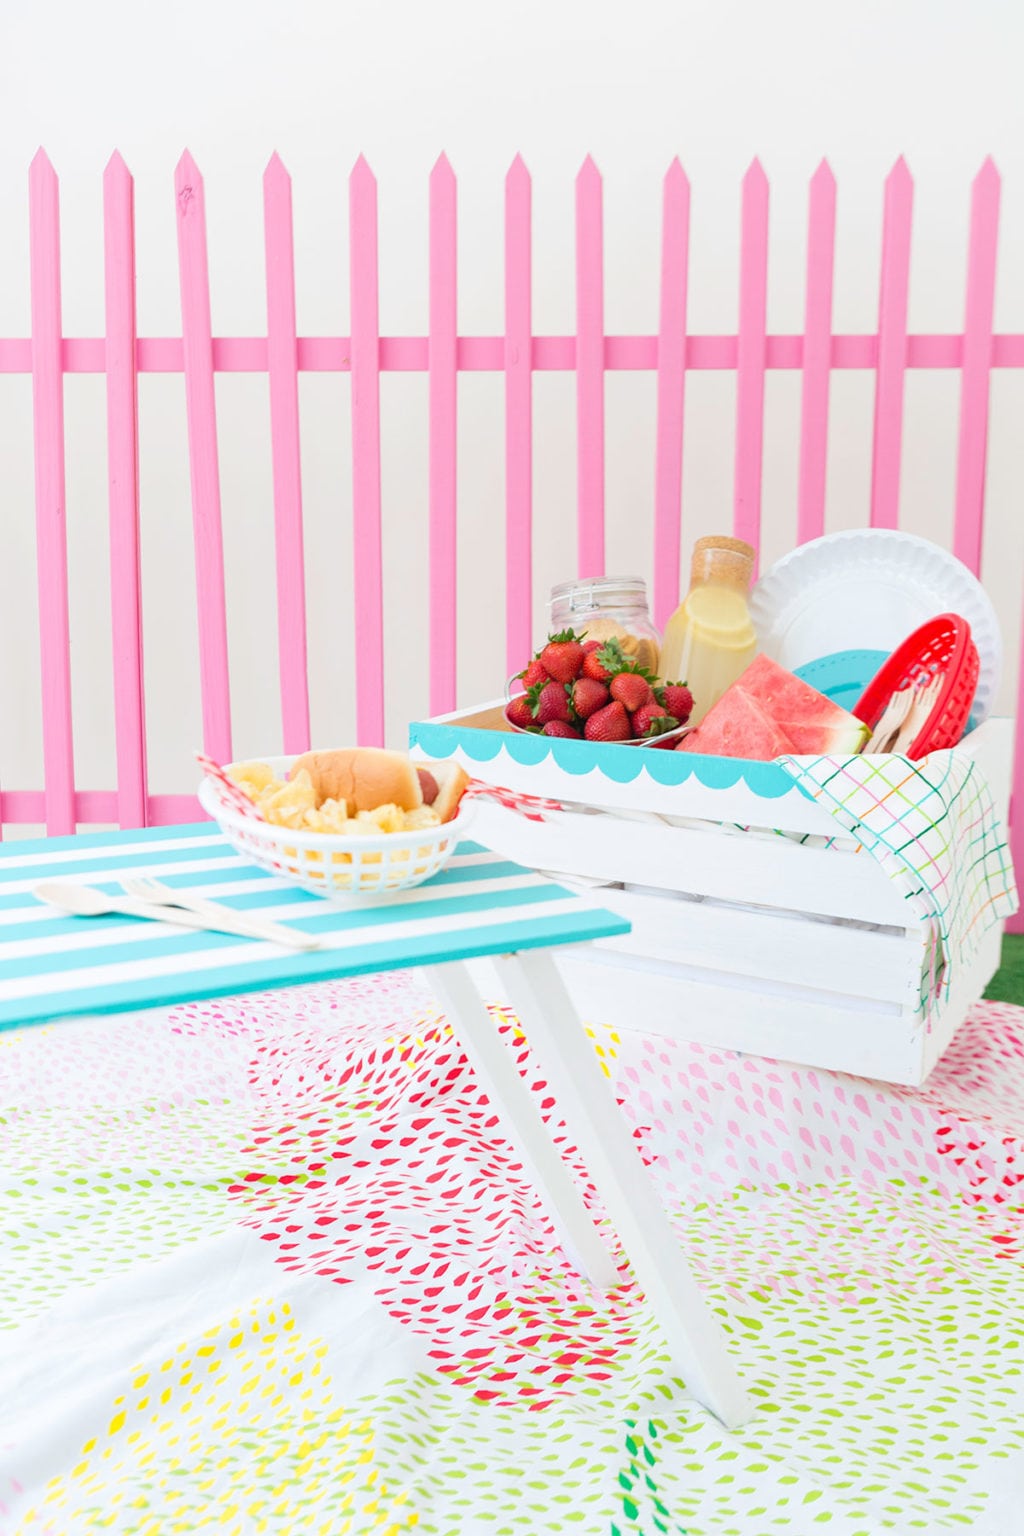


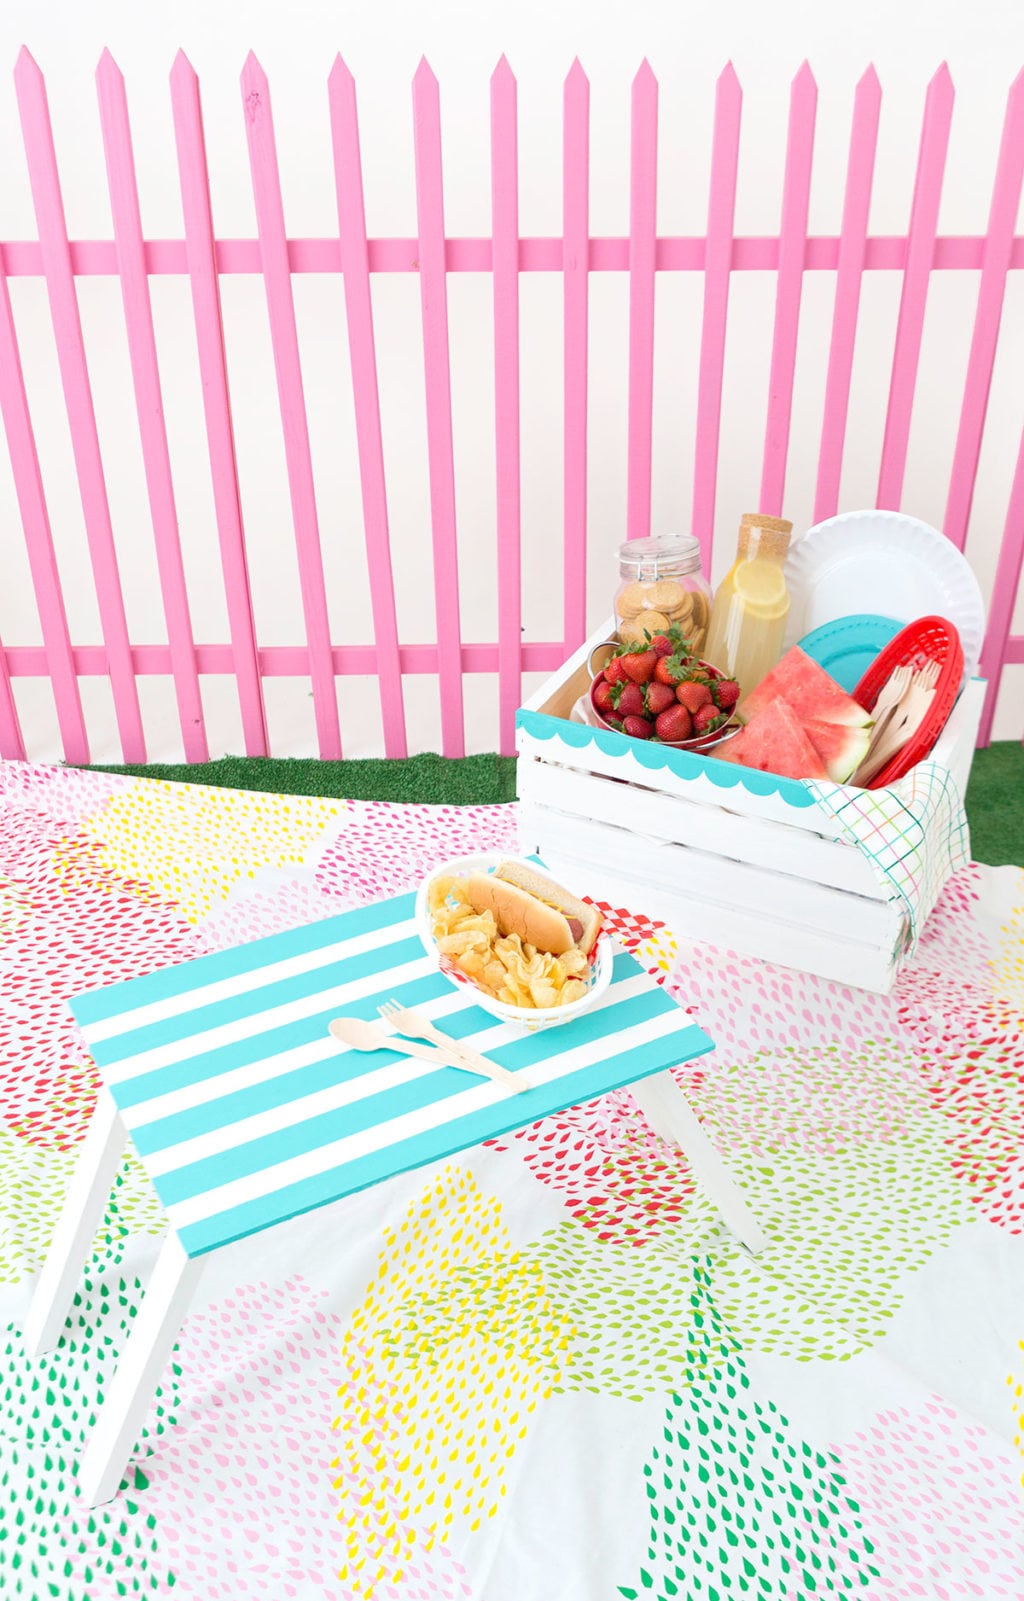
Isn’t this the coolest DIY wooden crate picnic basket ever?! Who knew a wood crate could do so much! Visit the Crate & Pallet blog for more ideas on how to transform a wooden crate.







Link pyramid tier 1 tier 2 tier 3
SEO backlinks for SEO consist of anchor and non-anchor links.
Anchor texts contain a key query, because the key query is essential for SEO performance.
Bare links are just as important – they represent plain URLs, while the ability to click plays a key role as it creates access to search engine crawlers; crawlers navigate your website and subsequent pages, which benefits your project.
Updates are shared through ahrefs. In cases where backlink counts are lower on a particular platform, I report on the tool with a larger number of backlinks because of delays in indexation.
Pirámide de enlaces SEO
Estrategia de backlinks SEO en 3 etapas: hasta treinta mil enlaces de alta calidad, reportes en Majestic y estrategia escalonada para subir posiciones en Google. Planes desde $180
Etapa 1 – Enlaces básicos
Etapa 2 – Backlinks con redirecciones de fuentes autorizadas, por ejemplo
Etapa 3 – Inserción en sitios analizadores, por ejemplo
Explicación de la etapa 3: solo se coloca la página principal del sitio en los analizadores; las páginas internas no se pueden colocar
Las tres etapas se realizan en orden, con un total de diez mil a treinta mil backlinks provenientes de los tres niveles
Esta estrategia de pirámide de enlaces es muy poderosa
Lista de 40 analizadores
Precios:
Basic – 180$ – 10000 Backlinks
Standard – 200$ – 20000 Backlinks
Premium – 220$ – 30000 Backlinks
Spintax de artículos para garantizar que cada texto sea diferente — 30$
GSA Backlinks
Я размещаю ссылки на:
Обзор
Комментарий в блоге
Дискуссионная площадка
Книга отзывов
Отзыв к фото
Микроблог
Web 2.0
Вики
Удельный вес отдельных площадок исходя из числа размещений всегда отличается, потому что использую исключительно новую базу.
lembah88
Lembah88: Platform Game Online Terpercaya dengan Akses Login Cepat dan Aman
Dalam era digital yang serba cepat ini, kebutuhan akan hiburan online semakin meningkat. Salah satu platform yang kini banyak diperbincangkan oleh para pemain adalah lembah88 — sebuah situs game online yang menawarkan pengalaman bermain seru, aman, dan mudah diakses.
Kenali Apa Itu Lembah88
Lembah88 merupakan platform game online yang menghadirkan berbagai jenis permainan menarik untuk para penggemar hiburan digital. Mulai dari permainan klasik hingga game modern dengan fitur interaktif, semua bisa dinikmati hanya dengan satu akun. Dengan tampilan yang sederhana namun elegan, lembah88 memberikan kenyamanan maksimal bagi pengguna baru maupun pemain berpengalaman.
Keunggulan Lembah88 Login
Proses lembah88 login dirancang untuk memberikan kemudahan dan keamanan tingkat tinggi. Pengguna hanya perlu memasukkan nama pengguna dan kata sandi untuk langsung mengakses akun mereka. Selain itu, sistem keamanan di lembah88 telah dilengkapi dengan enkripsi data canggih, memastikan bahwa informasi pribadi dan transaksi pengguna selalu terlindungi dari potensi ancaman digital.
Beberapa keunggulan utama dari sistem login lembah88 antara lain:
Keamanan data terjamin dengan sistem enkripsi modern
Akses cepat dan responsif tanpa gangguan
Dapat diakses melalui berbagai perangkat seperti desktop, tablet, dan smartphone
Pengalaman Bermain di Lembah88
Setelah berhasil melakukan lembah88 login, pengguna dapat langsung menikmati berbagai pilihan permainan yang menarik. Dengan server yang stabil dan tampilan antarmuka yang ramah pengguna, lembah88 memberikan pengalaman bermain yang lancar tanpa hambatan. Selain itu, tersedia juga berbagai promo dan bonus menarik untuk para anggota aktif yang rutin bermain di platform ini.
Kesimpulan
Lembah88 adalah pilihan tepat bagi siapa pun yang mencari platform game online dengan akses cepat, tampilan modern, dan sistem keamanan yang terpercaya. Melalui lembah88 login, setiap pengguna dapat langsung menikmati hiburan berkualitas kapan saja dan di mana saja.
SEO Backlinks via Redirect backlink building
I suggest making referral links via 301 redirect and placing a link to sites, while the weight of the sites will boost its appeal. External links are an key factor in search engines! And for sites with high reputation, if you create, for example, 10,000 backlinks, this approach is highly effective, since there is resistance to bans and the site is secure against blacklisting.
Therefore, we deliver only a carefully selected base.
Links are kept on the resources indefinitely:
As a result, you will get:
– Quick indexing of your website
– Steady improvement of positions in search results
– Flow of search robots to your website
Backlinks SEO promotion
1. Ссылки, связанные между собой (для повышения качества индексации).
2. Переходы посредством Google-редиректов.
3. Ссылки через Redirect от проверенных площадок.
– Присылаю отчет по результатам с помощью .txt-документа с информацией о выполненных задачах.
breakfast restaurant Amman
Cafe Bateel — The Art of Gastronomic Elegance
Opening the Cafe Bateel menu is akin to hearing the first notes of a grand opera — a symphonic introduction that awakens the senses and introduces an unforgettable gastronomic journey.
It opens with our finely prepared soups, followed by a fresh selection of vibrant salads crafted from carefully selected ingredients — from soft heart of palm to premium yellowfin tuna. For those seeking something light yet satisfying, Cafe Bateel offers beloved favorites such as our signature risotto and the all-time favorite club sandwich, each crafted with care and culinary precision.
No visit would be complete without indulging in our fine coffee selection, refreshing beverages, and decadent sweets. Each dish represents our passion for premium taste and precision, ensuring every mouthful is a moment of pleasure.
Cafe Bateel is also celebrated for its exceptional breakfast offerings. From freshly made Belgian waffles and expertly prepared eggs Benedict to freshly baked croissants, muffins, and Danish pastries, every morning starts as a delightful ritual of taste.
Cafe Bateel is not merely a place to eat — it is a journey of taste, where every nuance, ingredient, and tone blends in perfect balance. Whether you welcome the day with a golden pastry or savor a relaxed midday meal, each visit invites you to savor the art of refined dining.
Website backlinks SEO
You can find us by the following keywords: links for site promotion, search engine optimization links, Google-focused backlinks, link building, link builder, receive backlinks, link service, web backlinks, purchase backlinks, backlinks via Kwork, backlinks for websites, search engine backlinks.
Backlinks for your site
Practical across all subjects of the site.
I create inbound links to your domain.
Such inbound links direct indexing bots to the platform, this matters greatly for ranking, thus it is essential to enhance a platform free of flaws that obstruct ranking.
Placement is harmless for your resource!
I don’t submit in contact forms, (contact forms negatively impact the platform due to complaints from operators).
Publication is executed in allowed areas.
Links are placed to updated continuously refreshed list. Several portals in the database.
Desserts
Cafe Bateel — A Symphony of Taste and Elegance
Exploring the Cafe Bateel menu feels like hearing an opera’s opening symphony — a melodic beginning that awakens the senses and prepares you for a refined dining adventure.
It starts with our delicately crafted soups, followed by a wholesome variety of salads crafted from meticulously chosen ingredients — from delicate palm hearts to succulent yellowfin tuna. For those in search of balanced lightness and flavor, Cafe Bateel offers refined standards such as our house special risotto and the all-time favorite club sandwich, each designed to delight both the eye and the palate.
No visit would be complete without exploring our rich selection of coffee, invigorating drinks, and decadent sweets. Each offering reflects our dedication to culinary excellence and artistry, ensuring every taste leaves a lasting impression.
Cafe Bateel is also renowned for its signature breakfast menu. From freshly made Belgian waffles and expertly prepared eggs Benedict to buttery croissants, moist muffins, and flaky Danish treats, every morning turns into a celebration of flavor.
Cafe Bateel is not merely a place to eat — it is a culinary art form, where every aroma, ingredient, and texture blends in perfect balance. Whether you welcome the day with a golden pastry or savor a relaxed midday meal, each visit offers a taste of sophisticated gastronomy.