I wasn’t kidding when I said I’m keen on spring. Bright brights are my jam and bold florals are my spirit animal.
Back in January, I got the low down on Mod Podge Photo Transfer Medium. To be honest, I was completely intimidated by this stuff. It just seemed to hard. Welp – as is the case on many, many an occasion – I was dead wrong. Photo transferring is not hard at all, which is why today’s post had to happen. I had to prove that a cynic like me could ring in spring with a photo transfer project that you’ll love. I was able to turn oversized prints into pillows! Yeah – you heard me…pillows! Let me show you how the whole photo transfer mumbo jumbo works.

You’ll need:
- a large laser print flower image. Visit your local FedEk Kinkos and they’ll help you print any photo onto 18×24″ paper. Note: Inkjet printing will not work for this.
- fabric
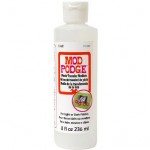
- Mod Podge Photo Transfer Medium – one 8oz bottle was plenty to transfer two large images.
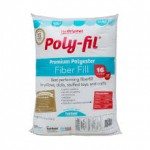
- Fairfield Poly-fil for stuffing your pillows
- Scissors
- a basic kitchen sponge
- a foam brush (not pictured)
- a bowl of water (not pictured)
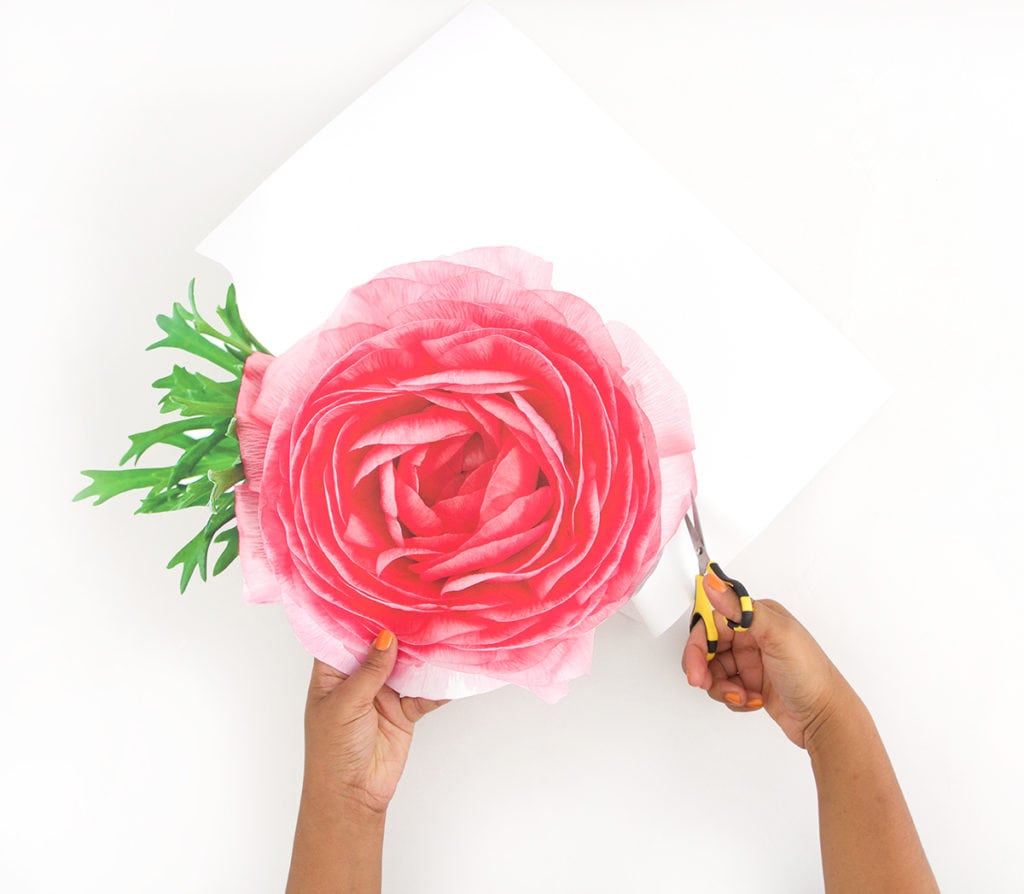 Use a pair of detail scissors to cut right along the edge of the flower image
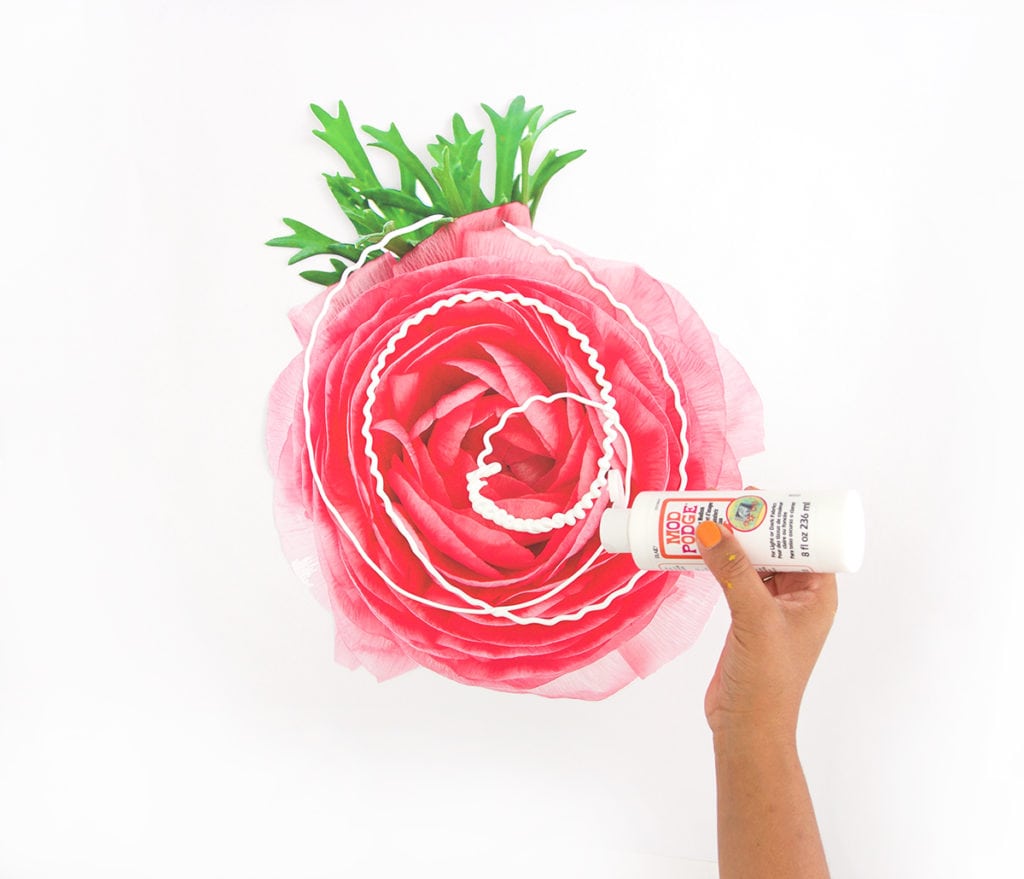
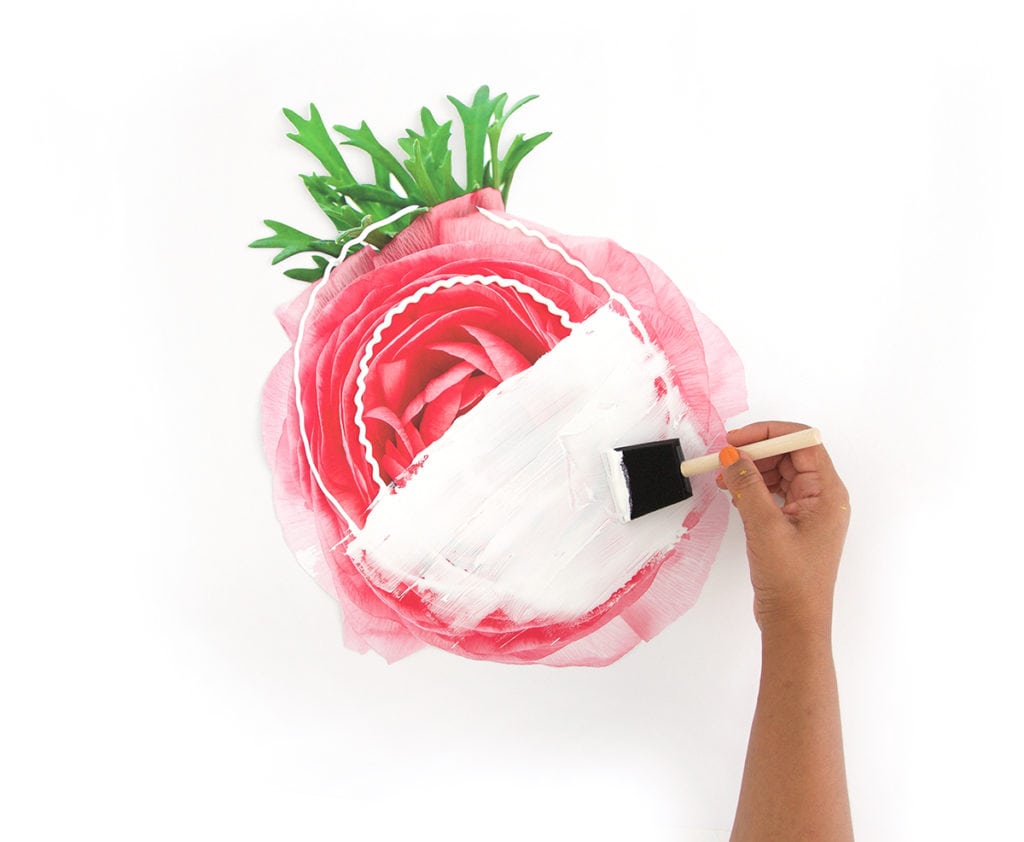 Once you’ve cut it out, squeeze photo transfer medium directly onto the printout and use the foam brush to create an even thick coat of the transfer medium over the entire image. Be sure that you go edge to edge. Once you’re done, the photo transfer medium should be opaque without any of the image showing through.
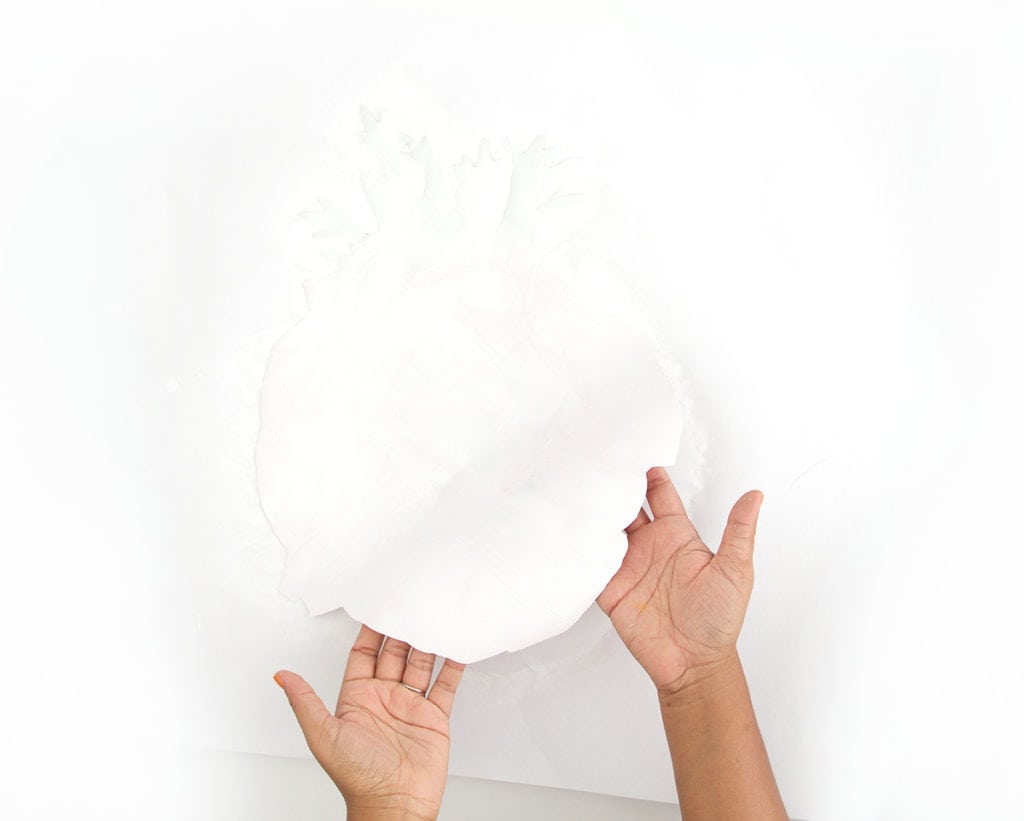 Gently lift the paper image off your work surface, being careful not to touch the edges much
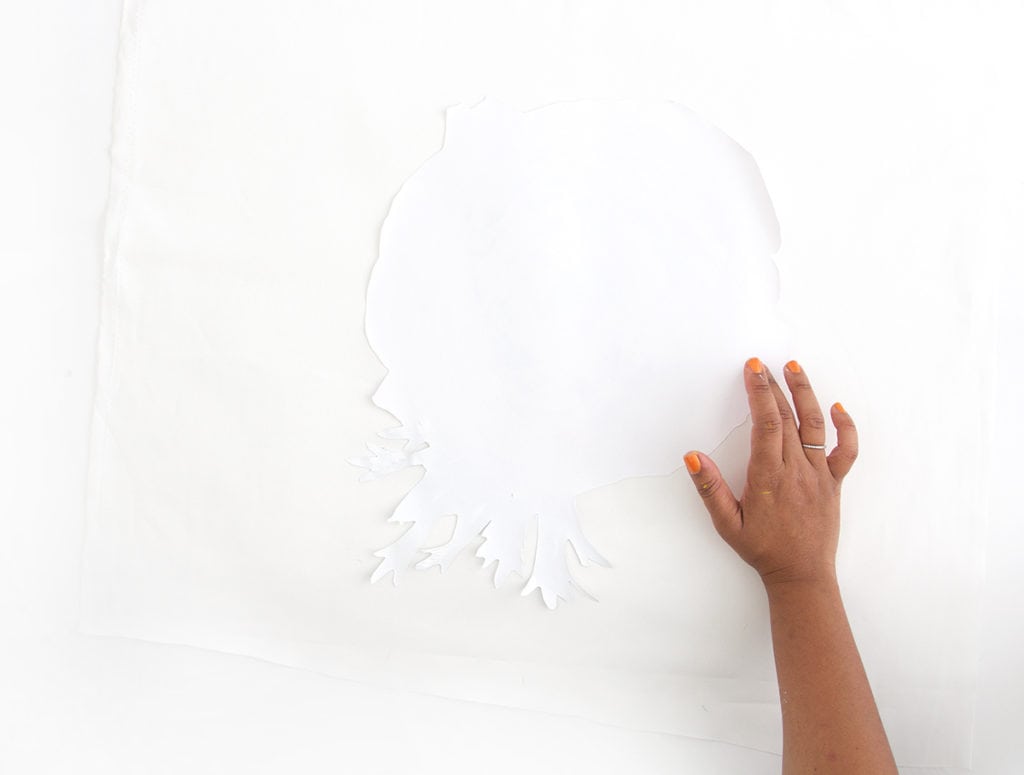 Place the image face down directly onto the fabric and tap into place so that the entire image is making contact with the fabric.
24 HOURS LATER
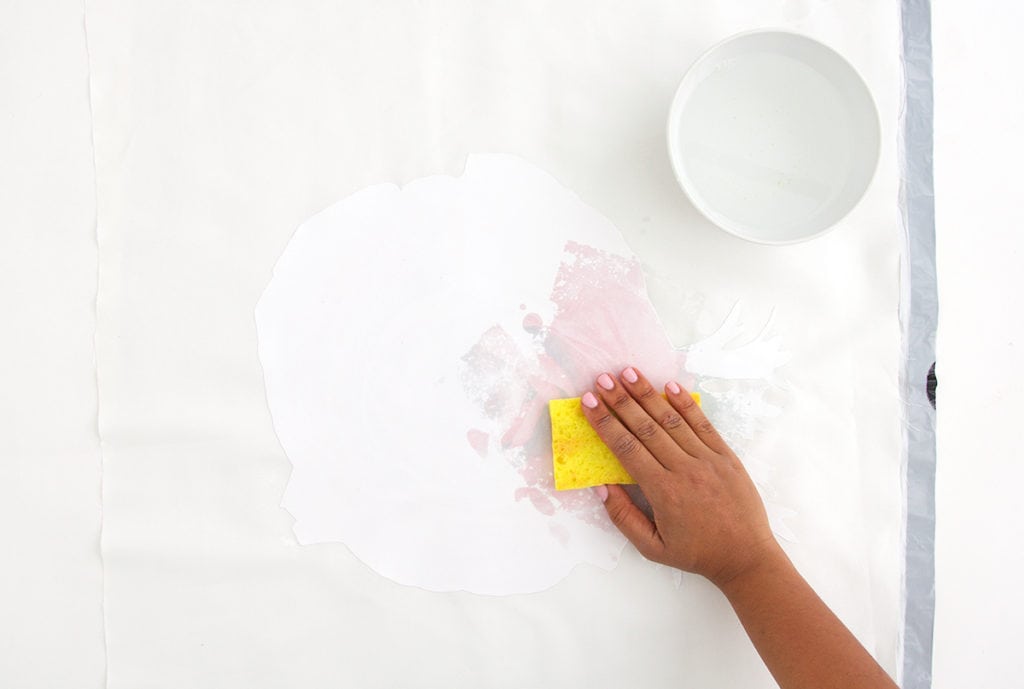
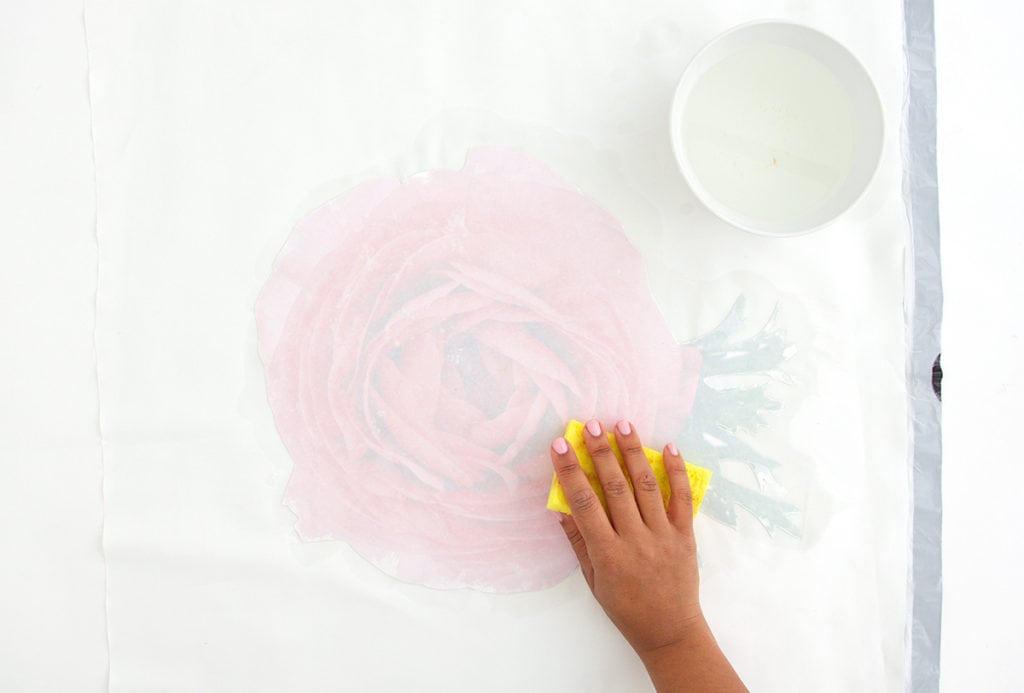 After allowing the image to sit for a full 24 hours, dampen the sponge with water and moisten the entire image surface. You’ll see the image begin to come through a bit. TIP: At this stage, work on top of a tarp or plastic garbage bag. This will protect your work surface from getting too wet.
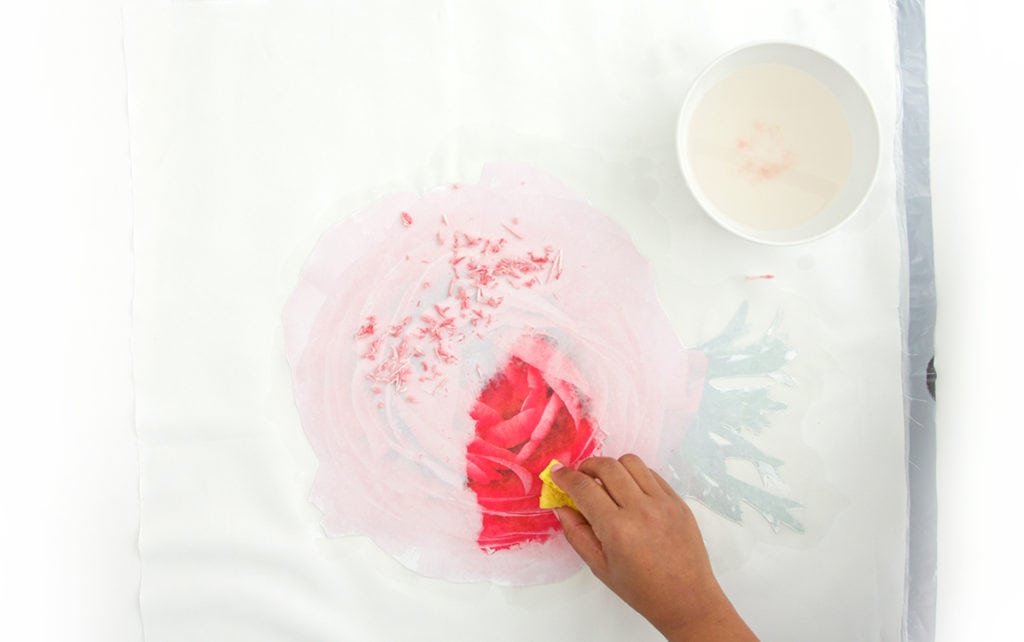
Once the entire image is wet, begin working the sponge in small circles. The pulp of the paper will begin to peel back and the image will be revealed beneath. Continue doing this around the entire image and then allow it to dry. Once dry, you will be able to work with the image just like you would fabric. It’s like magic!
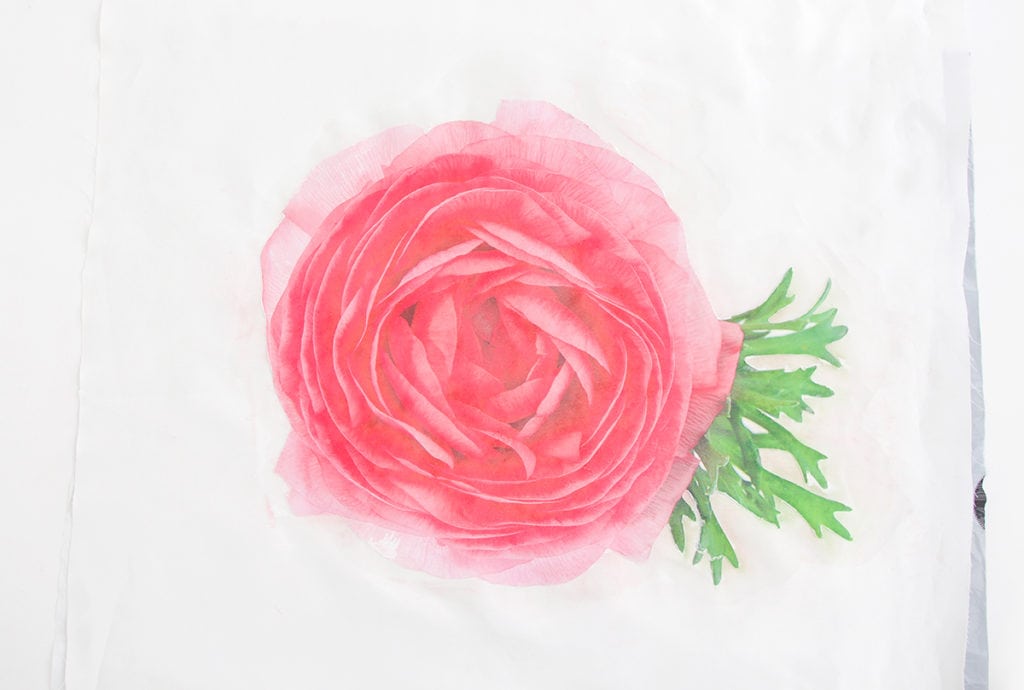 Once dry, you will be able to work with the image just like you would fabric. It’s like magic! To create the pillows, the flower image with another piece of fabric then stuffed it with Poly-Fil.
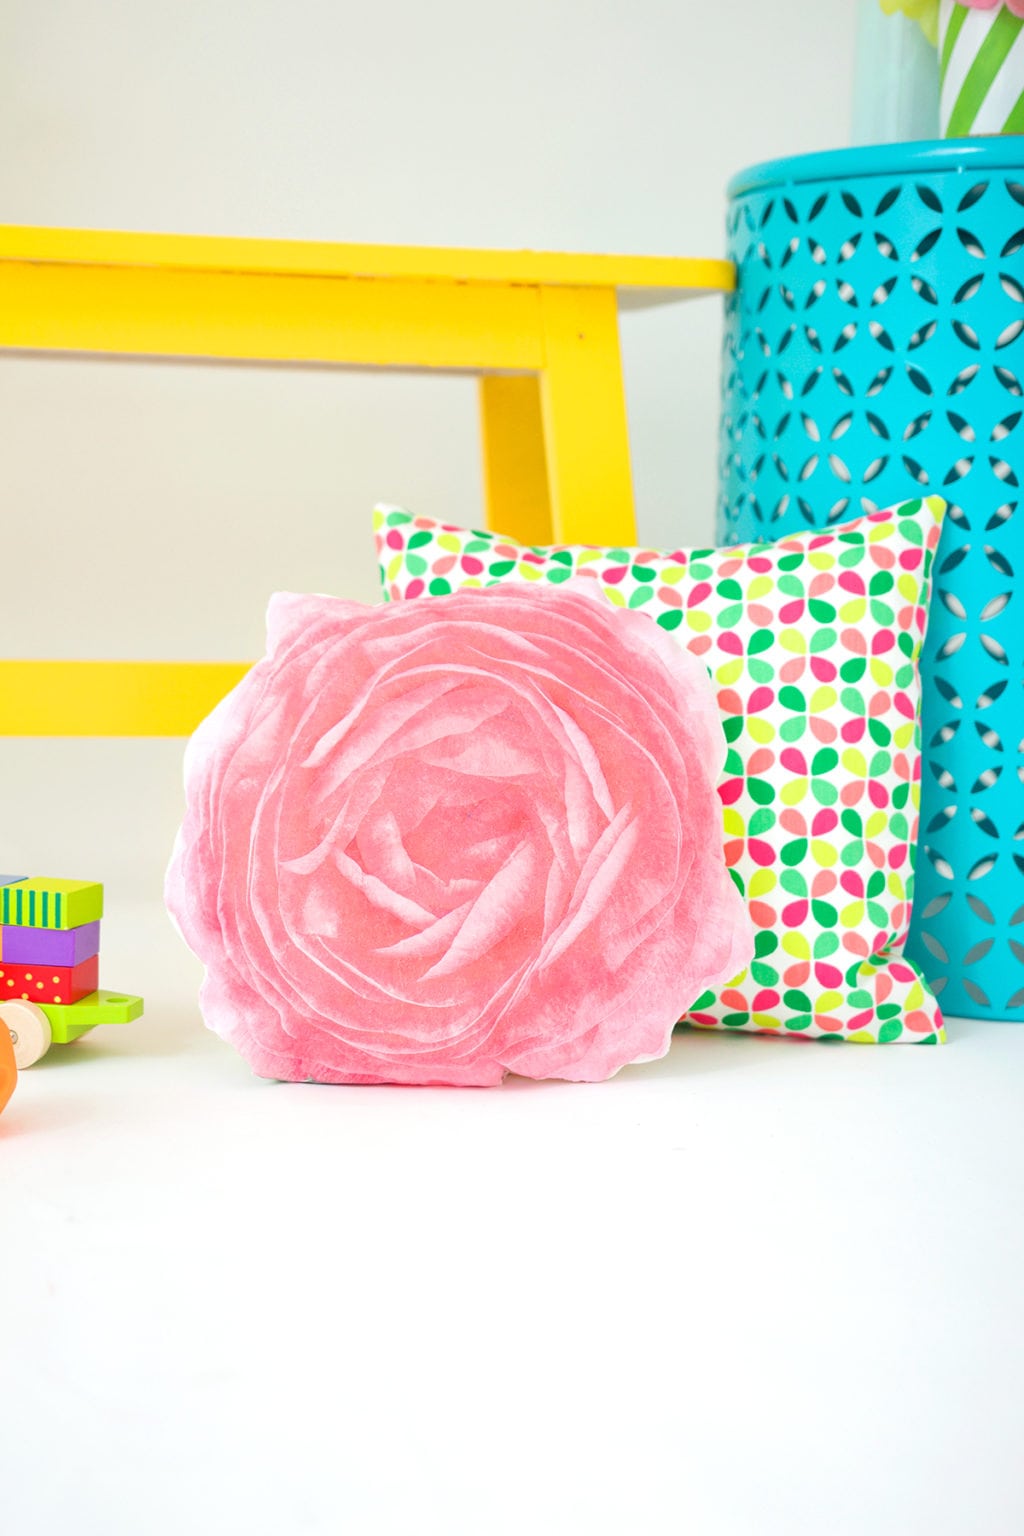
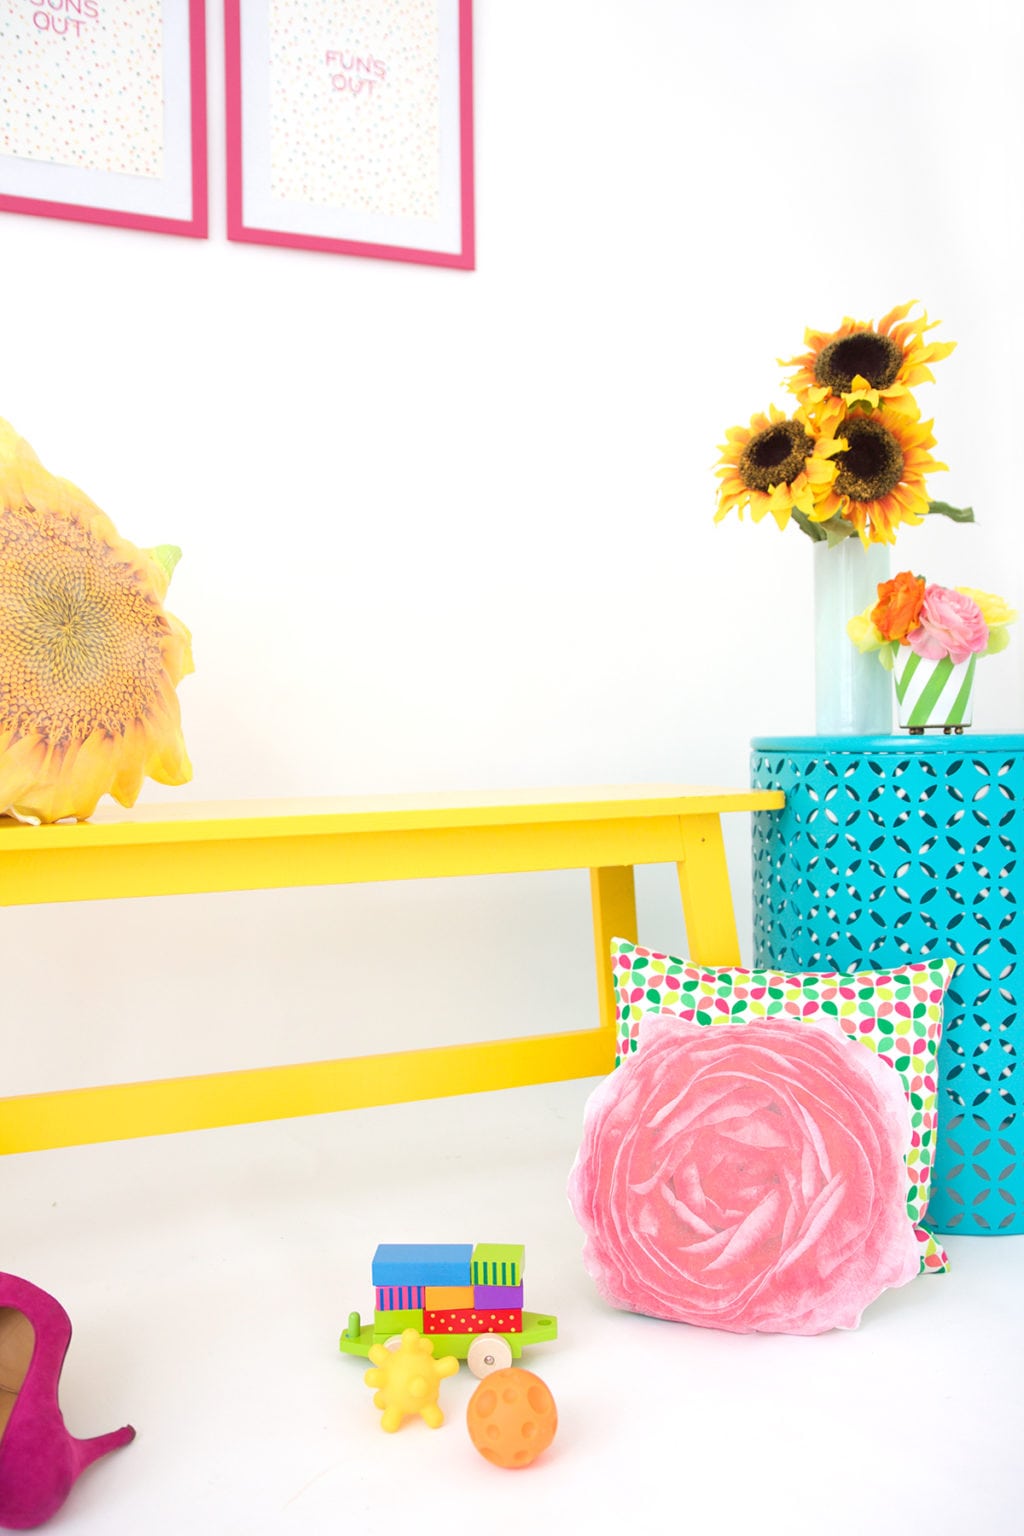
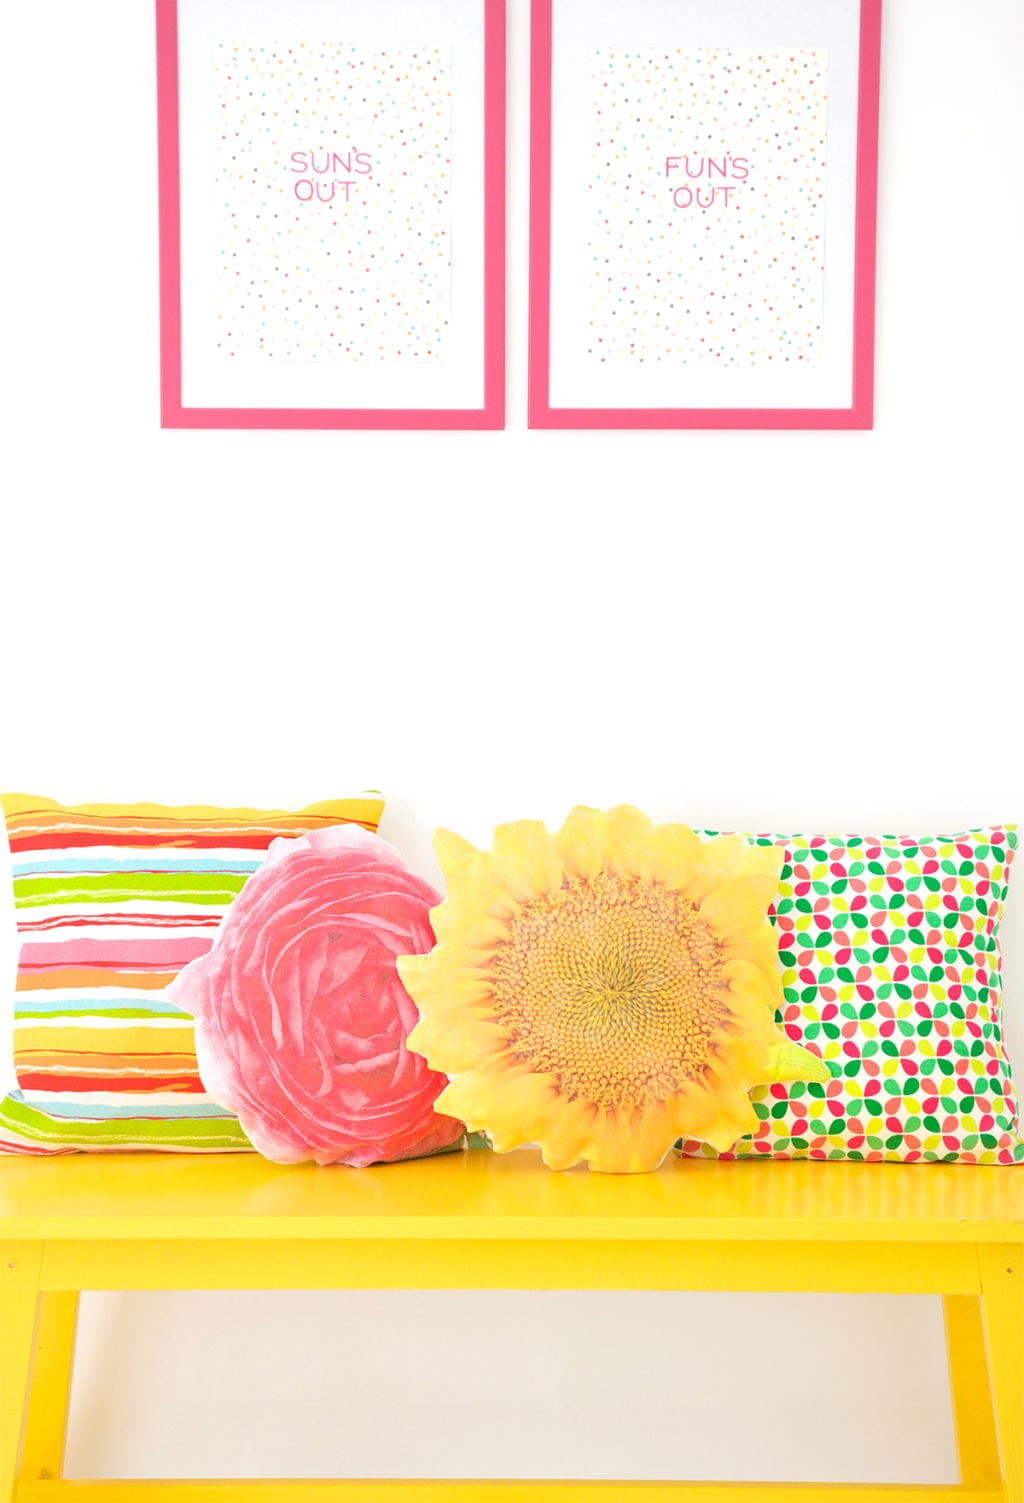
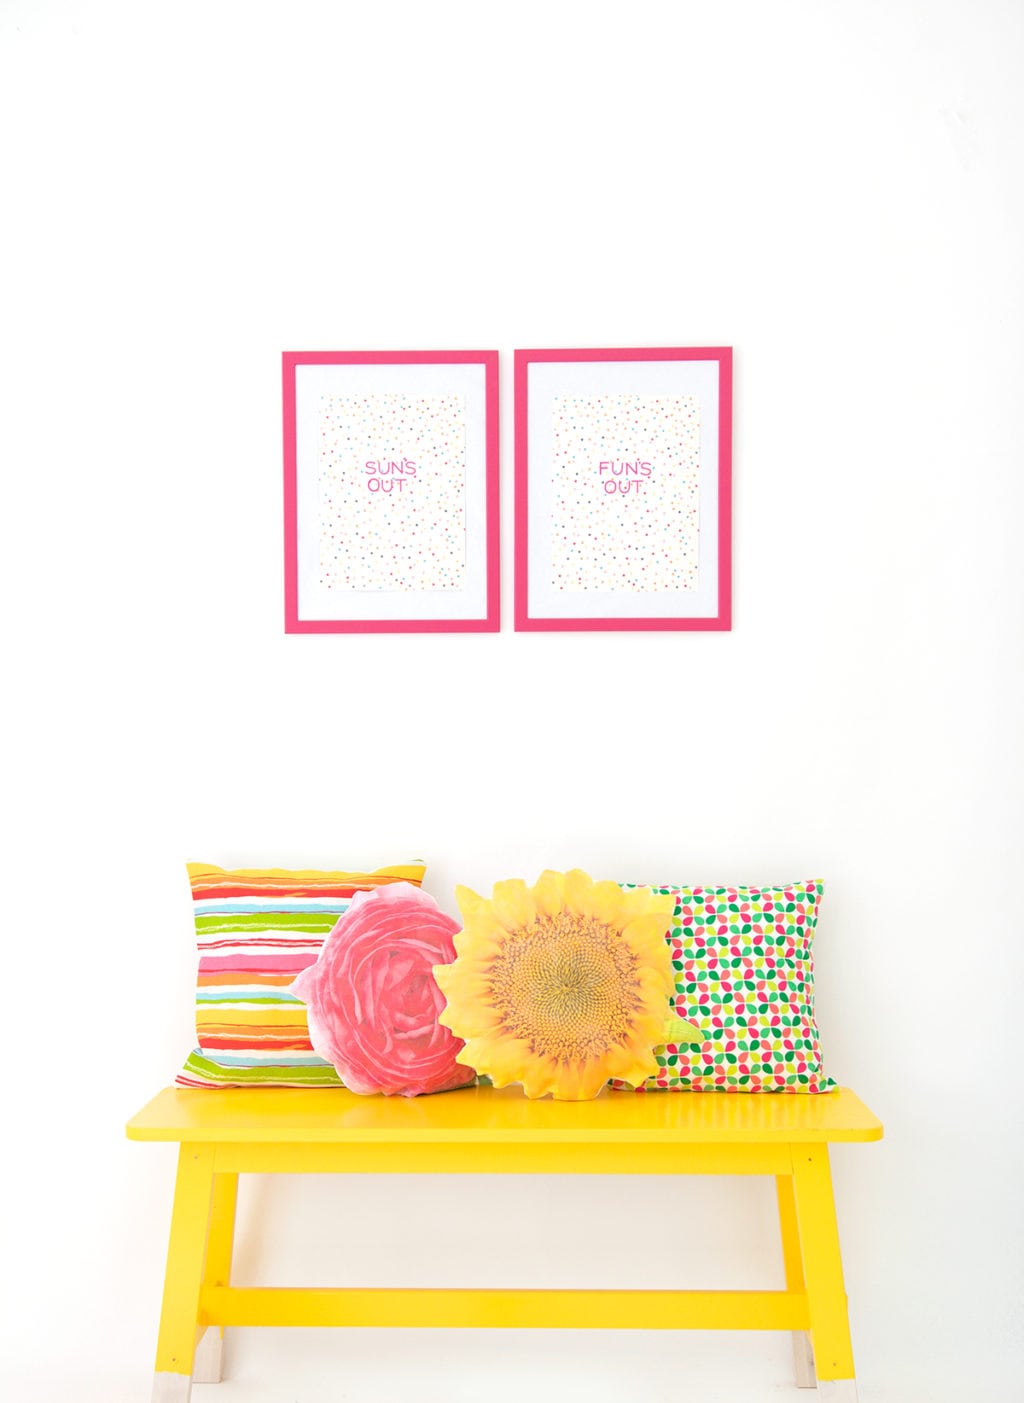
I’m just lovin’ the realistic look of these floral pillows! I’m officially hooked on photo transferring! Have you ever used this product? I wanna hear all about it.





пин ап казино официальный сайт: https://pinupkz.life/
пин ап казино официальный сайт – пин ап
пин ап зеркало – пинап казино
пин ап: https://pinupkz.life/
TadalafilEasyBuy.com [url=https://tadalafileasybuy.shop/#]Tadalafil Easy Buy[/url] cialis without a doctor prescription
пин ап – pinup 2025
пин ап казино официальный сайт – пин ап казино
пин ап казино: https://pinupkz.life/
пин ап казино официальный сайт – пин ап зеркало
kamagra kopen nederland [url=https://kamagrakopen.pro/#]kamagra gel kopen[/url] kamagra gel kopen
пинап казино: https://pinupkz.life/
пин ап казино – пин ап казино
пин ап казино – пин ап зеркало
Kamagra online bestellen [url=http://kamagrapotenzmittel.com/#]Kamagra Original[/url] kamagra
Online apotheek Nederland zonder recept: Beste online drogist – Apotheek Max
Kamagra online bestellen: Kamagra kaufen – Kamagra online bestellen
http://apotheekmax.com/# de online drogist kortingscode
http://kamagrapotenzmittel.com/# Kamagra kaufen ohne Rezept
apotek online recept: apotek pa nett – Apotek hemleverans recept
Beste online drogist: online apotheek – Apotheek online bestellen
https://apotheekmax.com/# de online drogist kortingscode
http://kamagrapotenzmittel.com/# kamagra
apotek online [url=https://apotekonlinerecept.shop/#]apotek pa nett[/url] Apoteket online
Kamagra kaufen ohne Rezept: Kamagra Original – Kamagra online bestellen
Online apotheek Nederland met recept: ApotheekMax – Betrouwbare online apotheek zonder recept
http://apotekonlinerecept.com/# apotek pa nett
Kamagra Original: kamagra – Kamagra Gel
https://apotekonlinerecept.shop/# Apotek hemleverans idag
Beste online drogist [url=https://apotheekmax.com/#]Beste online drogist[/url] ApotheekMax
Kamagra kaufen: Kamagra Oral Jelly – Kamagra online bestellen
https://apotheekmax.com/# Online apotheek Nederland zonder recept
http://apotekonlinerecept.com/# Apoteket online
Apoteket online: apotek online recept – Apotek hemleverans recept
apotek online recept: apotek online recept – apotek online recept
http://kamagrapotenzmittel.com/# Kamagra online bestellen
https://apotheekmax.shop/# ApotheekMax
Apotek hemleverans recept [url=https://apotekonlinerecept.shop/#]apotek online[/url] apotek pa nett
Online apotheek Nederland met recept: Online apotheek Nederland zonder recept – Apotheek online bestellen