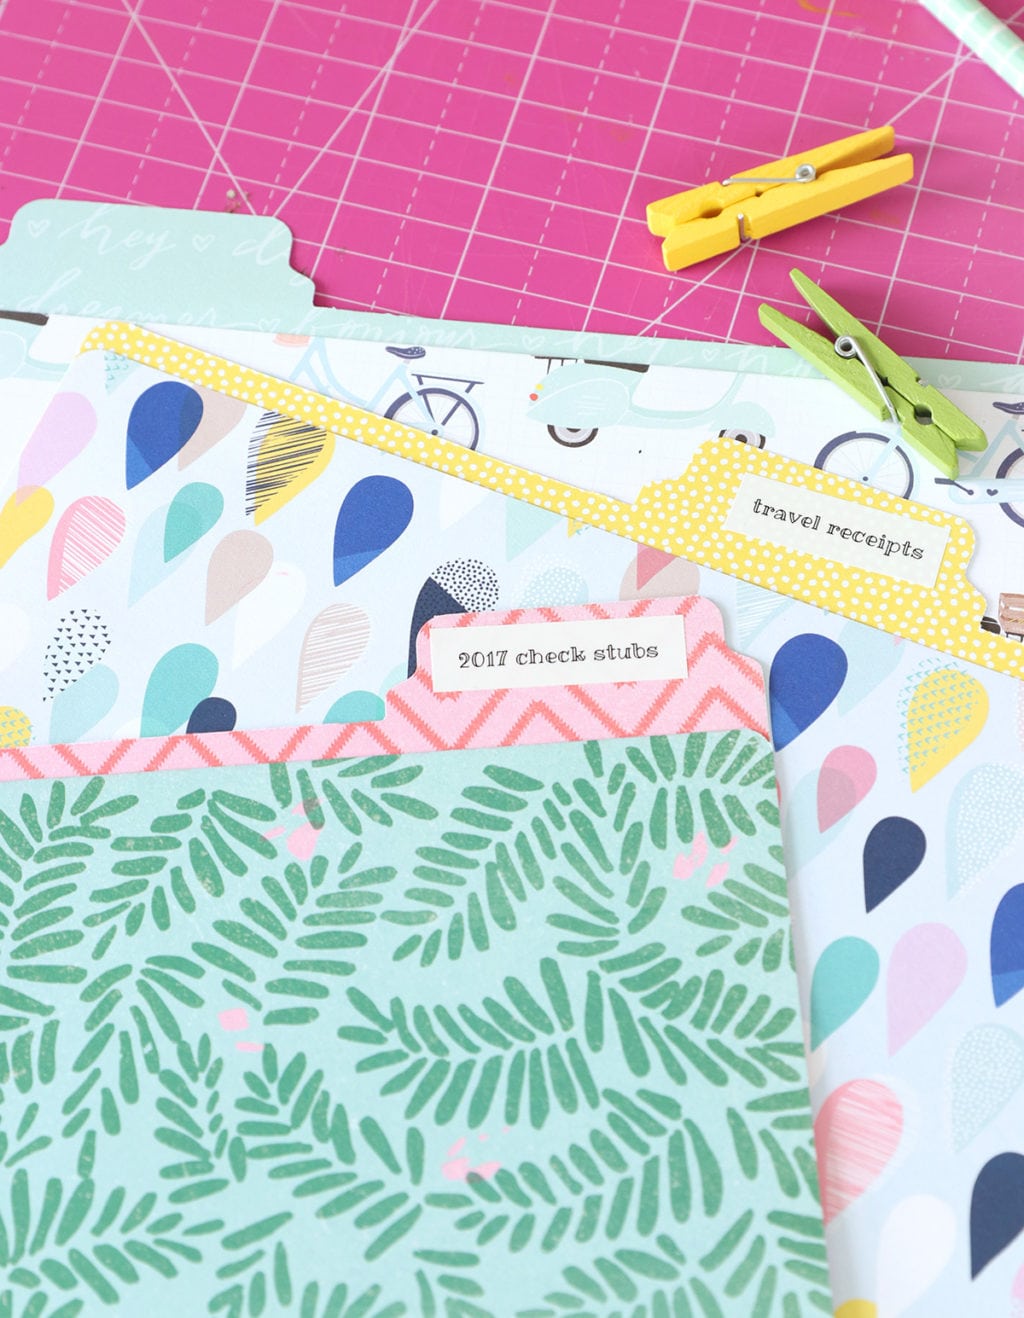
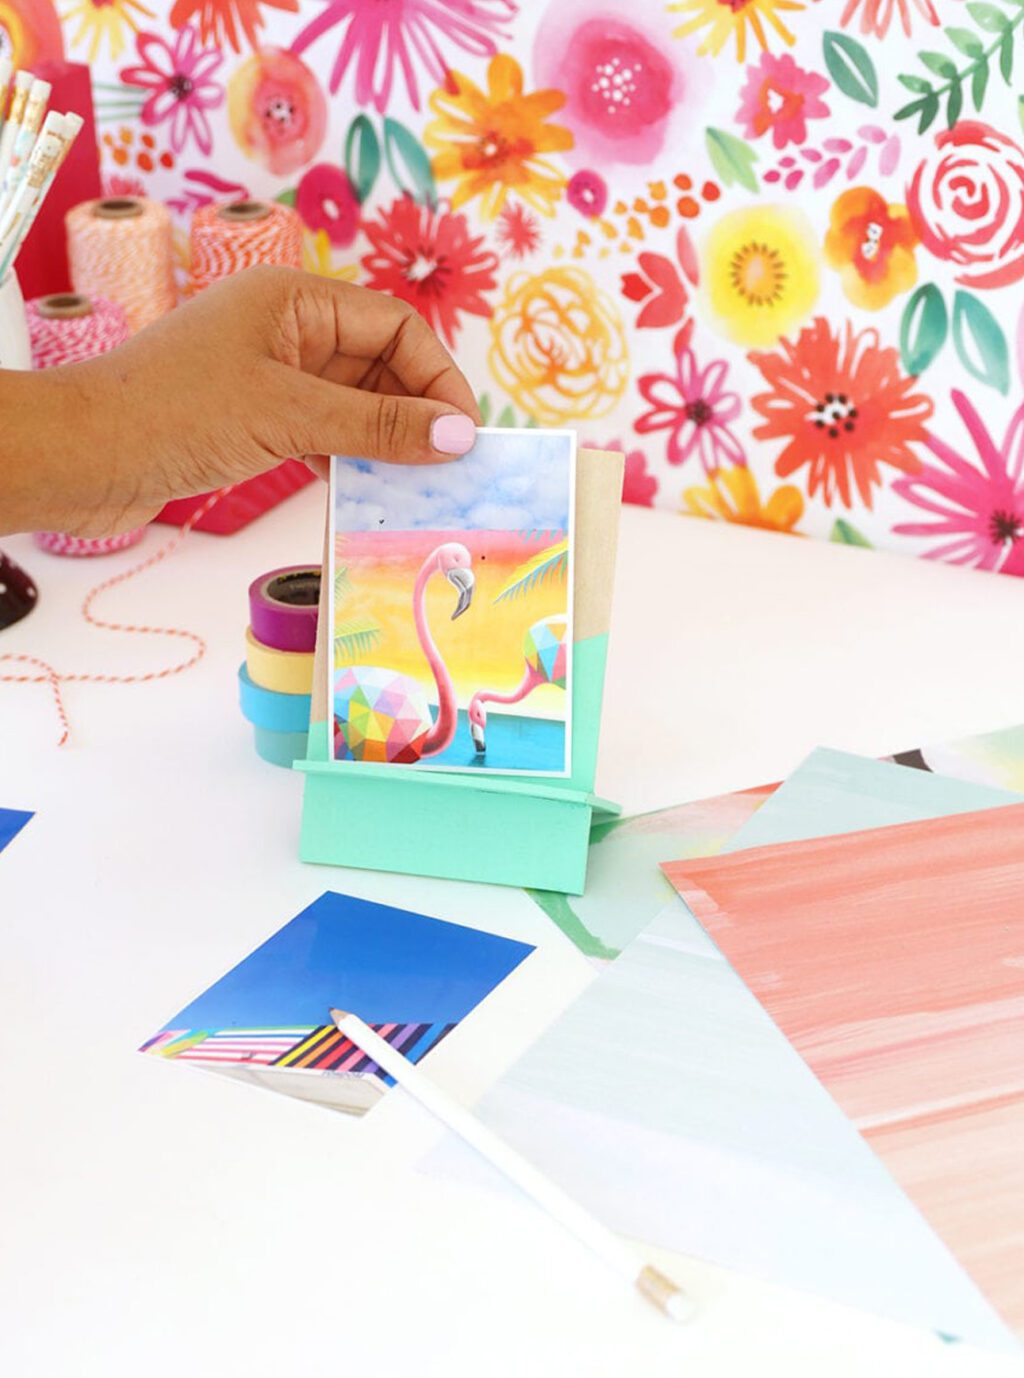
There’s something ….how to I say this nicely? Ugly. Yep that the word. There’s something ugly about manila folders. You’ve gotta agree with me on this, right?! That dusty shade of yellow has no place in the life of crafty girls like you and me! We love bright, colorful patterns and we’ll take them anyway we can…even if it means giving our office supplies a DIY makeover using some pretty paper and the new DYMO MobileLabeler
Along with colorful office supplies, label-making also has a special place in my heart. There is something about a label maker that sends you into a organizational tizzy. Everything must be labeled. Everything must be organized. (True story: When I received my DYMO MobileLabeler, I immediately created labels of our wifi password and stuck them on the back of all the televisions in the house …best idea ever!) But I digress, let’s get back to the today’s project.
Today, I’m excited to tour you through the awesomeness of the DYMO Mobile Labeler and give you an easy, colorful project that can get you more organized…and get you crafting at the very same time! Let’s get started!
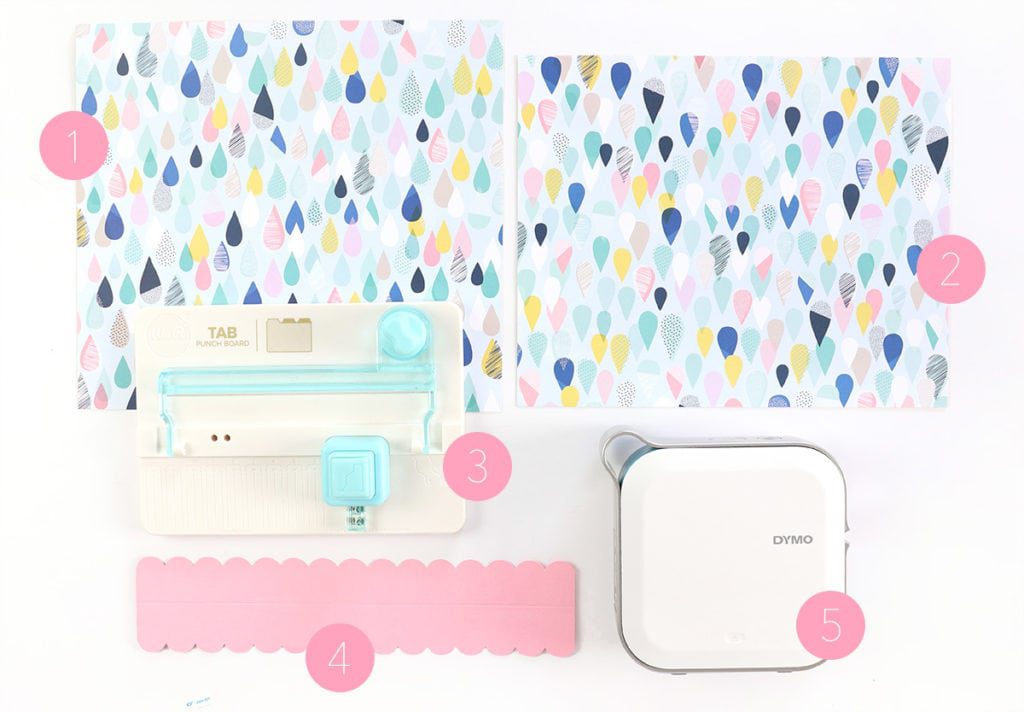
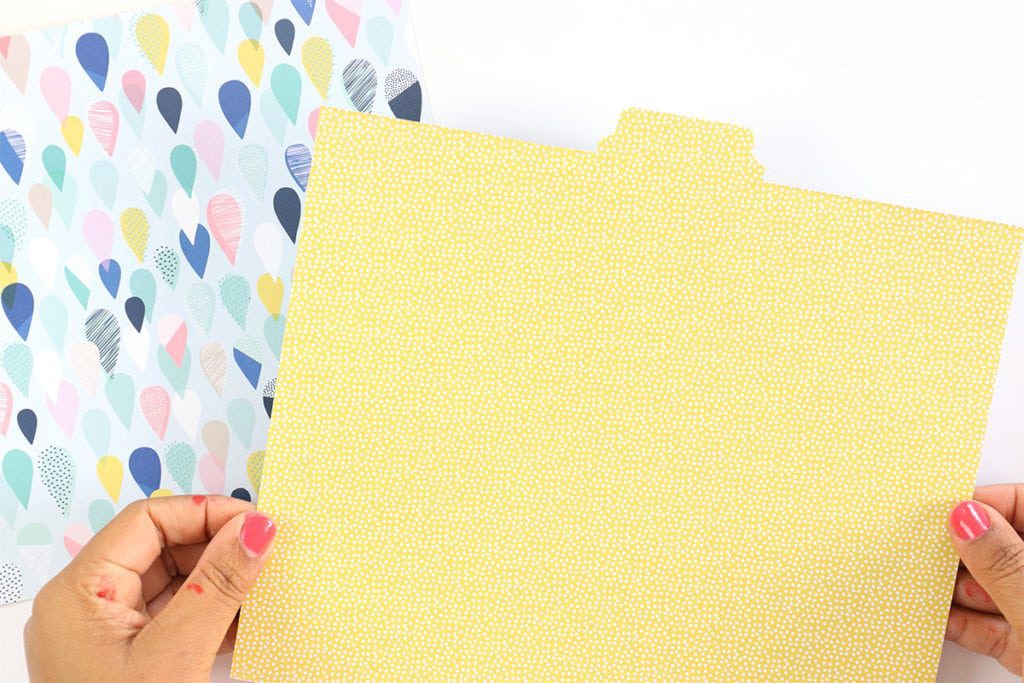
- A piece of patterned paper cut to 9-1/2” x 11-1/2”
- Another piece of the same pattern cut to 8-1/2 x 11-1/2”
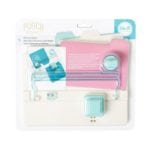
- Tab Punchboard
- a piece of 3” x 11-1/2” cardstock scored down the middle
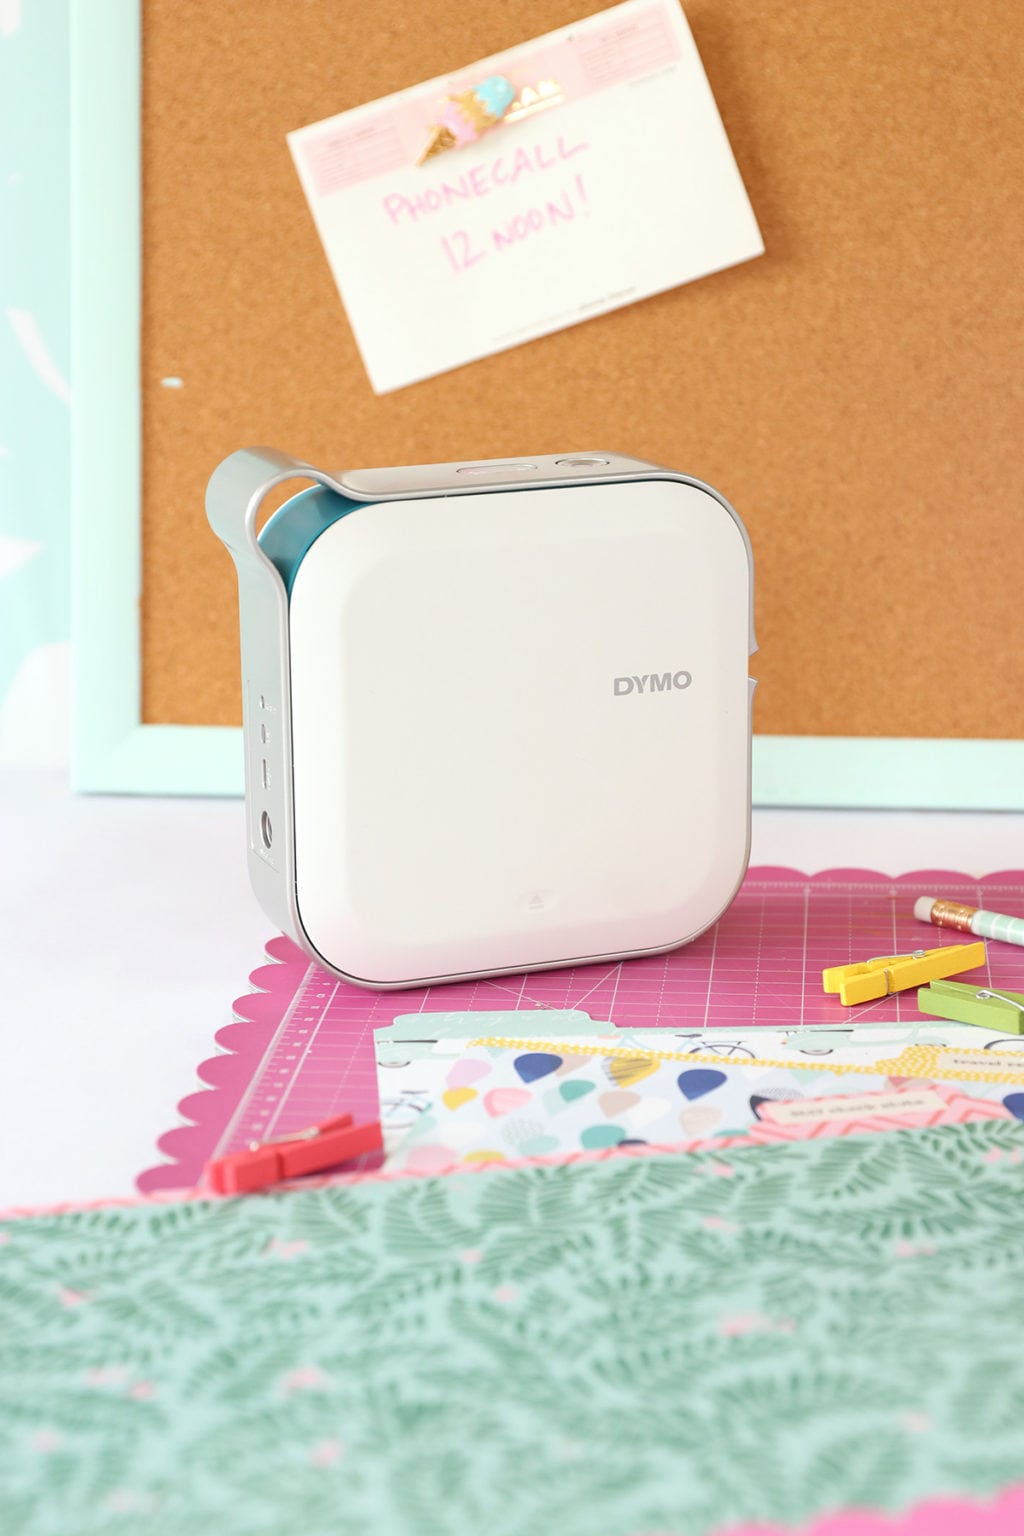
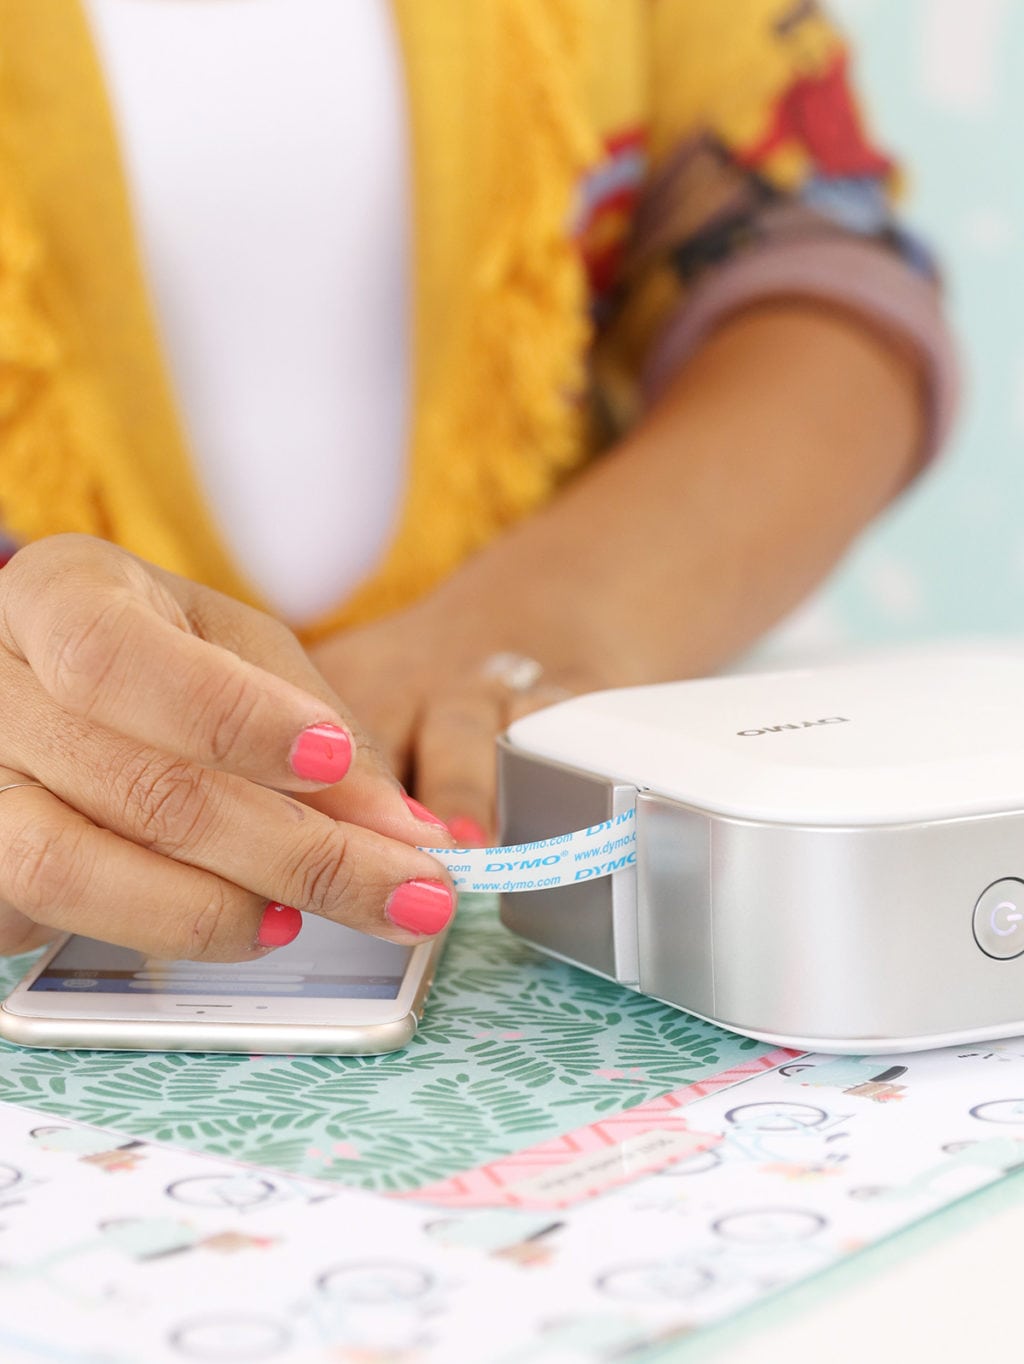
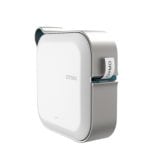
- The DYMO MobileLabeler – you’re gonna LOVE how cool this tool is!
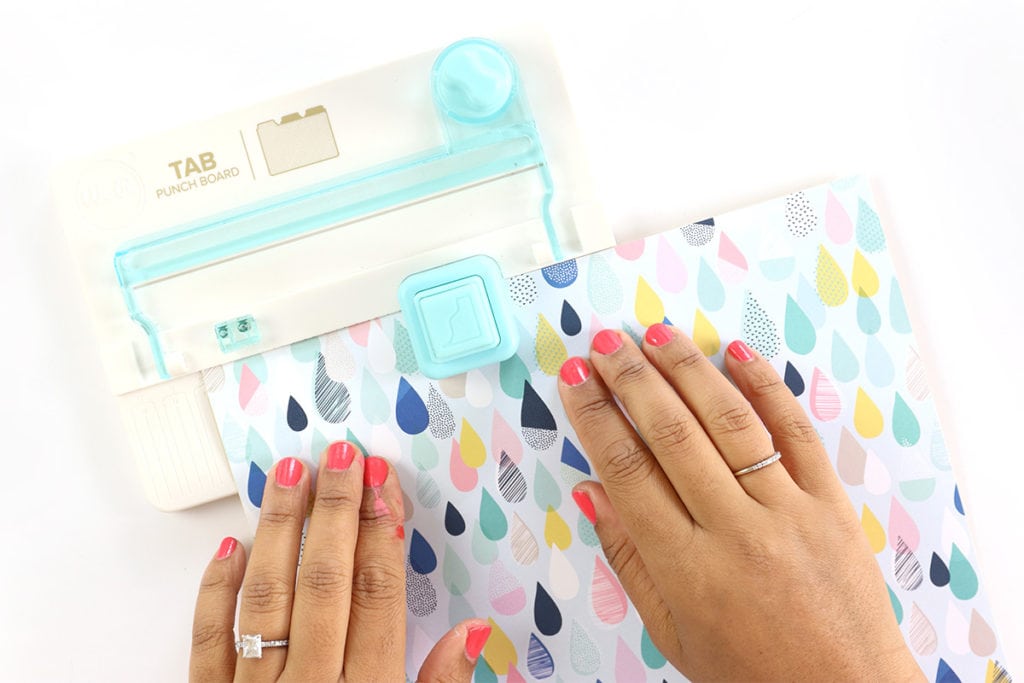
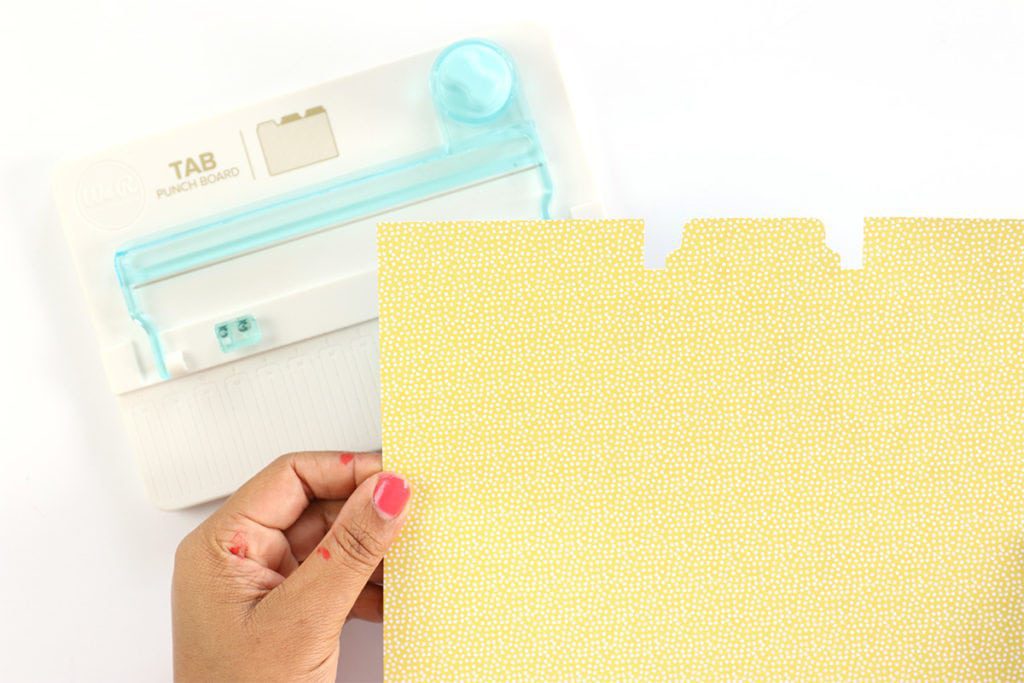
STEP ONE:
Punch and cut a tab into the larger piece of patterned paper
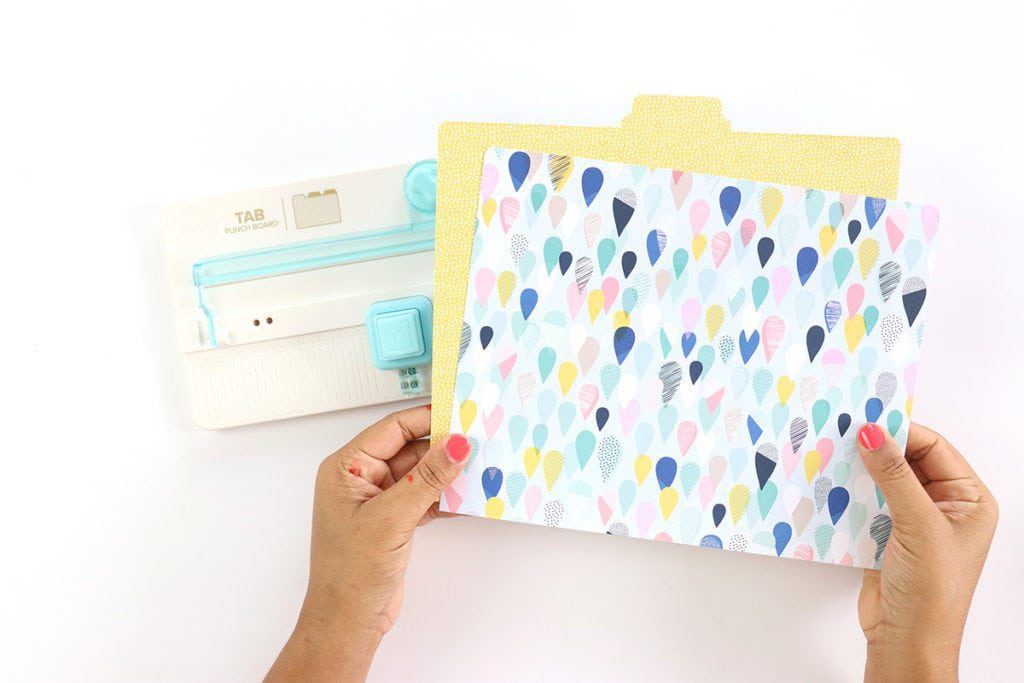
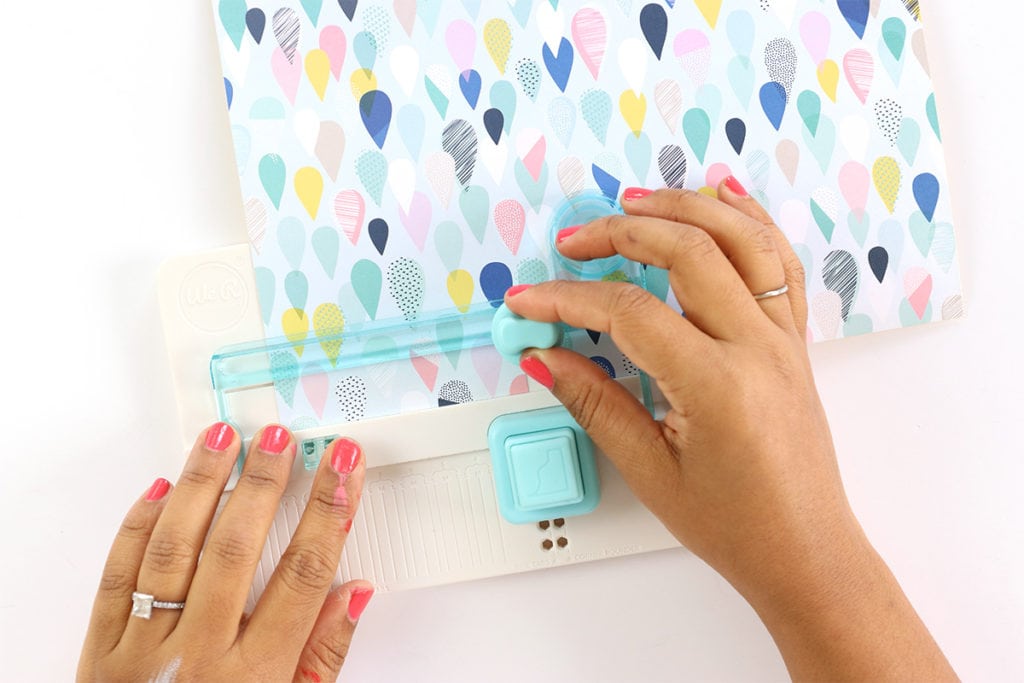
STEP TWO:
Use the corner rounder on the punchboard to round each of the corners on the pattern paper
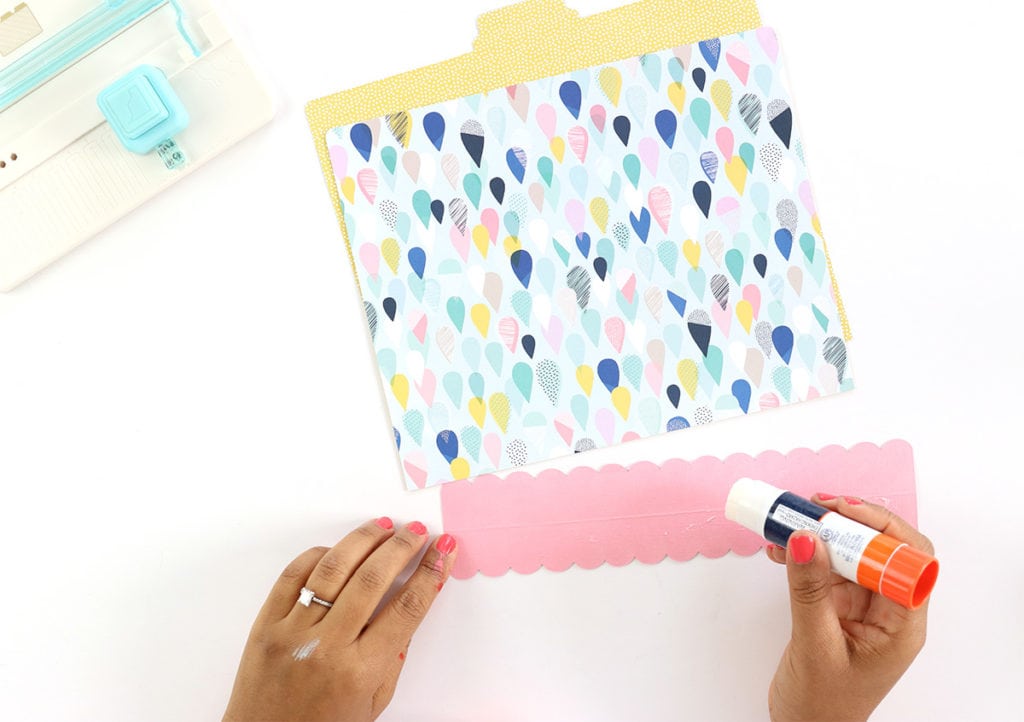
STEP THREE
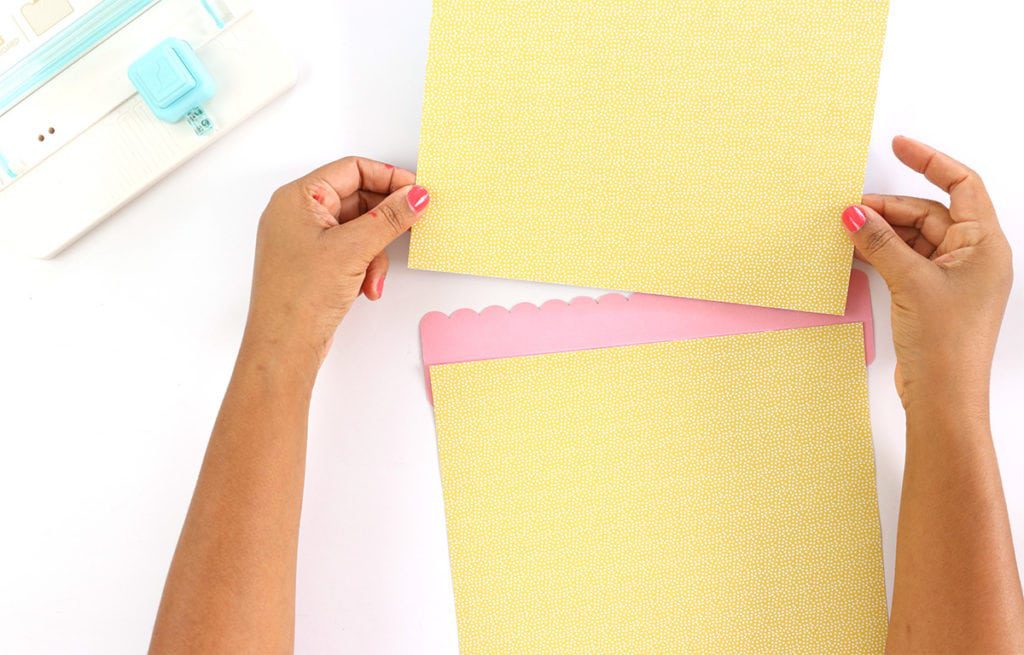
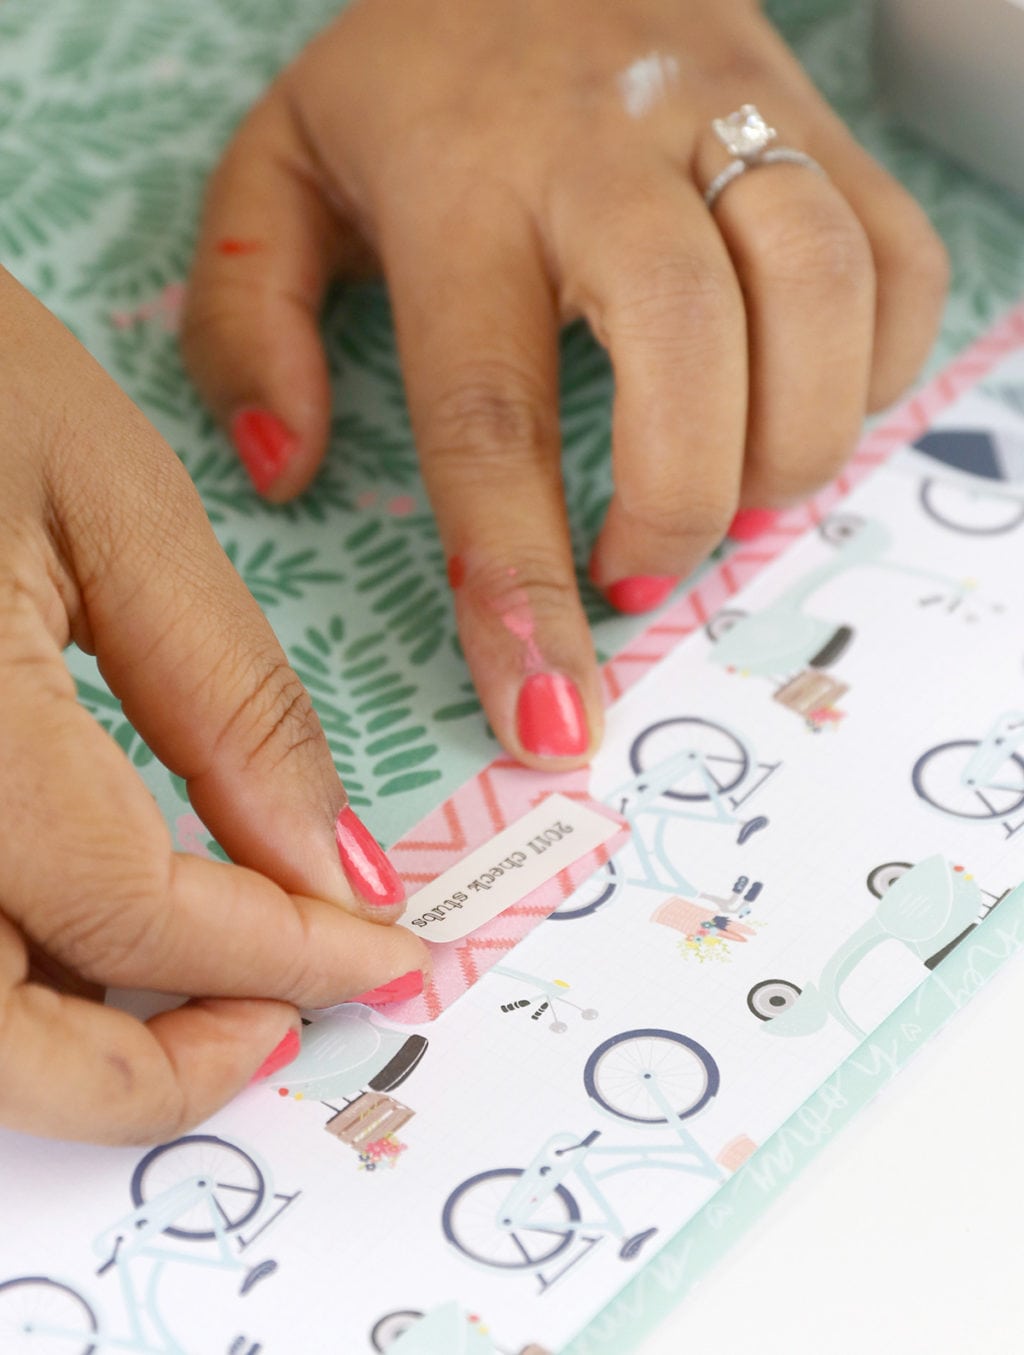
Add your favorite glue or tape to the scored strip of paper then add the patterned paper to either side of the scored line.
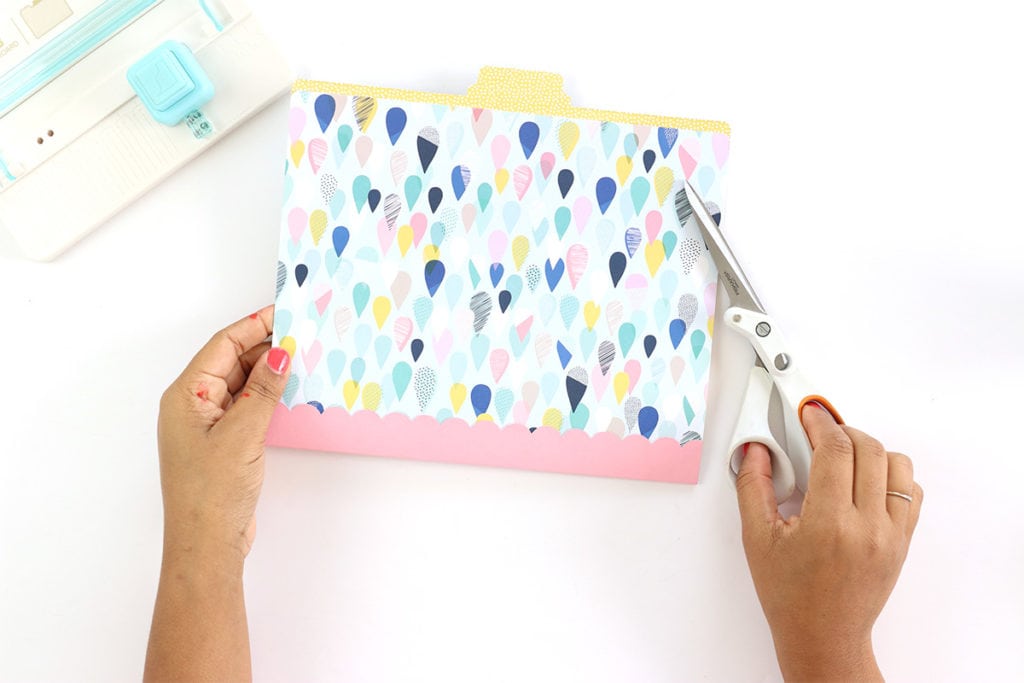
STEP FOUR
Trim off any excess cardstock and you pretty file folder is DONE! Now for the fun part….label making with the DYMO MobileLabeler
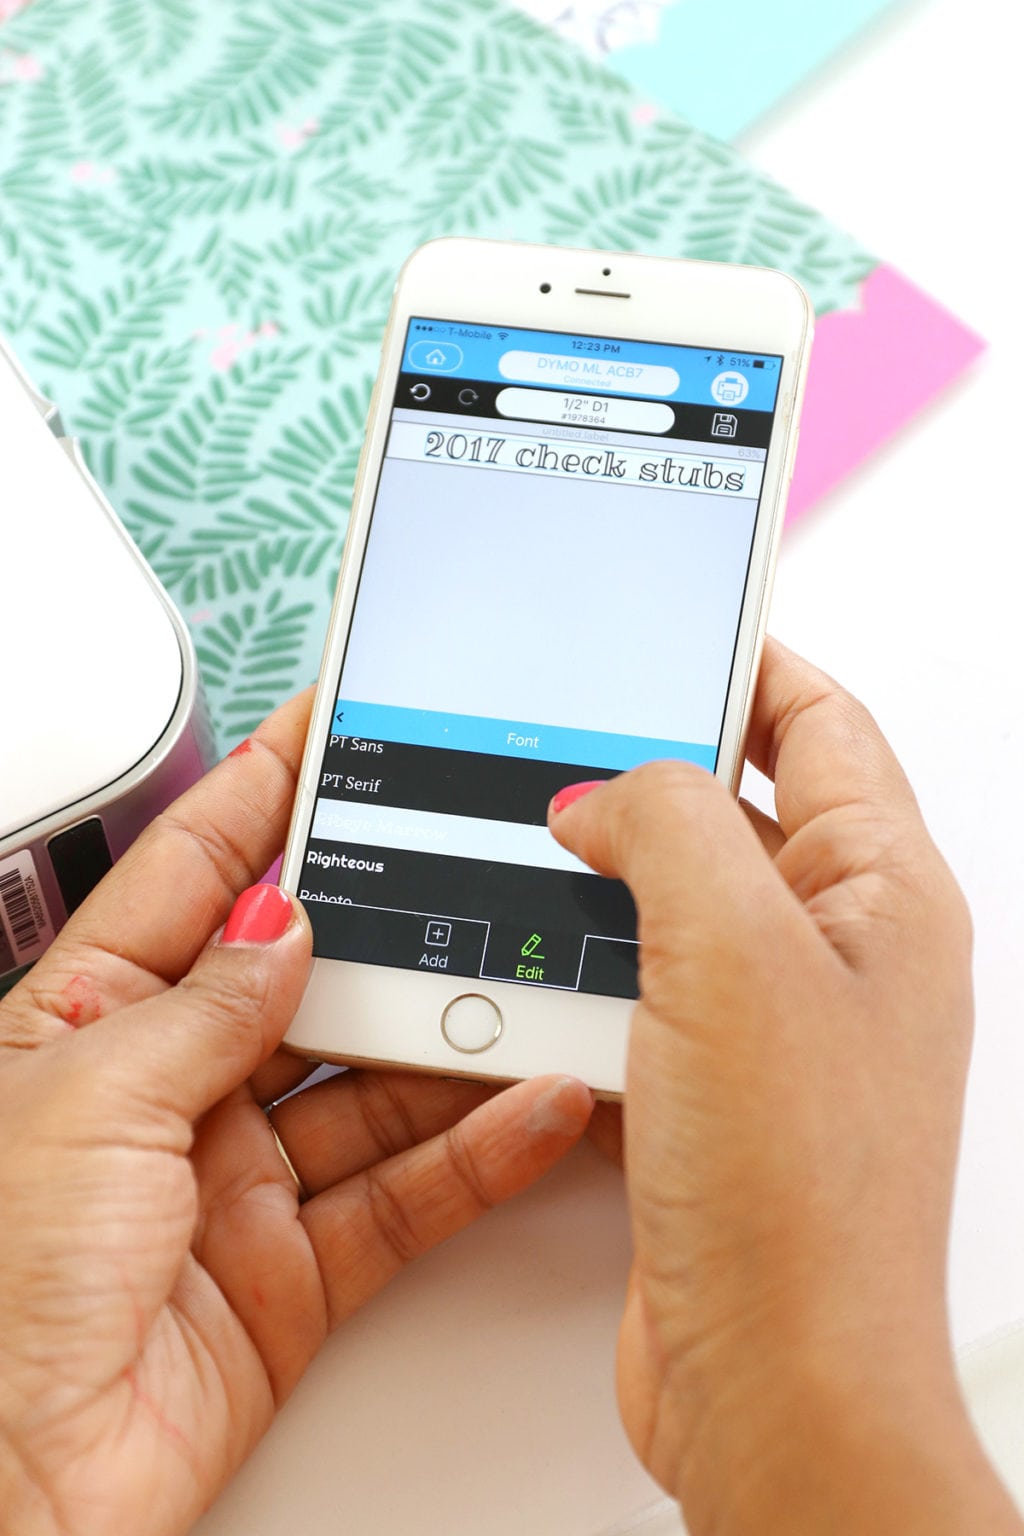
STEP FIVE:
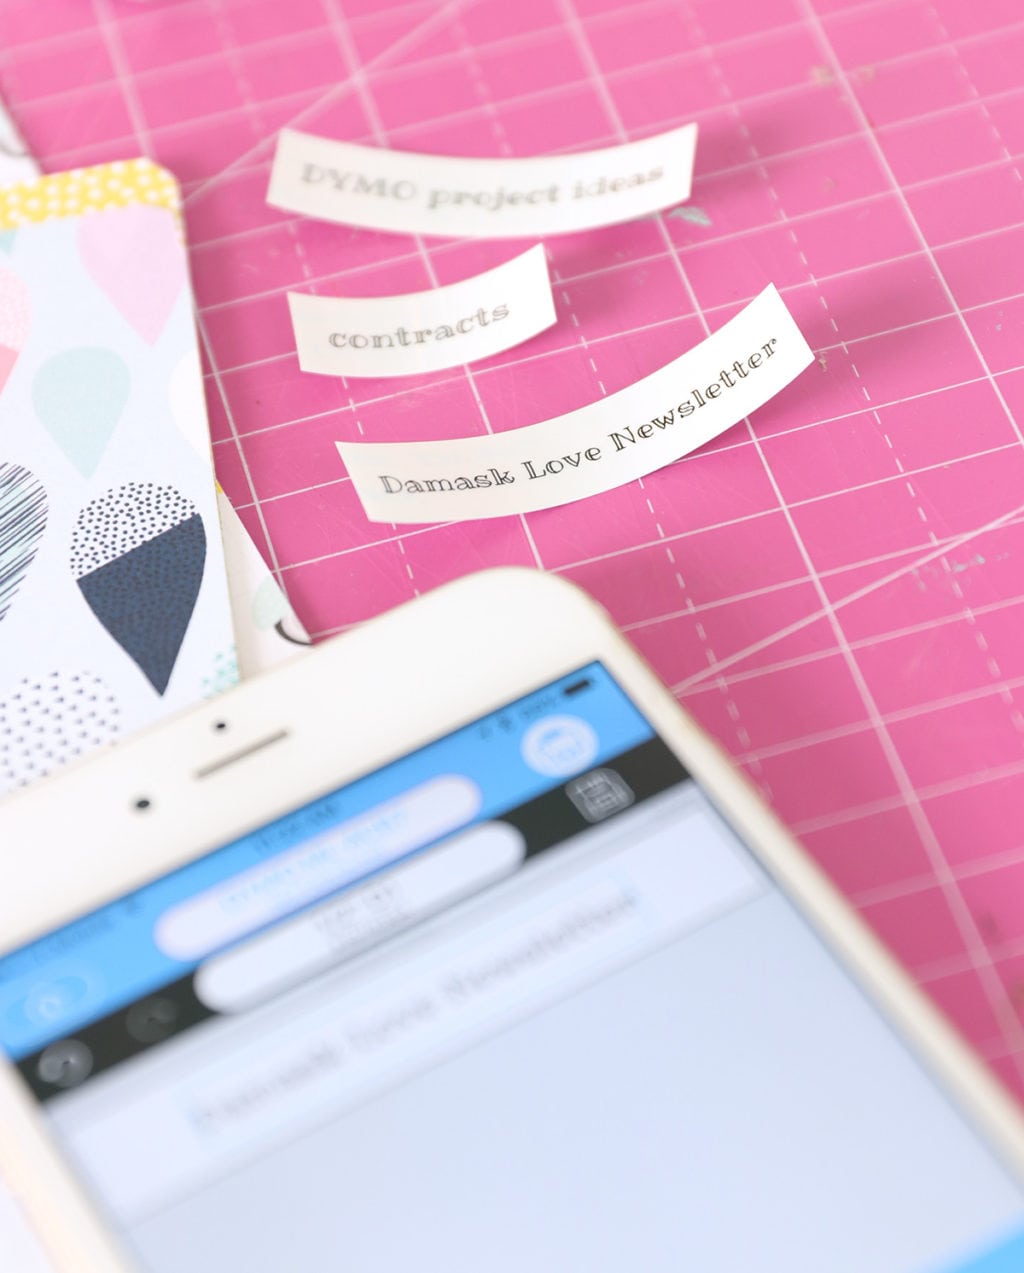
Use your smartphone or computer to design labels! The DYMO MobileLabeler prints via Bluetooth which means fast and easy setup and printing. I used the DYMO Connect App for my label…I loved being able to scroll through a bunch of font options. No boring label fonts for me!
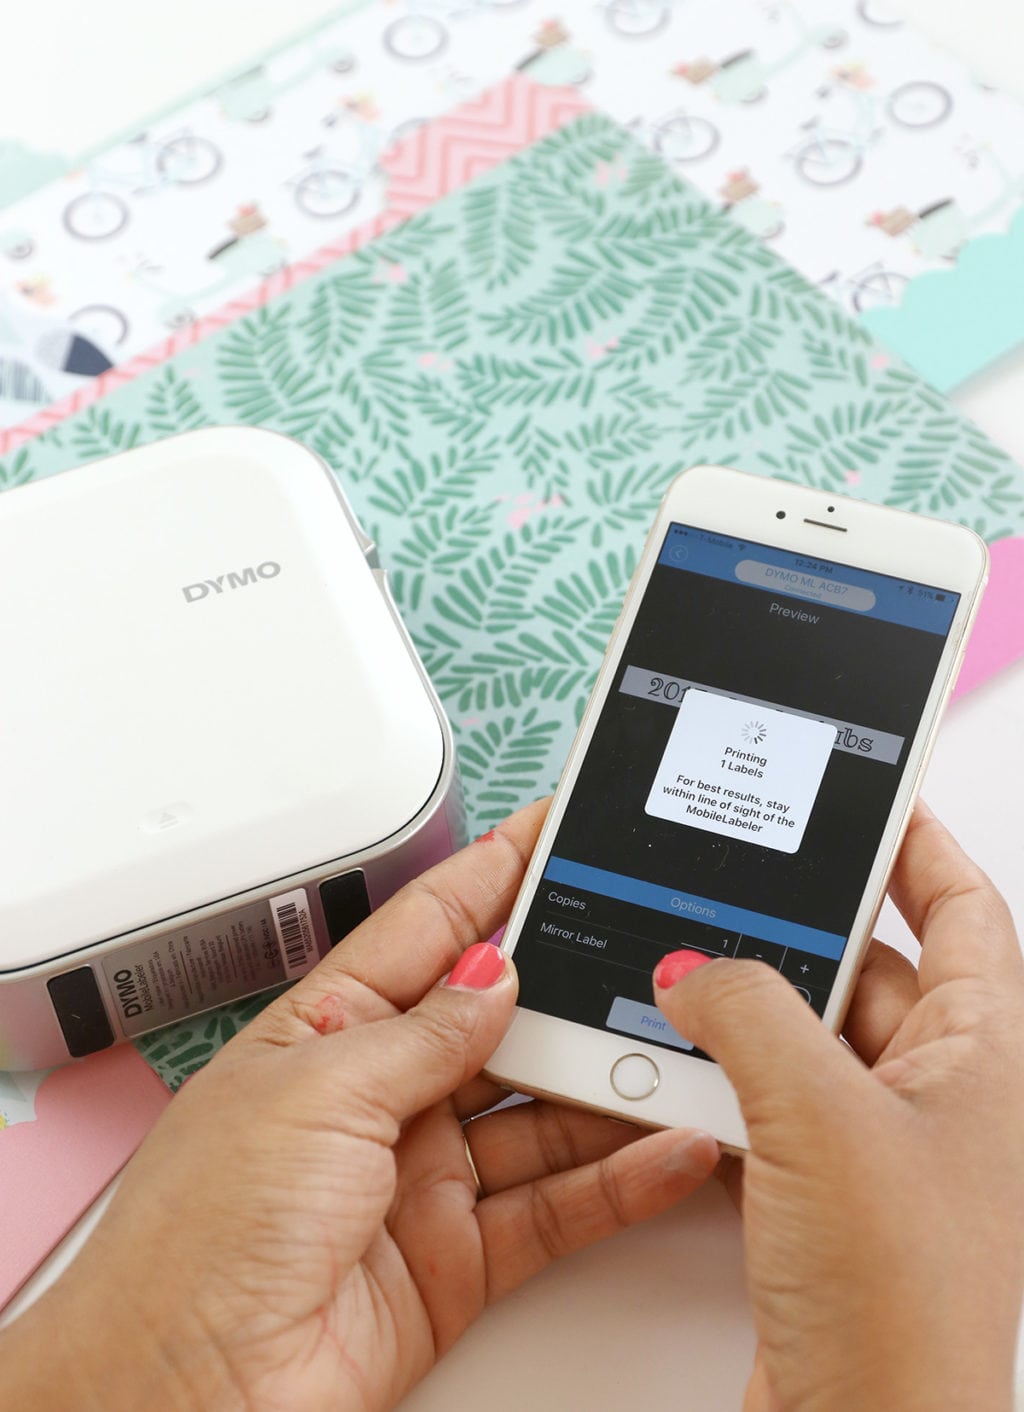
Your labels will print to your MobileLabeler on durable labels with industrial-strength adhesive. That means these labels are perfect for your office but also objects that might get a little wet – like your water bottle.
This project was completed in partnership with Canon. All projects, photos and opinions are mine, mine, mine! Thanks for supporting the collaborations that keep the lights on in this joint!


Thank u for easy explaination!!
Perform your Asus RT-N56U login easily by entering the default IP address 192.168.1.1 in your browser. Use the admin username and password to access your router settings and manage your network smoothly. If you need assistance, visit our site and chat live with experts for quick support!
For resetting a Linksys router, locate the reset button and hold it down for 10 seconds. Wait for the LED lights to flash, indicating the router is rebooting and resetting to factory settings. You’ll need to reconfigure it after the reset. Seeking some human assistance? Reach out to our professional with a single text!
Much appreciated—this helped solve my issue.
This content is gold—thanks a ton!
To perform a how to reset HP printer, you can use the HP Smart app, the Embedded Web Server (EWS), or the printer’s control panel. For touchscreen models, navigate to Setup > Printer Maintenance > Restore > Restore Factory Defaults. For non-touchscreen models, refer to the user manual for specific instructions. Need more help concerning the smart device? Have a word with our experts in the chat section!
I wish I could read charts. I love the look of this hat. I’m new to knitting . I think I’ll have to watch some video’s on how to read charts. I’ll be back. hopefully sometime some.