You: Hold on, Amber.
Me: What?
You: Since when do you wear red glasses?
Me: oh yeah…I guess that is a little out of the ordinary…here’s the story…
I’m not really one to get “star-struck”. According to the column in US Weekly Magazine, celebrities are “Just Like Us” They take out their own trash. They get coffee from Starbucks. They name their kids “Apple” and get divorced …oops, I mean “conscious uncoupling.” Welp – maybe not that last one, but for most things, the celebs are just like you and me.
Instead of being star-struck, I have a list of exactly two celebs who I would really like to be best friends with: Melissa McCarthy and Tracy Ellis-Ross. If any of you know these people, let em’ know I think we could have a good thing.
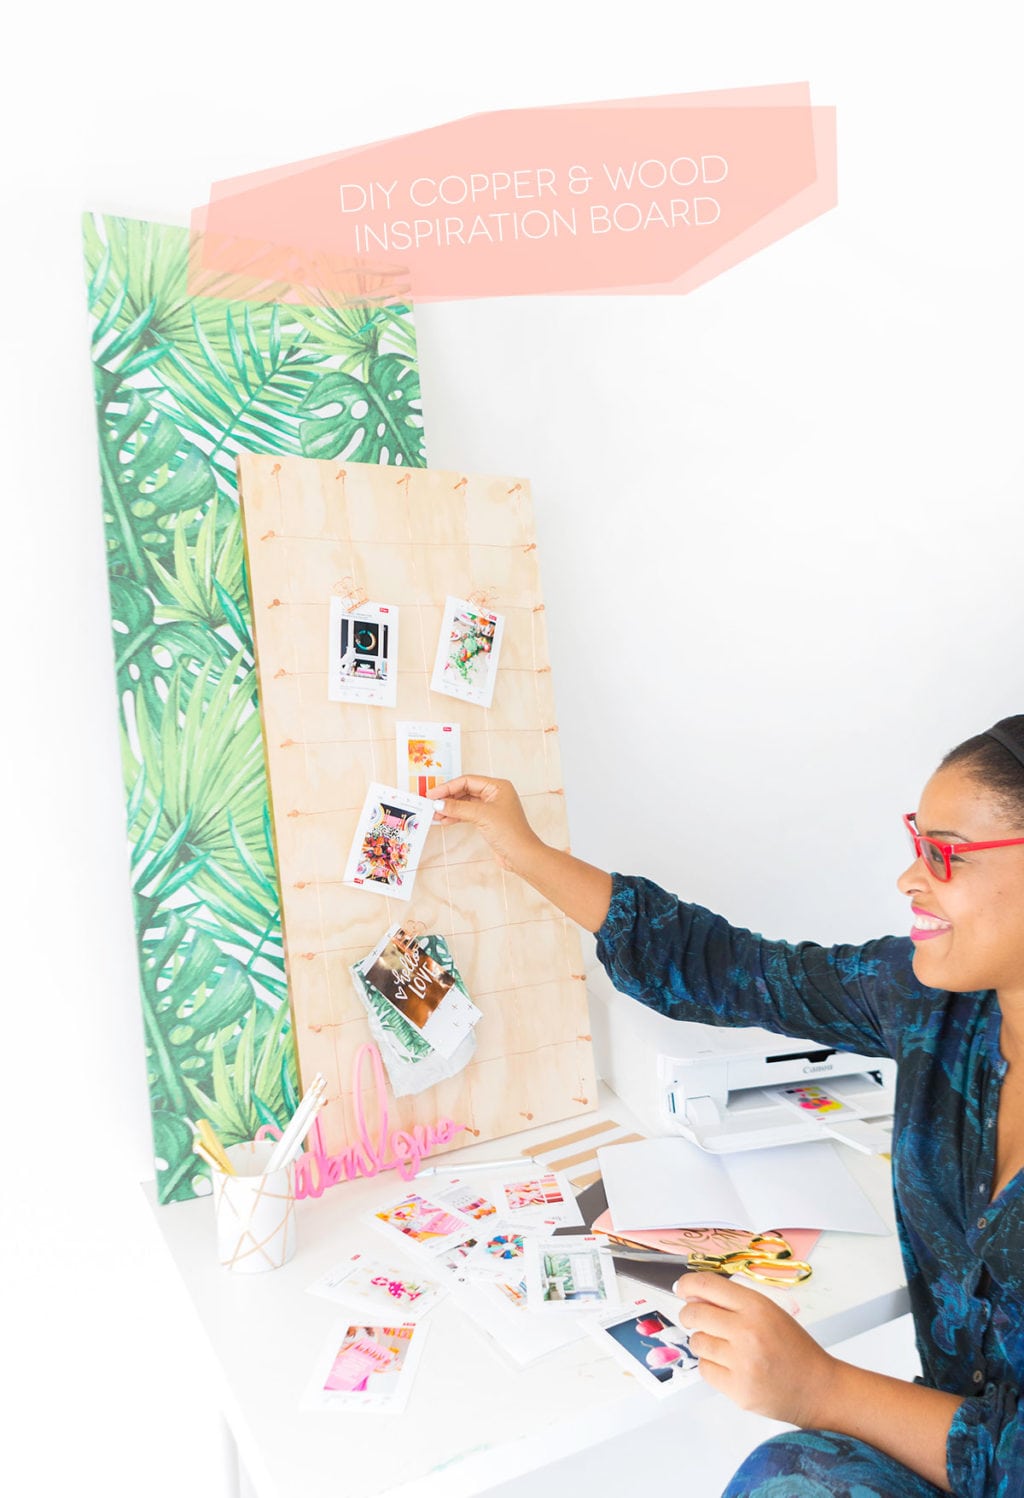
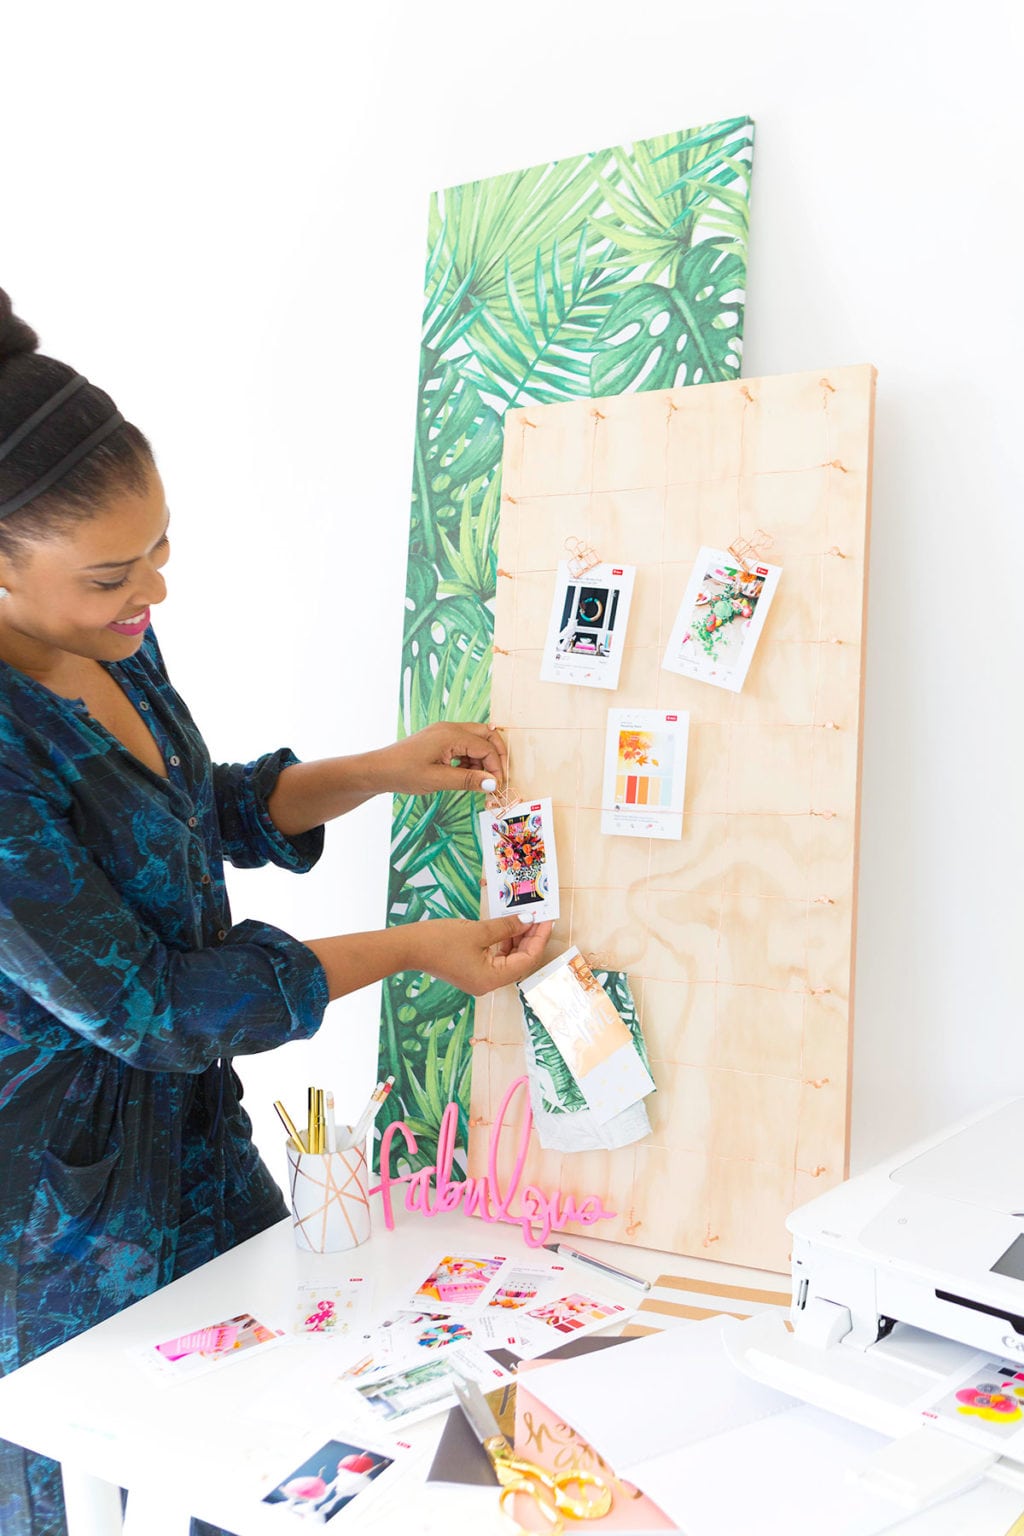
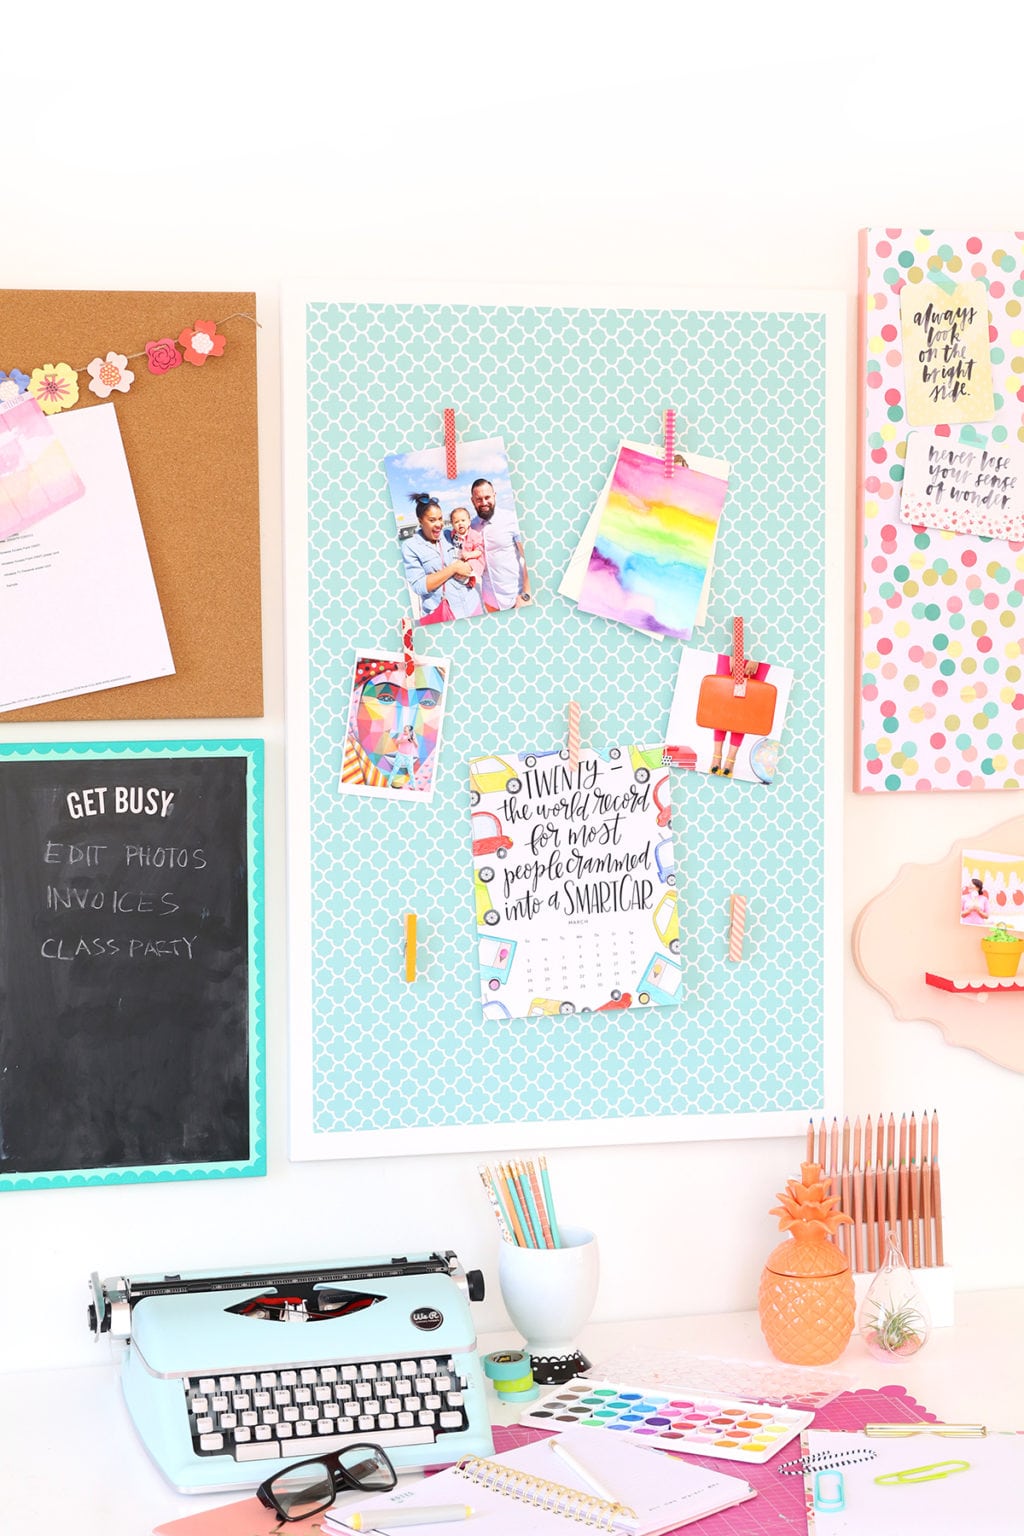
Then there’s one celeb who I don’t so much want to be friends with. I sort of just want to be her. Jenna Lyons. She’s the Creative Director and President of J.Crew and she is all the way fabulous. She wears bold glasses and has flawless style. Her office is a bastion of inspiration and design. She has a huge wall of photos and inspiring images. I’ve always wanted an inspiration wall like hers. Something that serves as a tangible, visual reminder of my current muses. With that in mind, I DIYed one. It’s smaller and has a more modern feel, but the purpose is the same. Give my office a visual board of images I love.
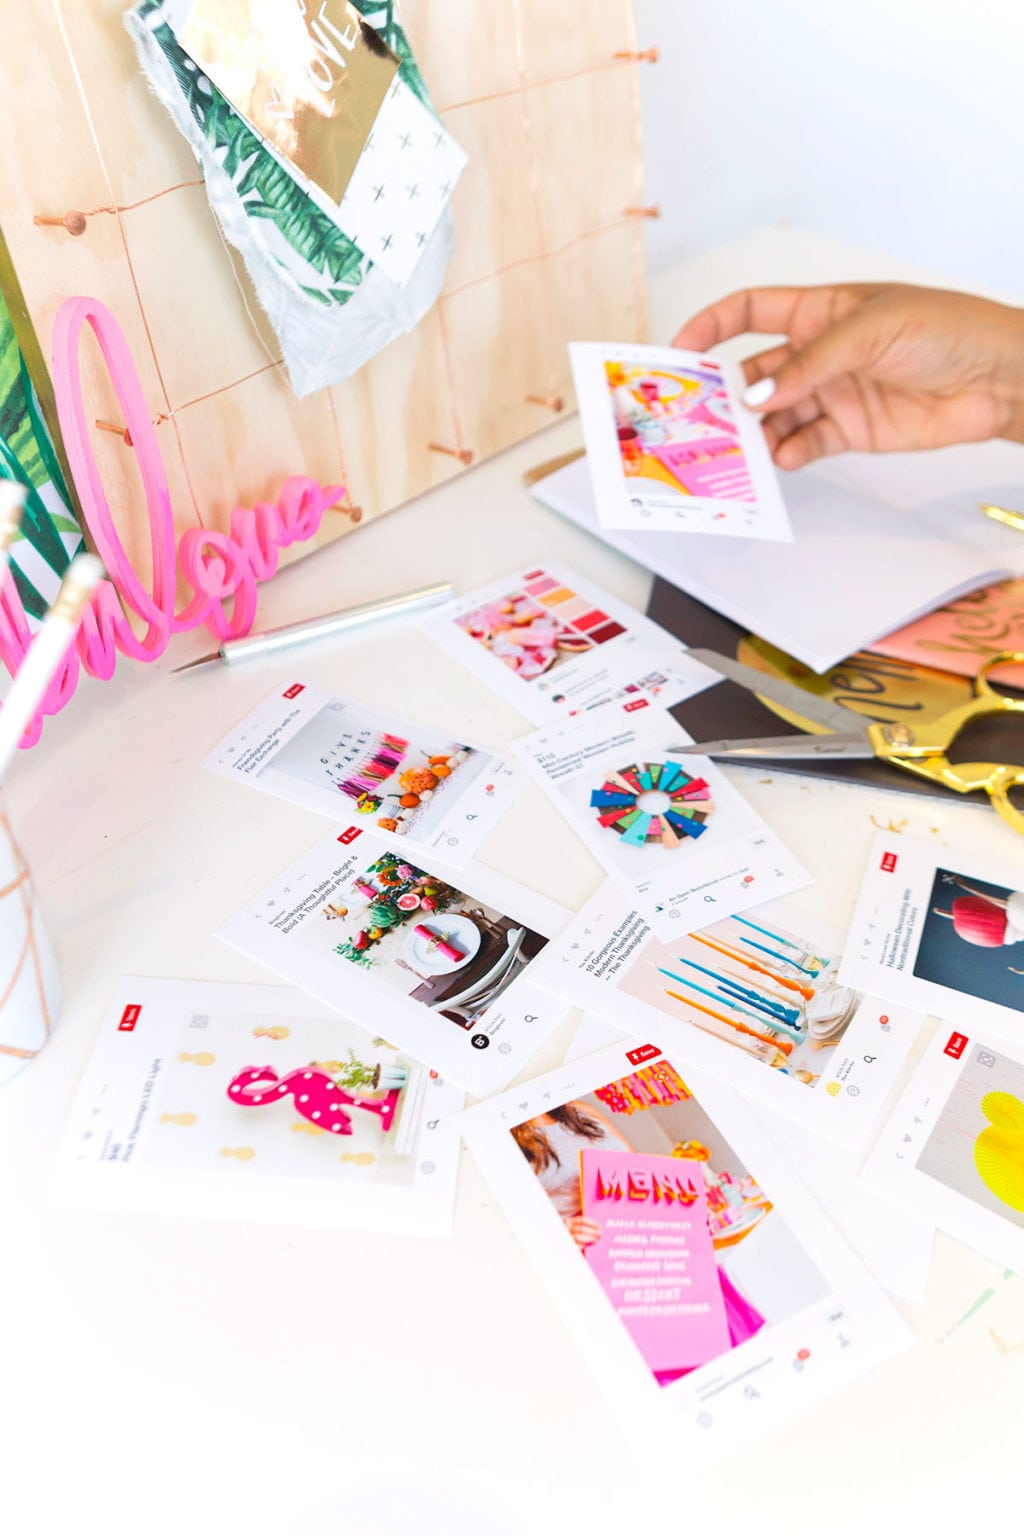
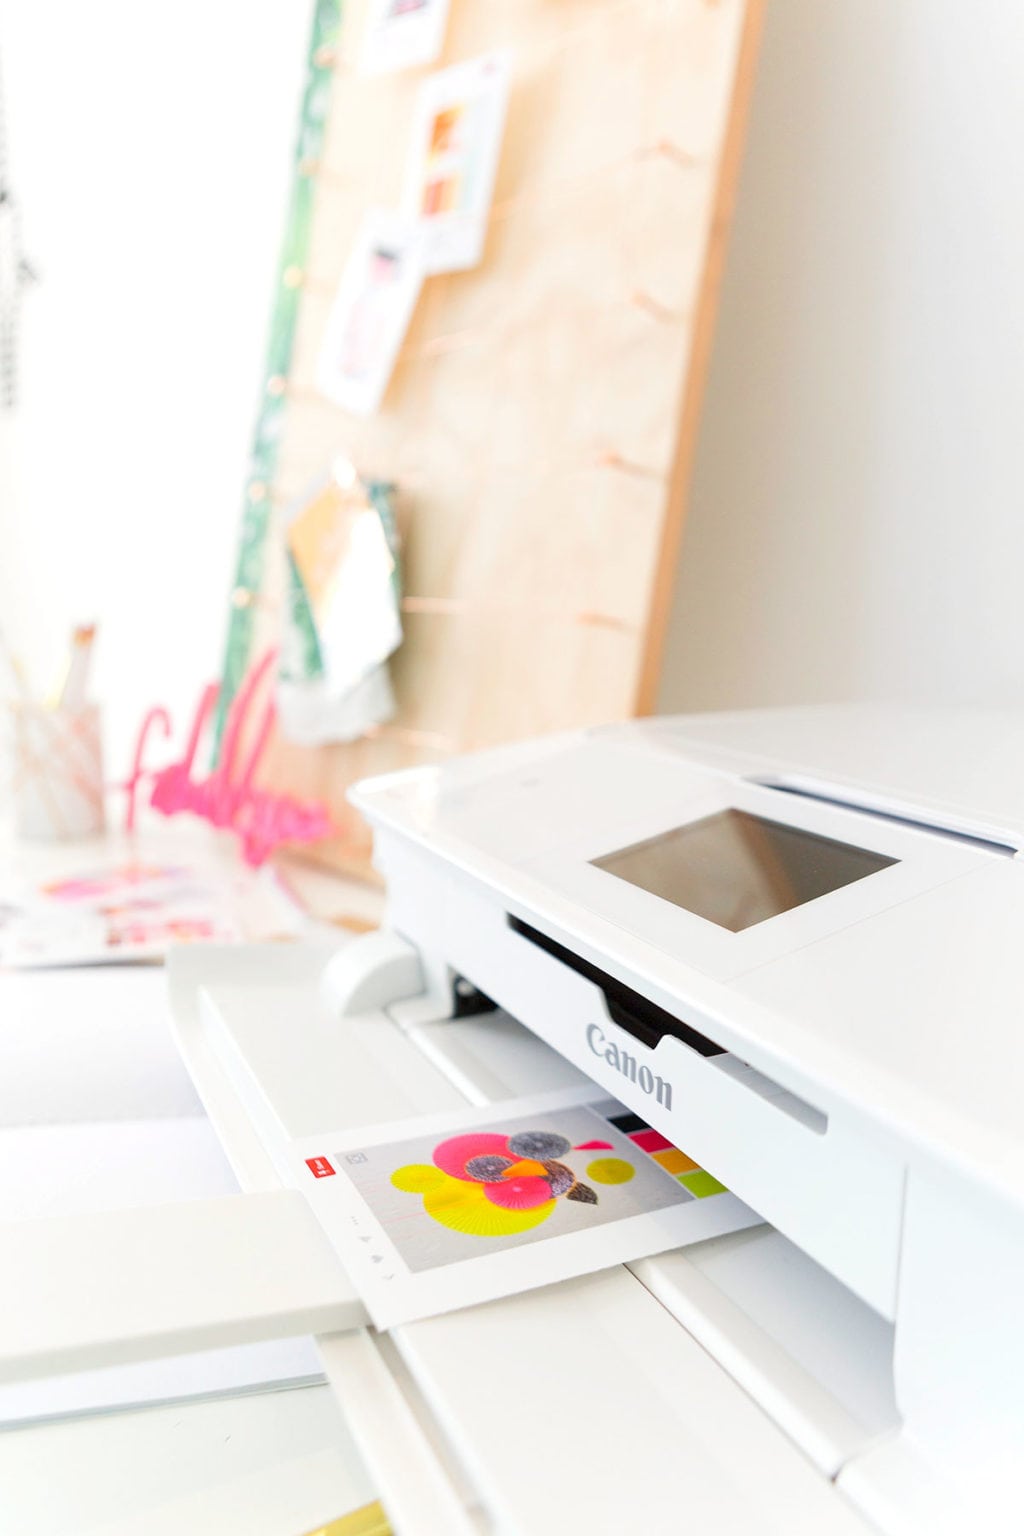
Remember those Pinterest images we printed out with the Canon PIXMA MG7720? Well, it’s time to give them a place to live. With a little copper wire, wood and nails – this DIY has minimal supplies for maximum impact!
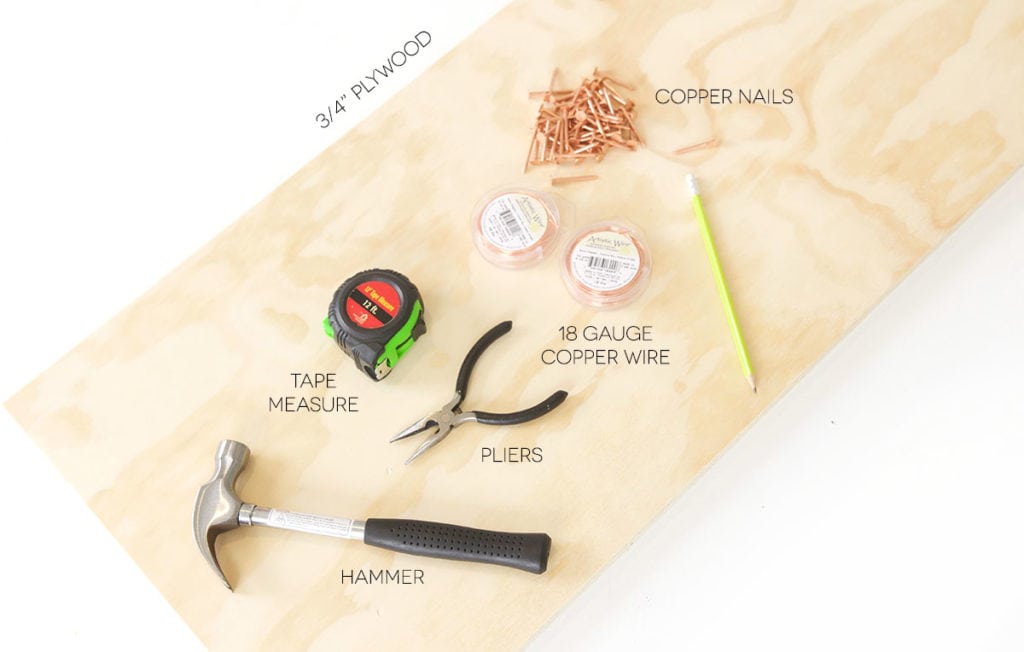
You’ll need:
- Hammer
- Tape measure
- ¾” thick plywood
- pliers
- copper nails
- 18 gauge copper jewelry wire
- pencil

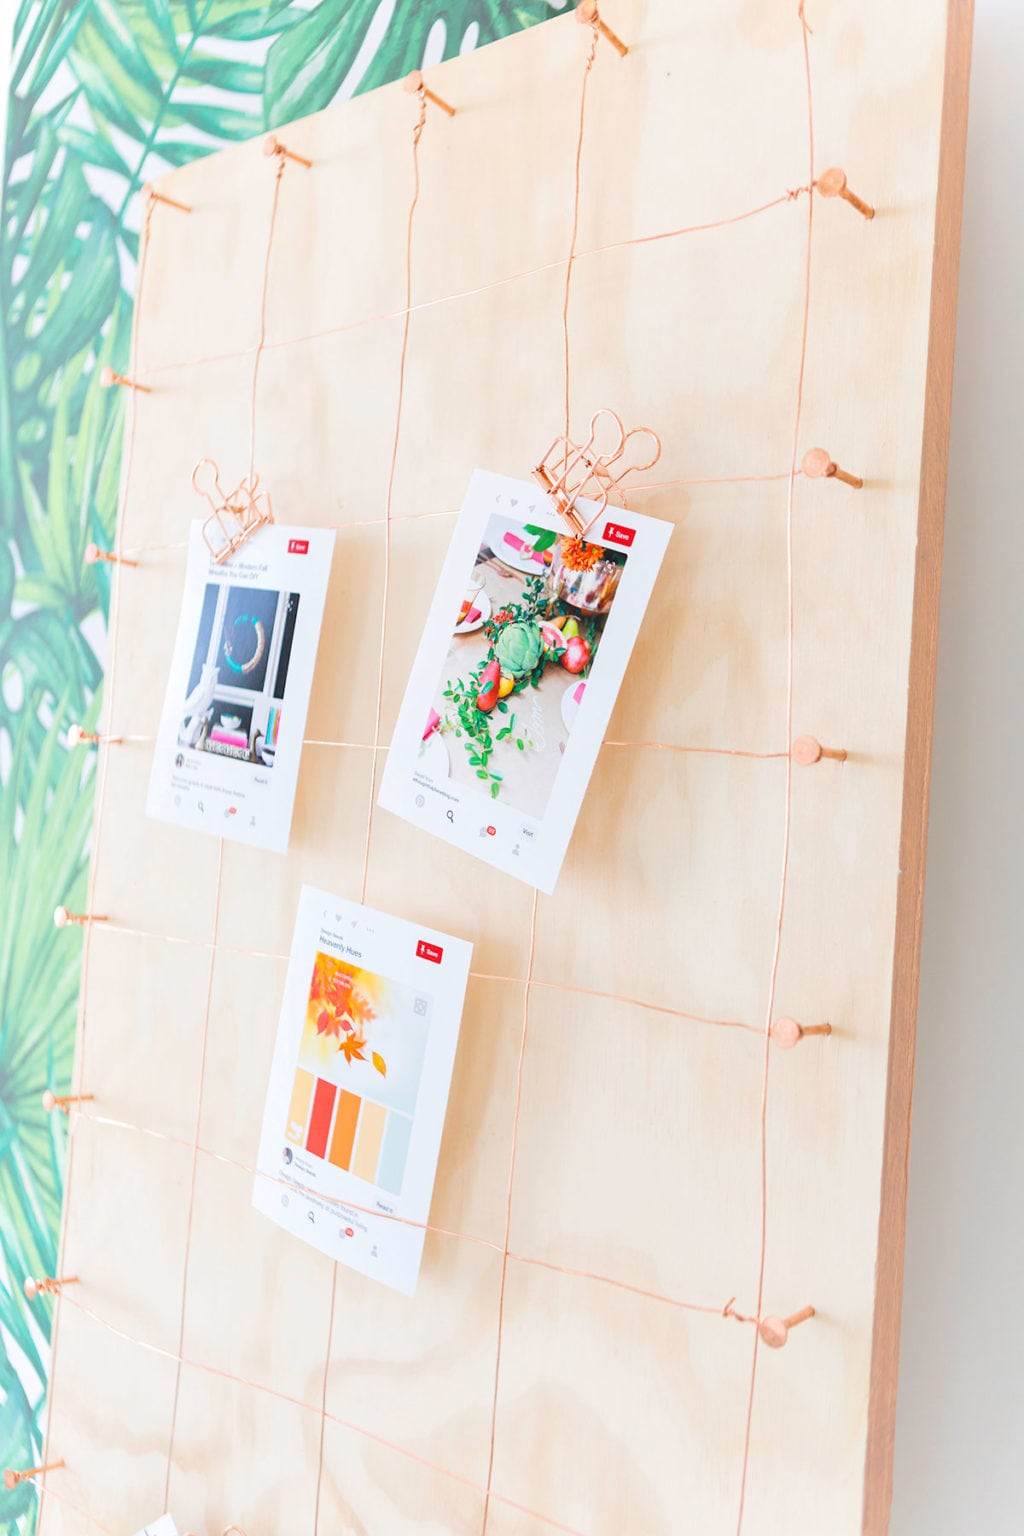
Use a tape measure to mark off the edges of the plywood. This is where you will place the nails.
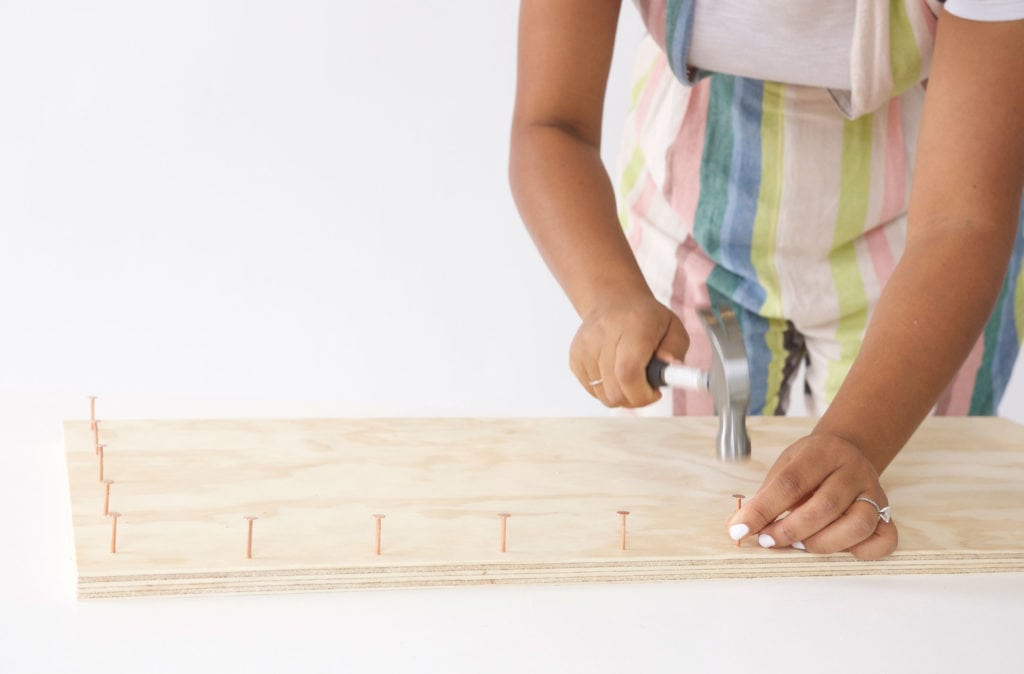
Hammer in the nails on each of the markings you made.
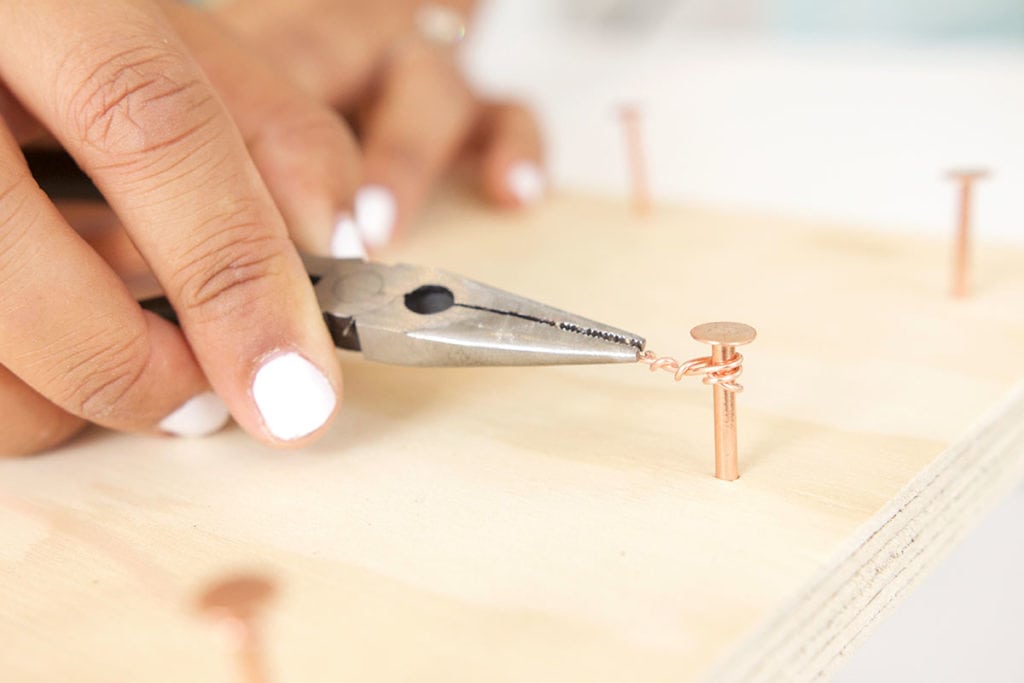
Use pliers to wind and twist the copper wire around the head of each nail, then extend the wire straight across the board where you’ll again, wind and twist the wire around the nail head.

Once you’re wire grid is complete, you can step away but I wanted to finish off the raw edge of the wood with a little copper metallic accent. For this, I used Scor-Tape, Heidi Swapp Minc Foil in Copper and ModPodge. Here’s how…

Apply Scor-Tape directly to the ¾” edge of the wood board.

Remove the backing of the double-sided tape and place the Minc Foil, metallic-side-up, onto the adhesive. Use a bone folder to rub, rub, rub the surface.

Peel back the foil and it will adhere to the tape, leaving a metallic finish on the wood.

To seal the edge and avoid and tackiness, brush ModPodge onto the foiled surface and let it dry.

Now you’re ready to start hanging your printed photos on the inspiration board.
A shout out to Canon for sponsoring this content. All ideas, opinions and silly anecdotes are mine, all mine. Thanks for supporting all the amazing sponsors who help keep the lights on in this joint.
Photography: Devlopz





https://apotekonlinerecept.shop/# Apotek hemleverans idag
Apotek hemleverans idag: Apotek hemleverans recept – apotek online recept
Apoteket online: Apotek hemleverans recept – Apoteket online
Kamagra kaufen [url=http://kamagrapotenzmittel.com/#]Kamagra kaufen[/url] Kamagra Oral Jelly
apotek online: apotek online recept – Apotek hemleverans idag
https://apotekonlinerecept.com/# apotek online recept