Did you see yesterday’s post?! Well, today I’m still in a superhero state of mind, but this time around, I’m sharing all the behind-the-scenes projects that went into executing my superhero picnic. Now, in the spirit of full disclosure, this party did take work, but not a ton. I put the whole thing together in a week – so it’s totally doable. My biggest strategy in creating this party was using the same stamps, dies and inks over and over and over…and over again. So keep reading and I’ll share several tips for executing your own paper crafted parties…and sparing your sanity in the process..
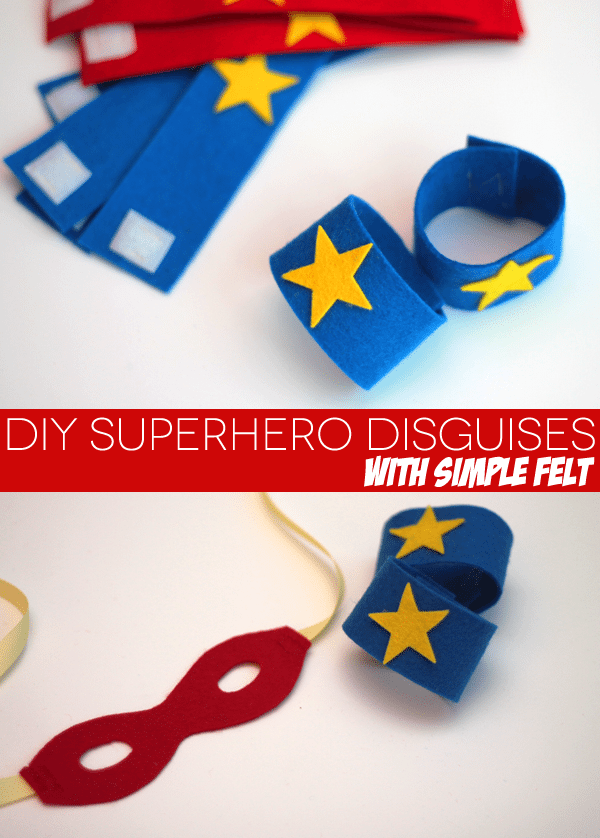
It took me about 1 hour to put these disguises together. I traced the eyemask shape onto felt then cut it out. A few stitches on my sewing machine to attach the ribbon ties and that was it! For the wrists bands, I simply used strips of felt and glued on stars. Felt was a great option for creating these wrists bands since paper would have been much rougher on their little wrists.
SUPPLIES
- Clear & Simple Stamps Felt in Blue and Red.
- Clear & Simple Stamps Stars Dies.
- Sew On Velcro
- Ribbon Scraps for ties on mask
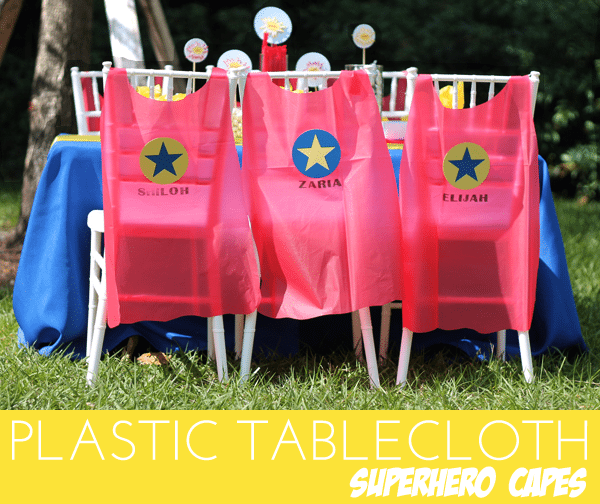
- Plastic red tablecloth
- Star dies
- Alpha Bold Stamp Set
12midnight. Laying in bed. Falling asleep. Envisioning the upcoming super hero picnic and brainstorming ideas. Inspiration strikes. Bolt to the craftroom. Make these.
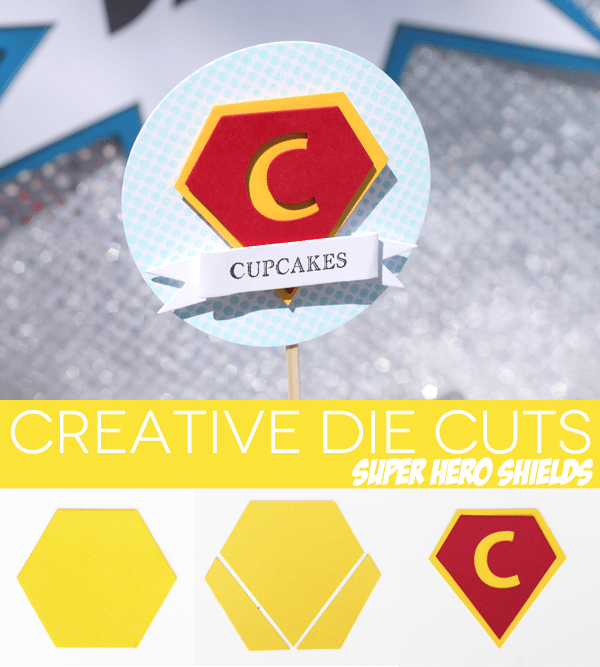
I knew I wanted to create classis superhero shields for this party, but I wasn’t sure how to make it happen. I could draw them and cut them out…OR I could do something way more creative and turn my hexagon dies into shields. Yep. I’ll go with option #2!
SUPPLIES:
- Hexagon Dies
- Uppercase Alphabet Dies
- Favor Flag Dies
- Favor Flags Stamp Set
- Comic Book Background Stamp
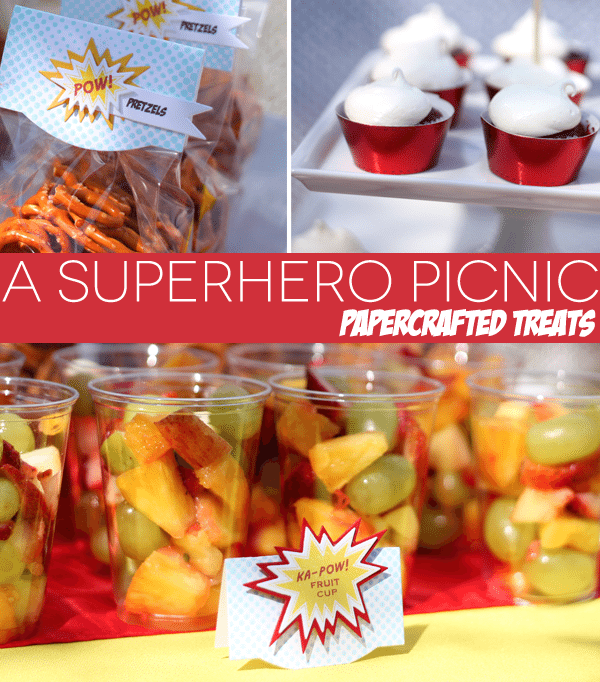
A picnic isn’t a picnic until you’ve got something to eat. There was plenty at this party – each with coordinating labels!
SUPPLIES:
- Toppers Die
- Favor Flags Dies
- Comic Bursts Stamp Set
- Comic Burst Dies
- Perfect Harvest Fillers
- Wrapper Die
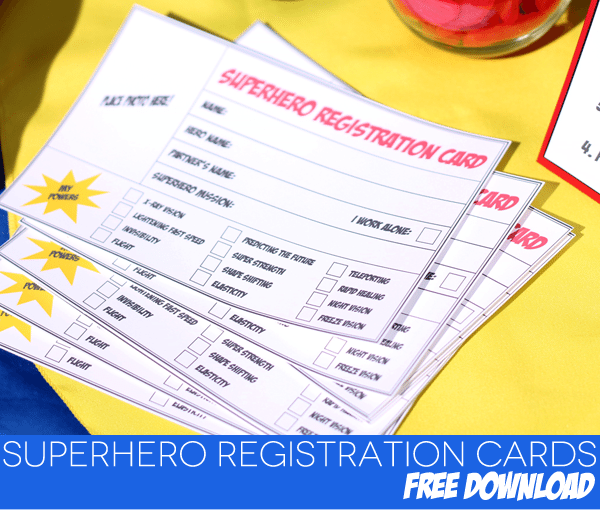
I wish I could take full credit for these superhero registration, but I can’t. I got the idea from THIS blog post that I came across in my Google Reader. With permission from the original creator, I designed a child-friendly version of his registration card and now I get to share them with you! The photo frame on these cards is designed to perfectly fit a polaroid from camera.
SUPERHERO REGISTRATION CARD PRINTABLES








Apoteket online [url=http://apotekonlinerecept.com/#]Apoteket online[/url] Apotek hemleverans idag
http://apotheekmax.com/# Online apotheek Nederland met recept
https://apotekonlinerecept.shop/# apotek online recept
Apotek hemleverans idag: apotek online – Apoteket online
http://kamagrapotenzmittel.com/# Kamagra Gel
https://kamagrapotenzmittel.com/# Kamagra Oral Jelly kaufen
Kamagra Original [url=https://kamagrapotenzmittel.shop/#]Kamagra Gel[/url] Kamagra kaufen
Online apotheek Nederland met recept: Online apotheek Nederland zonder recept – de online drogist kortingscode
https://apotheekmax.shop/# Betrouwbare online apotheek zonder recept
https://apotheekmax.shop/# Apotheek online bestellen
http://apotheekmax.com/# de online drogist kortingscode
Online apotheek Nederland met recept: Online apotheek Nederland zonder recept – Betrouwbare online apotheek zonder recept
apotek online [url=https://apotekonlinerecept.com/#]Apoteket online[/url] Apoteket online
https://apotekonlinerecept.com/# Apotek hemleverans recept
de online drogist kortingscode: Apotheek online bestellen – de online drogist kortingscode
Apotek hemleverans recept: Apoteket online – Apotek hemleverans recept
https://kamagrapotenzmittel.shop/# Kamagra Original