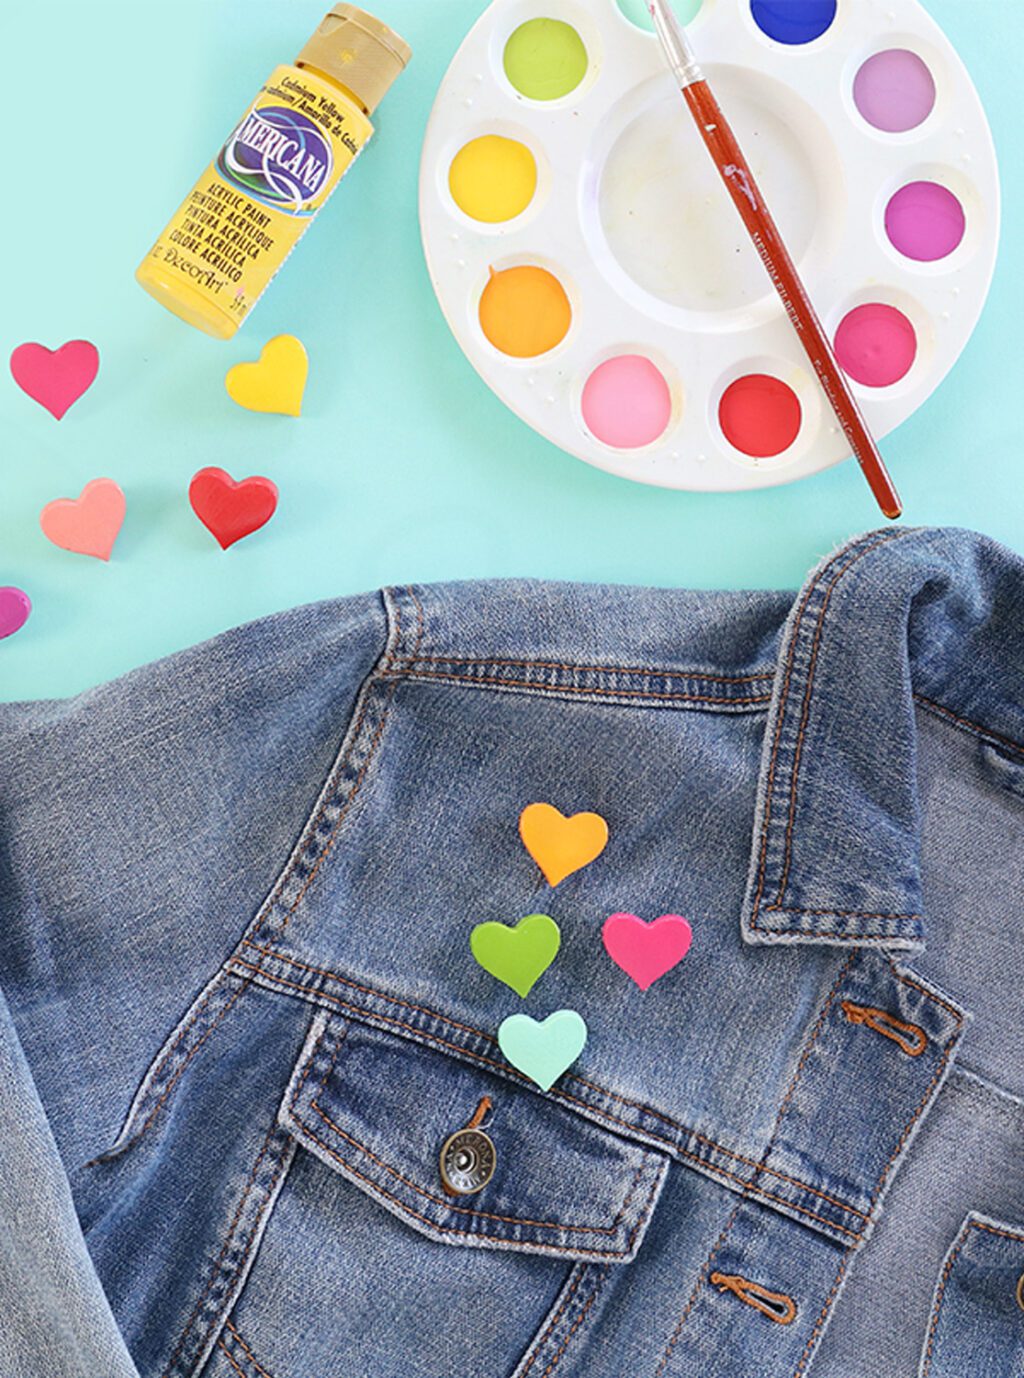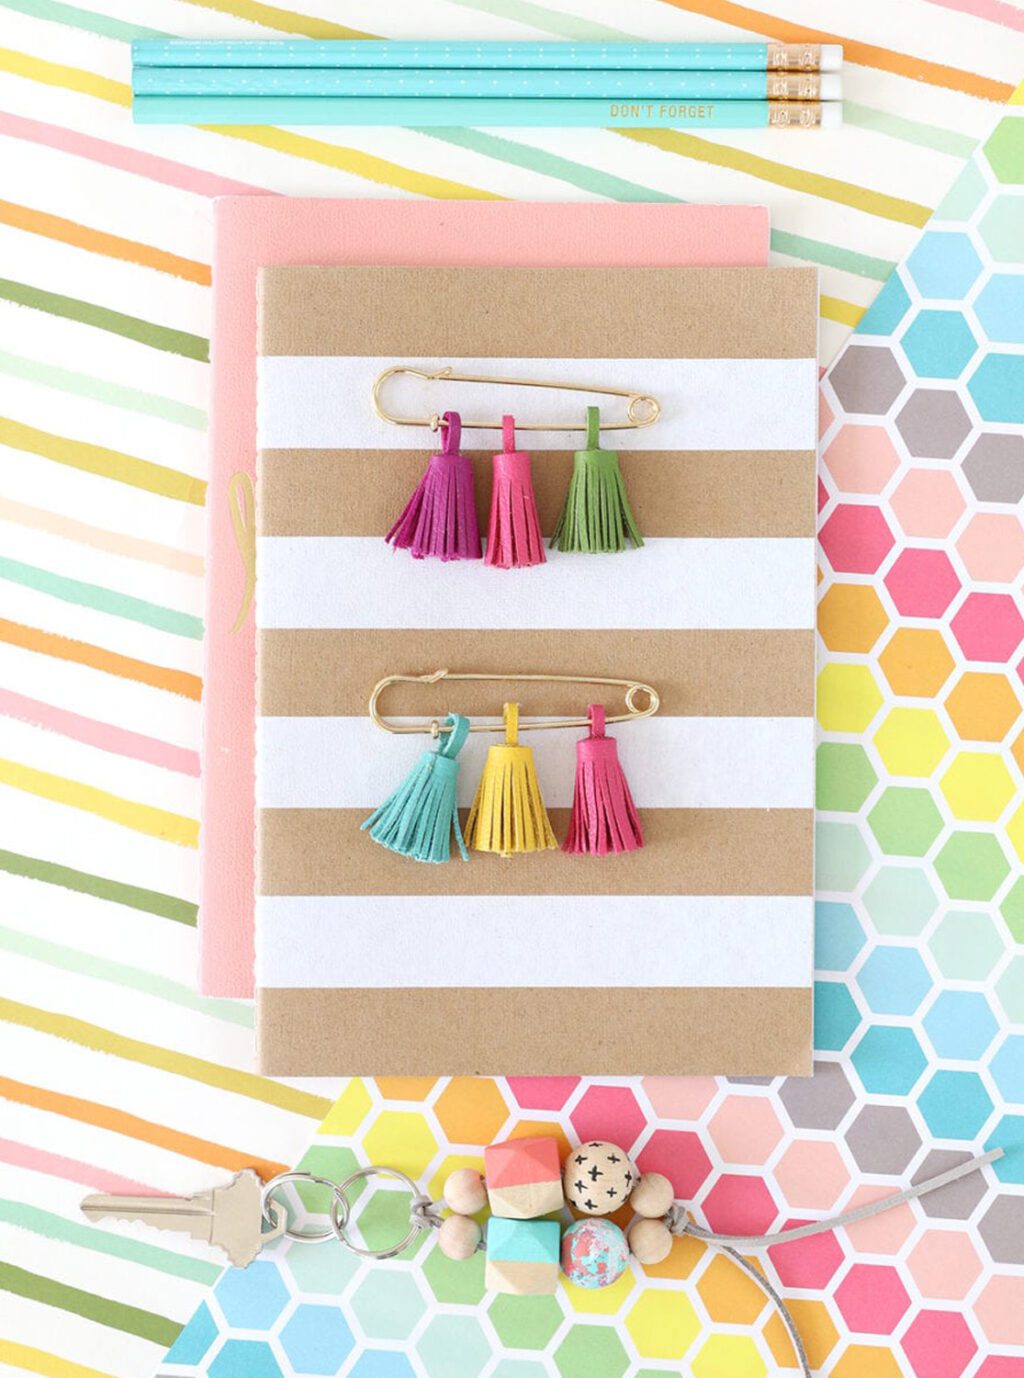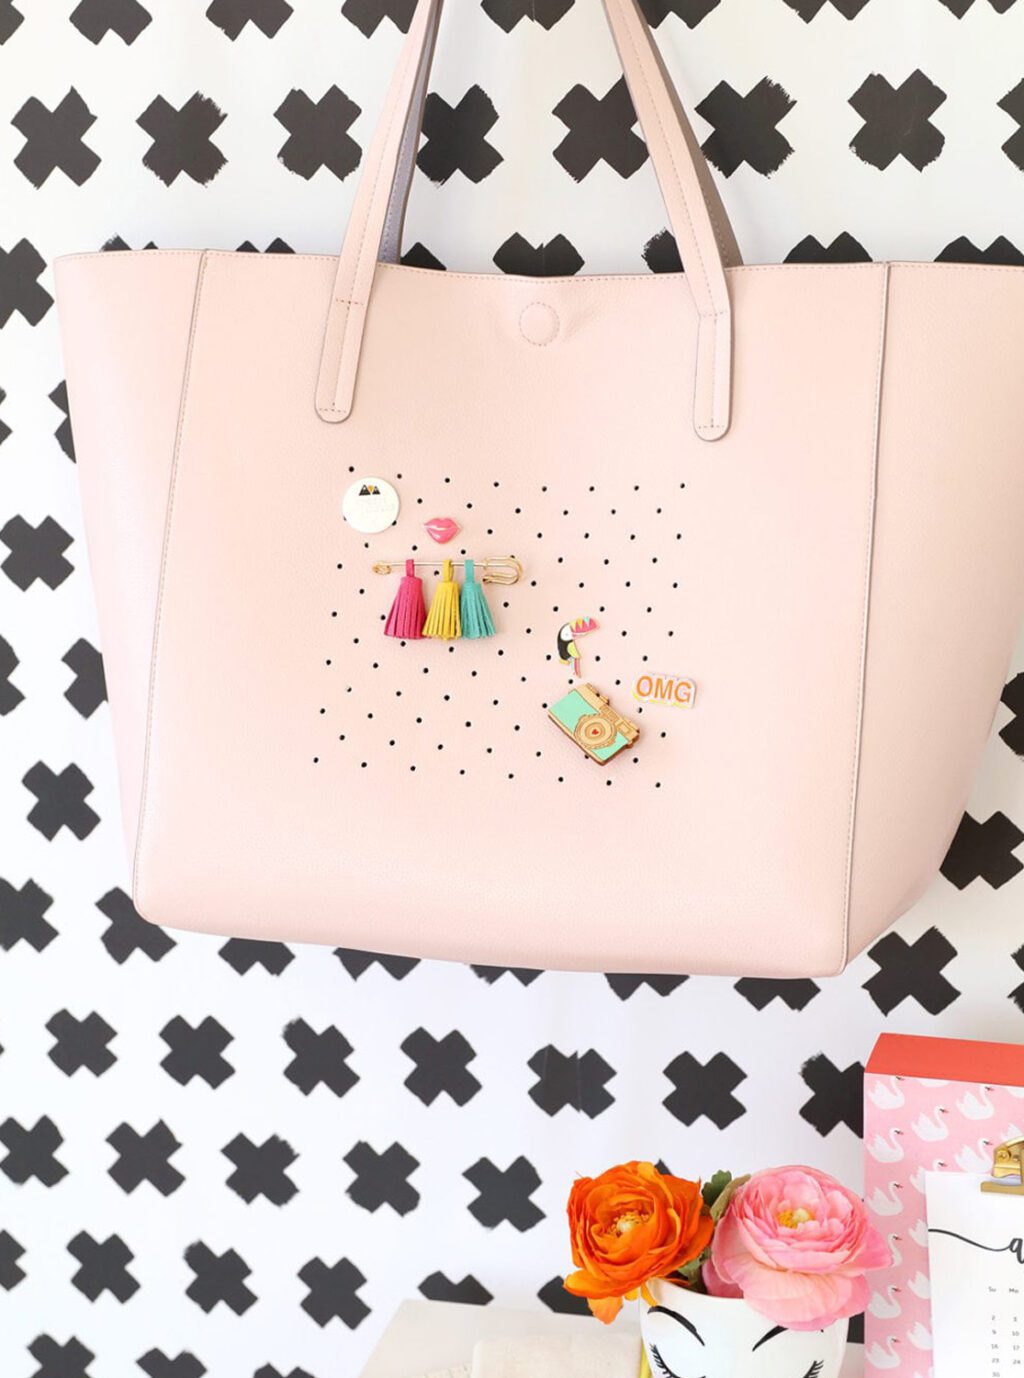
Now that I’ve crafted up a bunch of flair – I need somewhere for it to live, so that it doesn’t end up in a big disorganized mess in a drawer. The steps are simple and the finished project is adorbs. Let’s get to it, your flair needs to get organized!
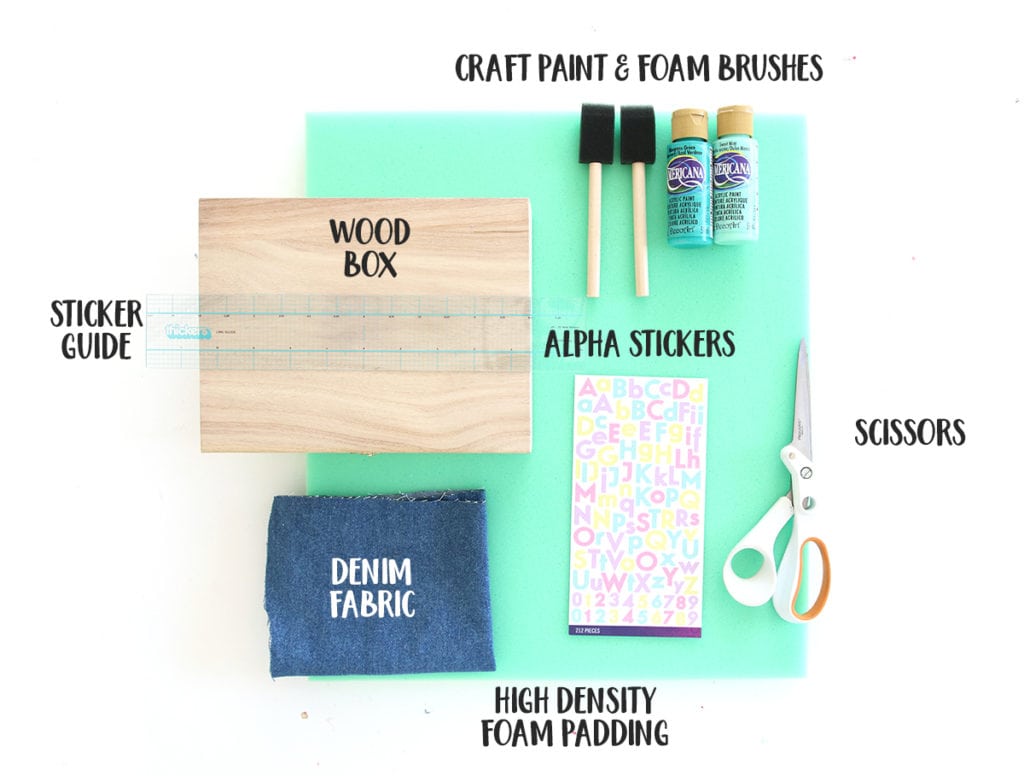
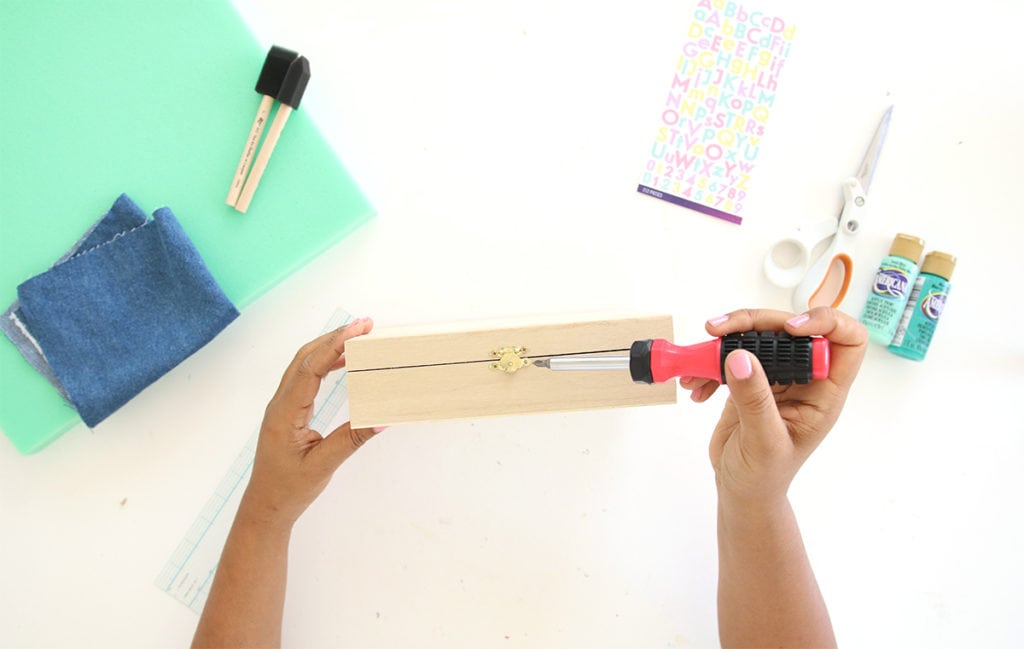
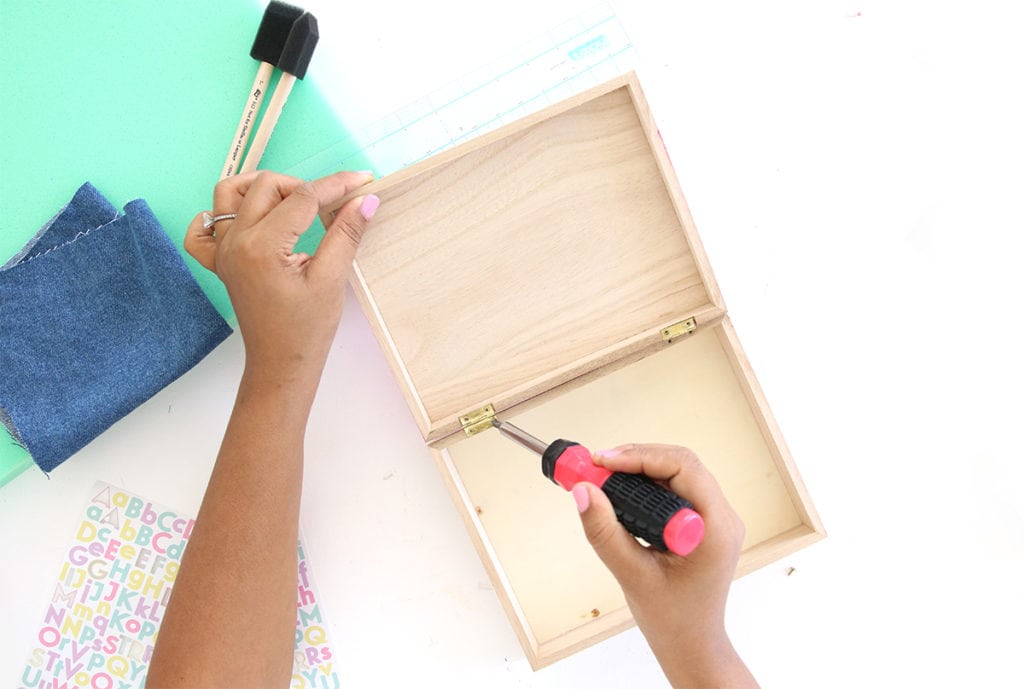
You’ll start by removing all the hinges and closures from the wooden box. This will make it easier to paint.
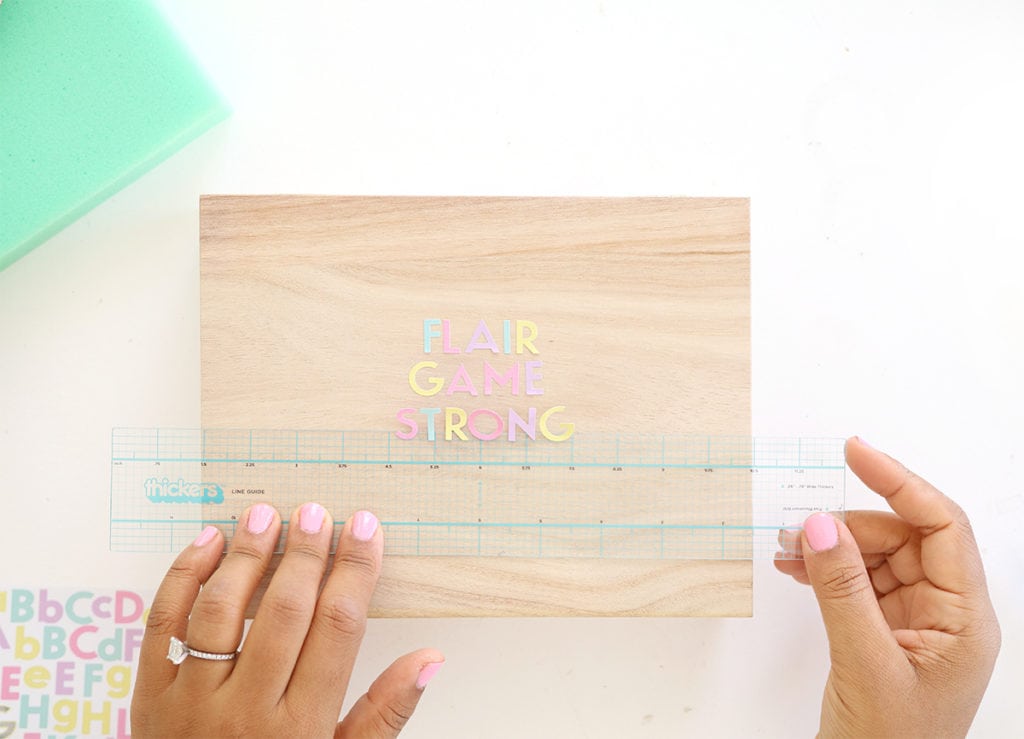
Next, I used my Thickers Guide Ruler to adhere alphabet stickers to to lid of the box…
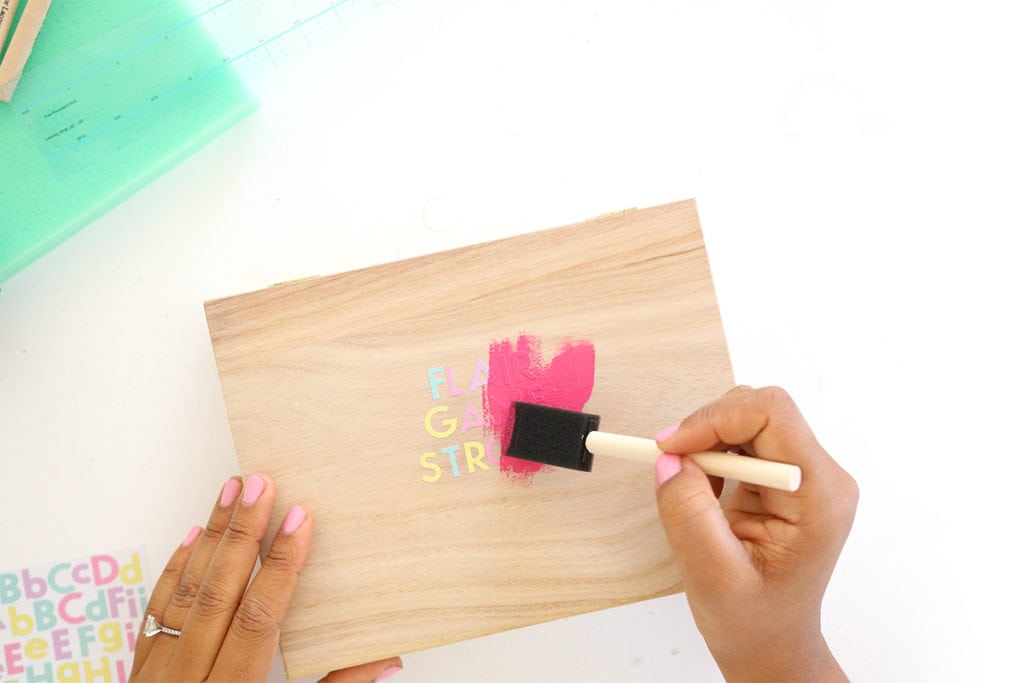
Now grab your favorite craft paint – I swear by Americana Paints – and use a foam brush and a pouncing motion to apply the paint over the alphabet stickers. The pouncing motion helps get a clean edge and ensures that no paint seeps beneath the stickers.
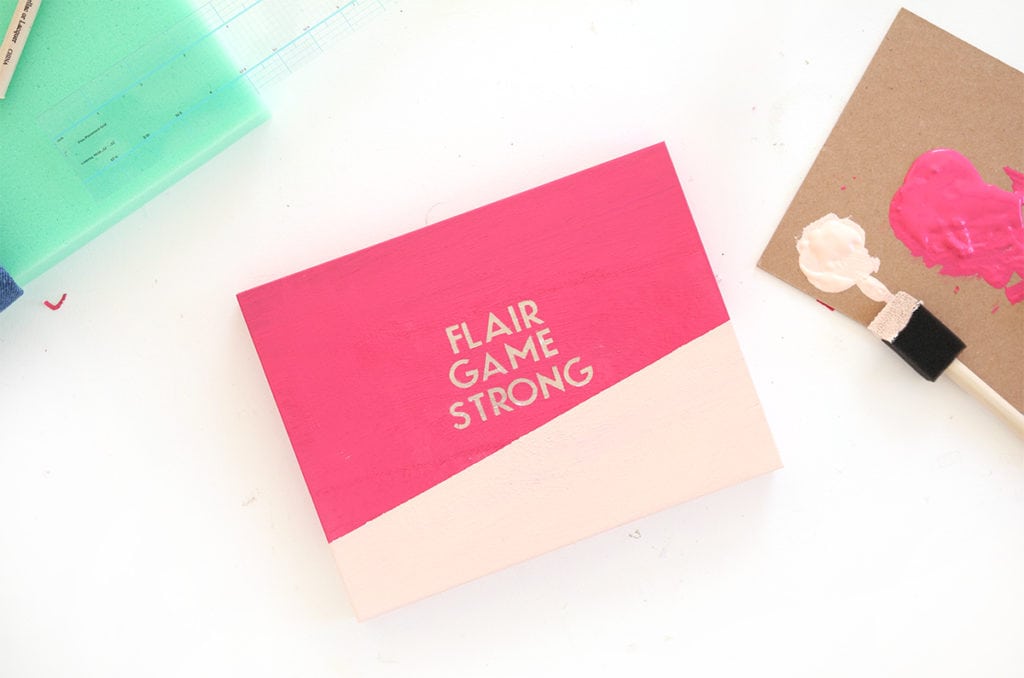
Once you’re done painting, remove the stickers and your box is done! Next, let’s tackle the inside…
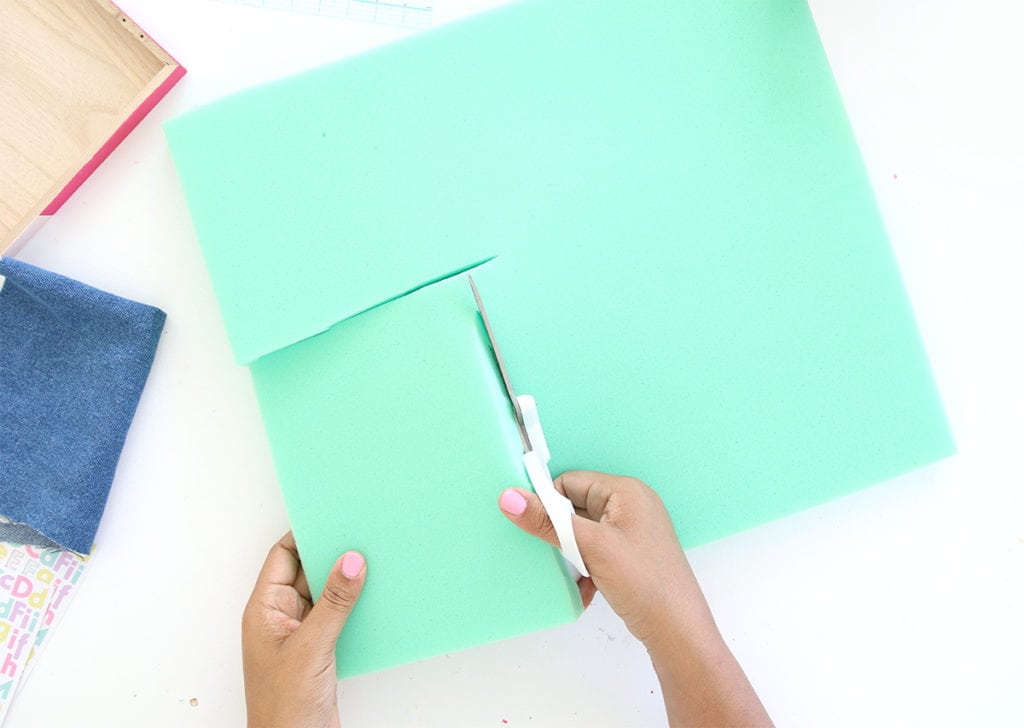
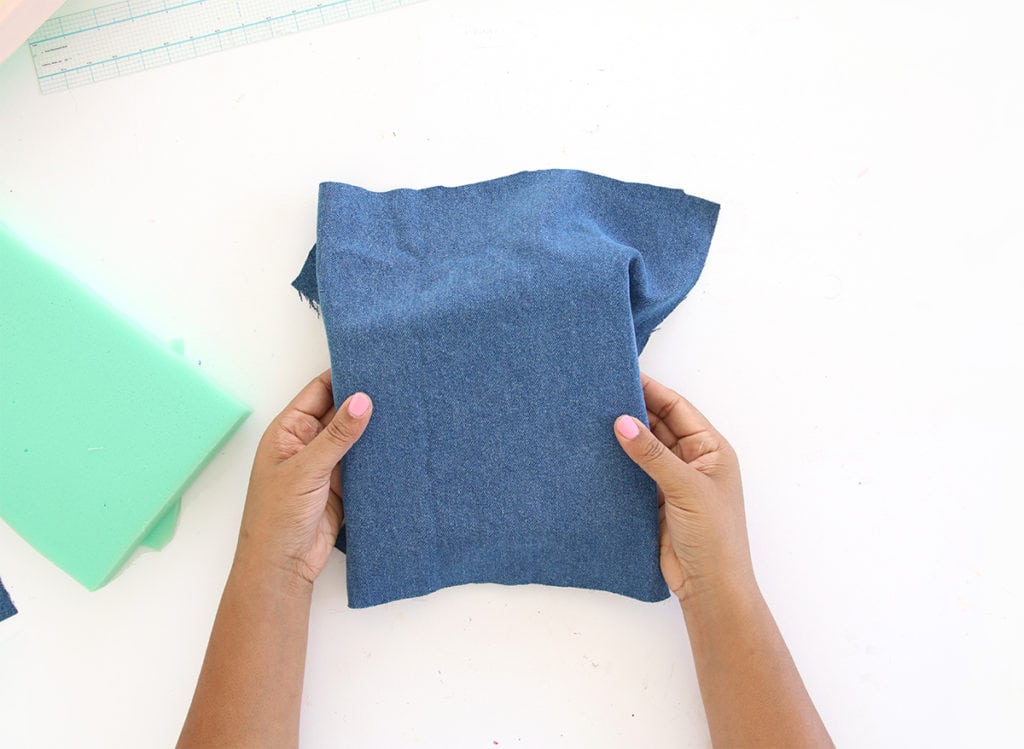
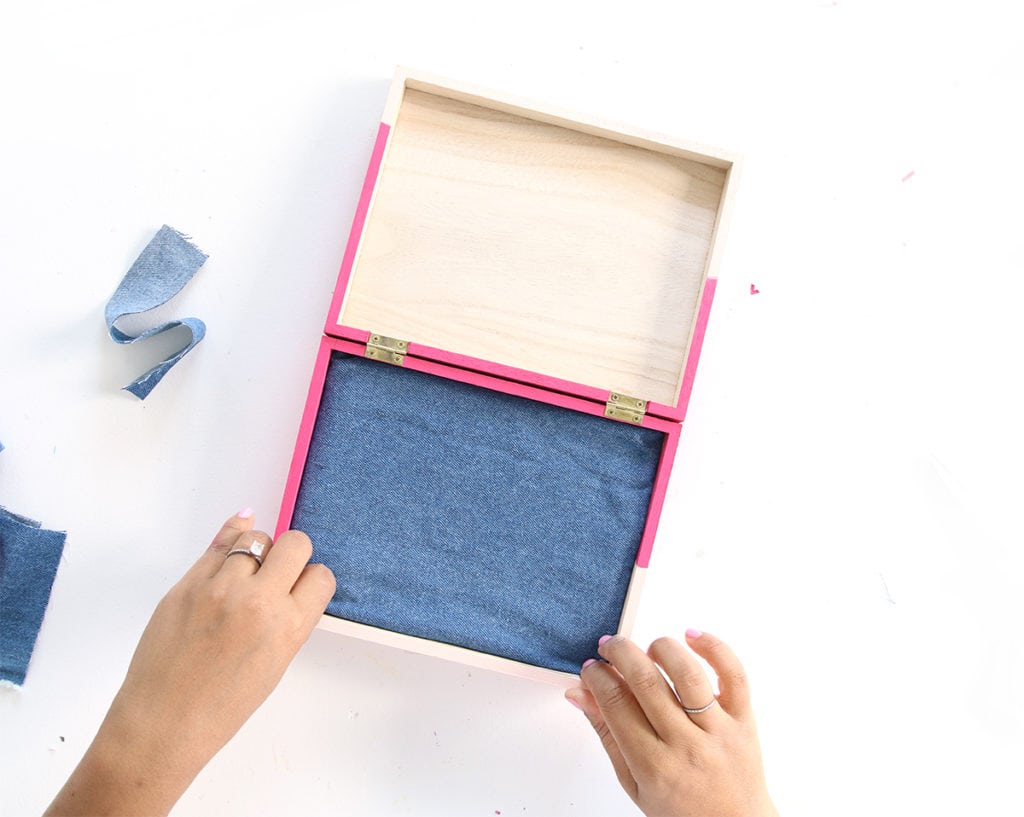
Trim a piece of foam to the size of the box and wrap it with denim fabric. Fit it into the box and replace the hinges. You’re flair pins are ready to move in!
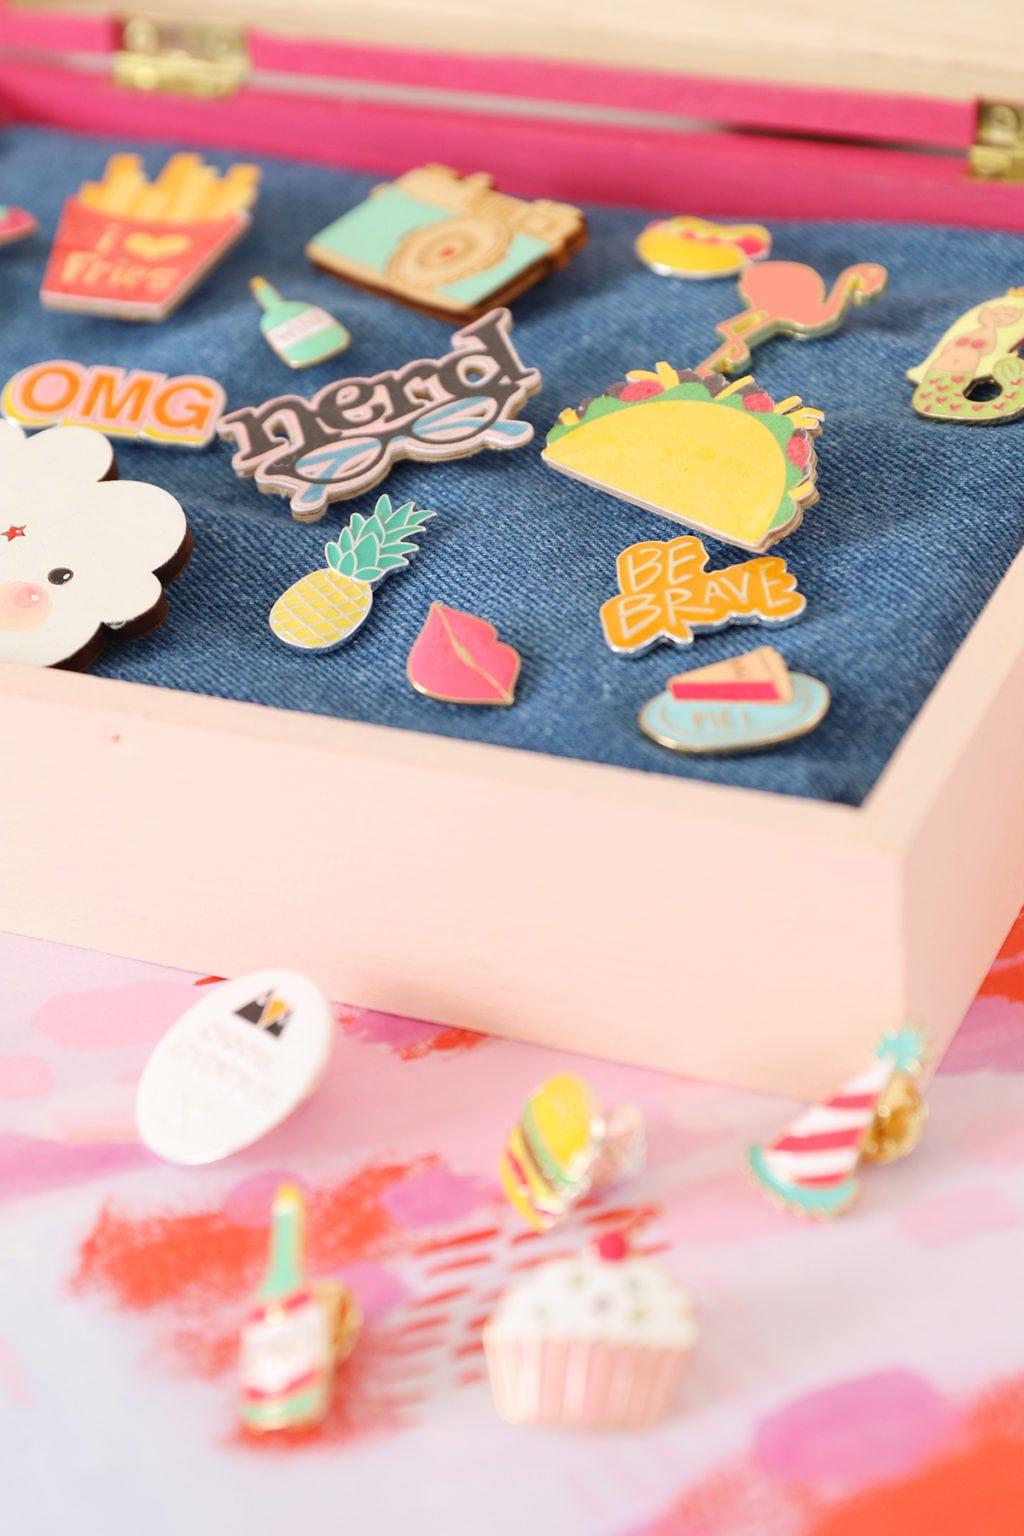
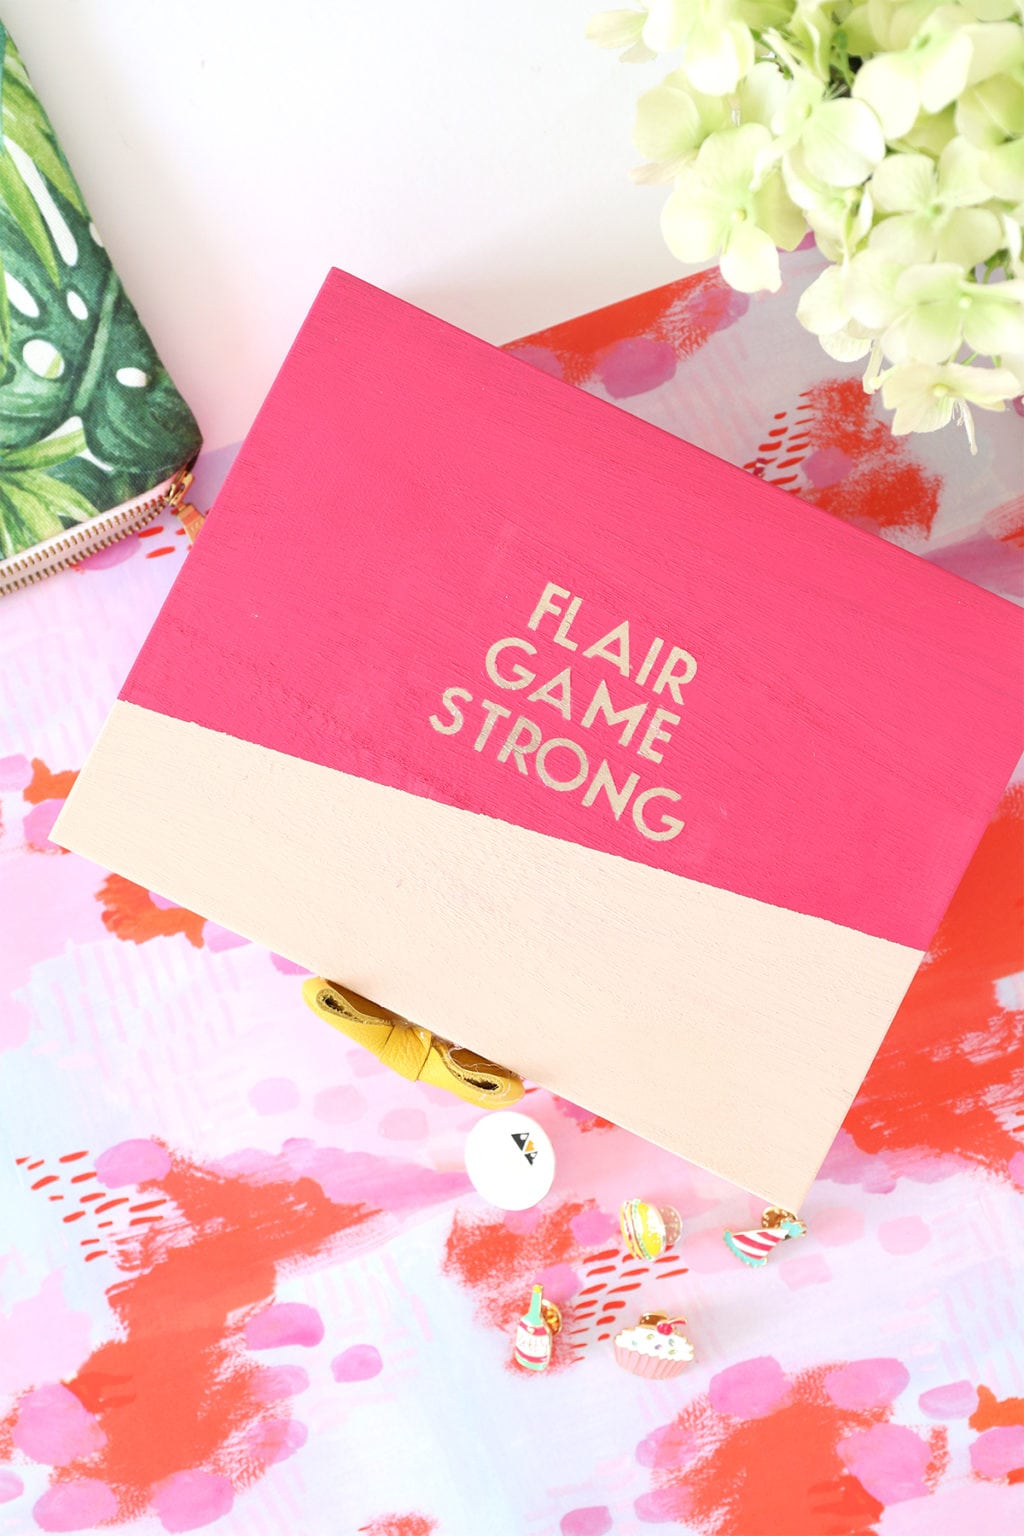
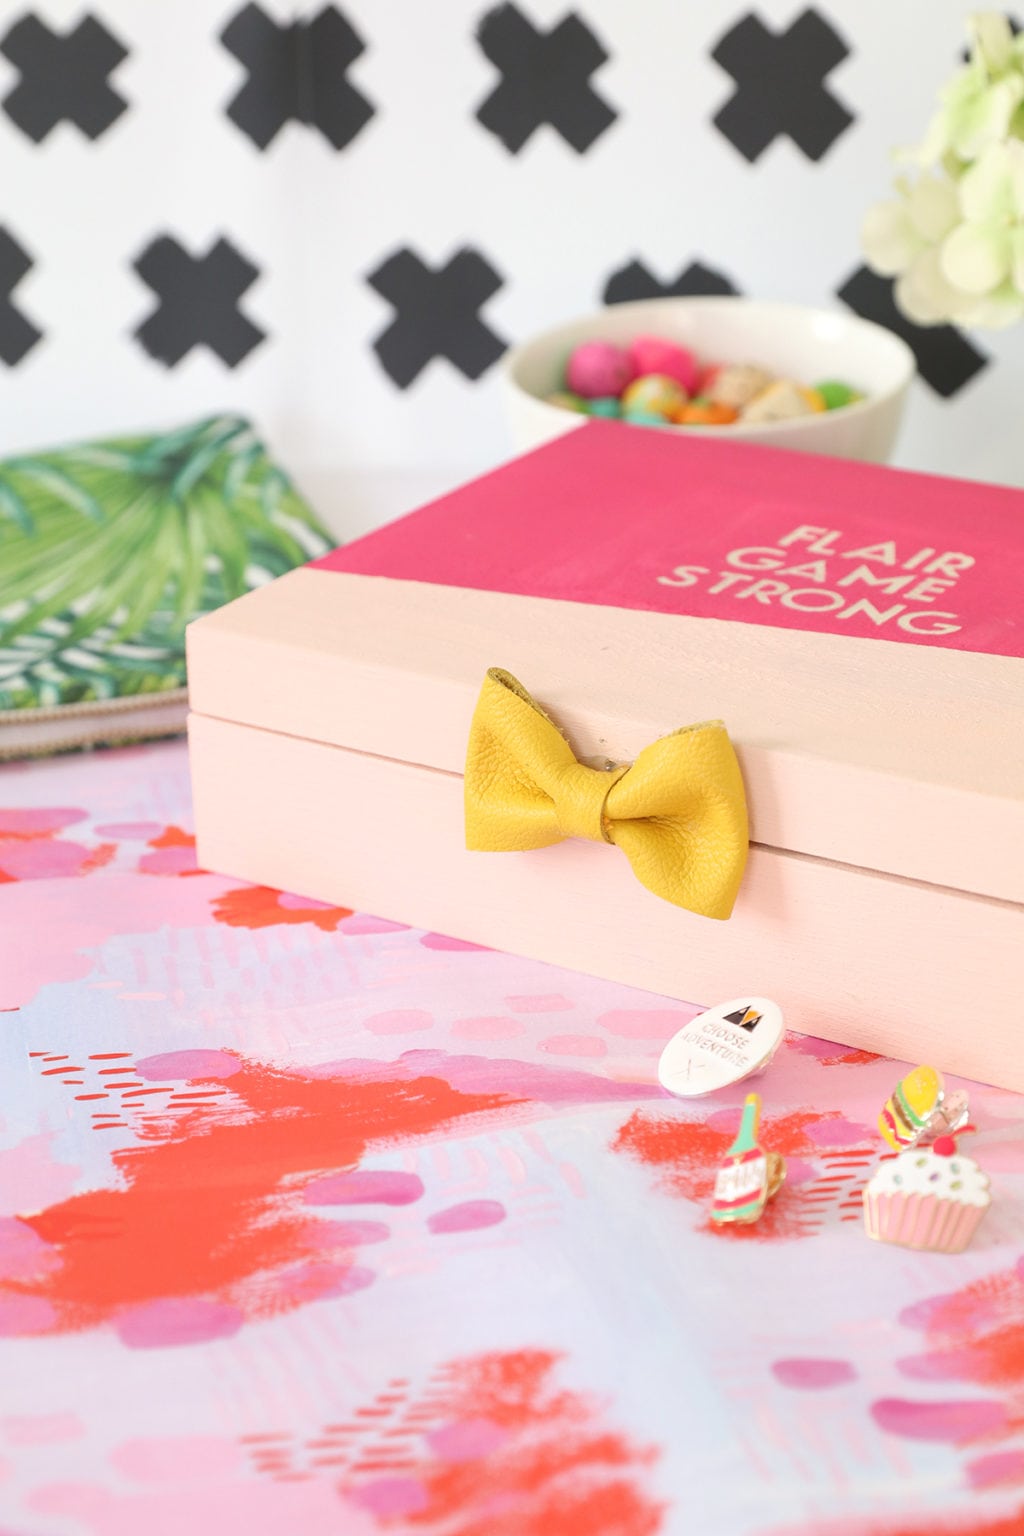
For the front of my flair box, I added a leather flower that is super easy to make! Just follow THIS tutorial, using leather rather than felt.
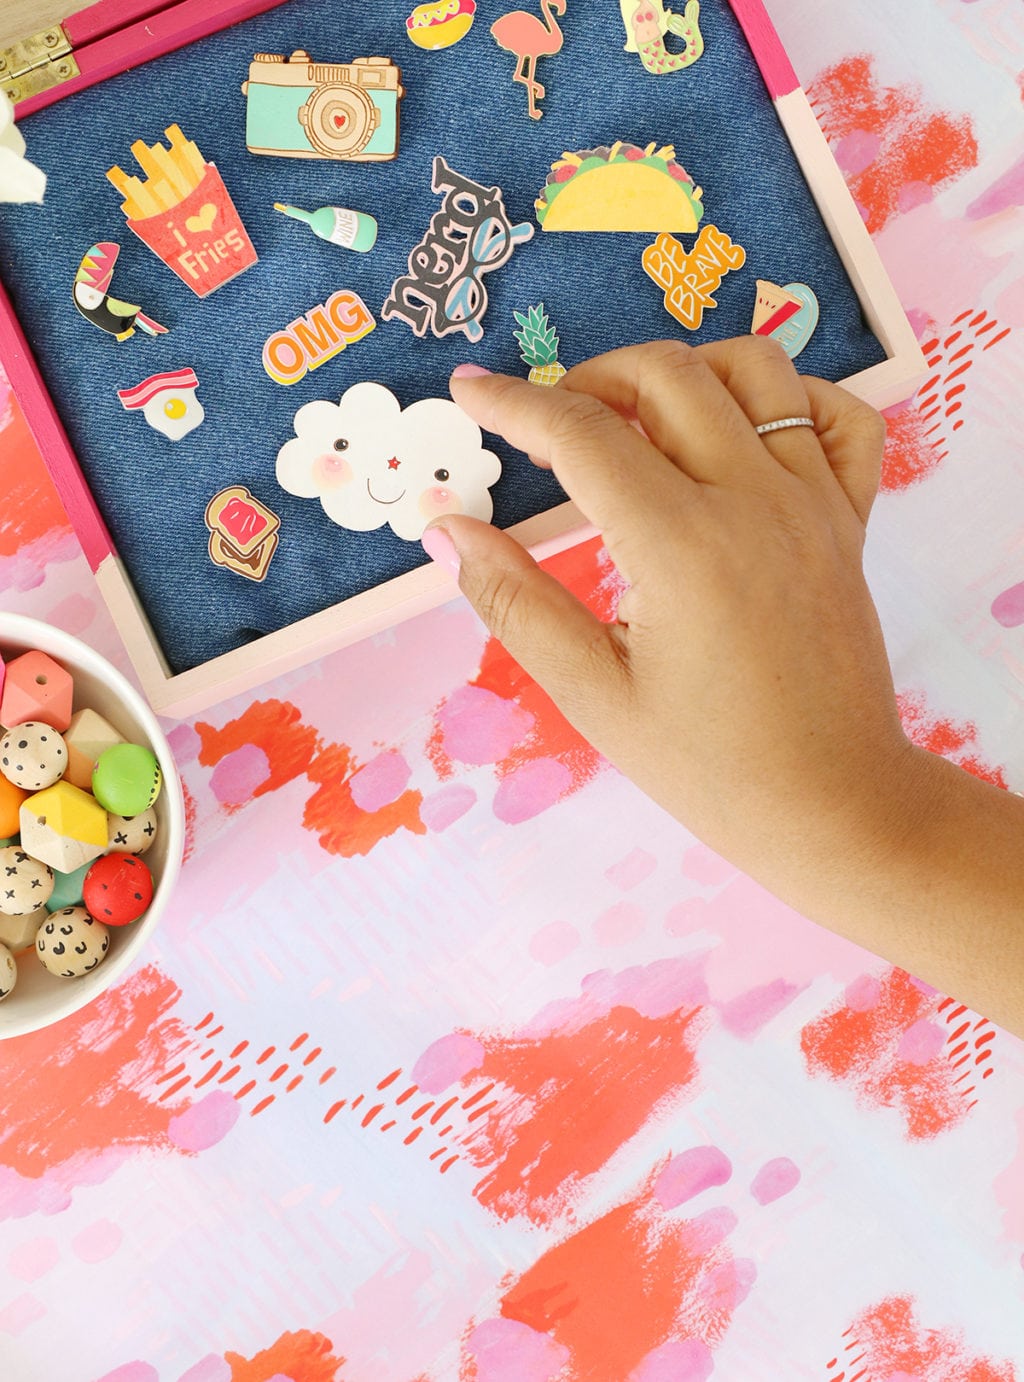
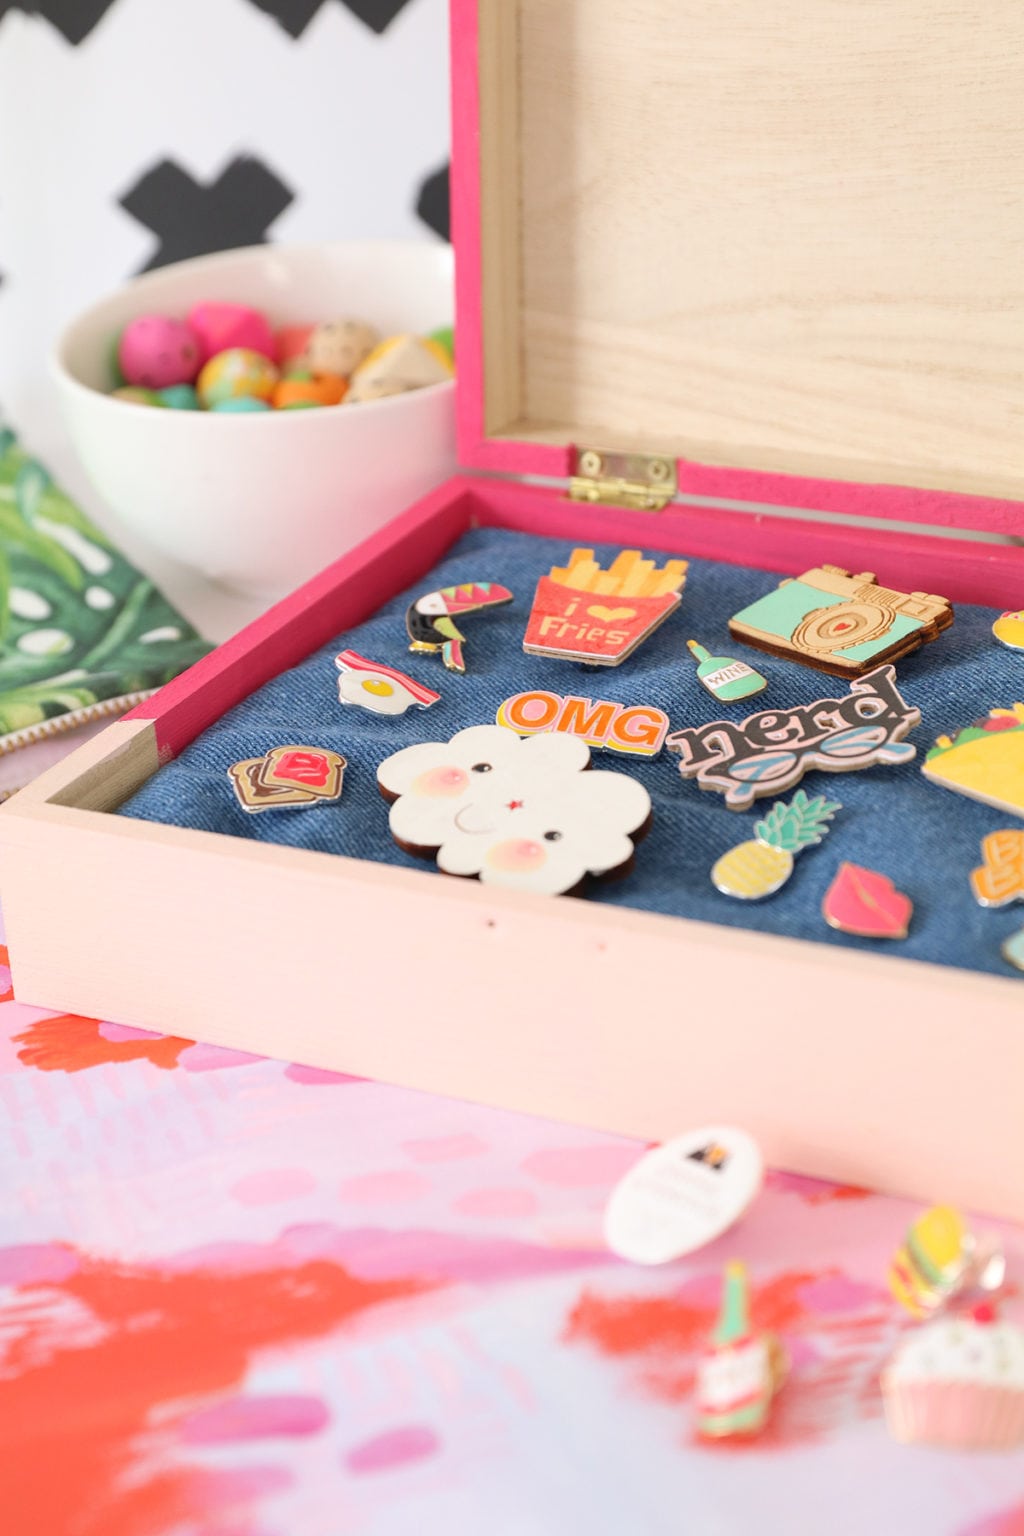
This is the perfect craft for the weekend and gives you lots of options for customizing the paint color and the words on the lid. Have fun with it!